Job Scheduling Using Quartz
Quartz is a useful tool for scheduling tasks in Java applications, whether they’re small or large. It can handle many jobs, simple or complex, and it works with any Java program. If you need tasks to happen at specific times or if your system needs regular maintenance, Quartz might be the right choice for you.
Now, let’s look at how to use Quartz in the AccuWeb.Cloud!
Setup an Environment
Step 1: Log in to AccuWeb.Cloud dashboard.
Step 2: Go to the upper left side of the screen and click on the New Environment button to create a new environment.
Step 3: Choose Tomcat as your application server, Maven as a build node server, and set the cloudlet limits. Then, give your environment a name, like “accuweb-quartz,” and click Create.
Wait a moment for your environment to be set up.
Setting Up Your Application
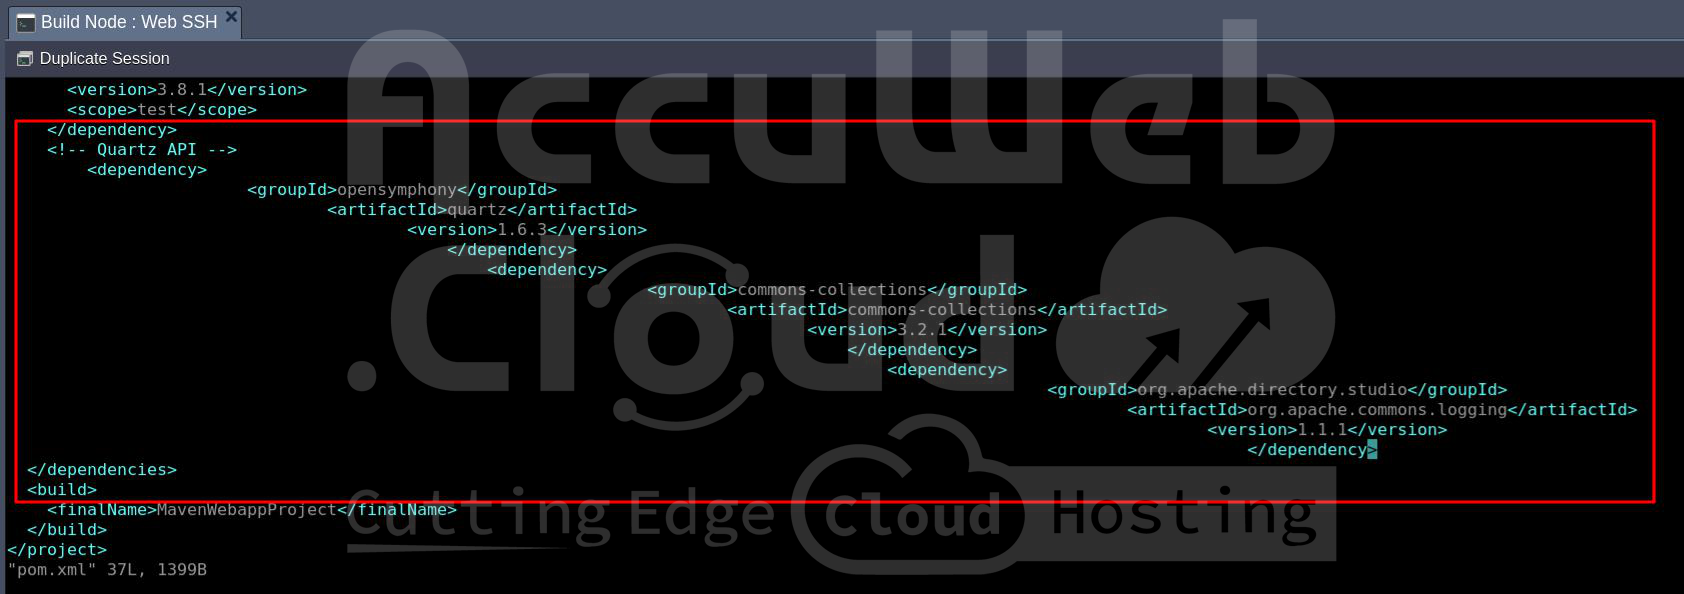
Step 1: Start by creating your web application (we’re using a Maven-based one). Open your pom.xml file and add these lines to include Quartz libraries:
<!-- Quartz API -->
<dependency>
<groupId>opensymphony</groupId>
<artifactId>quartz</artifactId>
<version>1.6.3</version>
</dependency>
<dependency>
<groupId>commons-collections</groupId>
<artifactId>commons-collections</artifactId>
<version>3.2.1</version>
</dependency>
<dependency>
<groupId>org.apache.directory.studio</groupId>
<artifactId>org.apache.commons.logging</artifactId>
<version>1.1.1</version>
</dependency>
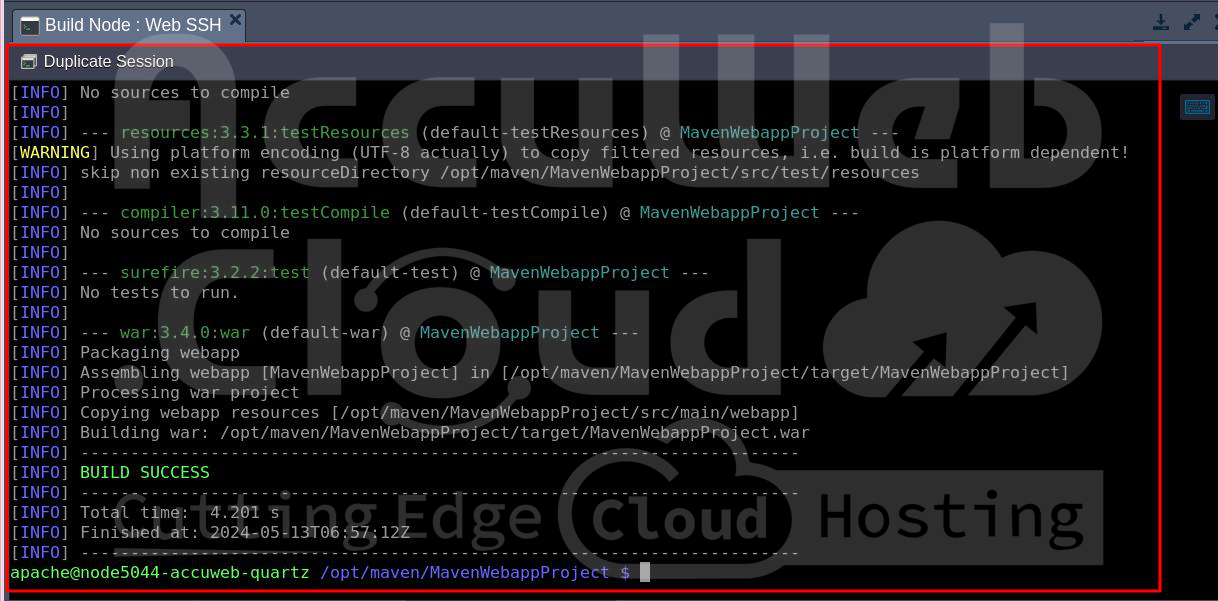
Step 2: Build your project along with these dependencies.
Step 3: Now, create a new Java class for your jobs. Here’s a simple example that displays the server time:
package com;

import java.util.Date;
import org.quartz.Job;
import org.quartz.JobExecutionContext;
import org.quartz.JobExecutionException;

public class HelloJob implements Job {
public void execute(JobExecutionContext context) throws JobExecutionException {
System.out.println("Server Time: " + new Date());
}
}
Step 4: Next, create a Servlet to specify when the Quartz event scheduler will run your job. In our example, we’ve created QuartzServlet.java with logic that executes the job every minute:
package com;

import java.io.IOException;
import java.io.PrintWriter;
import java.text.ParseException;
import java.util.logging.Level;
import java.util.logging.Logger;
import javax.servlet.ServletException;
import javax.servlet.http.HttpServlet;
import javax.servlet.http.HttpServletRequest;
import javax.servlet.http.HttpServletResponse;
import org.quartz.CronTrigger;
import org.quartz.JobDetail;
import org.quartz.Scheduler;
import org.quartz.SchedulerException;
import org.quartz.impl.StdSchedulerFactory;

public class QuartzServlet extends HttpServlet {
protected void processRequest(HttpServletRequest request, HttpServletResponse response)
throws ServletException, IOException {
response.setContentType("text/html;charset=UTF-8");
PrintWriter out = response.getWriter();
try {
JobDetail job = new JobDetail();
job.setName("dummyJobName");
job.setJobClass(HelloJob.class);

CronTrigger trigger = new CronTrigger();
trigger.setName("TriggerName");
trigger.setCronExpression("0 */1 * * * ?");

Scheduler scheduler = new StdSchedulerFactory().getScheduler();
scheduler.start();
scheduler.scheduleJob(job, trigger);
} catch (SchedulerException ex) {
Logger.getLogger(QuartzServlet.class.getName()).log(Level.SEVERE, null, ex);
} catch (ParseException ex) {
Logger.getLogger(QuartzServlet.class.getName()).log(Level.SEVERE, null, ex);
} finally {
out.close();
}
}
protected void doGet(HttpServletRequest request, HttpServletResponse response)
throws ServletException, IOException {
processRequest(request, response);
}
protected void doPost(HttpServletRequest request, HttpServletResponse response)
throws ServletException, IOException {
processRequest(request, response);
}
public String getServletInfo() {
return "Short description";
}
}
Step 5: Finally, build your project into a WAR file.
Deploying Your Application
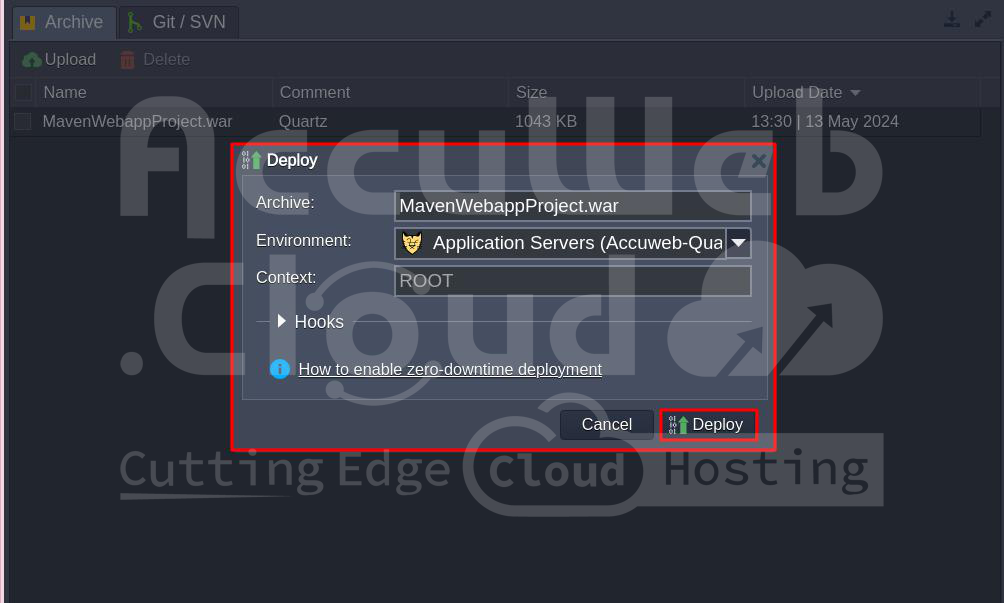
Step 1: Return to the platform dashboard and upload the WAR file you made earlier.
Step 2: Deploy your application to the environment you set up earlier.
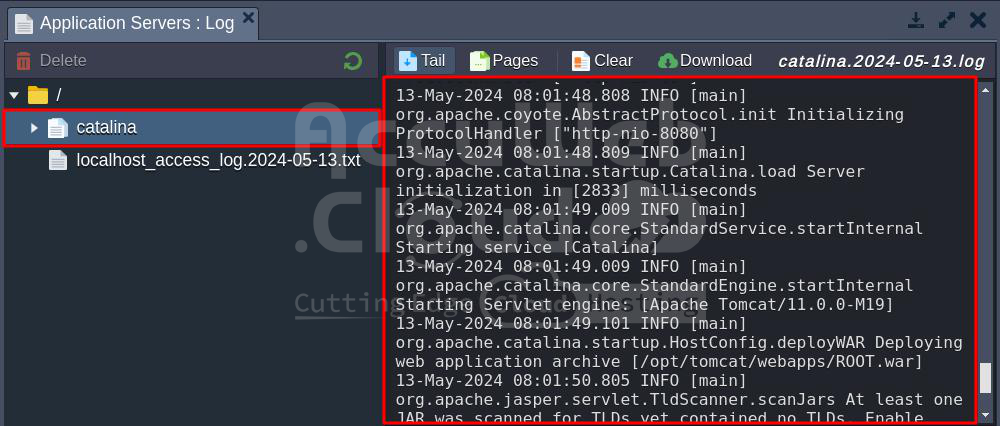
Step 3: Open your app in a web browser and see the results. In our case, go to the Quartz context (http://{env_name}.{hoster_domain}/quartz, based on the Servlet “QuartzServlet” mapping) and check the application logs.
Using Quartz for job scheduling is straightforward and effective.
I hope this guide on deploying Quartz is helpful for you.


