Configuration Tools
The platform dashboard facilitates seamless management of container lifecycles, providing an array of tools for environment configuration:
1. Settings Wizard
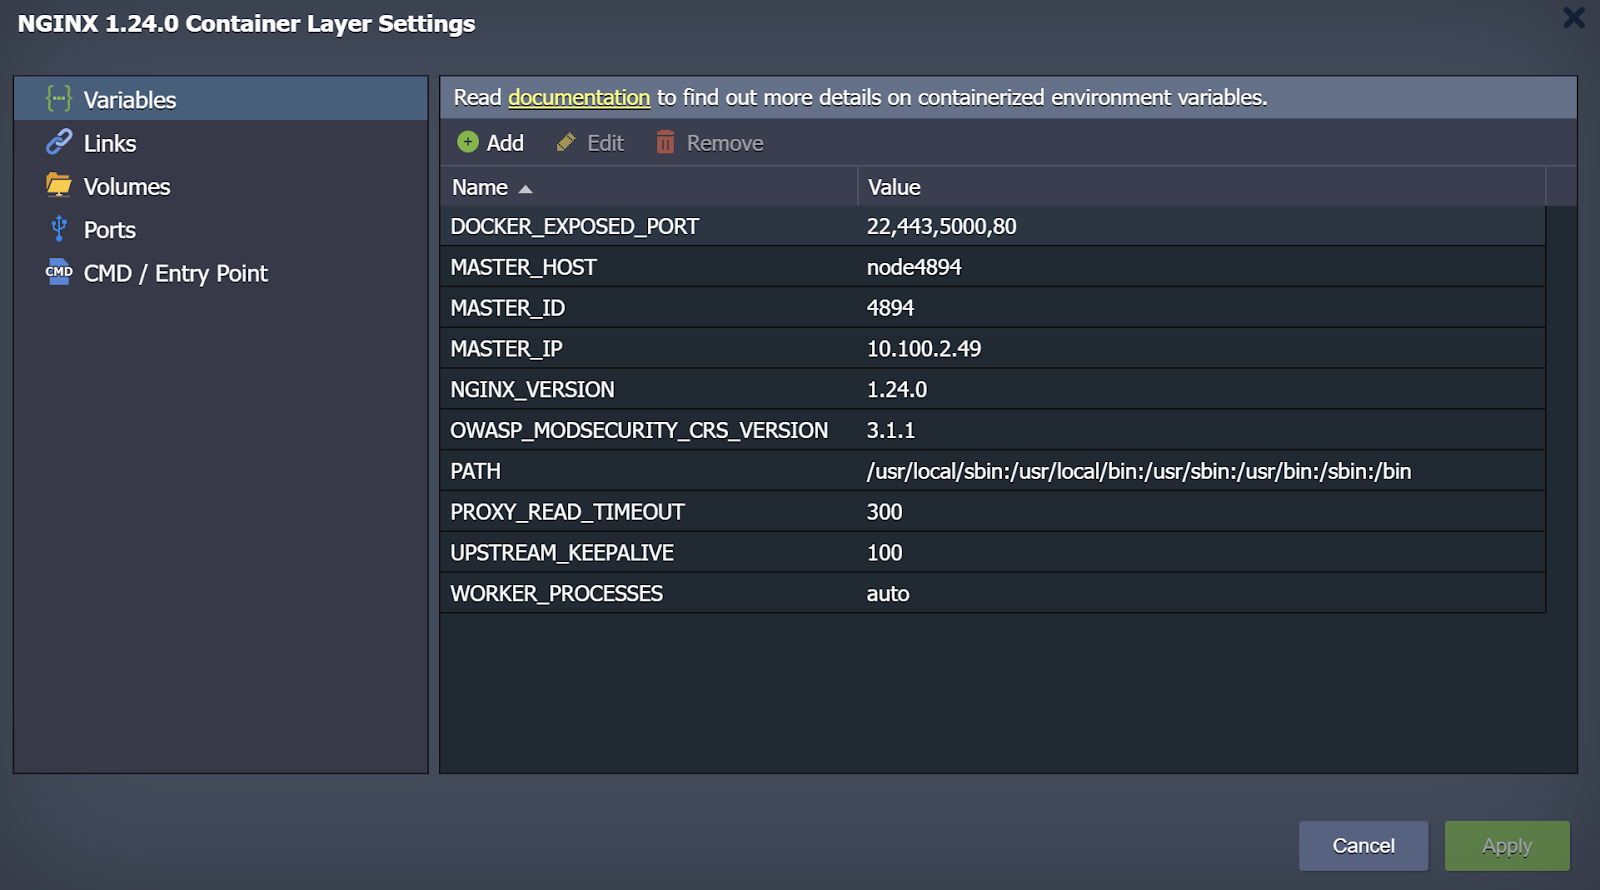
The platform has seamlessly integrated a specialized Docker layer settings dialog frame into the topology wizard. This integration allows users to adjust commonly required container settings without the need to access them via SSH.
To begin, accessing this feature can be achieved in two ways:
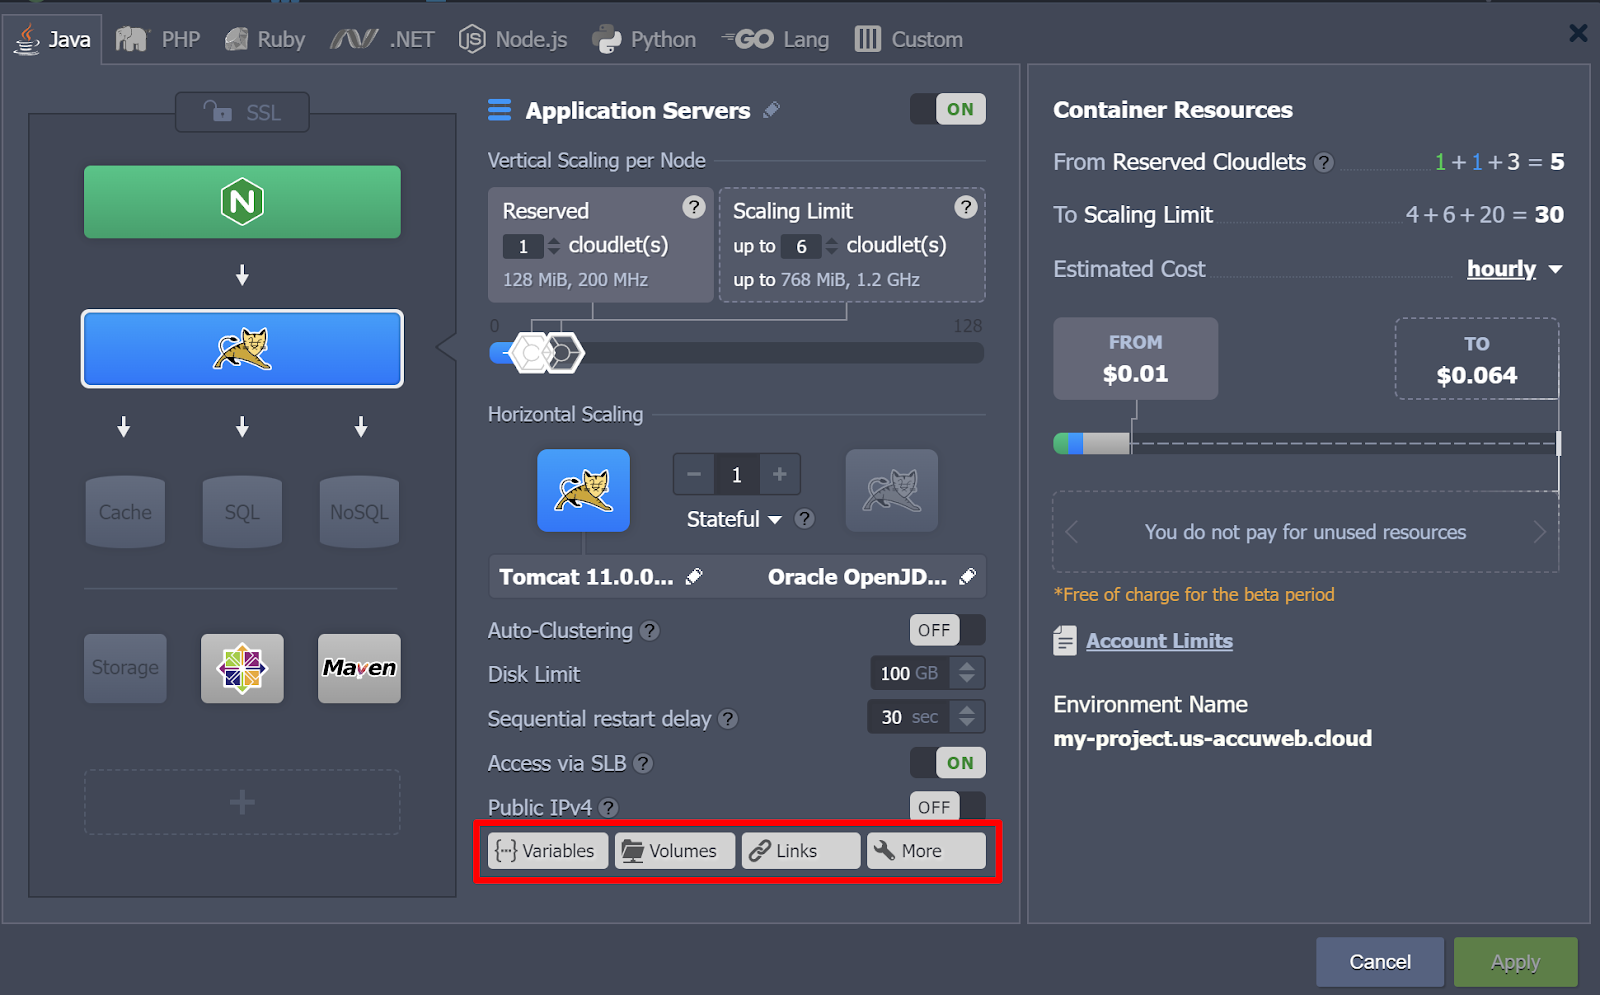
A) Through the topology wizard: Click on the “New Environment” button to add the required container(s), or select the “Change Environment Topology” button for an existing environment.
B) Alternatively, users can access the Docker layer settings window directly from the dashboard. Simply hover over the environment layer, click on the setting icon, and select one of the quick access options from the expanded list.
After that, a window will appear:
There are 5 separate sections:
2. Embedded File Manager
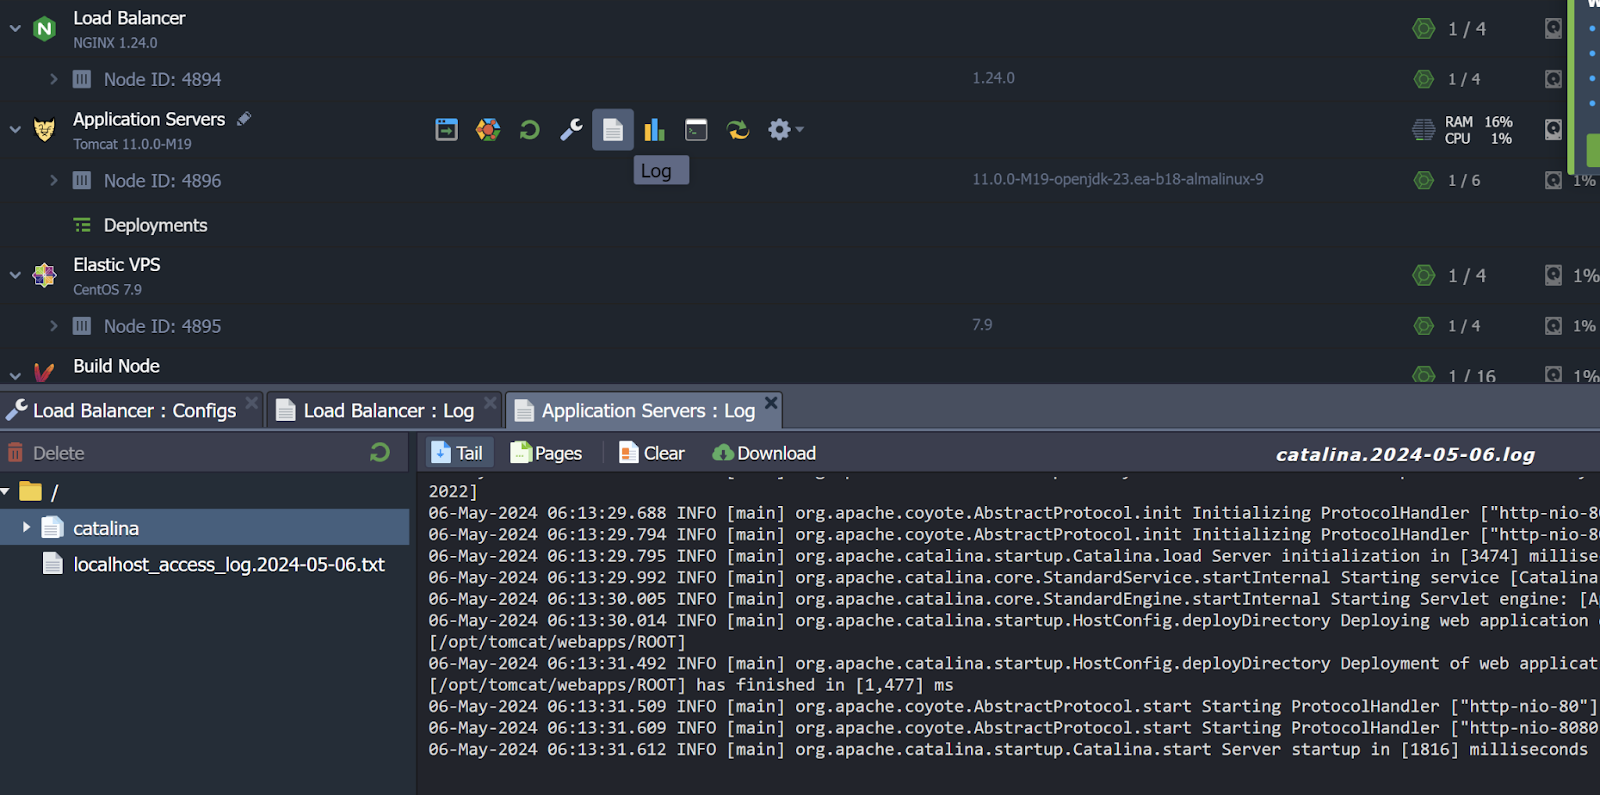
The integrated configuration file manager is finely tuned to efficiently handle files within your container, including those accessed or exported via the Shared Storage Container feature. Accessed by clicking the “Config” button adjacent to the required node (or the entire layer), it consists of four key sections:
- Root (File Manager): Seamlessly accesses the container’s local file system, simplifying operations on contained data and instance settings via respective configuration files.
- Mount Points: Displays a directory of folders physically situated on a remote node but accessible within the current container by mounting directories containing necessary data.
- Exports: Catalogs folders shared with other nodes, facilitating their availability at remote instances while stored locally.
- Favorites: Provides quick and convenient access to frequently used files and folders, with the flexibility to manually mark any custom ones as favorites.
In summary, the file manager empowers users with complete control over the container file system, eliminating the need for supplementary tools.
However, users should exercise caution when making modifications, as any changes applied may not be automatically reversible in the event of unintended consequences.
3. Log files
Log files within a container undergo automatic rotation, triggering compression and relocation to the dedicated “rotated_logs” directory once they reach a size threshold of 50 MB.
To access these archives, if needed, one must enter the respective container via SSH and download them for local examination. Compressed logs are retained for a period of 7 days, after which they are automatically purged as obsolete data.
4. SSH access
If managing your containers via terminal is your preference, you can effortlessly establish SSH connections to any of them, regardless of whether they have an external IP address attached. Once connected, you gain complete freedom to manage your instances by executing necessary operations directly from your local machine.
Furthermore, the platform provides a dedicated CLI client equipped to handle the majority of operations required for application lifecycle management through a set of specialized scripts. These commands closely follow the structure of the platform API hierarchy, ensuring a seamless transition for users accustomed to the platform.


