Swap Domains
When you’re working on a project, you’ll eventually need to make upgrades or changes. Before making any big moves in the live environment, it’s crucial to thoroughly test everything.
Luckily, with AccuWeb.Cloud, you can do this testing in a separate environment. Once your new version is ready, you can simply swap domains between your testing area and your live project. This allows for an instant switch to the new version without any hassle.
This feature is really helpful because it means you don’t have to go through the whole process of updating your live site. You don’t have to worry about extra setups or any potential downtime either. Plus, you can still keep the previous version of your site just in case you need to roll back quickly.
It’s important to note that the Swap Domains feature works specifically with bound domains. If you’re looking to swap URLs for environments that have public IPs as an entry point (attached to the application server or load balancer), you’ll need to use the swap external IPs method or adjust the appropriate records in your domain registrar.
Create Test Environment
First, you’ll need to locate your production environment, where your application is currently running and where you want to apply updates. For the purposes of this example, let’s refer to this environment as “production.”
Note: Keep in mind that this production environment must be associated with a custom domain that is bound to it (for instance, “production.com”). This custom domain will later be swapped with a different environment.
Next, you’ll want to click on the “Open in Browser” button or access your application via its custom domain to ensure everything is functioning as expected before proceeding with any updates.
Now, proceed to clone this environment to automatically generate an identical copy, encompassing all deployed packages, databases, and other components. We’ll designate this duplicate environment as “testing.”
After cloning the environment, click on the “Open in Browser” button for the cloned environment to ensure that everything is functioning properly. This step is crucial to verify that the cloned environment replicates the functionality of the production environment accurately.
Now, you can add new features, customize settings, and apply updates as needed – all without disrupting your original setup.
Update Application
First, make the necessary changes to the cloned environment. You can do this either directly through the dashboard or by deploying the new version of your project. If you need assistance with your project adjustments, refer to the following documentation guides:
Once you’ve made the changes, click on the “Open in Browser” button for your updated project to test out the modifications you’ve implemented. This step allows you to verify that everything is working as expected before proceeding further.
Note: The “Swap Domain” feature works even if only one environment has a domain attached. But, for a more complete test run, you can also add a custom domain to your cloned environment.
Swap Domains
Once you’ve tested the updates, the next course of action is to swap the domains of the production and testing environments.
1. Open the Settings for one of your environments (for instance, the production environment). Here, you’ll find the Custom Domains section, which will be opened by default.
2. Within the Swap Domains subsection, select the environment with which you wish to swap domains (in this scenario, the testing environment), and then click on the Swap button.
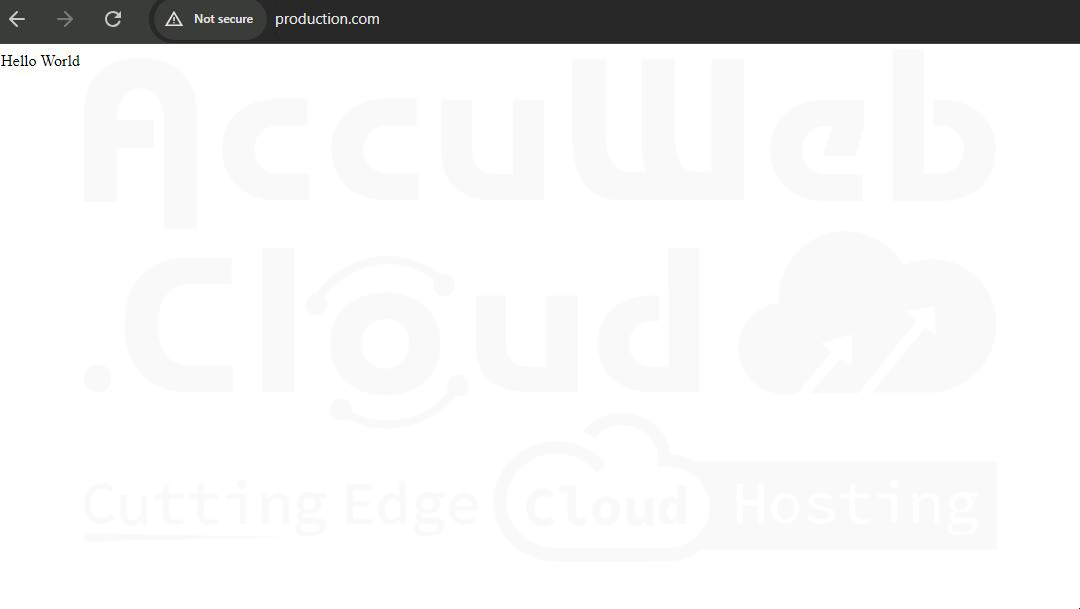
3. After completing the swap, you can visit the custom domain of your production environment (e.g., production.com) and observe that your application has been successfully updated with the changes made in the testing environment. This confirms that the swap was executed seamlessly, and your updates are now live in the production environment.


