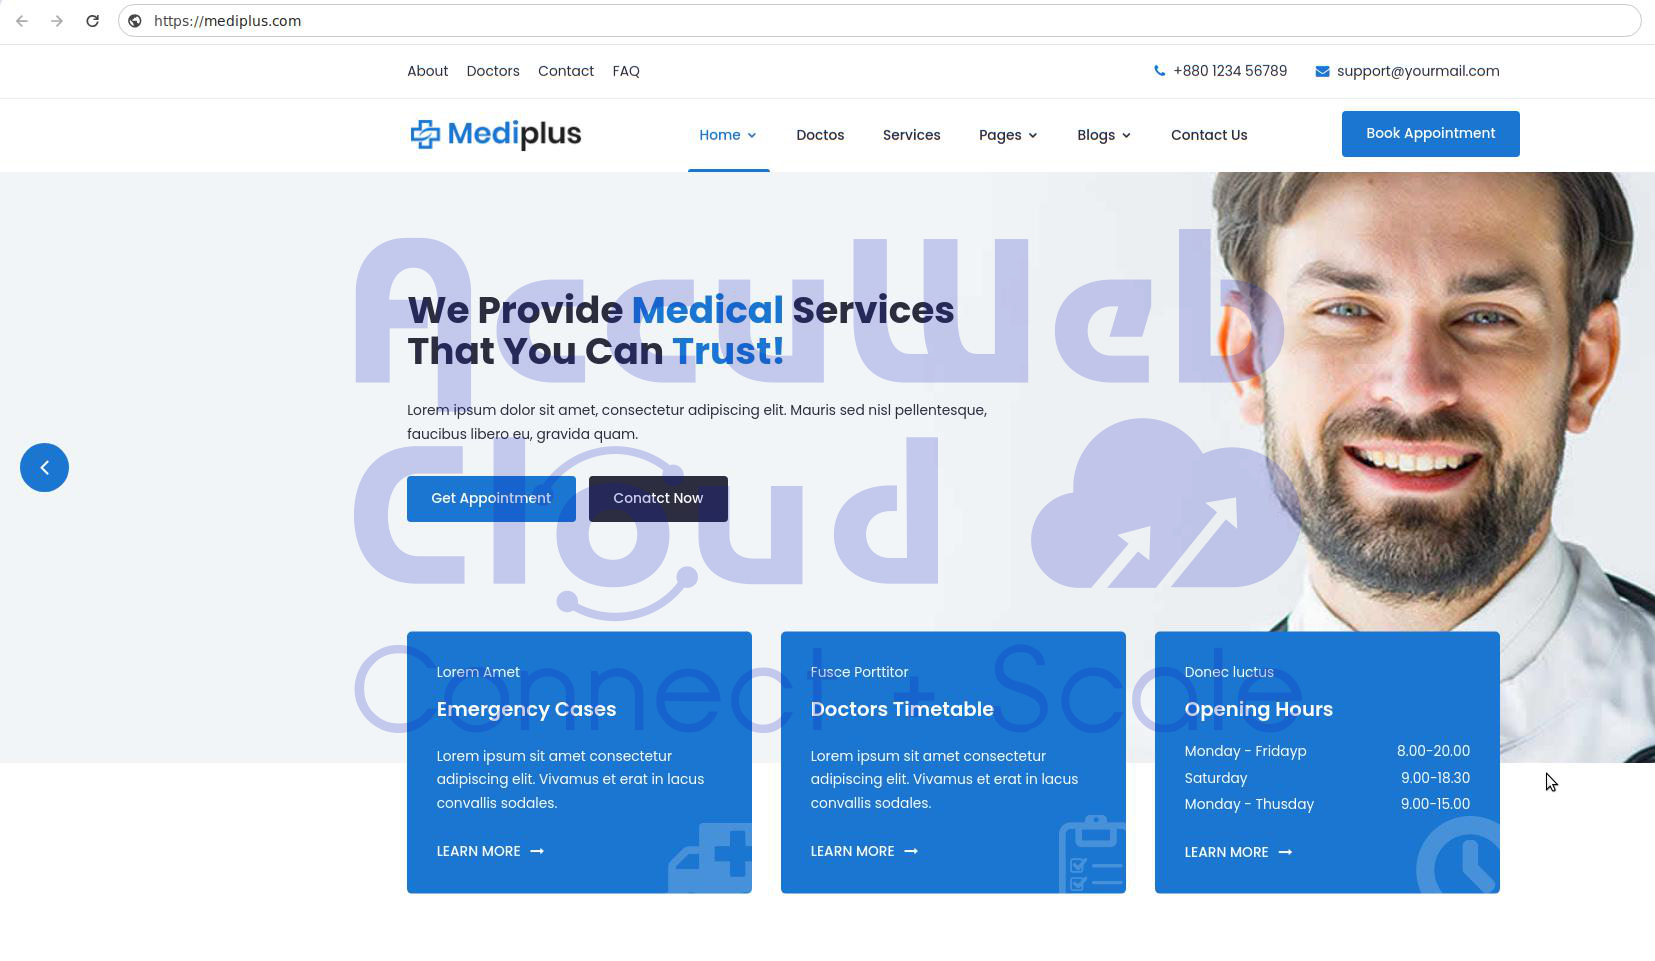
How to Host Your Static Website with AWC?
In today’s fast-paced digital landscape, having a website is fundamental for both individuals and businesses. AccuWeb.Cloud emerges as a top choice for static websites looking for reliable hosting solutions. This guide will take you through the step-by-step process to seamlessly host static website with AccuWeb.Cloud.
Getting Started with AccuWeb.Cloud
Visit the AccuWeb.Cloud website and initiate the process by signing up for an account.
Provide the necessary information during the registration process. Once completed, log in to your AccuWeb.Cloud dashboard.
Setting Up Your Environment
Step 1. Log in to the AccuWeb.Cloud dashboard and locate the “New Environment” button.
Step 2. In the opened topology wizard dialog, customize your environment
- Choose PHP language and select a database server if required. You can select a programming language or deployment solution (Docker Engine or Kubernetes Cluster) as per your website needs.
- Set up the topology by adding necessary software stacks.
- Configure node resources and specifics.
Step 3. Review estimations, the name of the environment, and confirm creation by clicking on the create button.
Enabling SSL for Your Environment
SSL protection for your environment can be configured through the dedicated “SSL” section. This section provides two options, Built SSL and Custom SSL, and allows you to choose the one that aligns with your preferences and requirements.
To initiate the SSL configuration process follow these detailed steps:
Step 1. Click on the “Change Environment Topology” button. This will lead you to the topology settings where you can modify the configuration of your environment.
Step 2. Once in the topology settings, locate the SSL section. This is where you can enable SSL for your environment.
Step 3. Within the SSL section, enable SSL for your environment by toggling the corresponding switch.
Step 4. After configuring the SSL settings according to your preferences and click on the “Apply” button. This action finalizes and applies the changes you’ve made to the SSL configuration.
Following these steps, you can seamlessly configure SSL protection for your environment, thereby ensuring that your website or application benefits from secure and encrypted connections.
Uploading Your Website Code
Step 1. Begin by navigating to the application server where you intend to host your website.
Step 2. Once on the application server, locate and click on the configuration option. This step is crucial for accessing the settings related to your server environment.
Step 3. Within the configuration settings, pinpoint the website root folder. Typically, this is denoted by a path such as /var/www/webroot/ROOT—this directory serves as the primary location for hosting your website files.
Step 4. Access the ROOT folder by clicking on the “Setting” button. Subsequently, choose the “Upload” option to initiate the process of transferring your website content to the server.
Step 5. Verify the content in the ROOT folder.
If you prefer a secure method for file uploads consider using SFTP (Secure File Transfer Protocol). SFTP ensures the encrypted transfer of files between your local machine and the server.
By following these steps, you can efficiently upload your website code to the designated server. This process ensures that your website content is appropriately placed in the ROOT folder ready to be accessed, and displayed when visitors navigate to your domain.
Testing Your Website
Before unveiling your website to the public, it is crucial to conduct a thorough assessment of its functionality. Navigate through each page of your website to verify that all pages are accessible and displayed as intended. Pay close attention to the layout design elements and overall user interface. Open your website in a web browser to validate its overall functionality.
Confirm that all components work harmoniously and the website meets your expectations before making them publicly accessible.
Configuring Your Domain
Step 1. Once your website is functional and configured your custom domain—Access the configuration settings in your environment and navigate to the custom domain section.
Step 2. Enter your domain name in the custom external domain and bind it to your environment IP address. Ensure that your domain is pointing to your AccuWeb.Cloud environment.
Step 3. You have successfully hosted your website on the AccuWeb.Cloud. Now, you can access it through the domain name.
Conclusion
Hosting your static website with AccuWeb.Cloud is a streamlined process that involves creating an environment, enabling SSL, uploading your website code, testing its functionality, and configuring your custom domain. By following these steps, you can have your static website up and running on AccuWeb.Cloud efficiently and securely.


