How to Create a Portfolio Website Using WordPress on AccuWeb.Cloud
Creating an online portfolio is essential for freelancers, designers, developers, and creatives who want to showcase their work professionally. With AccuWeb.Cloud, setting up your WordPress portfolio is quick, secure, and scalable.
In this guide, we’ll walk you through step-by-step instructions on how to build and launch your portfolio website using WordPress on AccuWeb.Cloud.
Step 1: Register a Domain Name
The first step is to register a domain name (e.g., yourname.com). If you already own one, you can skip to the next section.
To register a new domain, follow this guide: How to Register a Custom Domain Name
Make sure your domain name is:
- Easy to remember
- Professionally aligned (e.g., your name or business name)
- Short and unique
Step 2: Install WordPress on Your Domain
Now that you have a domain, let’s install WordPress using the AccuWeb.Cloud dashboard.
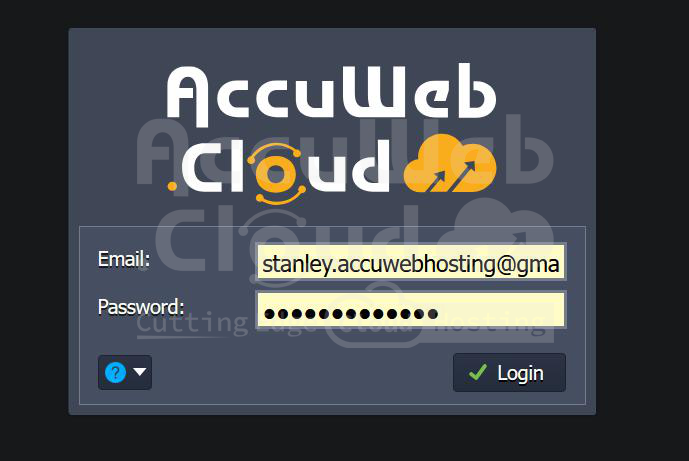
1. Log in to the Cloud Dashboard. Go to: https://app.cp-accuweb.cloud
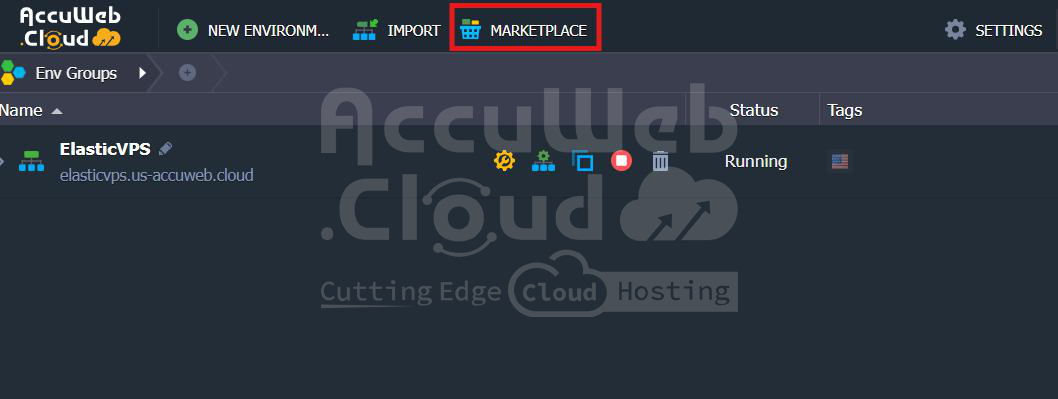
2. Click on Marketplace in the top navigation bar.
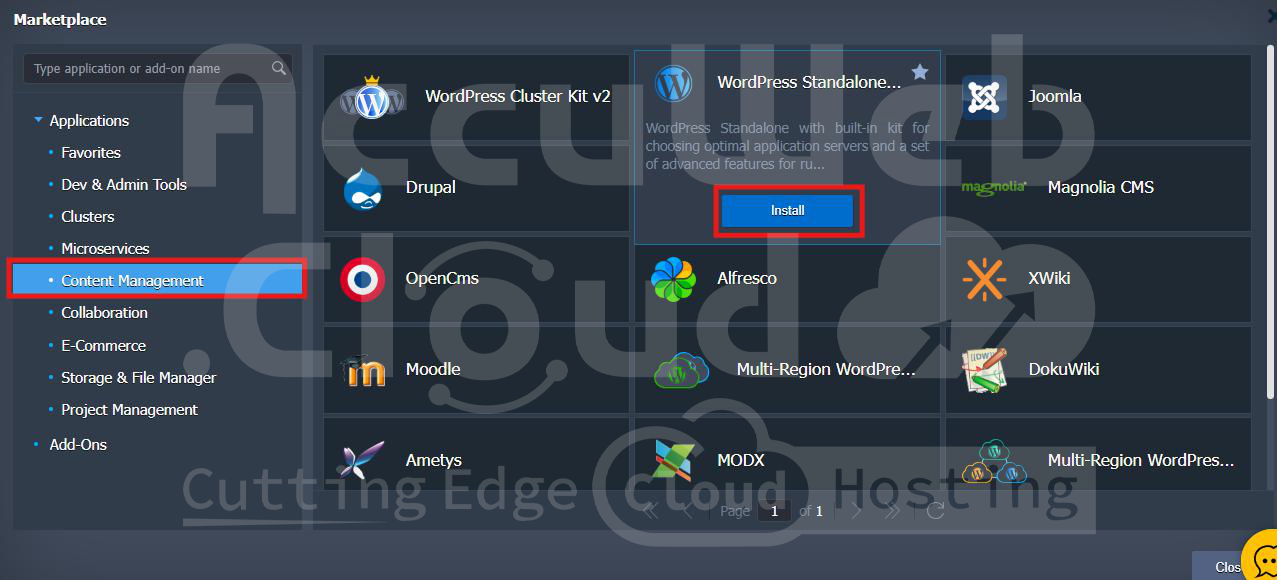
3. Go to Applications > Content Management. Select WordPress Standalone Kit and Click Install.
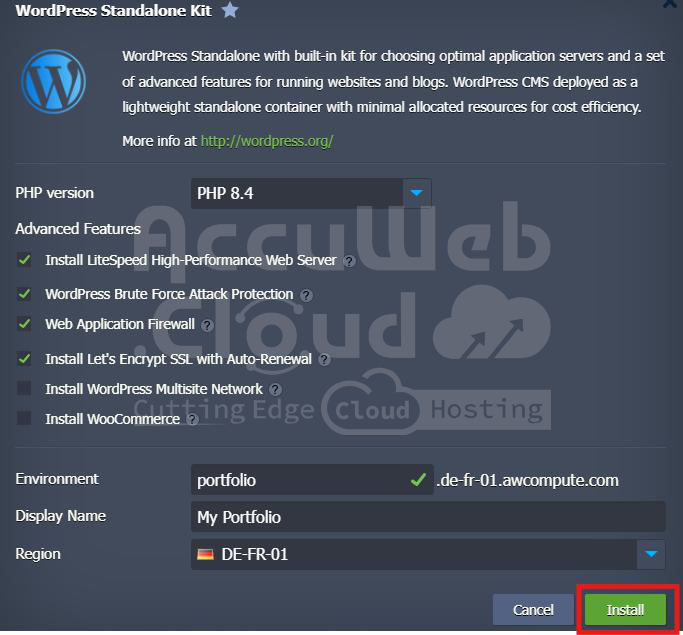
4. In the installation window, customize settings for your WordPress instance:
PHP Version: Choose a compatible version (e.g., PHP 8.4)
Enable Advanced Features
These options improve performance and security:
- LiteSpeed Web Server – Fast and efficient server engine
- WordPress Brute Force Attack Protection – Protects against login attempts
- Web Application Firewall (WAF) – Blocks malicious traffic
- Let’s Encrypt SSL – Automatically renews your HTTPS certificate
Optional Features (select only if needed):
- WordPress Multisite – Use only if managing multiple WordPress sites
- WooCommerce – Use if building an eCommerce store
5. Set up your WordPress environment:
- Environment Name: e.g., portfolio
- Display Name: A friendly label, e.g., My Portfolio
- Region: Choose the server closest to your audience (e.g., DE-FR-01 for Germany/France)
6. Click the green Install button in the bottom-right corner.
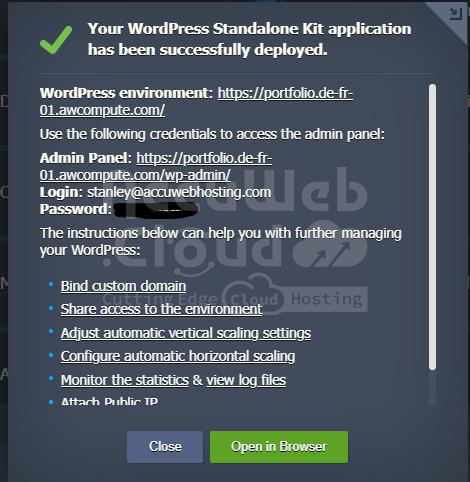
The system will deploy WordPress and send your login credentials to your registered email address. You will get following message once WordPress has been installed.
Step 3: Bind Your Custom Domain
Once your environment is ready, bind your domain to the WordPress installation.
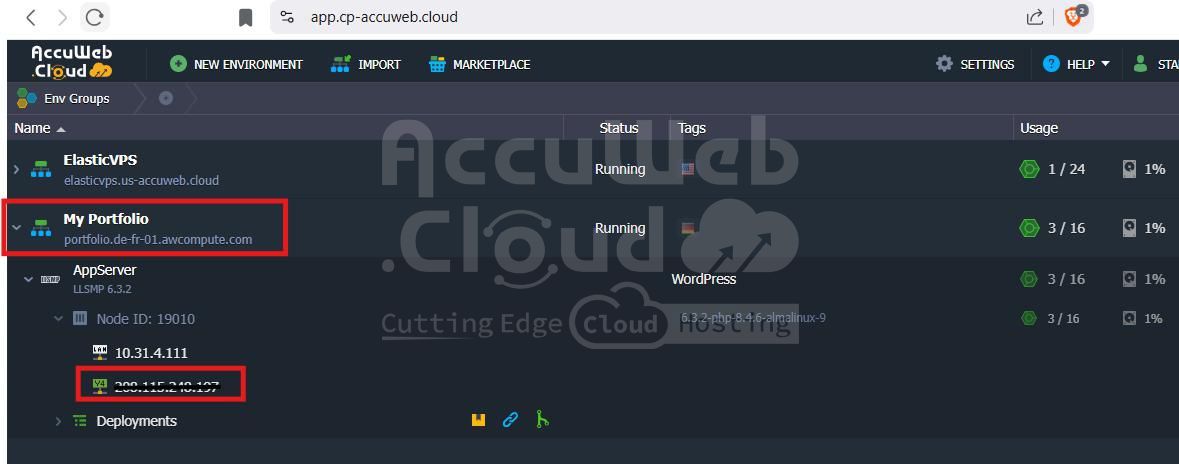
1. Get the Public IP or Domain Endpoint from your environment.
2. Update your domain’s DNS settings.
3. Follow this guide to complete the binding: How to Bind a Custom Domain on AccuWeb.Cloud
Step 4: Choose a Portfolio Theme
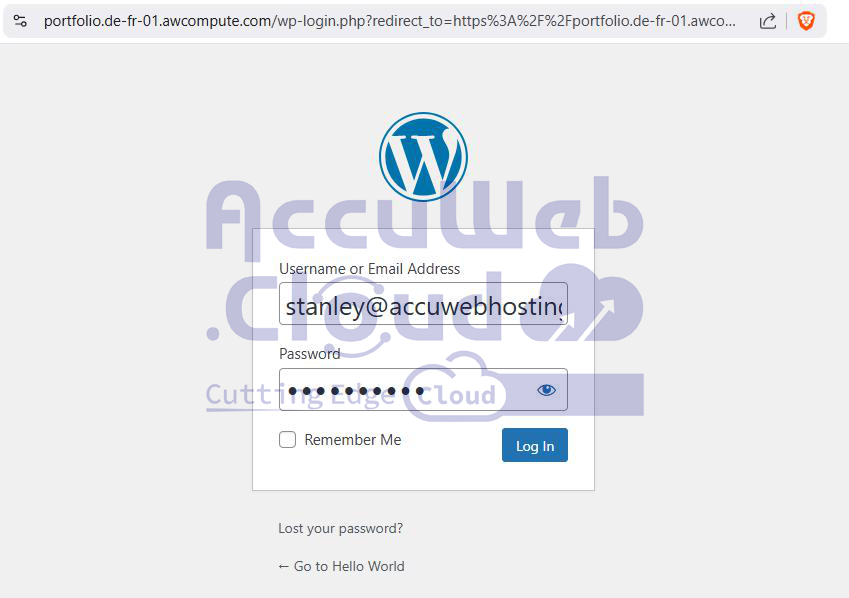
Log in to your WordPress dashboard: yourdomain.com/wp-admin
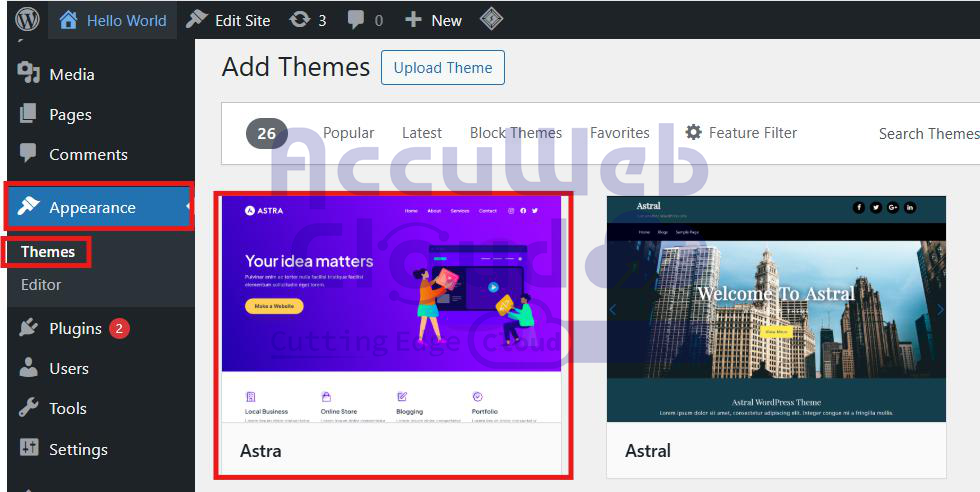
Go to Appearance > Themes > Add New
Search for and install a clean, professional portfolio theme such as:
- Astra: Astra is perfect for portfolio websites. It has a clean design, fast performance, and deep integration with page builders like Elementor. It offers pre-built starter templates tailored for creative professionals, making it easy to showcase your work beautifully.

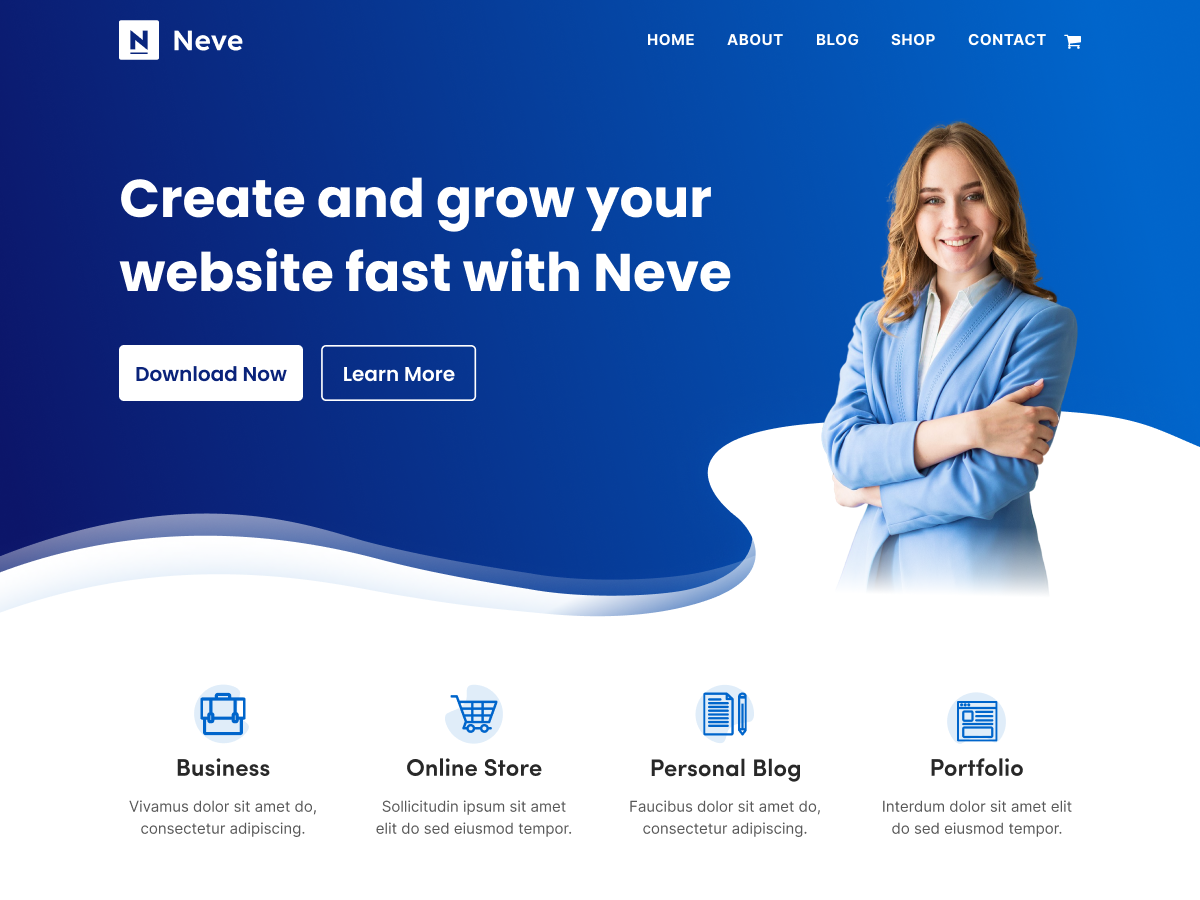
- Neve: Neve is a lightweight and mobile-friendly theme ideal for portfolios. It has a modern look and supports one-page layouts, which are great for presenting your projects and skills clearly.
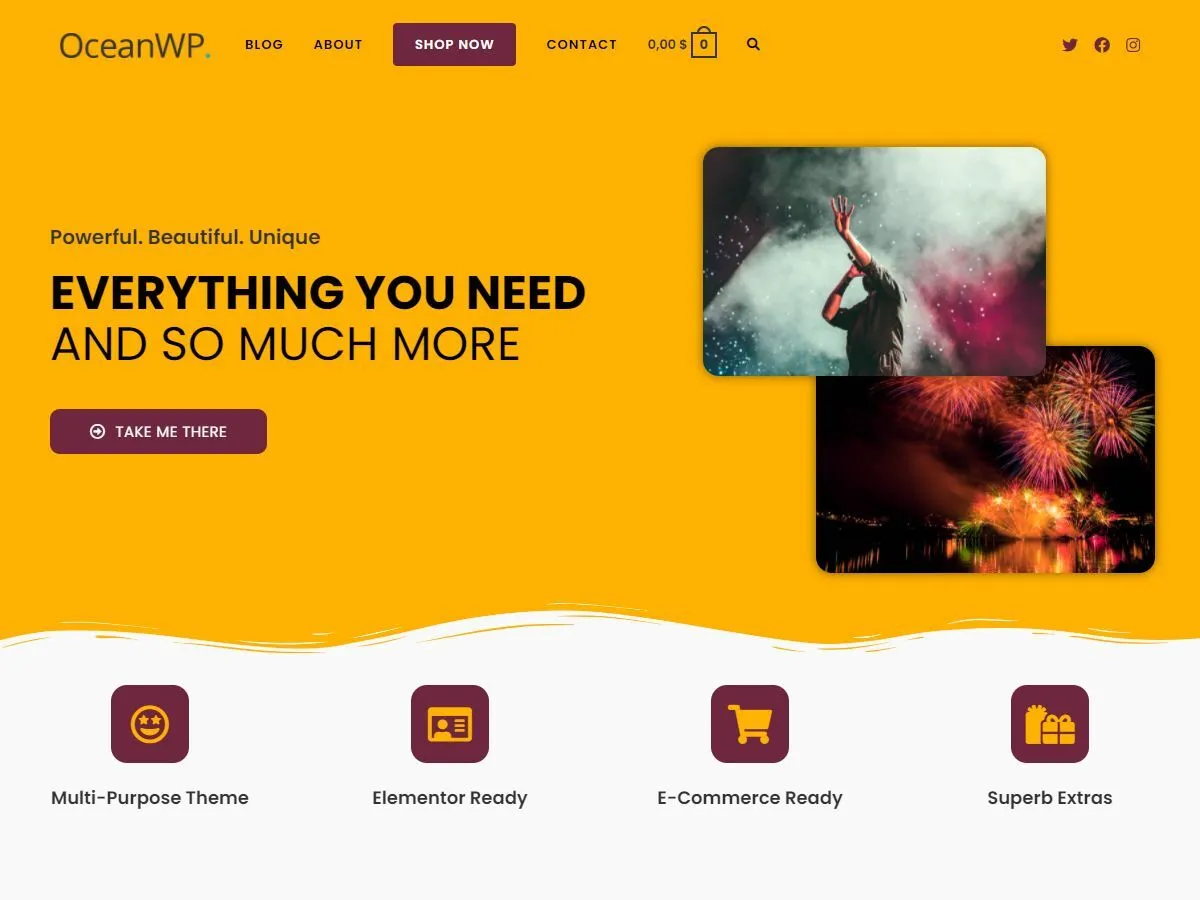
- OceanWP: OceanWP provides flexible design options and is a strong choice for creatives. It includes built-in portfolio layouts, responsive design, and animation support great for making your portfolio stand out visually.
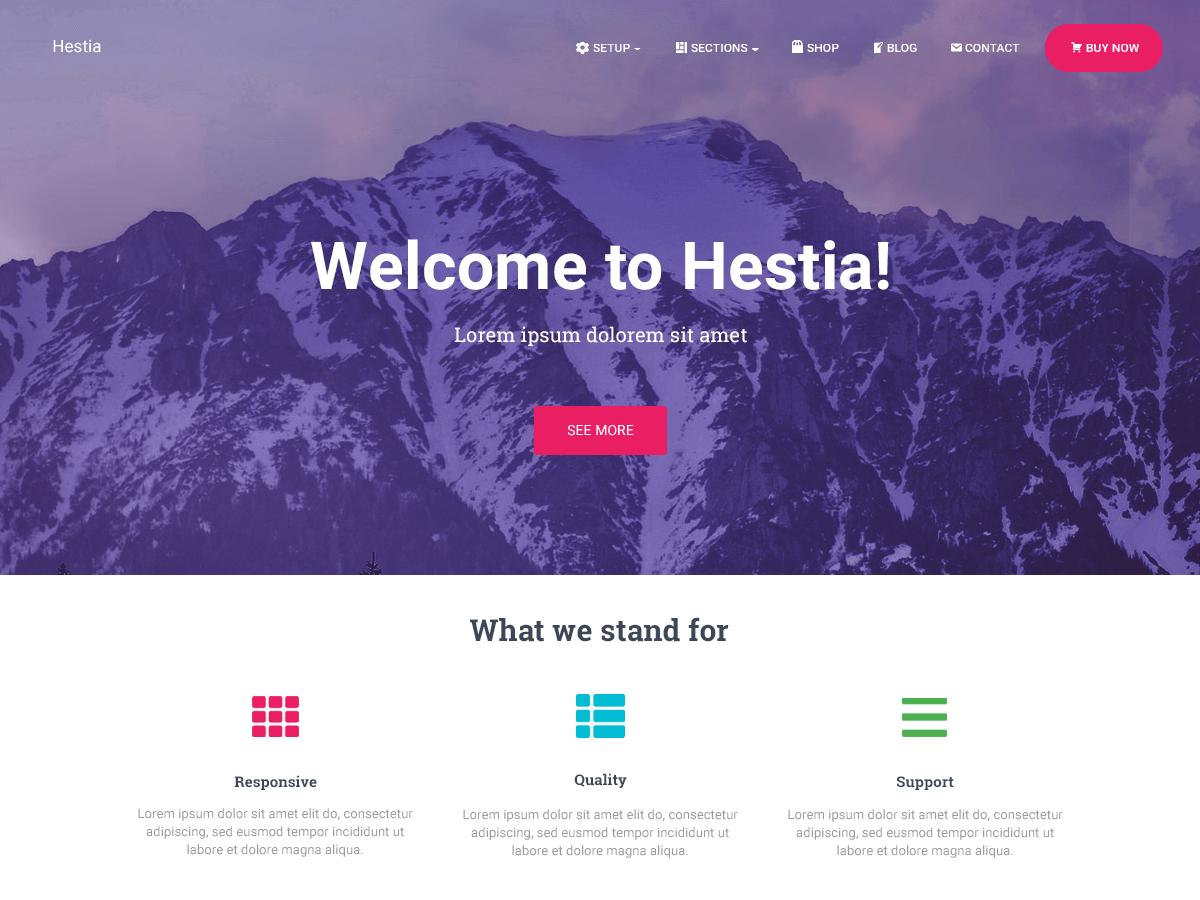
- Hestia: Hestia is a stylish one-page theme that’s especially suited for personal portfolios or freelancers. It offers a modern design with smooth scrolling and section-based layout—ideal for highlighting skills, testimonials, and projects on a single page.
These themes are fast, responsive, and easy to customize.
Step 5: Install Essential Plugins
Enhance your website with powerful plugins:
- Elementor – Drag-and-drop page builder
- WPForms – Easy form creation (for contact pages)
- Smush – Optimizes images for faster loading
- Yoast SEO – Boosts your search engine rankings
- Jetpack – Security, performance, and analytics in one
Install them from Plugins > Add New.
Step 6: Create Portfolio Pages
Now it’s time to create the core pages of your website:
| Page | Purpose |
| Home | Showcase your top work and a quick intro |
| About Me | Share your story, background, and achievements |
| Portfolio | Highlight projects, with images and descriptions |
| Contact | Include a form, email, and social links |
| Blog | (Optional) Share tips, thoughts, or updates |
Use Elementor or the default Gutenberg editor to design these pages easily.
Step 7: Launch Your Website
Before going live, perform the final checks:
- Test your site on desktop, tablet, and mobil
- Use Google PageSpeed Insights to optimize performance
- Check all links, forms, and images
- Announce your launch on LinkedIn, Twitter, or other social platforms
Conclusion
Building a professional portfolio website with WordPress on AccuWeb.Cloud is simple and powerful. Whether you’re a freelancer, designer, or creative professional, having a well-designed online presence helps you attract more clients and opportunities.


