Environment Migration between Regions
Within a multi-region environment setup, you can easily change the initial location of your project using the migration option (provided you have access to multiple Environment regions). This feature is highly advantageous for both cost efficiency and productivity. For instance, you can utilize more affordable hardware during the development and testing phases, and then migrate your production-ready application to higher-performance hardware just before its release, ensuring optimal performance.
To migrate your existing environment to another region, follow these steps:
Step 1. Click on the “Change Environment Topology” button.
Step 2. Select the “Migrate” option from the regions list displayed above.
Step 3. Click the “Settings” button next to the desired environment, then navigate to the “Migration” menu option.
In both cases, a frame will open displaying the current region of the selected environment and providing an option to choose the target region, which is the hardware to which the environment will be migrated.
Step 4. Review all the necessary conditions, then click Verify & Migrate at the bottom of the section to start the relocation process. Confirm your decision in the pop-up window that appears.
Step 5. Click on yes to confirm to migrate your environment.
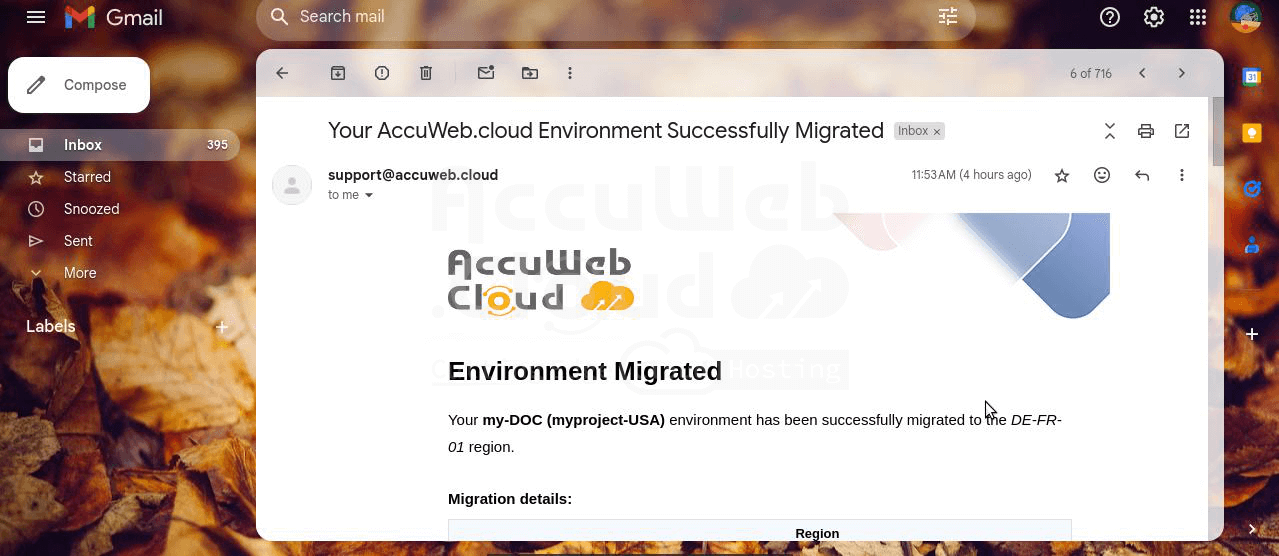
After the migration, you’ll see a confirmation message on the dashboard, and the region label next to the environment will update to reflect the new location. Additionally, you will receive an email notification with details about the migration, including the duration for each container and any changes to their parameters.
After your migration is complete, you will receive an email confirming its success.


