How to Read and Write Files in Java?
Java provides multiple ways to perform file input and output using standard classes in java.io, java.nio.file, and java.util. Below are all major file handling methods explained, along with complete steps to create and execute them in a AccuWeb cloud server using Web SSH.
Java Project Creation in AccuWeb.Cloud
Step 1: Login in to AccuWeb.Cloud, and log in with your username and password.

Step 2: After logging in, find and click on the “New Environment” option on the dashboard.
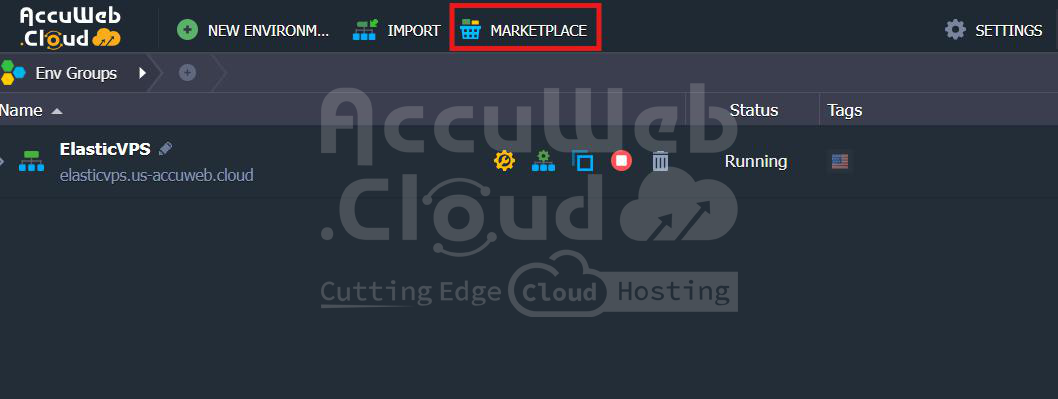
Step 3: From the technology options at the top, click the “Java” tab to build a Java-based environment. A Tomcat server block will appear selected by default.
In the Application Servers section, you can adjust the Reserved and Scaling Limit for cloudlets. Enter the required details like environment name and Java version.
Step 4: Click the green “Create” button at the bottom-right corner of the screen.

Your Java environment will be created and ready to use. You can now access it using Web SSH or the built-in file manager to develop and run your Java applications.
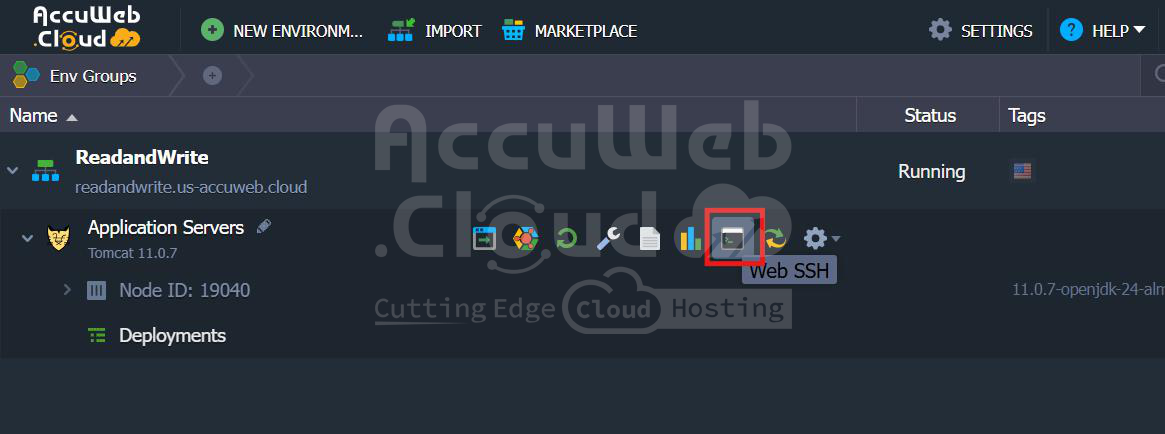
Set Up Your Java Project
Step 1: Create a Working Directory and move to that directory:
mkdir FileHandlingProjectcd FileHandlingProject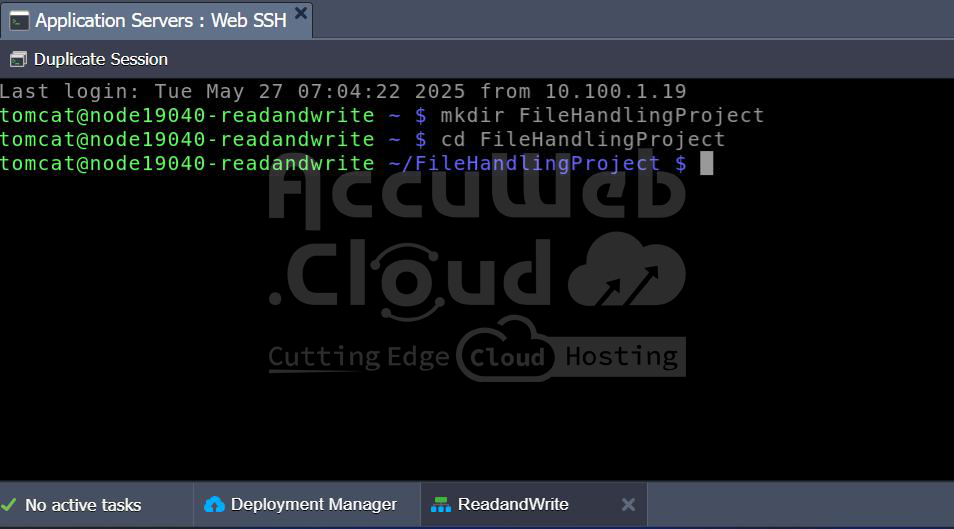
Step 2: Create Java Files with Different Methods
Each file below demonstrates a different way to handle file I/O in Java.
Method 1 – Using FileWriter (Simple Write)
nano FileWriterExample.javaCode:
import java.io.FileWriter;
import java.io.IOException;
public class FileWriterExample {
public static void main(String[] args) {
try {
FileWriter writer = new FileWriter("filewriter.txt");
writer.write("This is written using FileWriter.");
writer.close();
System.out.println("FileWriter: Write complete.");
} catch (IOException e) {
e.printStackTrace();
}
}
}Save and exit (Ctrl + O, Enter, Ctrl + X).
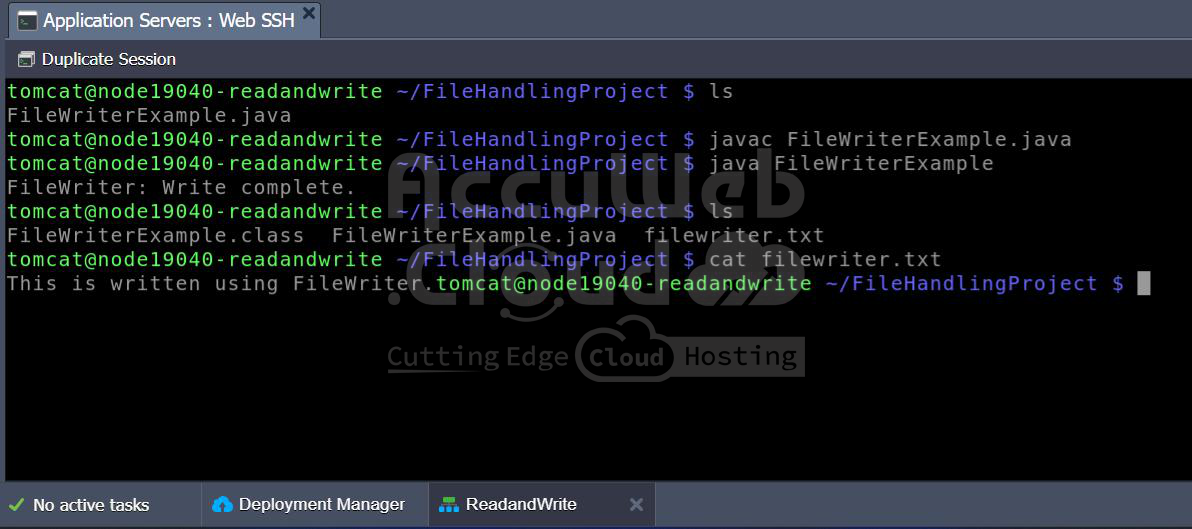
After creating a Java file, compile it: javac FileWriterExample.java
Run Java Program: java FileWriterExample
You can verify the output by running the cat filewriter.txt.
Method 2 – Using BufferedWriter (Efficient Write)
nano BufferedWriterExample.javaCode:
import java.io.BufferedWriter;
import java.io.FileWriter;
import java.io.IOException;
public class BufferedWriterExample {
public static void main(String[] args) {
try (BufferedWriter bw = new BufferedWriter(new FileWriter("buffered.txt"))) {
bw.write("Line 1 using BufferedWriter");
bw.newLine();
bw.write("Line 2 using BufferedWriter");
} catch (IOException e) {
e.printStackTrace();
}
}
}Save and exit (Ctrl + O, Enter, Ctrl + X).
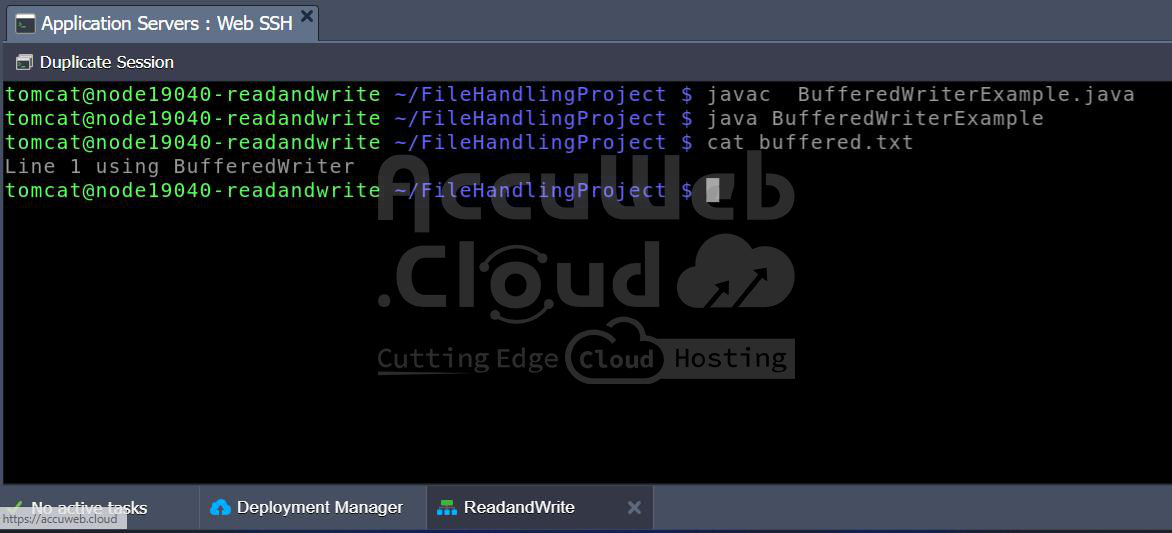
After creating a Java file, compile it: javac BufferedWriterExample.java
Run Java Program: java BufferedWriterExample
You can verify check output by running the cat buffered.txt.
Method 3 – Using BufferedReader (Line-by-Line Read)
nano BufferedReaderExample.javaCode:
import java.io.BufferedReader;
import java.io.FileReader;
import java.io.IOException;
public class BufferedReaderExample {
public static void main(String[] args) {
try (BufferedReader br = new BufferedReader(new FileReader("buffered.txt"))) {
String line;
while ((line = br.readLine()) != null) {
System.out.println("Read: " + line);
}
} catch (IOException e) {
e.printStackTrace();
}
}
}Save and exit (Ctrl + O, Enter, Ctrl + X).
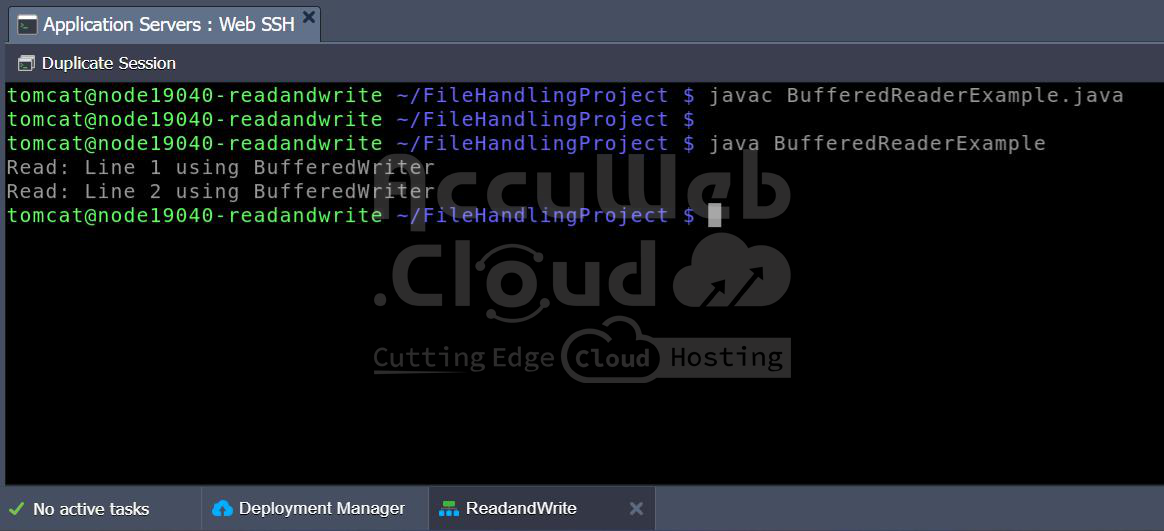
After creating a Java file, compile it: javac BufferedReaderExample.java
Run Java Program: java BufferedReaderExample
Method 4 – Using Scanner (Simple Read)
nano ScannerReadExample.javaCode:
import java.io.File;
import java.io.FileNotFoundException;
import java.util.Scanner;
public class ScannerReadExample {
public static void main(String[] args) {
try {
File file = new File("filewriter.txt");
Scanner scanner = new Scanner(file);
while (scanner.hasNextLine()) {
System.out.println("Scanner: " + scanner.nextLine());
}
scanner.close();
} catch (FileNotFoundException e) {
e.printStackTrace();
}
}
}Save and exit (Ctrl + O, Enter, Ctrl + X).
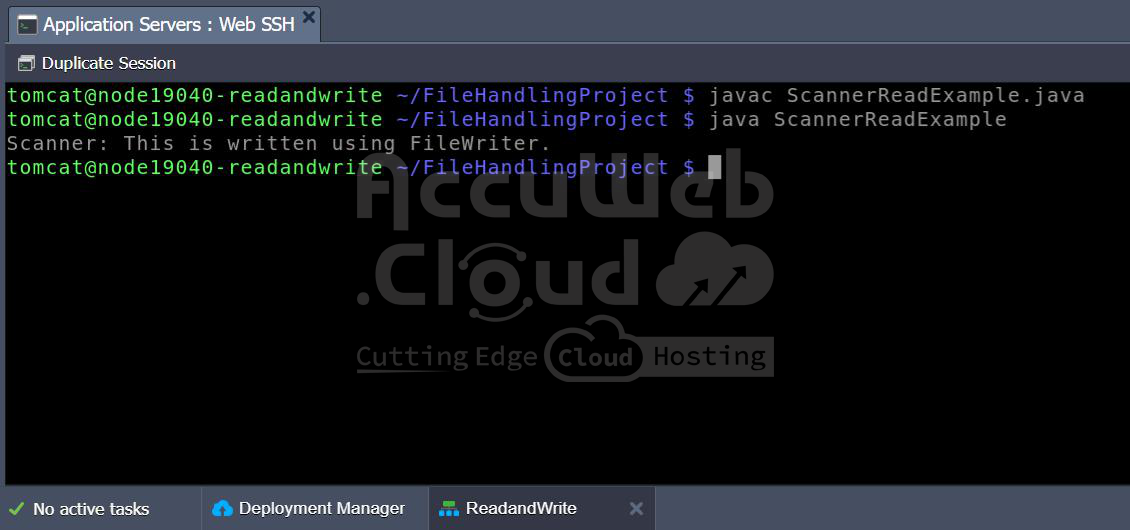
After creating a Java file, compile it: javac ScannerReadExample.java
Run Java Program: java ScannerReadExample
Method 5 – Using Files.write() and Files.readAllLines() from NIO
nano FilesNIOExample.javaCode:
import java.io.IOException;
import java.nio.file.Files;
import java.nio.file.Paths;
import java.util.List;
import java.util.Arrays;
public class FilesNIOExample {
public static void main(String[] args) {
try {
Files.write(Paths.get("nio.txt"), Arrays.asList("NIO Line 1", "NIO Line 2"));
List<String> lines = Files.readAllLines(Paths.get("nio.txt"));
lines.forEach(System.out::println);
} catch (IOException e) {
e.printStackTrace();
}
}
}Save and exit (Ctrl + O, Enter, Ctrl + X).
After creating a Java file, compile it: javac FilesNIOExample.java
Run Java Program: java FilesNIOExample
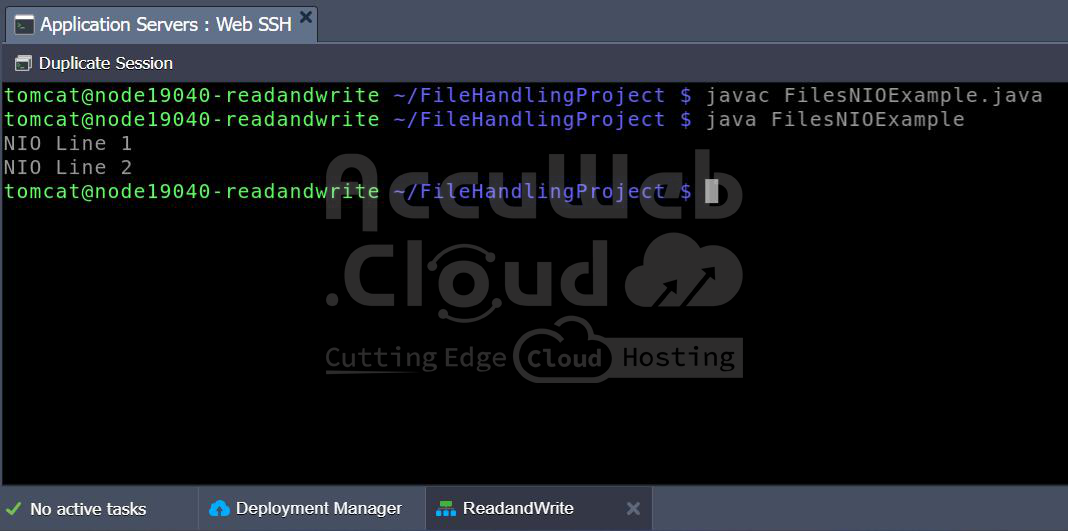
Each command runs the corresponding class and prints output to the console. The text files will be created in the same directory.
Conclusion
Reading and writing files in Java is simple once you understand the basic methods. You can use classes like `FileWriter`, `BufferedWriter`, `BufferedReader`, `Scanner`, and `Files` from `java.nio.file` to handle different types of file operations. Using AccuWeb.Cloud and Web SSH, you can easily create, write, and run Java programs directly on your cloud server.


