Migrate Docker Image Created In The AWS EC2 to AccuWeb.Cloud
A Docker image and an AMI (EC2 instance) are different. An AMI is a full virtual machine image with a kernel and many services, while a Docker image is a lightweight package usually containing a single service.
There is no tool to convert EC2 AMI images to Docker images, and there is no official documentation.
Instead, you can install Docker on the EC2 instance, create a Docker image of the application, and upload it to Docker Hub.
In this article, we have explained all the steps needed to upload images to Docker Hub from an EC2 instance.
Access EC2 instance
Step 1. Log in to your EC2 instance.
Step 2. Set up Docker’s apt repository on your EC2 instance. The steps below are for Ubuntu OS. If you are using a different OS, refer to the official Docker site for instructions.
Add Docker’s official GPG key:
# apt-get update
# apt-get install ca-certificates curl
# install -m 0755 -d /etc/apt/keyrings
# curl -fsSL https://download.docker.com/linux/debian/gpg -o /etc/apt/keyrings/docker.asc
# chmod a+r /etc/apt/keyrings/docker.asc
Add the repository to Apt sources:
# echo \
"deb [arch=$(dpkg --print-architecture) signed-by=/etc/apt/keyrings/docker.asc] https://download.docker.com/linux/debian \
$(. /etc/os-release && echo "$VERSION_CODENAME") stable" | \
sudo tee /etc/apt/sources.list.d/docker.list > /dev/null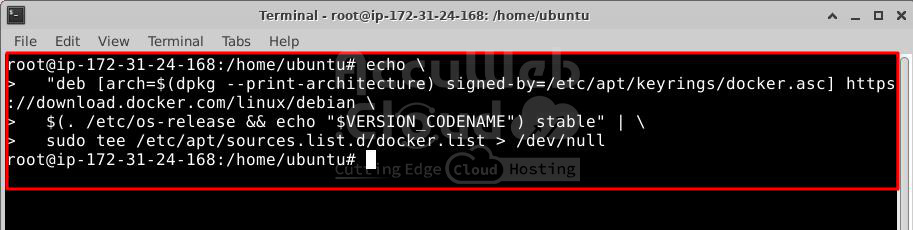
# apt-get update
# sed -i 's/debian/ubuntu/g' /etc/apt/sources.list.d/docker.list
# apt update
Step 3. Once the apt repository is updated, install Docker packages by running this command:
# apt-get install docker-ce docker-ce-cli containerd.io docker-buildx-plugin docker-compose-plugin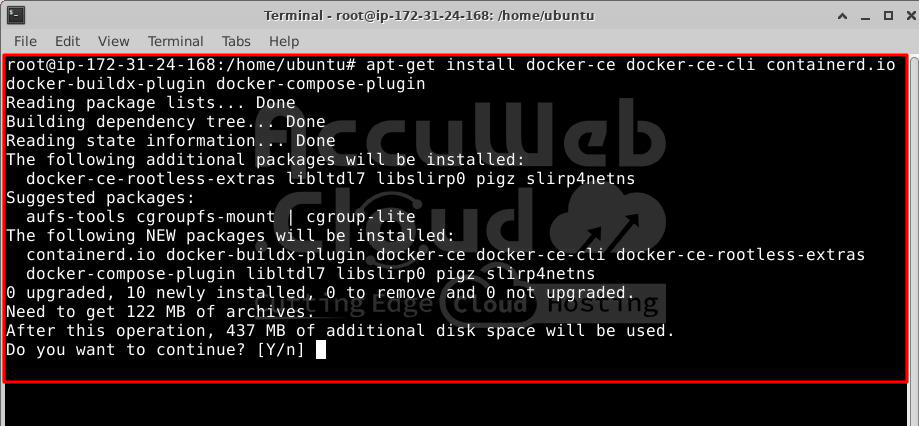
Step 4. Verify the installation by running the hello-world image:
# docker run hello-world
Create a Docker Image for a Simple Web Application
Step 1. Create a file called Dockerfile. A Dockerfile is a manifest that describes the base image for your Docker image and what you want installed and running on it.
# touch Dockerfile
Step 2. Edit the Dockerfile and add the following content:
#FROM public.ecr.aws/amazonlinux/amazonlinux:latest
FROM ubuntu:22.04
# Update installed packages and install Apache
RUN apt-get update -y && \
apt-get install -y apache2
# Write hello world message
RUN echo 'Hello World!' > /var/www/html/index.html
# Configure Apache
RUN echo 'mkdir -p /var/run/apache2' >> /root/run_apache.sh && \
echo 'mkdir -p /var/lock/apache2' >> /root/run_apache.sh && \
echo '/usr/sbin/apache2 -D FOREGROUND' >> /root/run_apache.sh && \
chmod 755 /root/run_apache.sh
EXPOSE 80
CMD ["/root/run_apache.sh"]
This Dockerfile uses the public Ubuntu 22.04 image hosted on Amazon ECR Public. The RUN instructions update the package caches, install software packages for the web server, and write the “Hello World!” content to the web server’s document root. The EXPOSE instruction specifies that port 80 on the container is the listening port, and the CMD instruction starts the web server.
Step 3. Build the Docker image from your Dockerfile.
Note: Some versions of Docker may require the full path to your Dockerfile in the command below, instead of the relative path shown:
# docker build -t hello-world .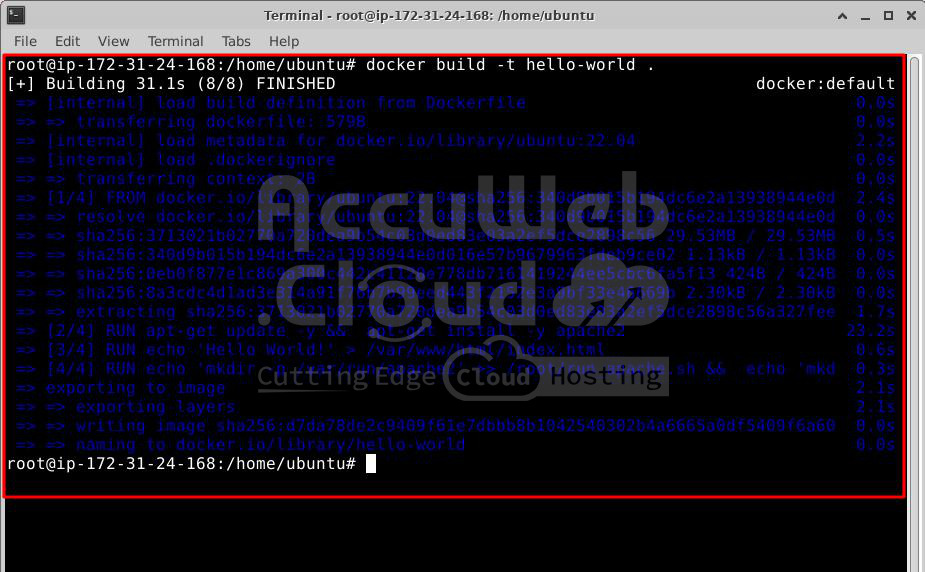
Step 4: List your container image.
docker images --filter reference=hello-world
Create a Repository on Docker Hub
Step 1. Now that we have our Dockerfile, let’s create a repository on Docker Hub before pushing our image to an online repository. First, log in or sign up for a Docker Hub account.
Step 2. After signing up, click on the “Repositories” tab in the navbar.
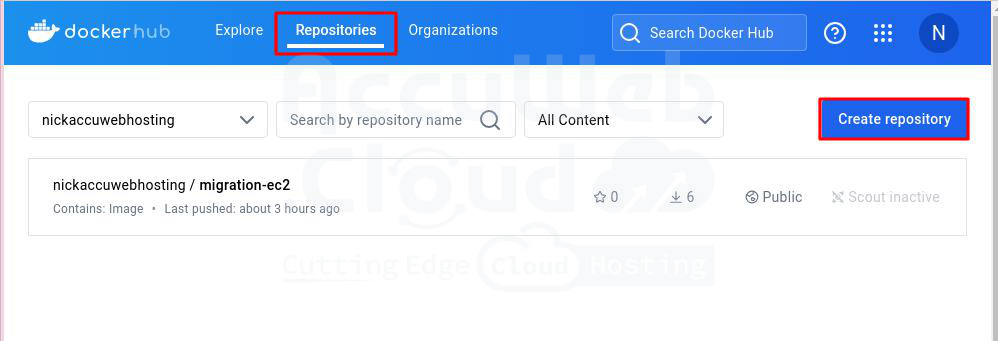
Step 3. Create a repository called migration-ec2 as an example.

Step 4. Now, let’s create an image from Docker and push it to the “migration-ec2” repository.
To build an image, use the following syntax:
docker build -t username/repository_name .Replace the username with your Docker Hub username and repository_name with the repository name we created, which is “migration-ec2”.
Example command:
docker build -t nickaccuwebhosting/migration-ec2 .
Pushing Docker Image to a Registry
Step 1. Before we push our image, log in to Docker Hub using the command below:
# docker login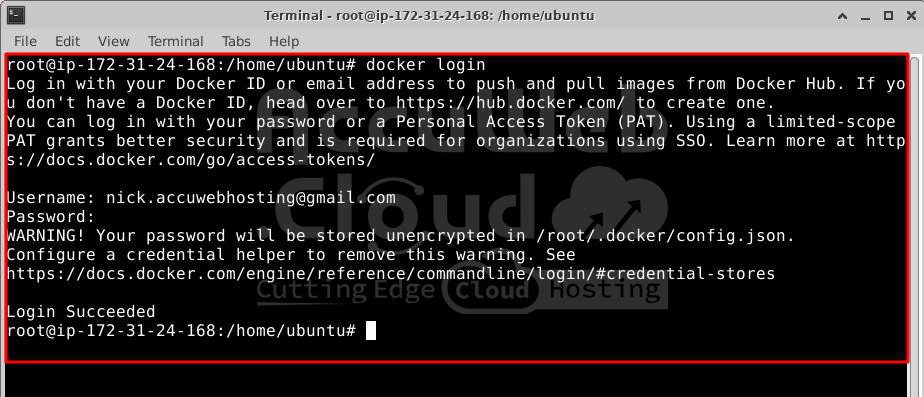
Step 2. Once logged in, push your container to Docker Hub with the following command:
# docker push nickaccuwebhosting/migration-ec2
Step 3. Your Docker image is now available on Docker Hub. You can view it by visiting your repository.
Step 4. The following screenshot shows the successful push of the Docker image and its availability on Docker Hub.

Access the AccuWeb.Cloud Dashboard
Step 1. Log into your Accuweb.cloud account.
Step 2. On the left side of the screen, click on the New Environment option.

Step 3. Go to the Custom” tab in the Topology window and select the Application Servers option.

Step 4. In the Application Servers window, select Custom and click on the Add New Image” option.

Step 5. Enter the required details in the Add New Image window and click the “Add” button.
- Name: Enter the Docker Hub repository details (e.g., nickaccuwebhosting/migration-ec2).
- Username: Enter your Docker Hub username.
- Password: Enter your Docker Hub password.

Step 6. If the details are correct, the Docker image will be added to the AccuWeb.Cloud dashboard’s Docker template. You will see the Docker image added to AccuWeb.Cloud.

Step 7. Select the added Docker image and click the Next button to build the application with the Docker image.

Step 8. In the Topology window, adjust the cloudlets in the Reserved and Scaling limit sections, then click the Create button to start the build process.

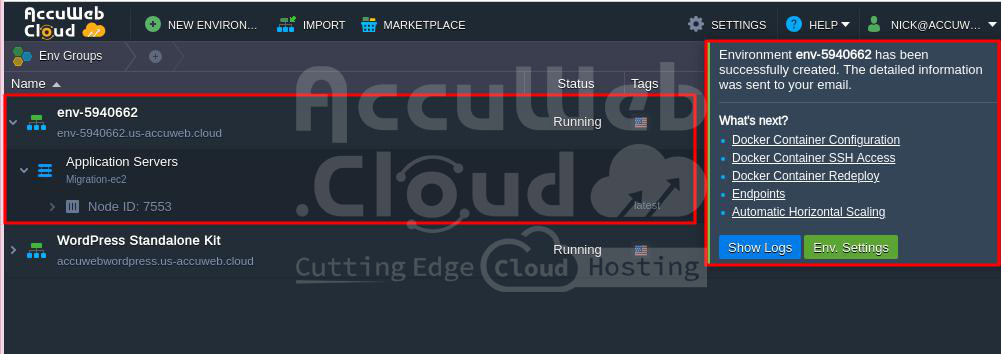
Step 9. You will see that the application has been successfully built from the Docker image.
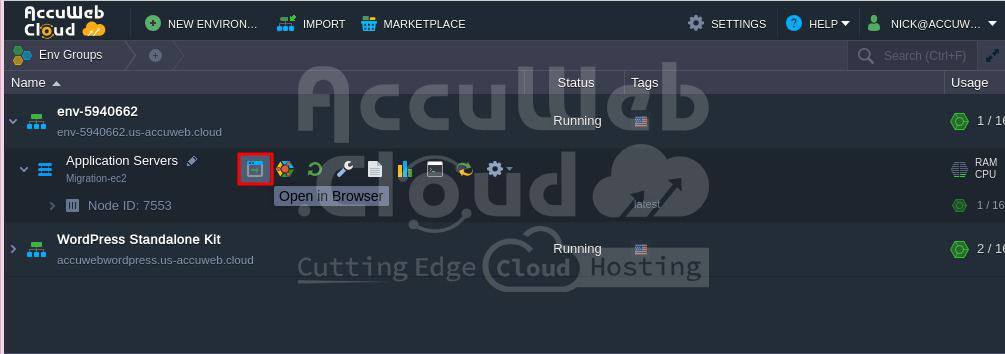
Step 10. Click on the “Open in browser” option to verify the application or website content.
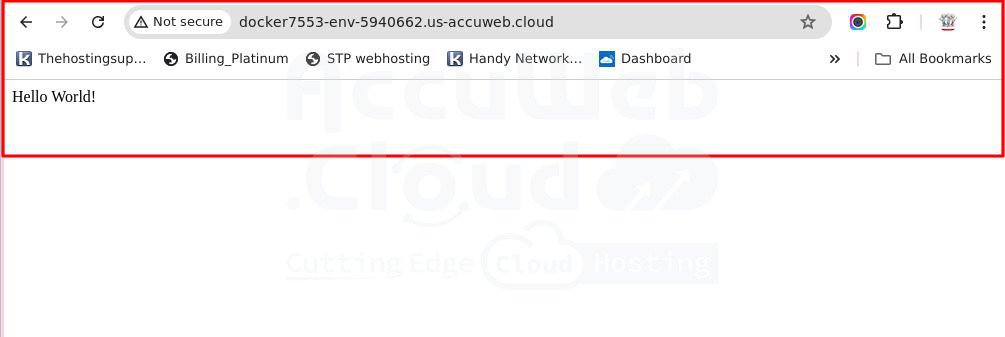
You can see that “Hello World” is displayed. It means that the application is successfully deployed on the AccuWeb.Cloud environment.
Step 11. You can also verify the application content by going to the path where you have stored the content. In this example, the content is stored in /var/www/html/index.html.

That’s all.