How to Install a Kubernetes Cluster with Automated Scaling?
Kubernetes, or K8s, is a top platform for running and managing robust container applications. It’s great for making modern software and moving existing projects into containers for better efficiency and reliability. K8s can do tricky things like setting up containers, finding services, upgrading smoothly, fixing problems independently, and keeping things secure. Additionally, it enables effortless deployment and scalability, making it a go-to choice for developers building dynamic and resilient applications.
The people behind Kubernetes are supported by the Cloud Native Computing Foundation, which helps make it easy to switch between different cloud services without getting stuck with one. You can use K8s on regular computers public or private clouds.
But it’s important to remember that setting up your Kubernetes system on your servers is hard. You need to understand how all the parts work together and spend time watching and fixing things.
AccuWeb.Cloud has made it simpler by:
- Automate your cluster’s complex setup so you can do it all with just one click in an easy-to-use interface.
- Automatically adjust your resources up or down as needed, so you don’t have to worry about it.
- Add or remove worker machines in your K8s cluster quickly with built-in tools that find new machines automatically.
- Offering a pricing model where you only pay for what you use, so you don’t waste money on stuff you’re not using.
- Letting you store your data in a shared space that’s easy to access and manage.
- Not making you use public IP addresses by default and providing a load balancer immediately.
- Allowing you to set up your clusters in different places without changing everything each time.
Steps to Install Kubernetes Cluster from Marketplace
Step 1: Log in to your AccuWeb.Cloud account.
Step 2: Click “MarketPlace” at the top of the screen.
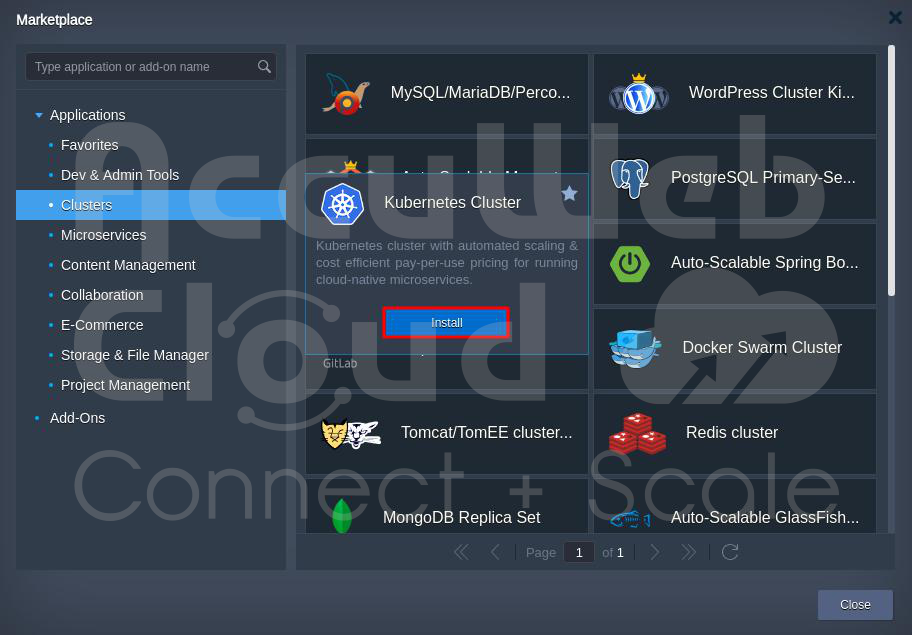
Step 3: In the Marketplace, go to “Application” and click on “Clusters,” then choose “Kubernetes Cluster.”
Step 4: Click “Install” to install the Kubernetes Cluster.
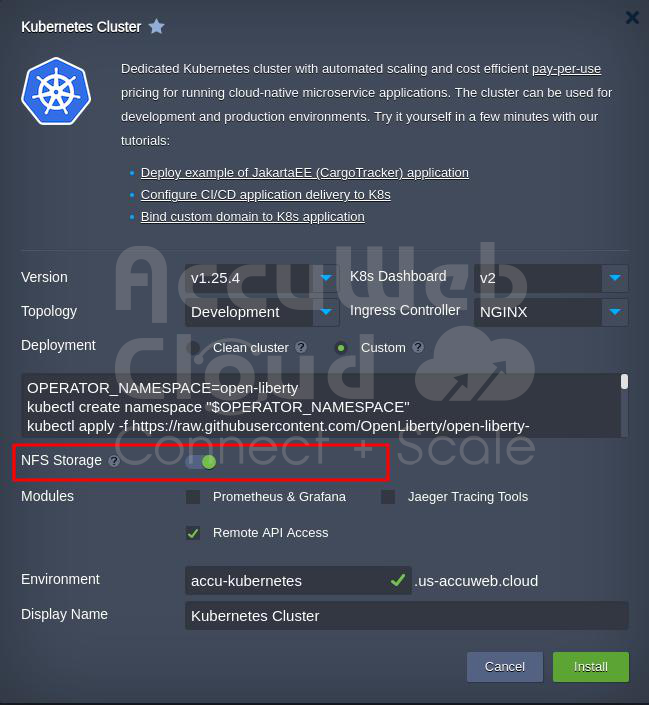
Step 5: In the Installation window, choose the Kubernetes version, K8s Dashboard, Topology, and Ingress Controller.
Then, choose the type of installation:
Clean cluster
A “Clean Cluster with pre-deployed Hello World example” means you’re getting a cluster that’s ready to use, and it already has a simple test program installed.
Custom
You can add your software using special commands. Just type in a list of these commands to install your custom apps.
By default, you can also install something called “Open Liberty” with specific instructions.
OPERATOR_NAMESPACE=open-liberty
kubectl create namespace "$OPERATOR_NAMESPACE"
kubectl apply -f https://raw.githubusercontent.com/OpenLiberty/open-liberty-operator/master/deploy/releases/0.7.0/openliberty-app-crd.yaml
curl -L https://raw.githubusercontent.com/OpenLiberty/open-liberty-operator/master/deploy/releases/0.7.0/openliberty-app-cluster-rbac.yaml | sed -e "s/OPEN_LIBERTY_OPERATOR_NAMESPACE/${OPERATOR_NAMESPACE}/" | kubectl apply -f -
curl -L https://raw.githubusercontent.com/OpenLiberty/open-liberty-operator/master/deploy/releases/0.7.0/openliberty-app-operator.yaml | sed -e "s/OPEN_LIBERTY_WATCH_NAMESPACE/${OPERATOR_NAMESPACE}/" | kubectl apply -n ${OPERATOR_NAMESPACE} -f -
Next, you get to pick how your cluster is set up:
If you choose “Development,” it has one main computer (we call it “master”) and one more miniature computer (we call it “worker”). This is good for testing and trying things out.
If you choose “Production,” it’s more complex, with several main computers, load balancers to manage traffic, and many smaller computers. This is for running things for real.
In “Production,” you have:
- Three main computers.
- Two or more load balancers to share incoming requests.
- Two or more smaller computers (Kubernetes nodes).
You can add more load balancers or smaller computers if you need to.
Step 6: Adding Special Storage
When you use this system, each part has its place to store stuff, but sometimes you want to put things in a particular storage area. This unique storage can be used by different parts, even if you change something or restart them. You can set this up in two ways:
You can make your special storage by telling the system what you need.
Or, you can use the storage already set up in the system. It creates storage areas when needed and connects them to the required parts. You can manage this special storage using the system’s dashboard, SFTP, or other tools.
Step 7: Adding Extra Software (if needed)
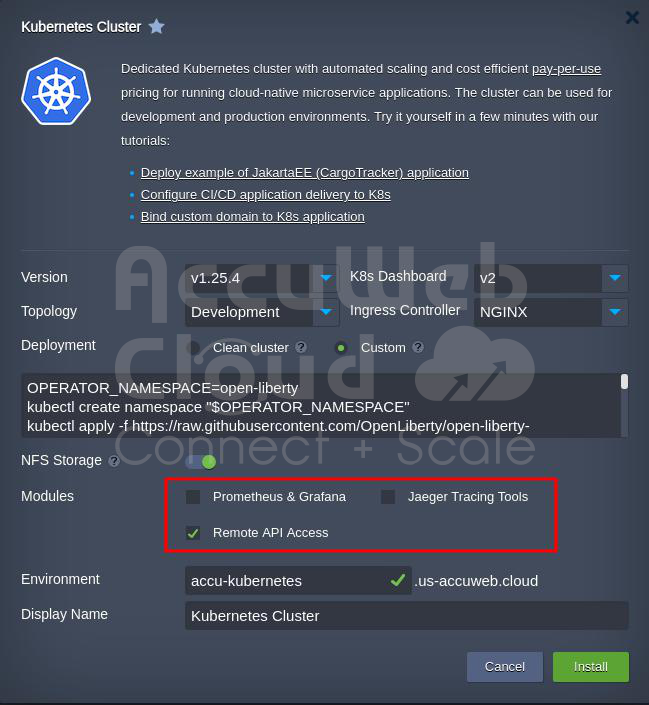
If you want, you can also add more software to watch how your parts are doing and fix problems. You can:
- Add Prometheus & Grafana to keep an eye on your parts and apps. This software needs extra space on your computer and some memory.
- Add Jaeger tools to see what’s happening with your apps, mainly when spread out.
- Allow Remote API Access to control your parts using special software.
If you don’t want to add these things, you can do it later using a unique tool.
Step 8: Installing Special Software
To show you how it works, we’ll put a piece of software called “Open Liberty” on the system. Click “Install,” and it will set things up for you. It will take a few minutes.
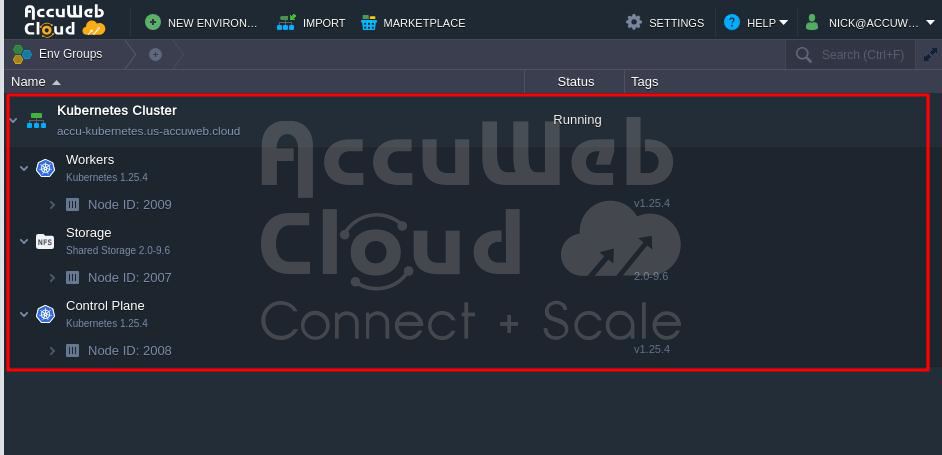
Step 9: Checking Your System
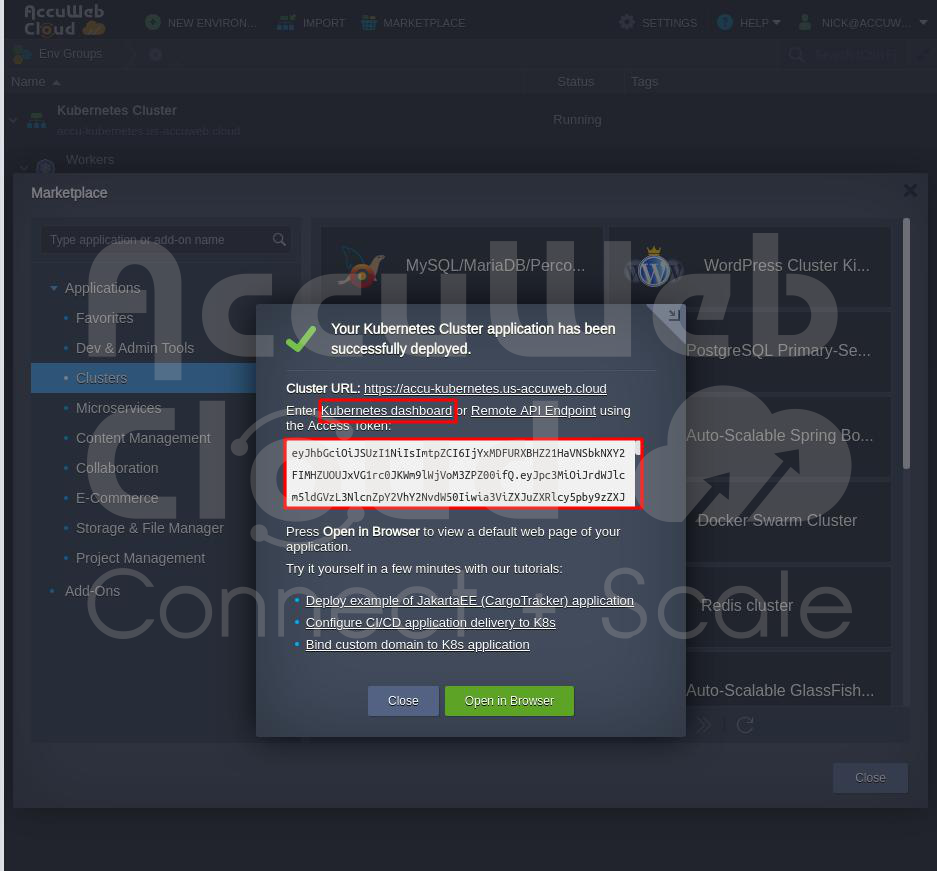
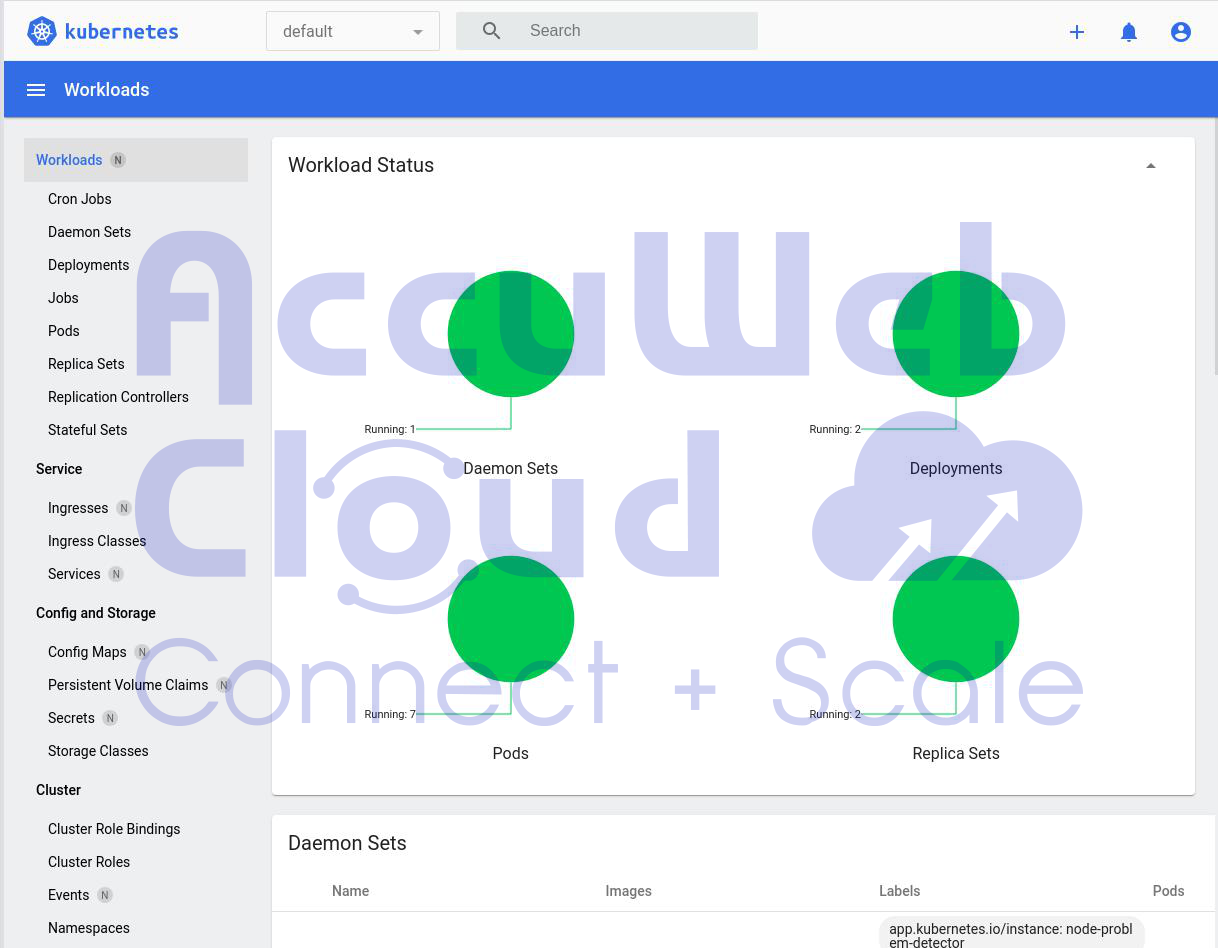
After it’s done, you can use a unique link to see how your system works. You can also use another link to see the “Open Liberty” software.
That’s it! You’re all set up and ready to go with your new system.


