How to use File Storage with AccuWeb.Cloud Dashboard?
File storage (ownCloud) is perfect for storing a wide variety of data, including photos, videos, log files, and backups.
ownCloud is a centralized hub for storing all your files, offering a secure and convenient way to access them anytime.
Using OwnCloud makes file sharing simple. You can share documents within your group or with external parties, such as clients or partners. With OwnCloud, you have control over who can access your files and the duration of their access.
Installation
Let’s start with installing the ownCloud (file storage).
Step 1. Open your AccuWeb.Cloud dashboard and click on Marketplace.
Step 2. In the Marketplace, locate and click on Storage & File Manager, then select ownCloud (term used for File storage).
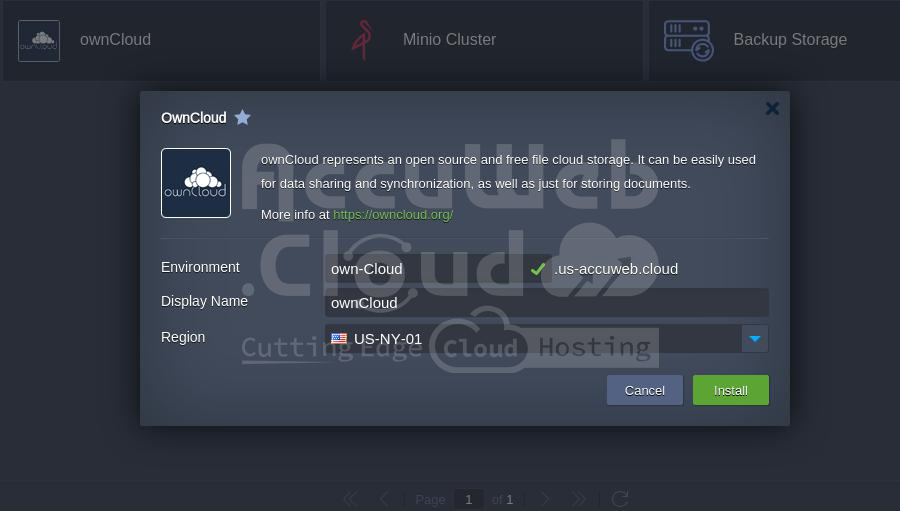
Click on the Install button.
Step 3. Enter a name for your ownCloud Cluster in the Environment field, select your preferred region, and click Install to start the installation.
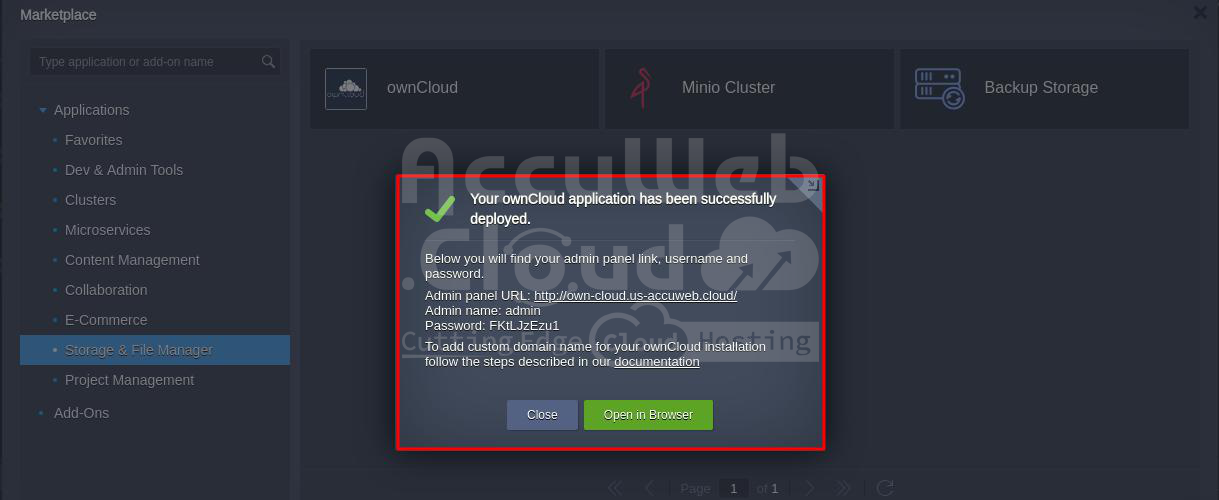
Step 4. Upon completing the installation, your login details will be displayed on the screen and also sent to you via email.
Step 5. Open your preferred web browser and navigate to the URL given in the email. Enter your username and password to log in.
Step 6. Now, if you want to upload a file or folder in ownCloud, click on the + button, then select Upload.
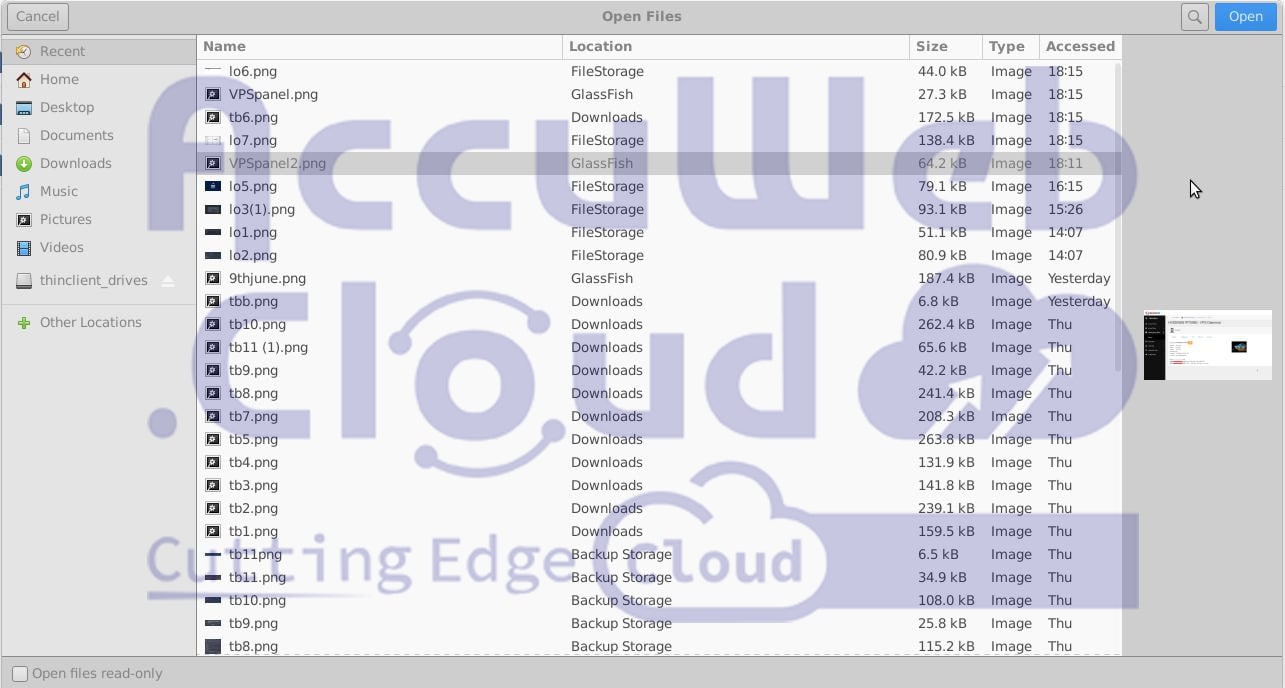
Step 7. Select the file or folder from your local system, then click Open.
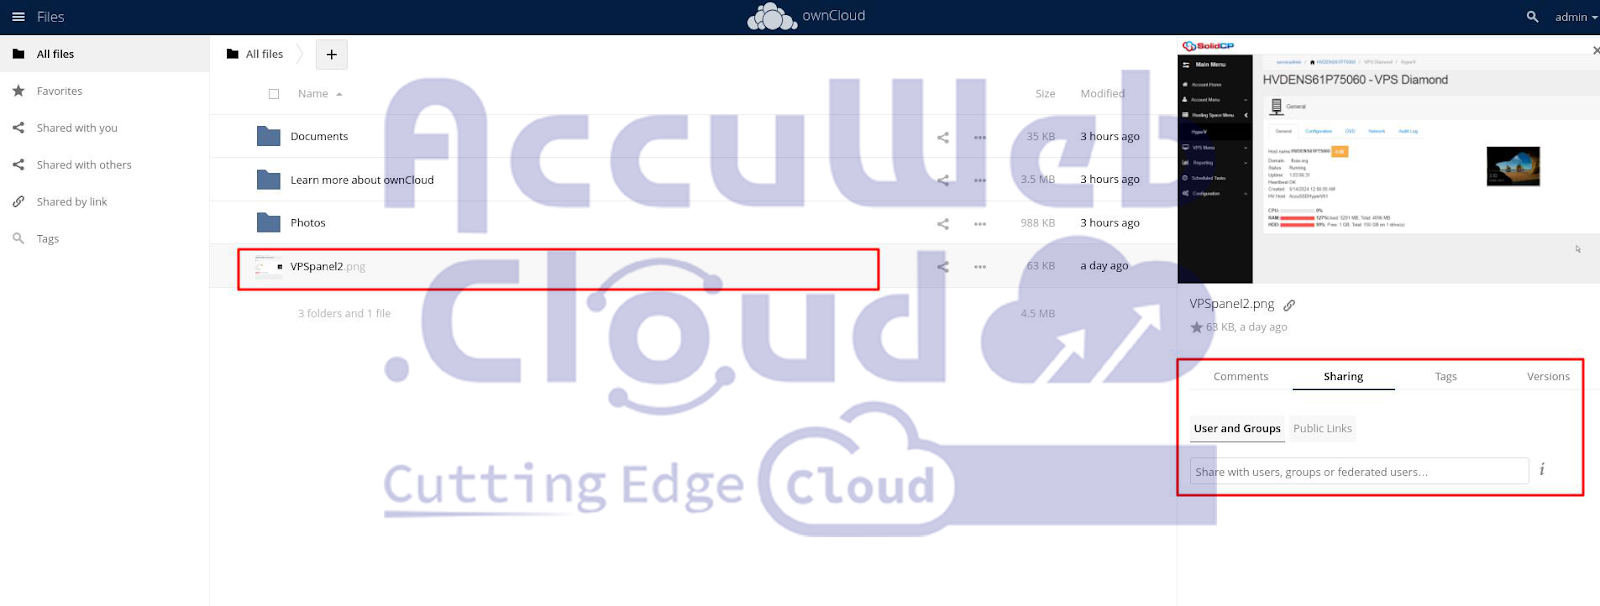
Step 8. After you’ve uploaded the file, you can find it in the All Files section.
How to create users and groups in OwnCloud?
ownCloud offers a robust and user-friendly management interface. This intuitive console allows administrators to easily create users, organize them into groups, and designate group administrators.
Administrators can also set individual storage limits for users, choosing between predefined options like 1GB or 10GB, or setting custom values.
These features are particularly useful for organizations such as corporate offices, schools, colleges, and universities, enabling efficient user management within their own Cloud deployments.
Create a user in ownCloud
Step 1. To get started, log in as an administrator and click on Admin at the top-right corner of the page. From the dropdown menu, select Users.
Step 2. Enter a username and email address for the new user and click Create.
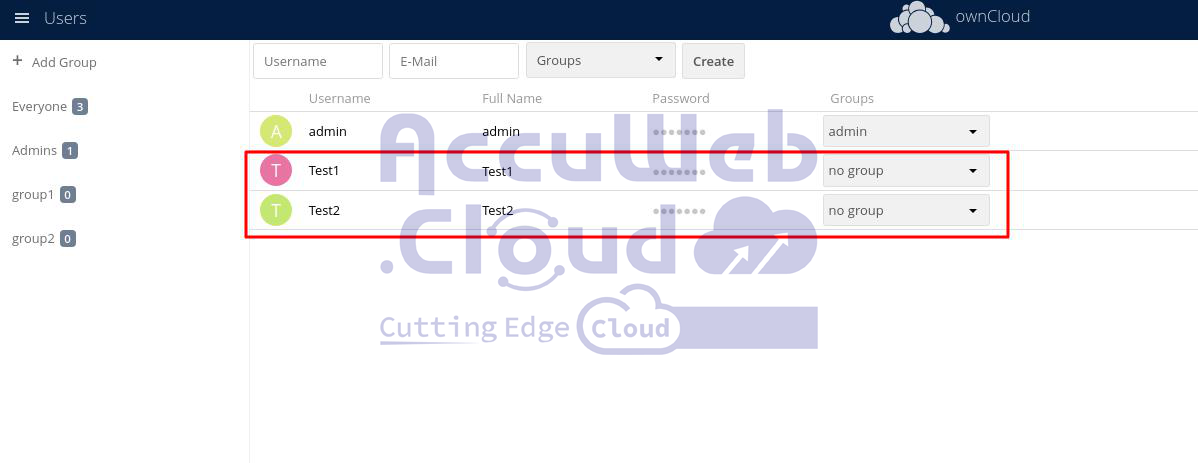
Step 3. Now create a second user with your preferred username and email address.
You will see the created users in your dashboard as shown below screen capture:
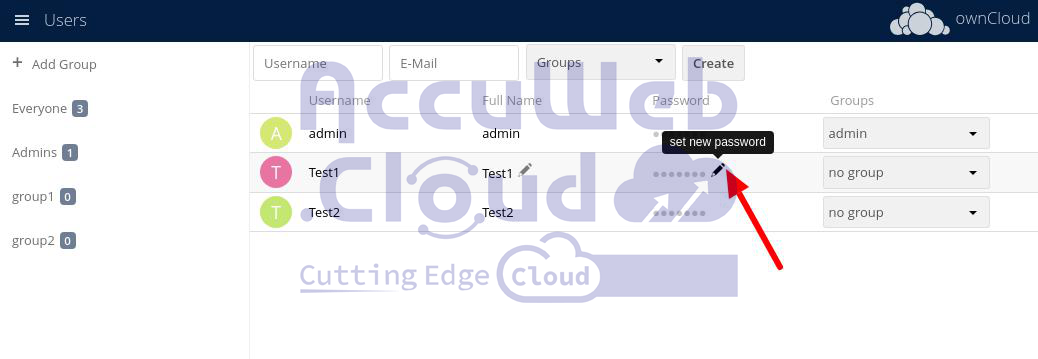
Step 4. To set the user’s password, hover over the user’s row with your mouse and click on the pencil icon that appears.
This is how you can create the user and set the password in ownCloud.
Sharing files between multiple users
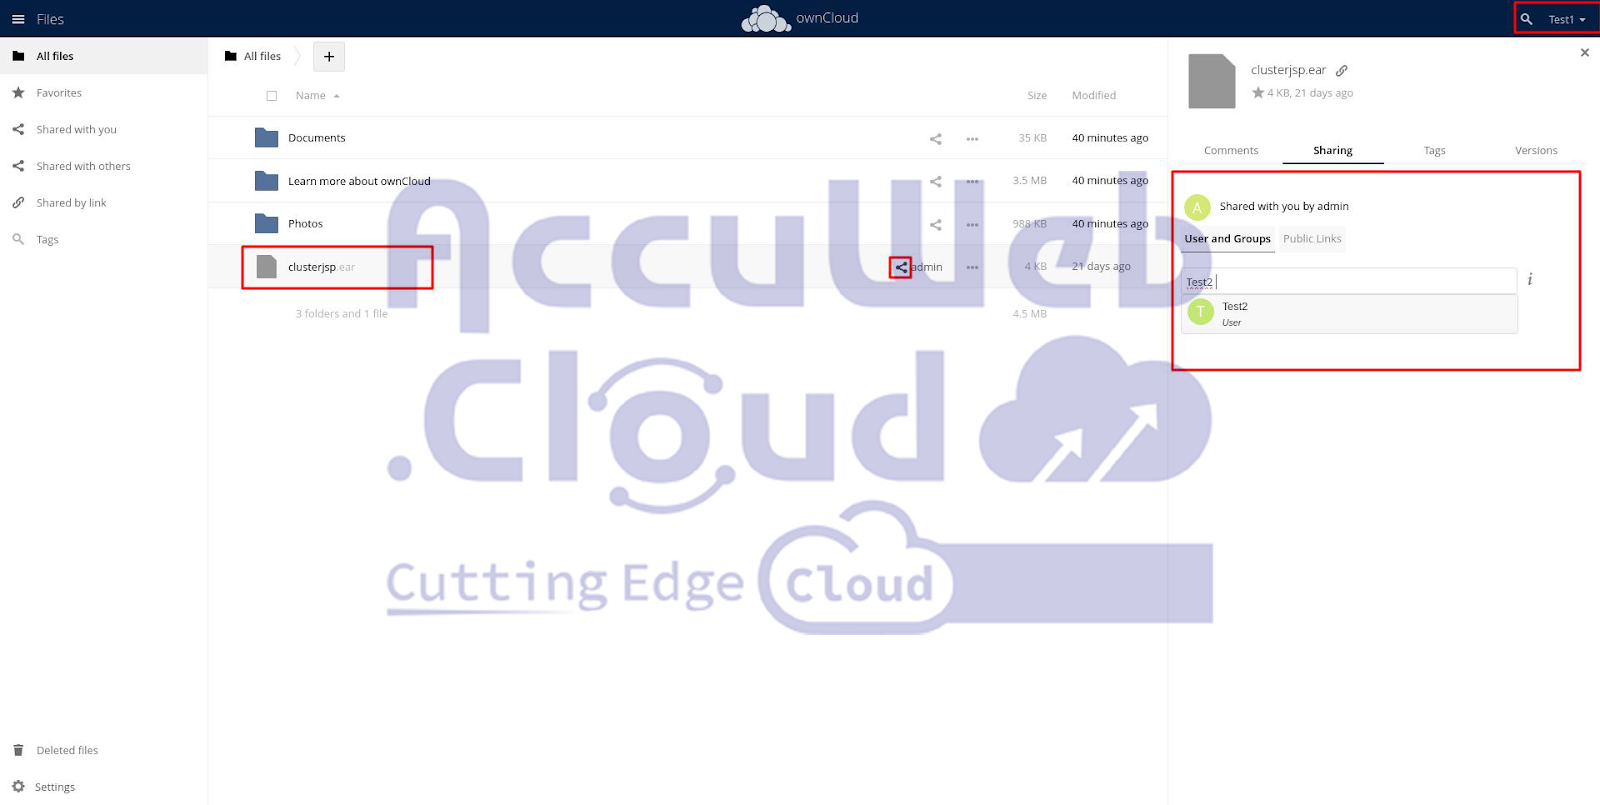
Step 1. Upload one file from your local system to your Admin user and click on the Share icon to share the files with the other users in ownCloud.
In the Search field under the Users and Groups, search for the user you want to share the file and click on that user to share that file.
Step 2. You will see the shared users under the Users and Groups as below:
Step 3. Now, log in with the user you have shared the file. So here we log in with the Test1 user.
Step 4. Once you log in with that user, you will see the shared file on the opened dashboard as below:
Step 5. Now, follow the same sharing process in this current test user and share that same file with the second user you have created before.
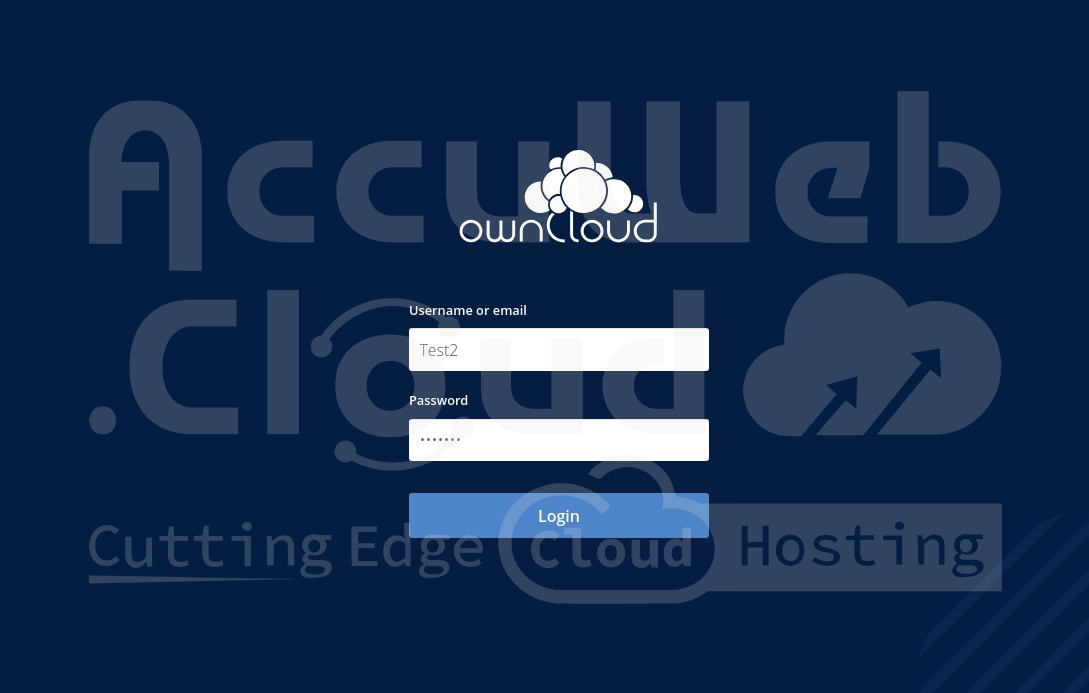
Step 6. Login with the second user you have shared the file. So here we log in with the Test2 user.
Step 7. Once you log in with that second user, you will see the same shared file on the opened dashboard as below:
So, this is all about how you can share the files between multiple users.
Create a Group in ownCloud
Step 1. Login to your Admin user and click on Admin at the top-right corner of the page. From the dropdown menu, select Users.
Step 2. In the opened window, navigate to the Add Group option at the left-side upper corner of your dashboard.
Step 3. Write your group name in the Add Group field and click on the + icon to create the group.
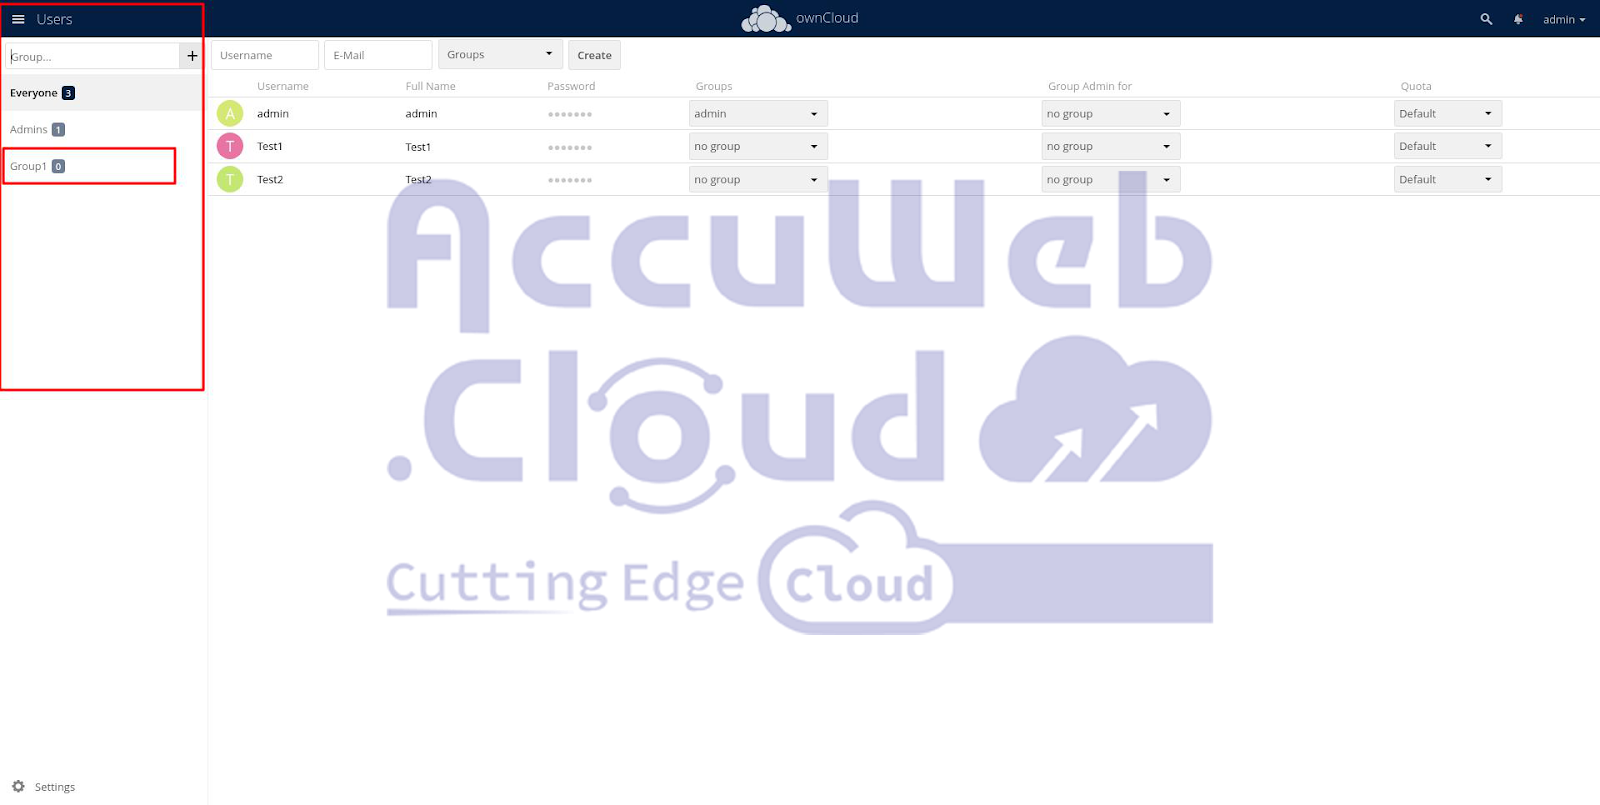
Step 4. You will see the added group in the left-side bar as shown in the below screen capture.
Adding Users to the created Group and Share files to the Group
Step 1. xNow, add both the users in this group by dropping down the menu under the Groups section as shown in the below screen capture.
Step 2. Next, go to the Files section by clicking on the three-line icon at the left upper corner as shown in the below screen capture.
Step 3. Upload another file from your local system.
Step 4. Once the file is uploaded, click on the share icon to share that file with the newly created group.
After clicking on the share icon, you will the sharing dialogue box at the right side of your dashboard
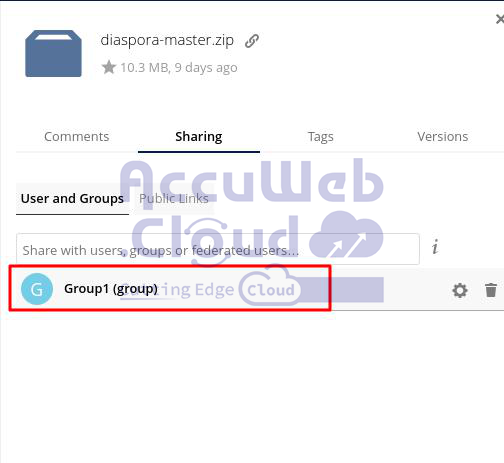
Search for your group name under the User and Groups section and click on your group to share that file with this group.
Step 5. You will now see the shared group name under the same dialogue box.
Step 6. Now, sign out from your Admin user and log in with the one of your Users you have added to the group.
Step 7. You will see the shared file in this User (as we added this user to Group1, the shared file to this group is also shared with this user).
Step 8. Next, log in with the second user and you will see the same shared file in the second user’s dashboard as well.
This is all on how you can add the users in the created group and share files to that group.
Sharing files by creating a public link
Step 1. Login into your Admin user and upload one file to this user.
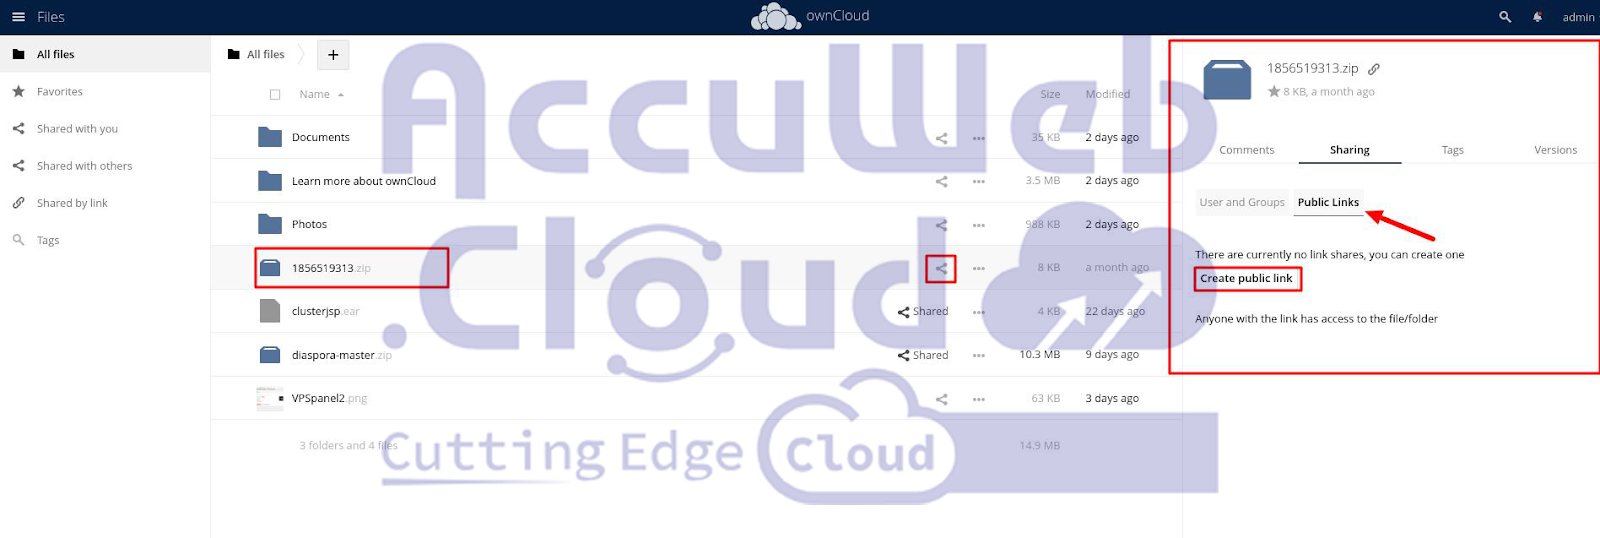
Step 2. Once the file is uploaded, click on the Share icon to share that file via a public link.
In the open window at the right side of your dashboard, click on the Public link field under the Sharing section.
Under the Public link field, click on the Create public link button.
Step 3. Afterward, the public link share dialog box will appear, which you can see below:
Provide the name in the Link Name field and fill out the options that suit your purposes for the link share.
You can choose between the below access to assign to this file.
- Download / View: It enables recipients to either view or download the contents of the public link.
- Download / View / Edit: It enables recipients to view, download, edit, and remove the contents of the public link.
You can also password-protect the public link by entering the password.
Next, you can set an expiry date for the link. The public link expires at the end of the specified day.
Once you specify all the details, just click on the Share button to update the settings.
Step 4. You will now see that your public link is created with your given name on the right side of your dashboard.
Click on the Copy to Clipboard option to copy your public link.
Step 5. Open your system browser and paste the copied link in your browser’s address bar and hit enter to access it.
Step 6. You will see the below page and it will ask for the password to access your file.
Enter the password you have set during the public link share settings and click on the Proceed button.
The below page will display on your screen. Just click on the Download button to download that file in your local system.
This is all about how you can share your files via a public link.


