Failover Protection with TD
Traffic Distributor helps make sure your website stays up even if there’s a problem with one of the servers. It does this by regularly checking if the servers are working properly, and if one isn’t, it stops sending traffic to it. This feature is turned on automatically, but you can change how it works if you need to.
Here’s what you need to do:
Step 1: Log in to your AccuWeb.Cloud account and create two environments called Pearl and Diamond. Then, install a Traffic Distributor from the Marketplace.
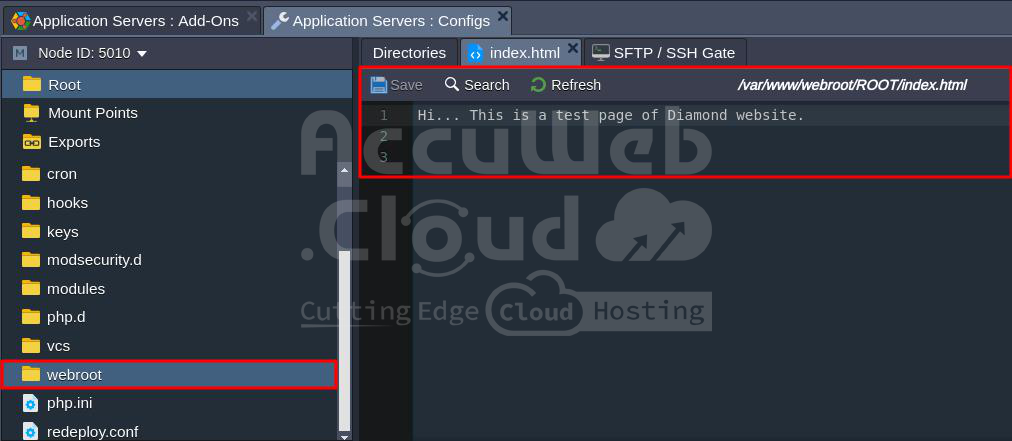
We’ve put a file called index.html on both servers so you can tell which server is handling your request.
Step 2: Go to the NGINX Config panel and find the file called /etc/nginx/nginx-jelastic.conf in the Root folder.
Double-click on it to open it for editing in a new tab.
Step 3: Go down to around line 50 in the configuration file, where you’ll see settings for the Traffic Distributor. Look for a section called “upstream common” and find the check module you need. This module has some settings you can adjust:
check interval={interval} fall={fail_count} rise={rise_count} [timeout={timeout}] [default_down={true/false}] [port={port}] [type={type}]Traffic Distributor failover parameters
- {interval}: How long to wait between each check, measured in milliseconds.
- {fail_count}: How many times the check can fail before the server is considered unavailable.
- {rise_count}: How many successful checks are needed to mark the server as available again.
- {timeout}: How long to wait for a response from the server before considering the check failed.
- {true/false}: Whether to start with the server marked as unavailable or available.
- {port}: Which port to use when checking the server. If set to 0, it uses the default port.
- {type}: What method to use to check if the server is working, like checking for an HTTP response or connecting to a database.
For example, in the settings shown, it checks both servers every 3 seconds to see if they’re giving a normal response. If one server fails three times in a row, it stops sending requests to it and sends them all to the other server. When the failed server starts working again and passes three checks in a row, it starts sending requests to it again.
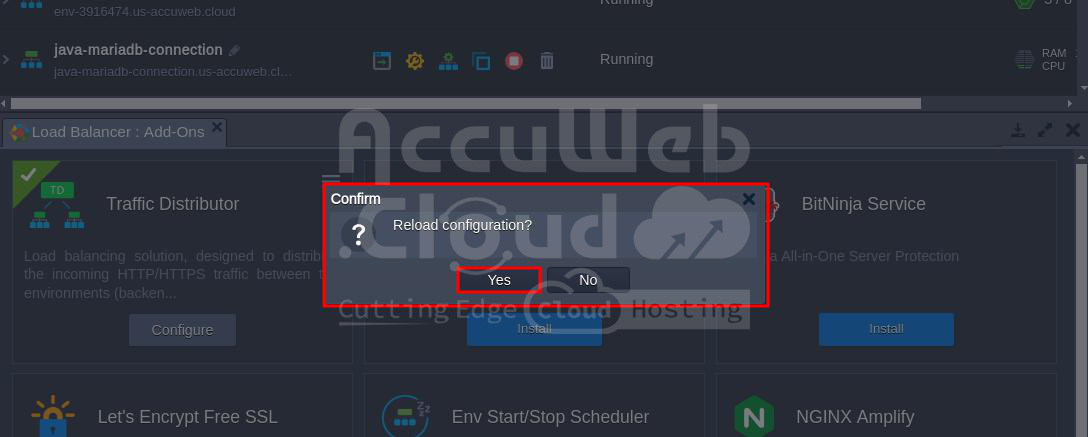
Step 4: Once you’ve saved the changes you made to the NGINX balancer settings, you can make them active without restarting the whole server. This way, your project won’t have any downtime. Just use the “Reload configuration” option in the add-on menu.
When a pop-up appears, confirm your choice, and within a few seconds, your new failover protection settings will start working.
Testing of Failover Protection feature
Step 5: To check if the failover protection works, stop one environment from AccuWeb.Cloud dashboard. In this example, we stopped the diamond environment.
Step 6: If you set up failover protection correctly, you’ll receive requests from the second environment. In our case, we received requests from the Pearl environment.


