Docker Engine Connection and Management
Today, more developers choose lightweight, portable containers over heavy and bulky VMs. They prefer writing cloud-native applications using microservices. This more flexible approach allows easy movement between cloud service providers.
Following the trends in hosting, we will continue to explore the native Docker support in AccuWeb.Cloud dashboard. We’ll focus on the AccuWeb.Cloud-adapted Docker Engine auto-installation solution we discussed last time. This article will cover the results of each deployment mode and how to manage your Engine instance.
Modes for Docker Engine Auto-Installation
In the previous article, we discussed that AccuWeb.Cloud offers Docker Engine CE in three different deployment modes that you can choose during the installation setup.
Below, we’ll explain each mode in detail to help you find the best one for your needs and cover the common steps to follow after setup.
Clean Docker Engine Server
If you choose the clean installation type, an empty Engine instance will be created with only a Docker daemon running inside. No applications or customizations will be included. You can optionally add Portainer, a web-based management tool, to easily manage your Docker environments and instances through a user-friendly interface.
For advanced configurations, you can use specific Docker CLI commands within a terminal window after connecting to the Engine node via AccuWeb.Cloud SSH Gate. The connection methods are described later in the article. Here are some essential and commonly used CLI operations:
- docker run: Start a container with custom instructions (e.g., to add or override the image defaults).
- docker exec: Execute a command on a running container.
- docker-compose up: Create (or re-create) and start services inside containers based on the instructions in a specified compose file.
You can find a full list of commands with detailed descriptions and options in the official Docker documentation.
Docker Engine Inclusion into Swarm Cluster
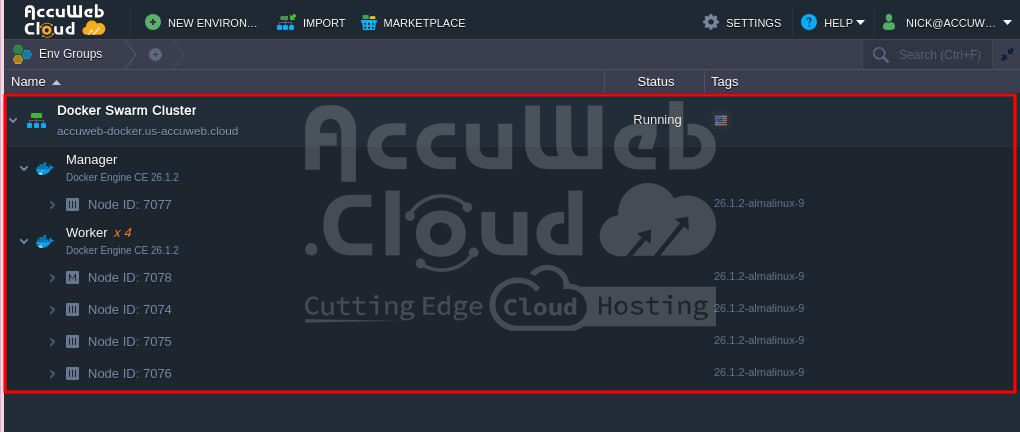
If you have a Docker Swarm cluster running online, you can easily add new members using the Docker Engine package. This allows you to integrate the new instance into the existing cluster as either a Worker or Manager node. This method not only makes management easier but also enhances high availability and failover protection by distributing instances across different hardware sets, regions.
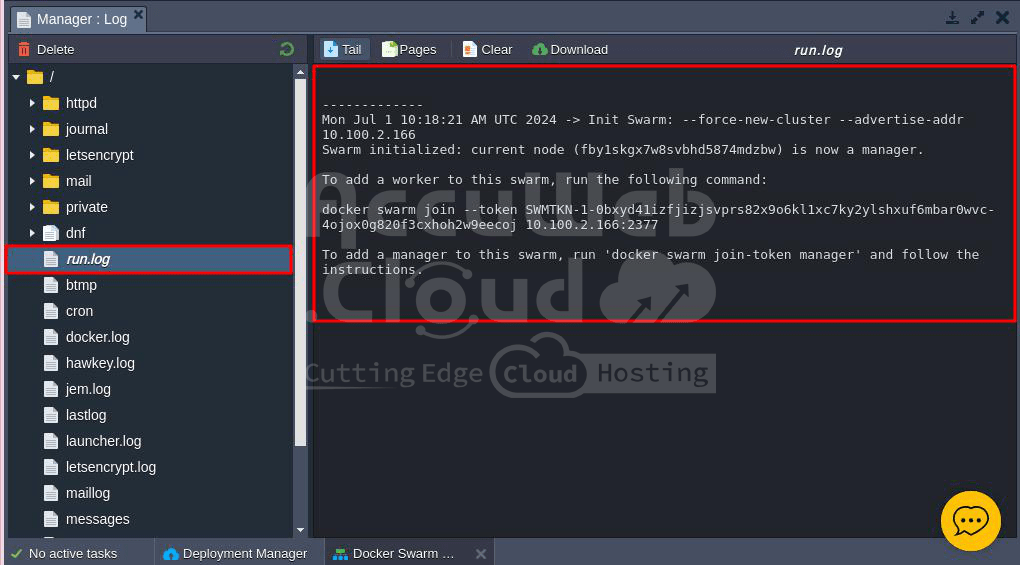
To connect to a swarm, you need the Join Token of the target Docker Swarm and the Host IP (external address) of its Manager node. You can get the Join Token by running the following command on your Swarm Manager node:
docker swarm join-token {node_type}Replace {node_type} with either worker or manager based on the desired role for the new instance.
To check the cluster status after set up, run this command on any of the Manager containers:
docker node lsThis will show the cluster’s composition. For example, your Swarm cluster might have 3 Manager nodes and 6 Worker nodes, with one Worker running in a different environment due to being added externally using the Docker Engine CE solution.
Docker Engine with Pre-Deployed Services
When you choose this option, the installation form will include a field to enter a link to the Git repository that should be deployed to the new Engine instance. The default example URL links to a simple Hello World application.
After completing the installation, you can check the result in one of the following ways:
If your application has a web interface, click the “Open in browser” button to ensure it was installed successfully. If the interface is on a port other than the default port 80, add the required port number to the URL, like this: http://{env_host}:{exposed_port}.
For the default example application, you should see the Hello World page.
If the deployed project doesn’t have a web interface, you can check the deployment details through the dashboard. Look at the logs, especially the run.log file, to confirm the installation was successful.
For more information on using and adjusting the Engine, see the next section of the article.
Establishing a Connection to the Docker Engine Container
To manage Docker Engine advanced settings, you can access the container via SSH or use third-party Docker tools. Here are a few basic methods:
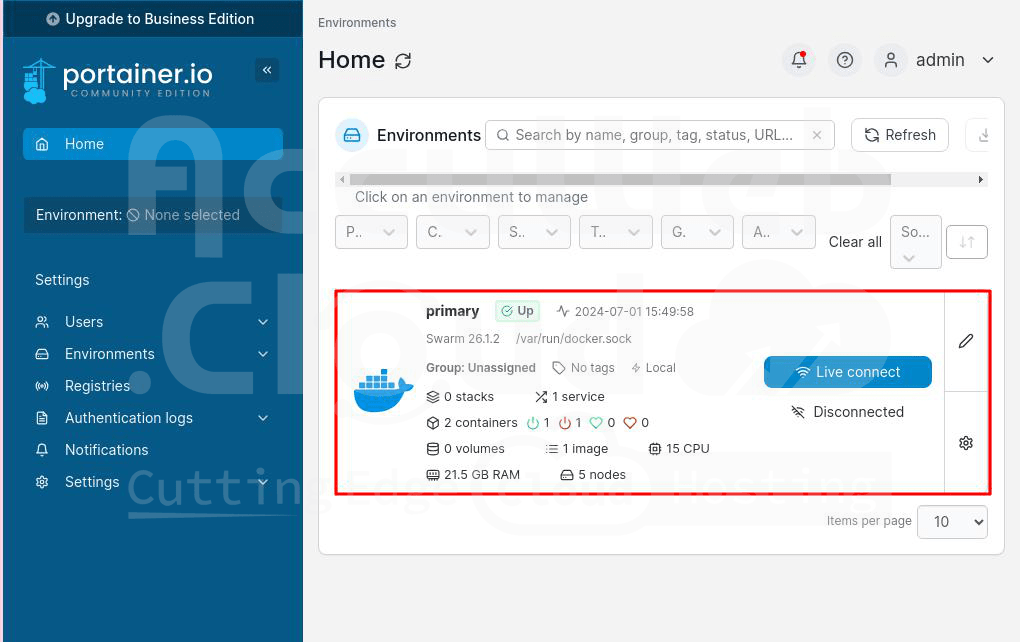
Portainer UI
If you installed the Portainer UI while setting up a bare Engine instance, you can access the management panel by opening your environment URL in a browser via HTTPS.
In Google Chrome, for example, you need to expand the Advanced section and click “Proceed to {env_URL}“.
The login credentials for Portainer are in the email notification you received during the Engine server creation.
SSH Gate
Use AccuWeb.Cloud SSH Gate. Connect to your account, select your Docker Engine environment, and enter the required server/container to start working.
That’s all for today. We hope this overview of the Docker Engine package shows how easy it is to use with its automated installation and simple configuration. It also offers versatile deployment options to meet your specific needs.
To see how it can work for you, try deploying your own Docker Engine instance on any suitable AccuWeb.Cloud installation.


