Install and use Backup Storage with AccuWeb.Cloud
Let’s set up a main storage center to safely back up all our files and databases. It should be versatile enough to function as one strong node or as a network of nodes that can handle errors and grow as needed, using GlusterFS. This storage solution should work smoothly with extra backup tools that come with our ready-to-use apps.
Installation of Backup Storage
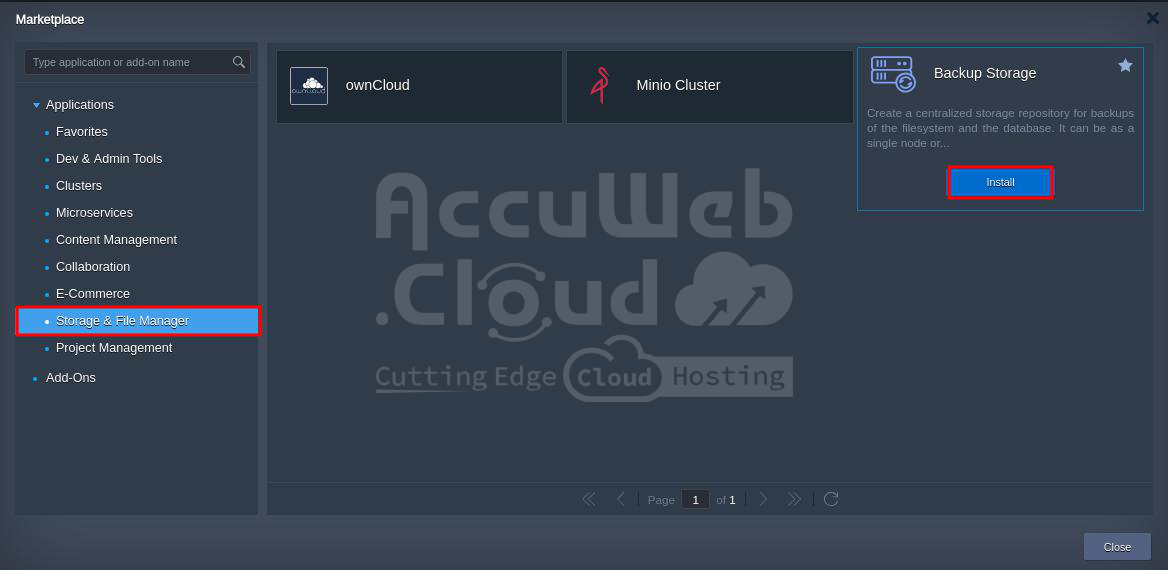
Step 1. Head over to the Marketplace in your AccuWeb.Cloud dashboard, look up the Storage & File Manager, click on it, then opt for Backup Storage and get it installed.
Step 2. Choose between Standalone or Cluster storage options. For Cluster storage, specify the number of nodes and the desired storage size. For Standalone storage, enter the preferred storage size.
The installation process might take a while, so please be patient till then.
Step 3. After installation, a success message will appear.
Step 4. Once backup storage is installed, create one MySQL database environment from your AccuWeb.Cloud dashboard.
Step 5. As soon as the MySQL database environment is created, navigate to the Add-Ons to create a Backup of the environment.
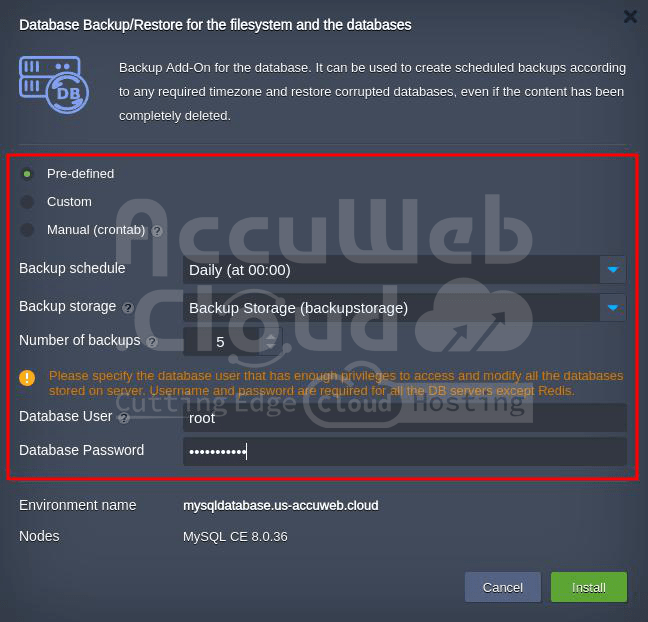
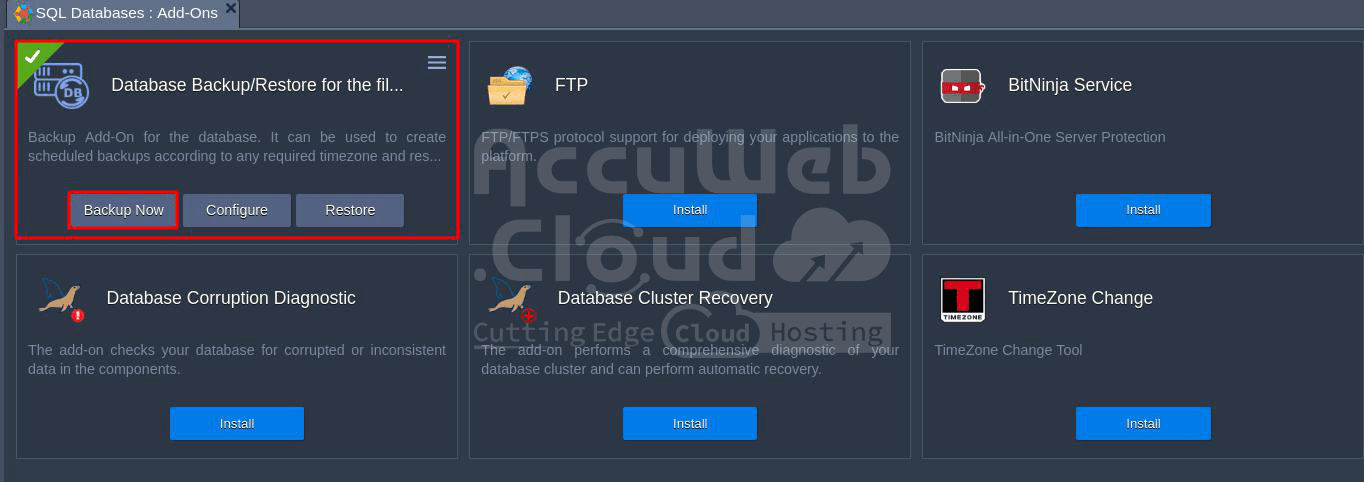
Step 6. You will be prompted to the add-ons list. Find the Database Backup/Restore and install it.
Step 7. Choose the backup schedule, storage location, and retention period for up to a maximum of 7 days.
Also, specify your database user name and its password which has enough privilege to access and modify all the databases stored on the server.
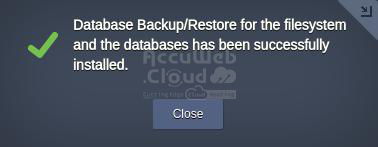
Step 8. Once it is installed, you will see the below successful installation message.
Step 9. Again go to the Add-ons list and you’ll see the Backup Now option under the Database Backup/Restore. Click on it to instantly create a backup of the database.
Step 10. Once the backup is finished, you will see the below message in your AccuWeb.Cloud dashboard.
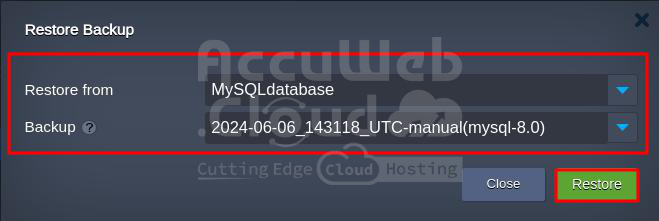
Step 11. Now if you want to restore that backup, go to the same Add-ons list and you will find the Restore option under the Database Backup/Restore. Click on it and select the target environment, choose the backup from the list, and click Restore.
That’s all on how you can install the Backup storage in your AccuWeb.Cloud and use the Backup and Restore options.


