How to Use FastAPI with a Relational Database on Ubuntu on AccuWeb.Cloud?
FastAPI is a powerful and highly performant Python web framework for creating APIs. With PostgreSQL and Fastapi, developers can create high-effectiveness web applications with a light structure. In this tutorial, we will guide you through setting up a FastAPI, connecting it to a PostgreSQL database, and deploying it on a Ubuntu server, hosted on AccuWeb.Cloud.
Introduction to FastAPI
FastAPI is a Python-based framework designed to build APIs quickly with minimal effort. It is built on Starlette (for web parts) and Pydantic (for data validation), allowing developers to use modern Python objects such as type hints, asynchronous programming, and automatic documentation generation.
One of FastAPI’s key advantages is its speed. By benchmarks, FastAPI is one of the fastest web tools available. It tends to perform better than frameworks like Flask and Django in terms of performance. Another important benefit is the automatic generation of OpenAPI documentation, which makes it easier for developers to test and interact with APIs during development.
Setting Up an Ubuntu Server on AccuWeb.Cloud
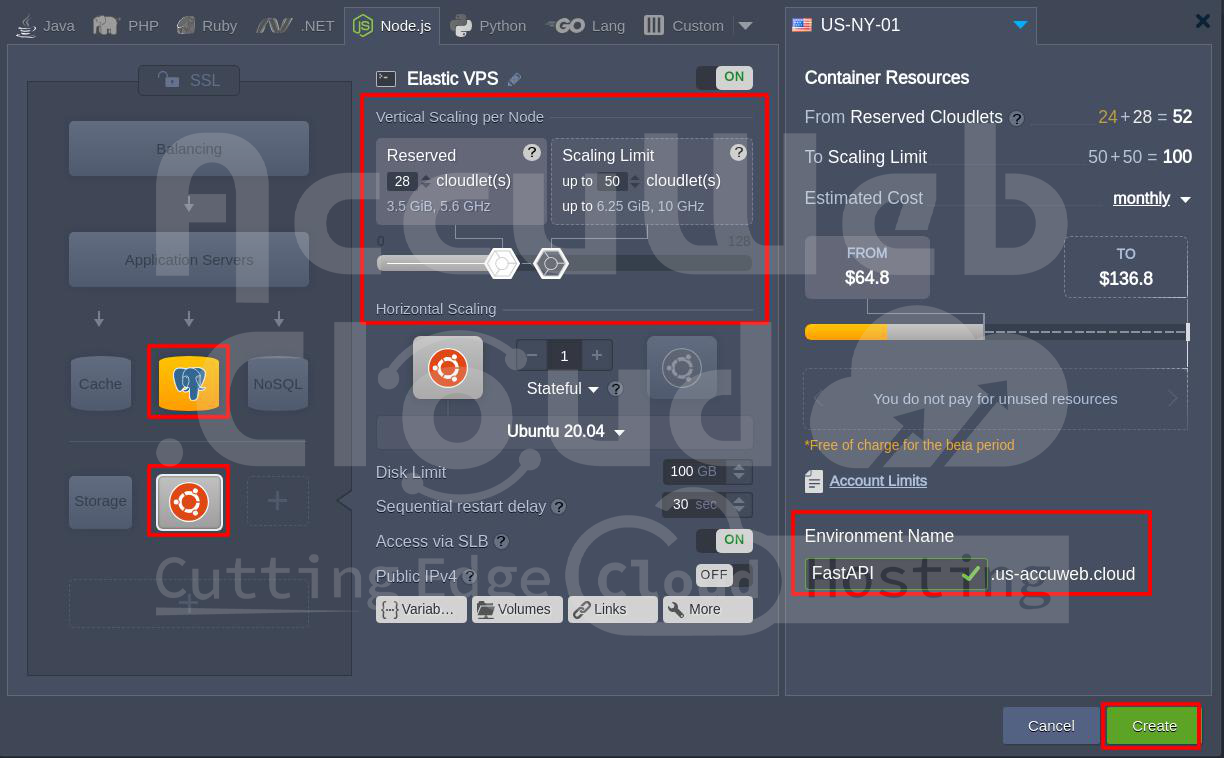
Step 1: Log in to your AccuWeb.Cloud dashboard and create a new virtual private server (VPS).
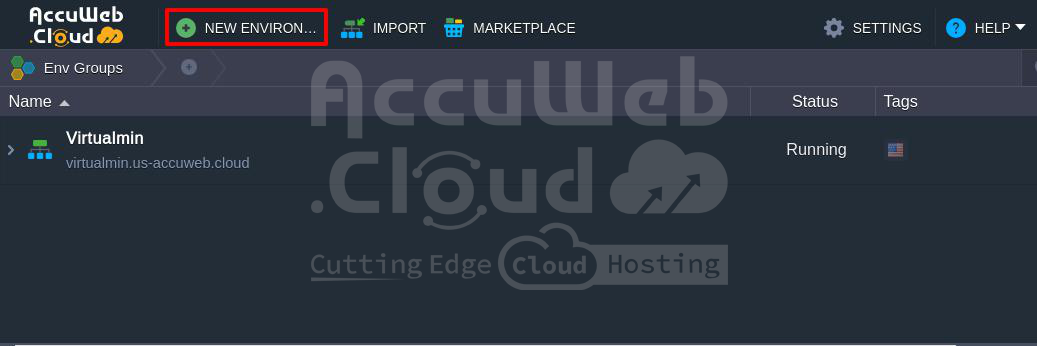 Step 2:Select Ubuntu 20.04 or the latest version as your operating system and database server as a PostgreSQL.
Step 3: Choose the appropriate resources for your server based on your needs and enter the environment name.
Step 4: After configuring the server, click on the Create button.
Accessing the Server via Web SSH
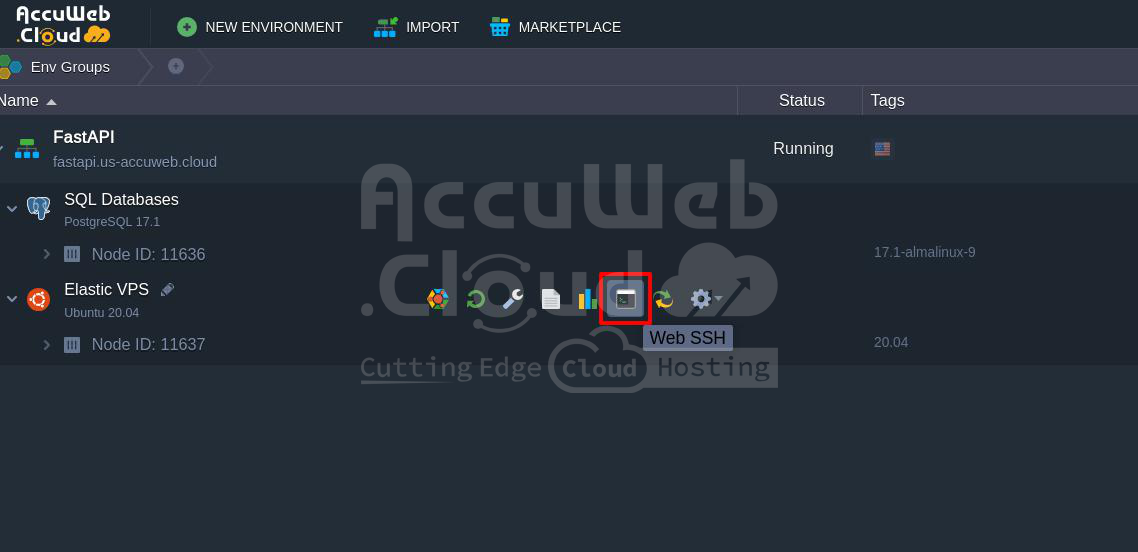
AccuWeb.Cloud offers a convenient Web SSH feature. You don’t need a terminal application on your computer for SSH access. After your server is created, you’ll see the option to access your server via Web SSH in your AccuWeb.Cloud dashboard. Click on the Web SSH button.
You are now logged in to your Ubuntu server.
Installing Necessary Software on Ubuntu
Now that you have access to the Ubuntu server, it’s time to install the necessary software for our FastAPI project.
Updating Ubuntu
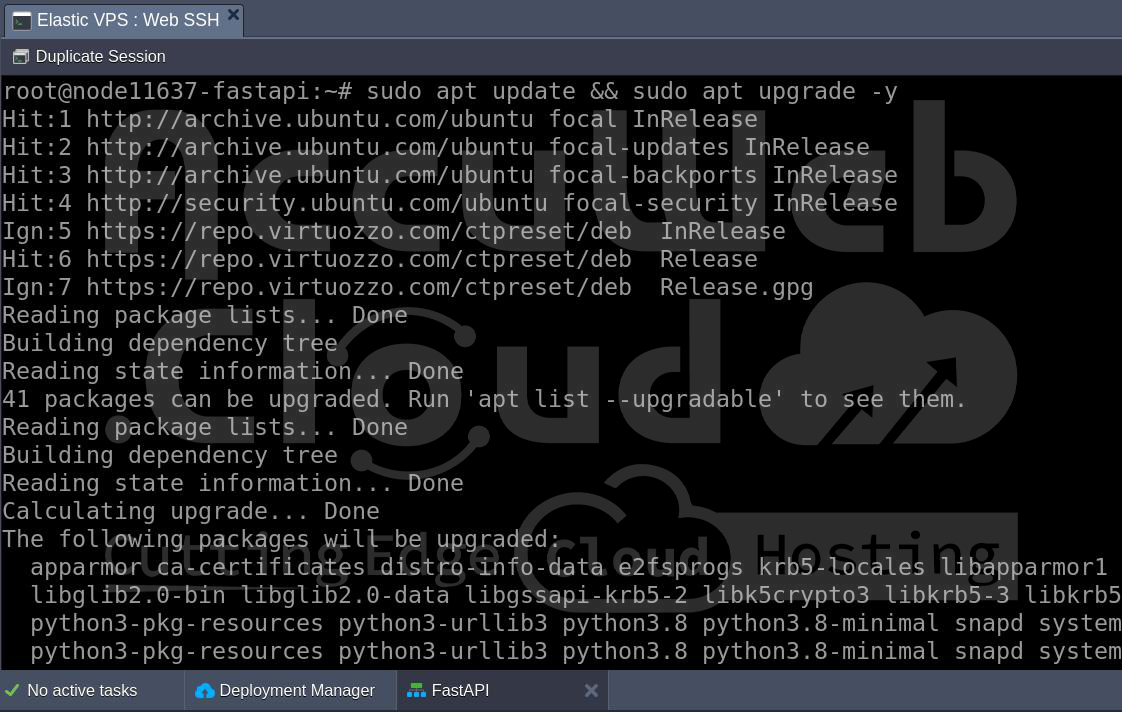
First, update your system to ensure all existing software packages are up to date. Run the following commands:
sudo apt update && sudo apt upgrade -yInstalling Python 3, pip, and Virtual Environment
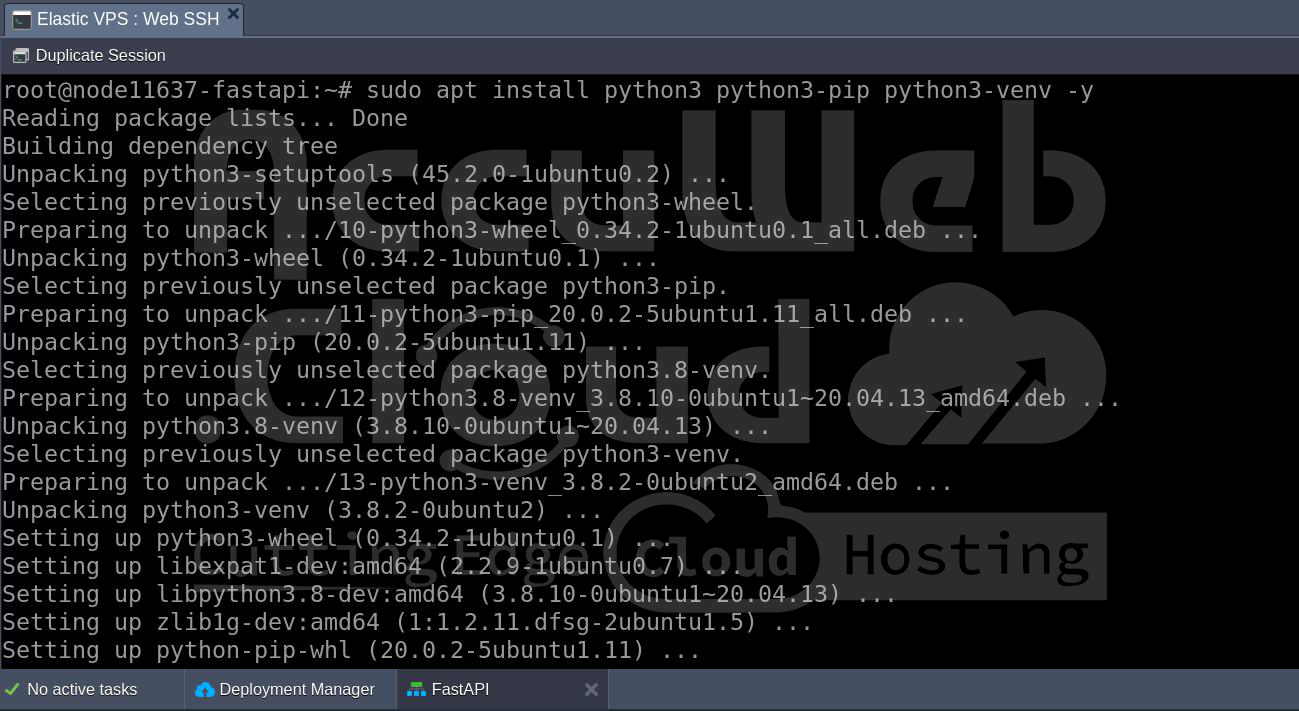
FastAPI requires Python 3. Install it along with pip (Python’s package manager) and the virtual env tool to create isolated environments for your Python applications:
sudo apt install python3 python3-pip python3-venv -y --fix-missingInstall Dependencies for FastAPI
Next, install FastAPI and Uvicorn, which is the ASGI server required to run FastAPI applications:
pip install fastapi uvicornTo connect to PostgreSQL, you’ll also need the psycopg2 library:
pip install psycopg2Setting Up PostgreSQL Database
To interact with the database, we’ll need to create a new database and user in PostgreSQL. You should receive the PostgreSQL Database login details in the email.
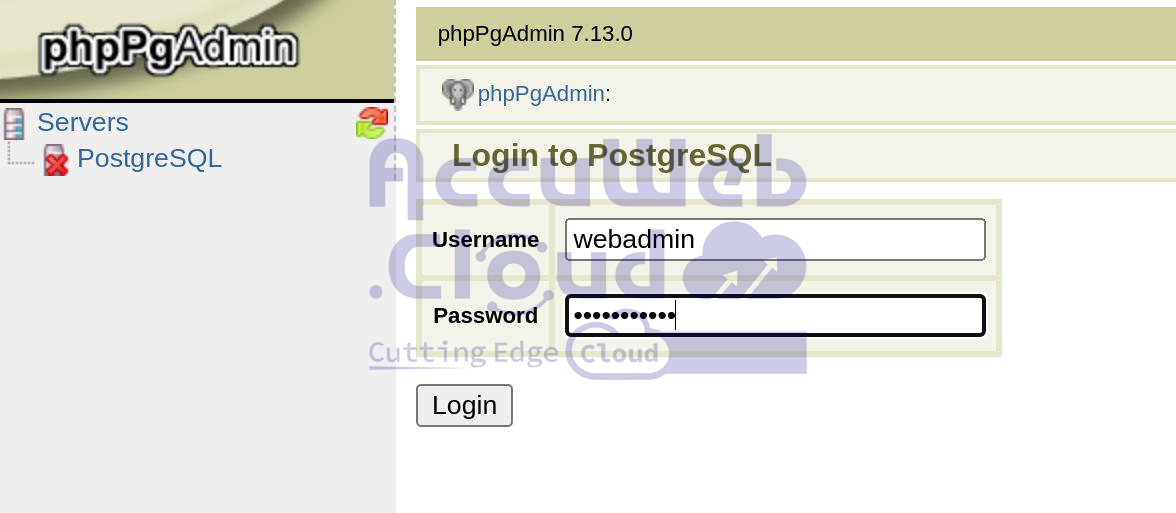
Step 1: Log in with your PostgreSQL username and password.
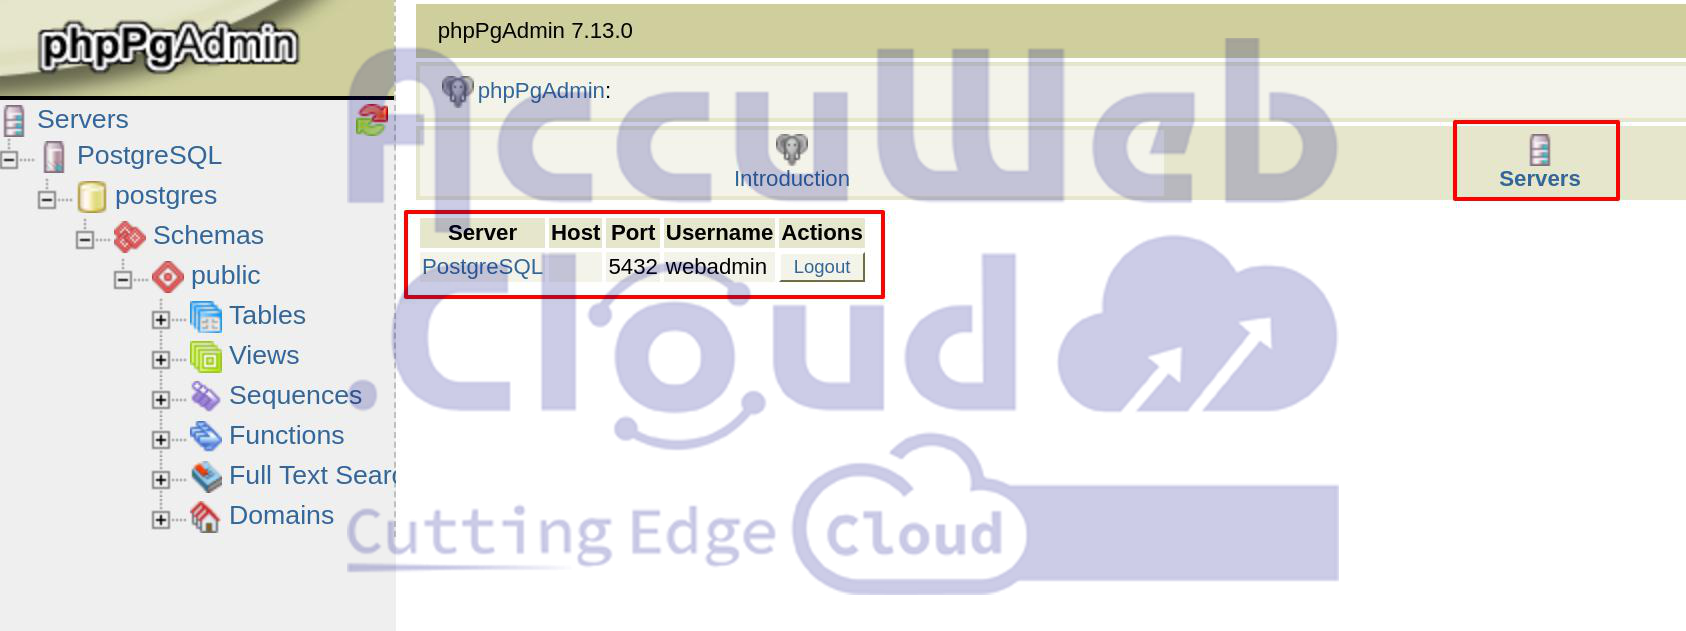
Step 2: On the left-hand side, click on the PostgreSQL server where you want to create the database.
Step 3: At the bottom of the phpPgAdmin interface, click on the “Create Database” link.
Step 4: Fill in Database Details:
- Database Name: Enter a name for your new database (e.g., my_new_database).
- Encoding: Choose the character encoding for your database (e.g., UTF-8).
- Template: Leave it as template1 unless you have a specific template to use.
- Other fields can typically be left as default.
Step 5: Press the “Create” button to finalize database creation.
Creating a FastAPI Application
Now that we’ve set up PostgreSQL and installed the necessary dependencies, let’s create a basic FastAPI application.
Create Project Directory: Let’s begin by creating a directory for our FastAPI project:
mkdir fastapi_project
cd fastapi_projectCreate Virtual Environment: Create a virtual environment to isolate the project’s dependencies:
python3 -m venv venv
source venv/bin/activate
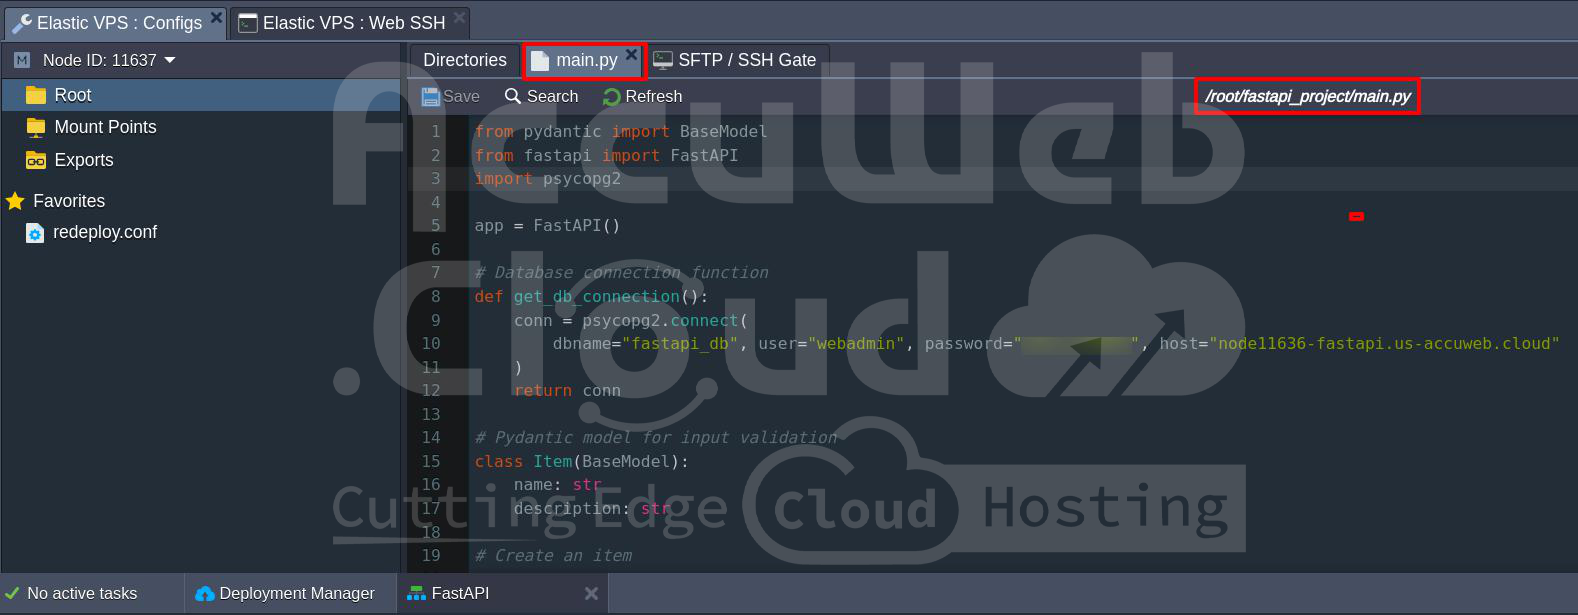
Create a FastAPI Application (main.py): Now, let’s create a simple FastAPI app. Create a main.py file in the fastapi_project directory:
from fastapi import FastAPI
from pydantic import BaseModel
import psycopg2
app = FastAPI()
# Database connection function
def get_db_connection():
conn = psycopg2.connect(
dbname="fastapi_db", user="fastapi_user", password="yourpassword", host="localhost"
)
return conn
# Pydantic model for input validation
class Item(BaseModel):
name: str
description: str
# Create an item
@app.post("/items/")
def create_item(item: Item):
conn = get_db_connection()
cursor = conn.cursor()
cursor.execute(
"INSERT INTO items (name, description) VALUES (%s, %s)",
(item.name, item.description)
)
conn.commit()
cursor.close()
conn.close()
return {"name": item.name, "description": item.description}
# Get all items
@app.get("/items/")
def read_items():
conn = get_db_connection()
cursor = conn.cursor()
cursor.execute("SELECT * FROM items")
rows = cursor.fetchall()
cursor.close()
conn.close()
return {"items": rows}
Create PostgreSQL Table
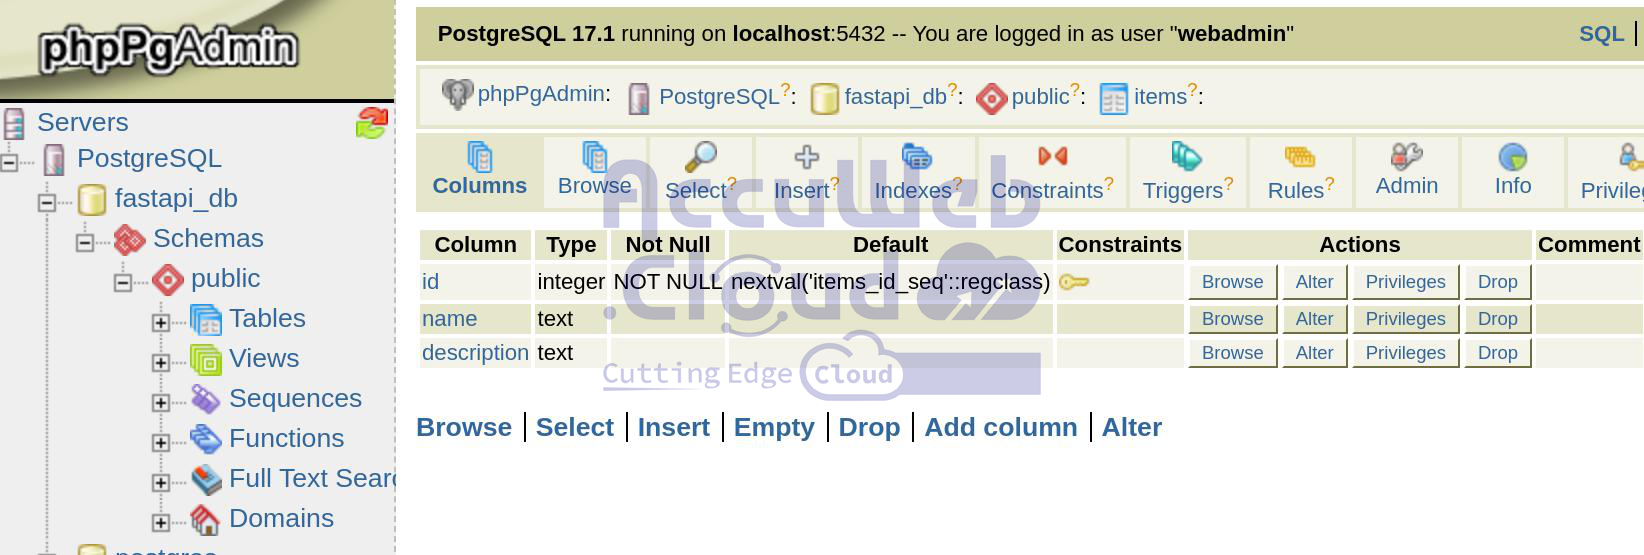
Before testing the FastAPI app, let’s create the necessary table in PostgreSQL to store the items.
Log into PostgreSQL and create the items table:
CREATE TABLE items (
id SERIAL PRIMARY KEY,
name VARCHAR(100),
description TEXT
);
Connecting FastAPI to PostgreSQL
With the PostgreSQL table in place, the next step is to ensure the FastAPI app can interact with the database. The code already handles the connection and querying, so there is no further configuration needed.
Running the FastAPI Application
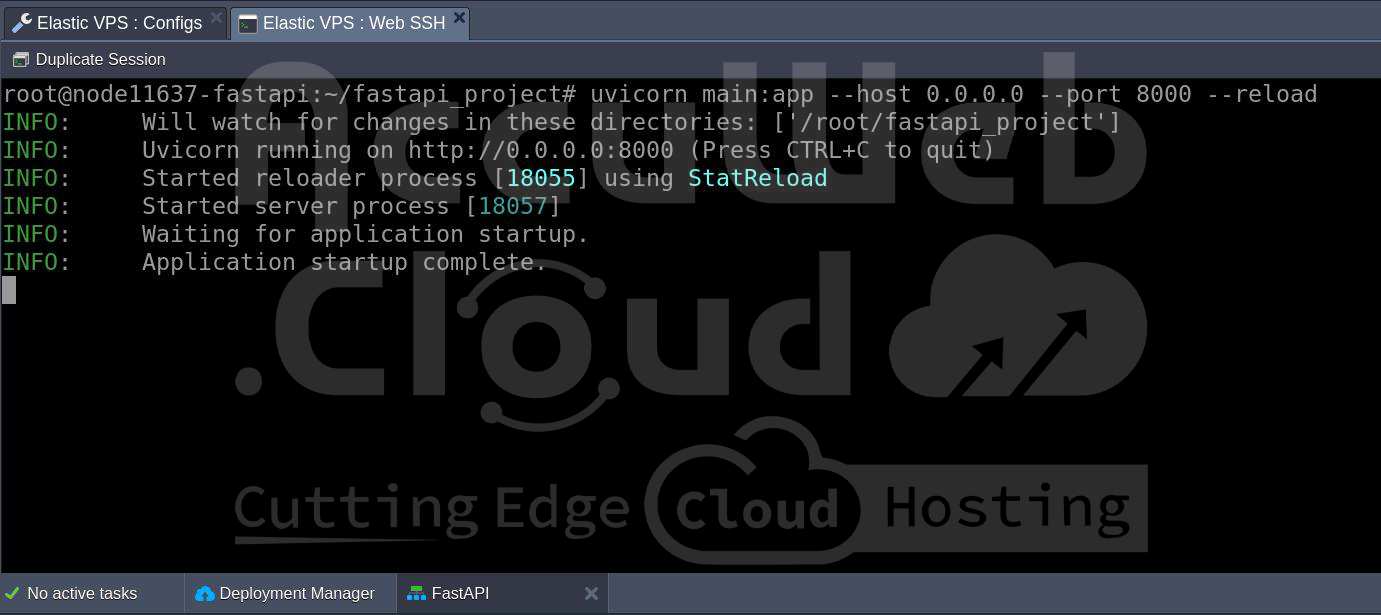
Now, let’s run the FastAPI application using Uvicorn. In your terminal, run:
uvicorn main:app –host 0.0.0.0 –port 8000 –reload
This will start the FastAPI application and make it accessible at http://your_server_ip:8000.
Accessing the FastAPI Documentation
FastAPI automatically generates Swagger documentation, which can be accessed at:
http://your_server_ip:8000/docs
This interactive UI allows you to test the API endpoints directly.
Conclusion
By following this guide, you have successfully set up FastAPI on the Ubuntu server. You have also been able to manage your server with Web SSH, which makes things a lot simpler during management. Fast API makes it possible to give you the foundation for building scalable, high-performance, and asynchronous web-based APIs using efficient query techniques involving your relational database.


