How to Make a Connection to DB using JNDI?
JNDI, or the Java Naming and Directory Interface, is a tool in Java that helps consistently manage names and directory services. It helps bind objects together, look up or search for objects, and notice any changes made to those objects.
To use JNDI, you need to understand the service it’s working with and have access to that service’s setup. For example, if you’re connecting to a database, you’ll need to know certain details about the database and how to handle any issues that may arise.
Now, let’s learn how to connect a database using JNDI through Accuweb.cloud dashboard.
Step 1. Log in to your AccuWeb.cloud dashboard.
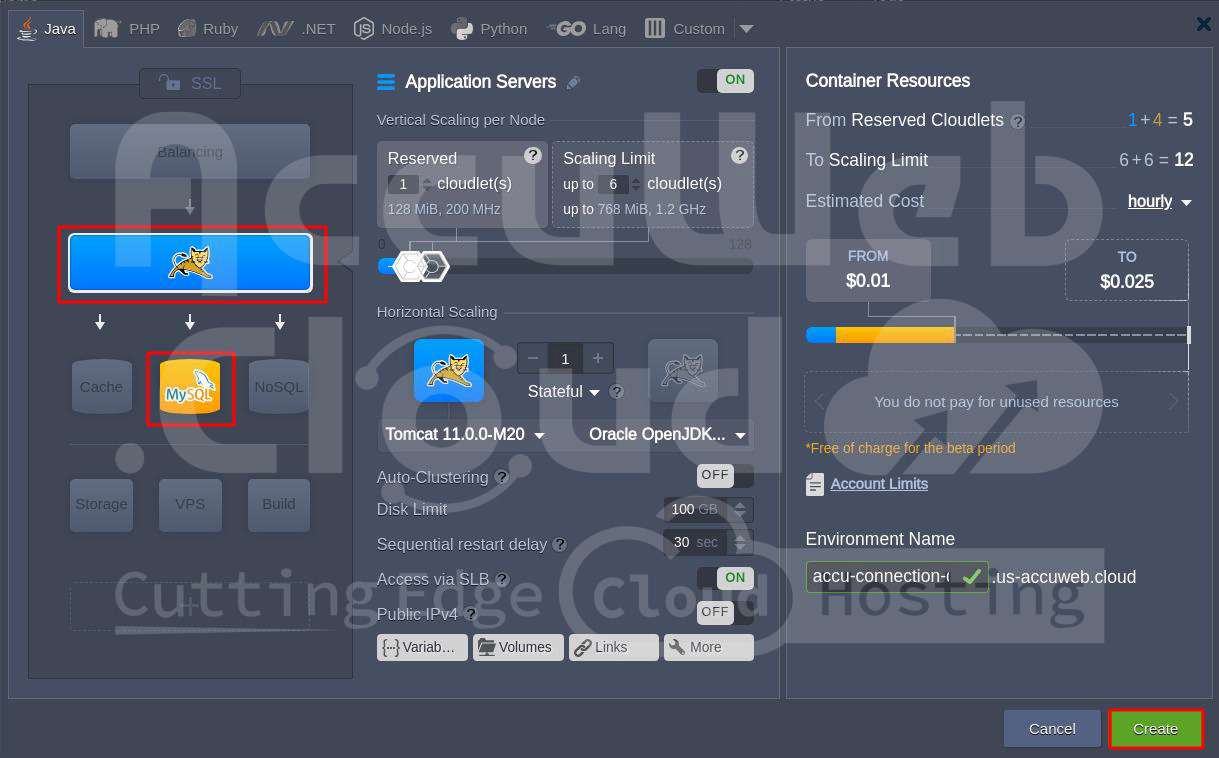
Step 2. Create a new environment with a MySQL or MariaDB database. If you already have an environment with a MySQL database, you can use that to connect with JNDI.
Step 3. Use the login details received via email to log in to the database. Create a new database with the following details:
- Database name: accuweb_db
- User name: accuweb
- Password: AccU@12345
Step 4. Go to the configuration files (conf) of your web application and make changes to context.xml and web.xml files. The default path for the web application’s configuration is /opt/tomcat/conf/.
In context.xml
<Context antiJARLocking="true" path="/JNDI">
<Resource name="jdbc/jelasticDb" auth="Container" type="javax.sql.DataSource"
maxActive="100" maxIdle="30" maxWait="10000"
username="accuweb" password="AccU@12345" driverClassName="com.mysql.jdbc.Driver"
url="jdbc:mysql://node5132-accu-connection-db-using-jndi.us-accuweb.cloud/accuweb_db"/>
</Context>
In web.xml
<resource-ref>
<description>MySQL Datasource example</description>
<res-ref-name>jdbc/jelasticDb</res-ref-name>
<res-type>javax.sql.DataSource</res-type>
<res-auth>Container</res-auth>
</resource-ref>
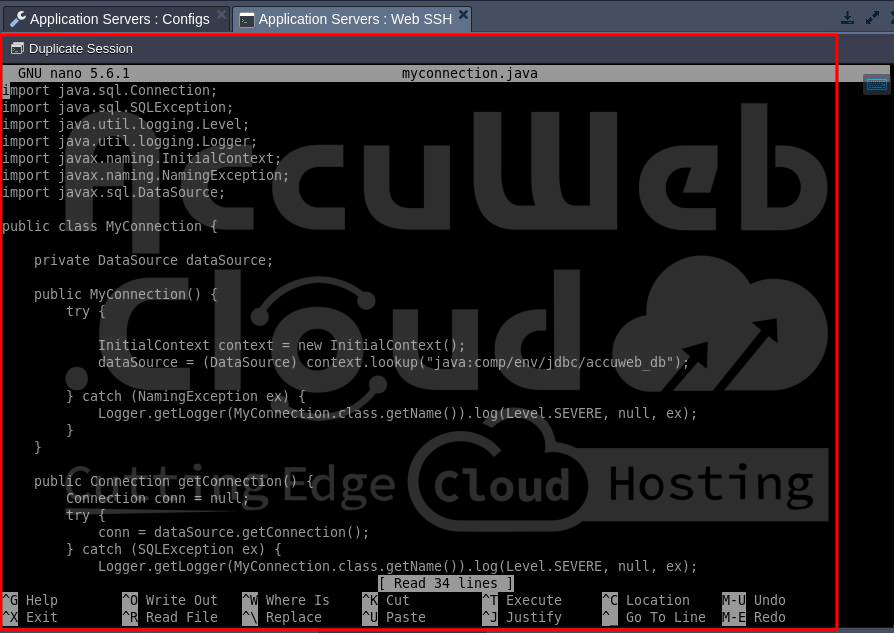
Step 5. Create a connection in a Java class file in the Root folder and save it with the .java extension (example myconnection.java).
import java.sql.Connection;
import java.sql.SQLException;
import java.util.logging.Level;
import java.util.logging.Logger;
import javax.naming.InitialContext;
import javax.naming.NamingException;
import javax.sql.DataSource;
public class MyConnection {
private DataSource dataSource;
public MyConnection() {
try {
InitialContext context = new InitialContext();
dataSource = (DataSource) context.lookup("java:comp/env/jdbc/accuweb_db");
} catch (NamingException ex) {
Logger.getLogger(MyConnection.class.getName()).log(Level.SEVERE, null, ex);
}
}
public Connection getConnection() {
Connection conn = null;
try {
conn = dataSource.getConnection();
} catch (SQLException ex) {
Logger.getLogger(MyConnection.class.getName()).log(Level.SEVERE, null, ex);
}
return conn;
}
}
Step 6. After that, run the Java file using the command javac filename i.e. javac myconnection,java .
That’s it!
Conclusion
In short, connecting to a database using JNDI has many advantages like making it easier to handle more users, keeping things secure, and making it simpler to set up. By using JNDI, developers can easily add database features to their apps without making the code too complicated.
This method helps manage resources well and makes it easy to use the app in different situations. With proper setup and following good methods, JNDI is a dependable and effective way to connect databases in Java apps.


