Migrating DigitalOcean Droplets to AccuWeb.Cloud with Docker Image
Migrating a DigitalOcean droplet to a Docker image and deploying it on an AccuWeb.Cloud Docker instance offers a streamlined approach to replicating your server environment across different platforms. Since direct migration of droplets is not possible due to the lack of shared backup snapshots, Docker provides a viable solution for this process.
By creating a Docker image from your existing DigitalOcean setup—containing the base operating system, configurations, and data files—you can effectively transfer your entire environment into a Docker container.
This guide will walk you through the steps to migrate your droplet to a Docker image and deploy it on an AccuWeb.Cloud Docker instance, ensuring a seamless transition and consistent functionality across cloud environments.
Access Your DigitalOcean Droplets
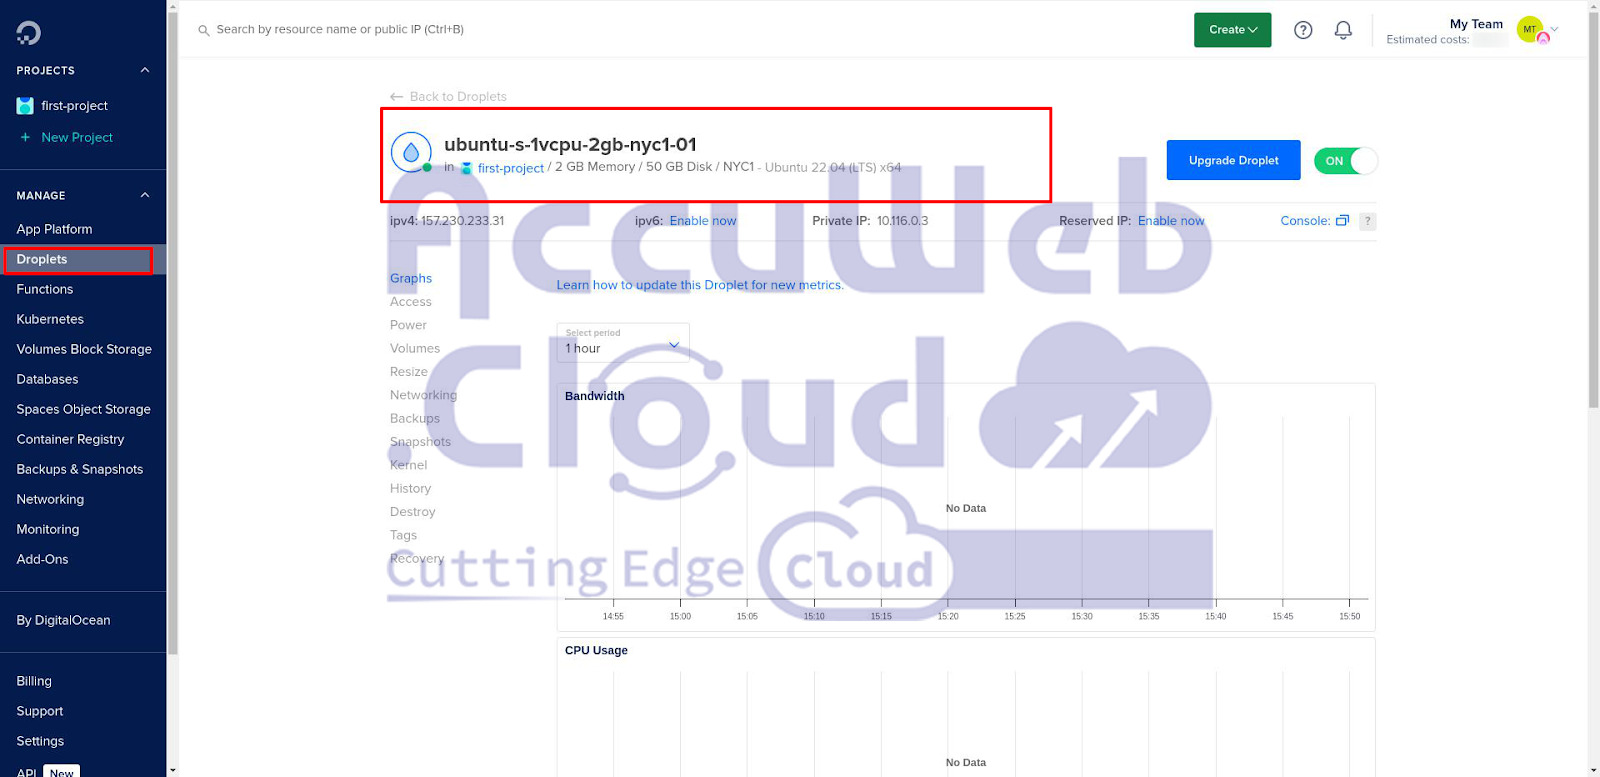
Log in to your DigitalOcean account and navigate to the “Droplets” section from the dashboard. Here, you will see a list of all your existing droplets. This is where you will start the process of migrating your droplet to a Docker image. Select the droplet you wish to migrate to proceed with the necessary configurations and preparations.
Access Your Existing DigitalOcean Droplet
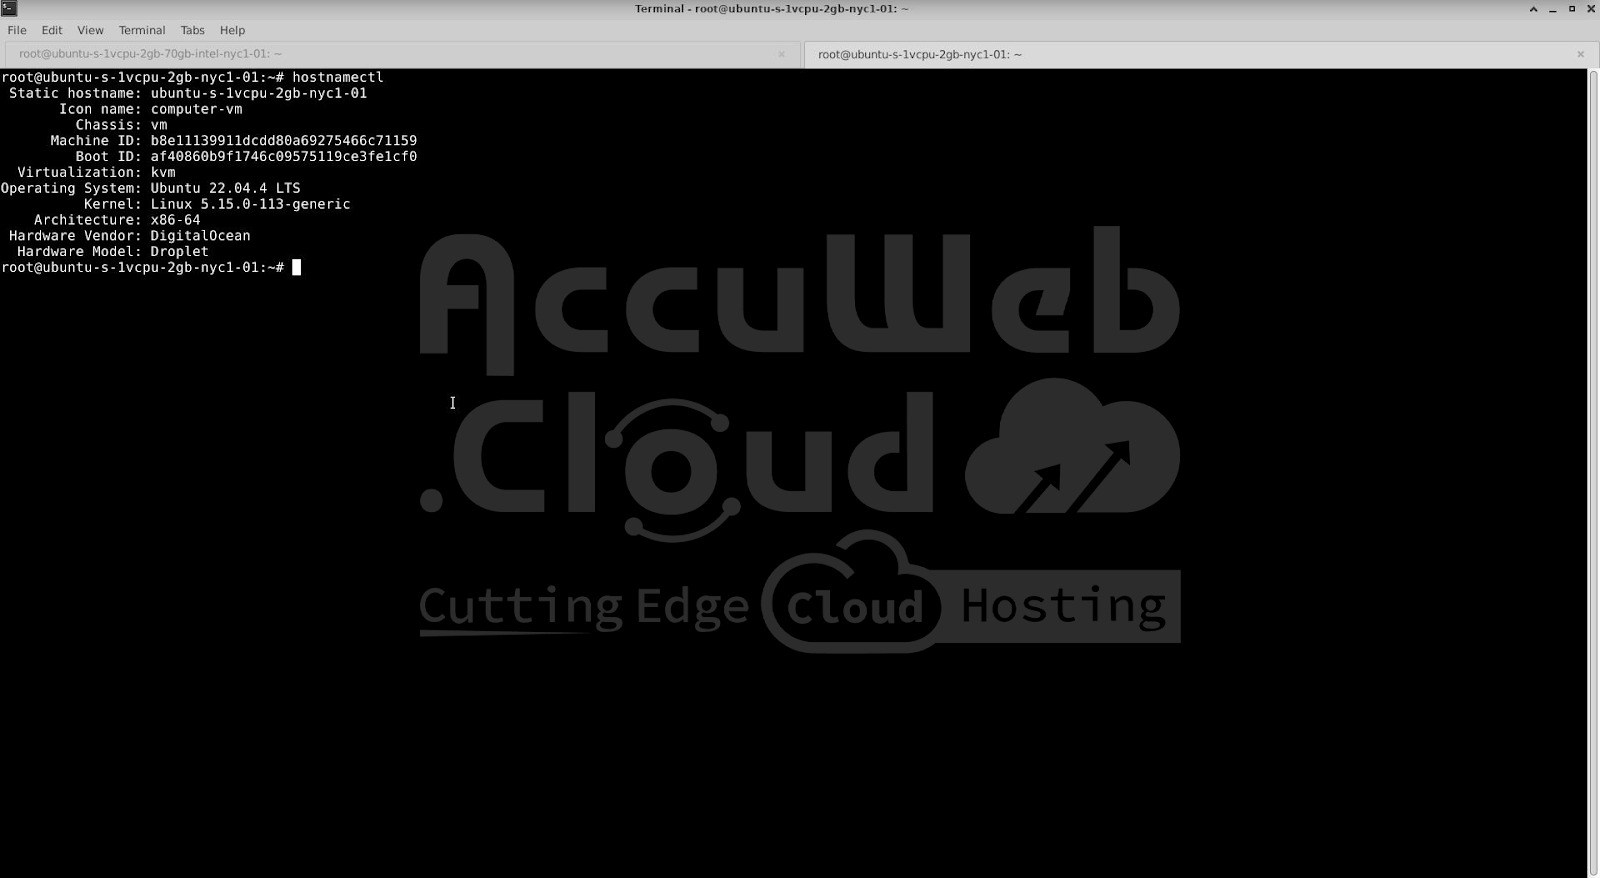
SSH into your existing droplet. This article demonstrates using a droplet created with Ubuntu 22.04.
Update the System
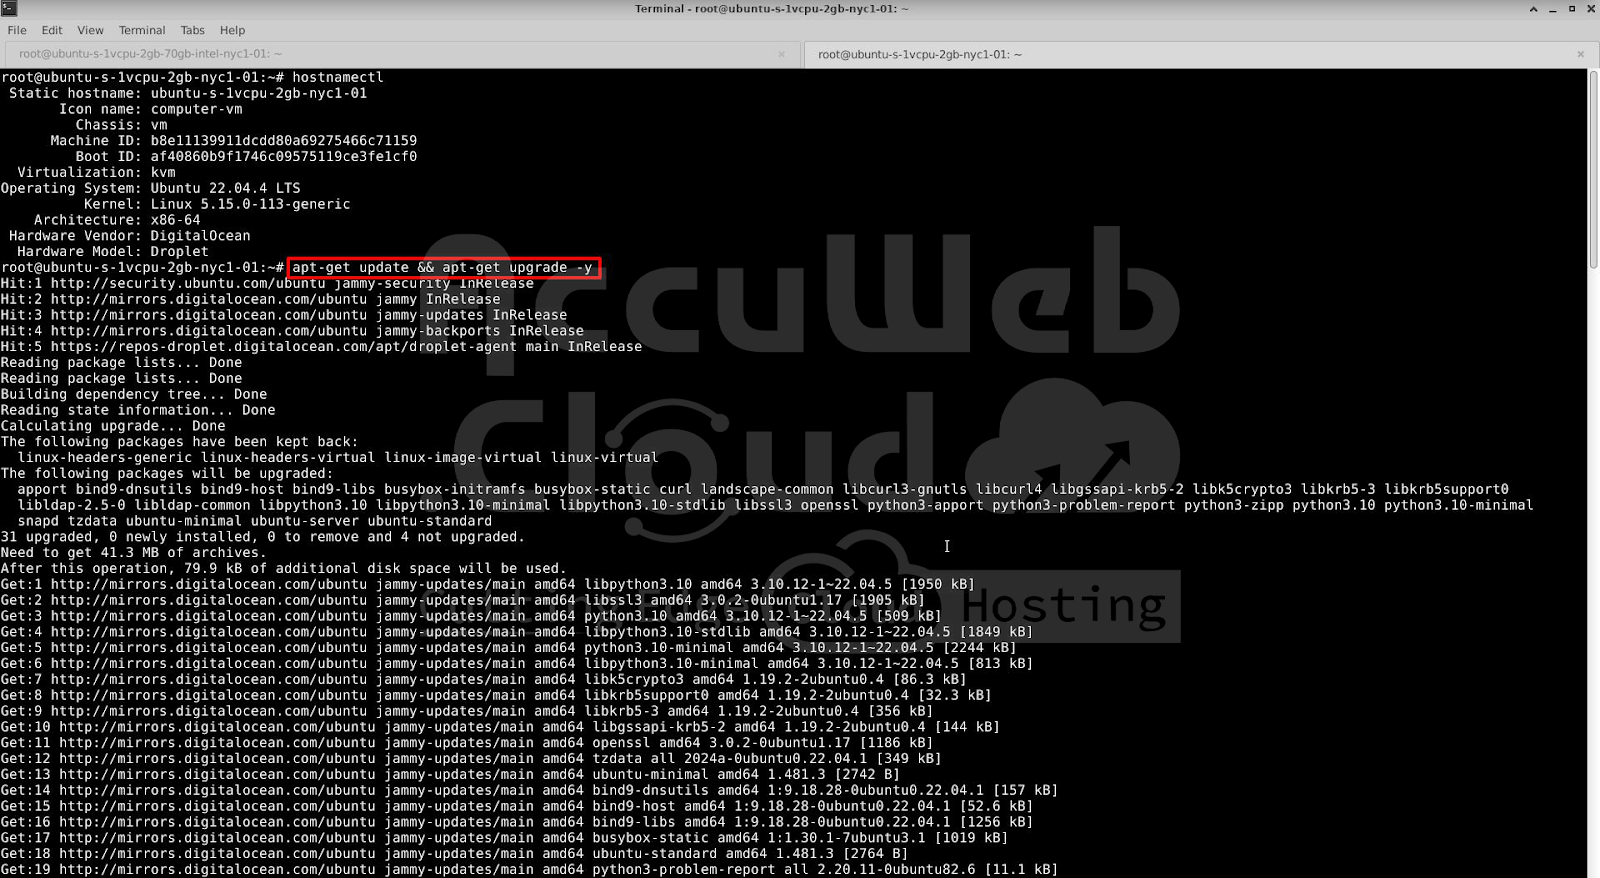
Update the package list and upgrade installed packages with
apt-get update && apt-get upgrade -yInstall Apache and PHP
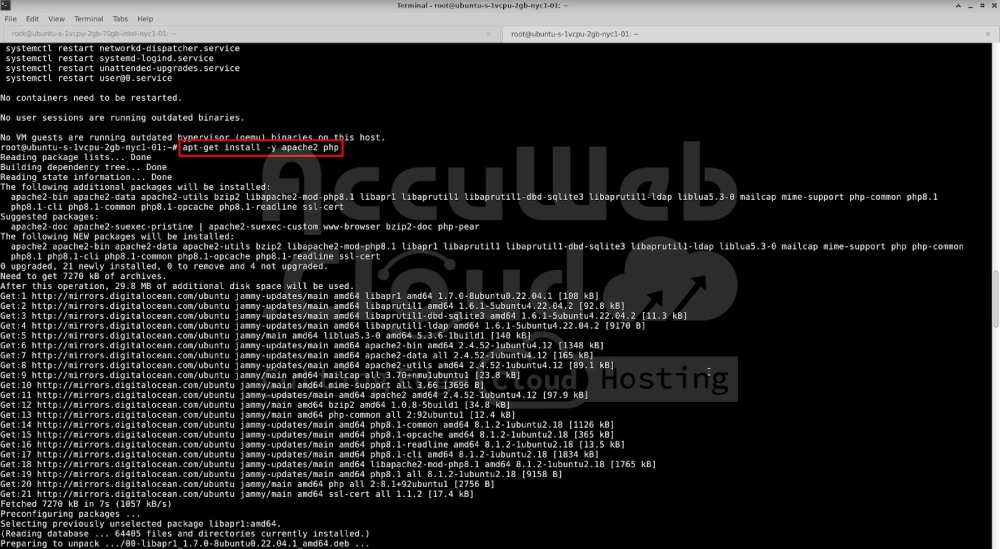
Install Apache and PHP with
apt-get install -y apache2 phpFor this article, we will also create a test PHP file.
Verify Apache is Running
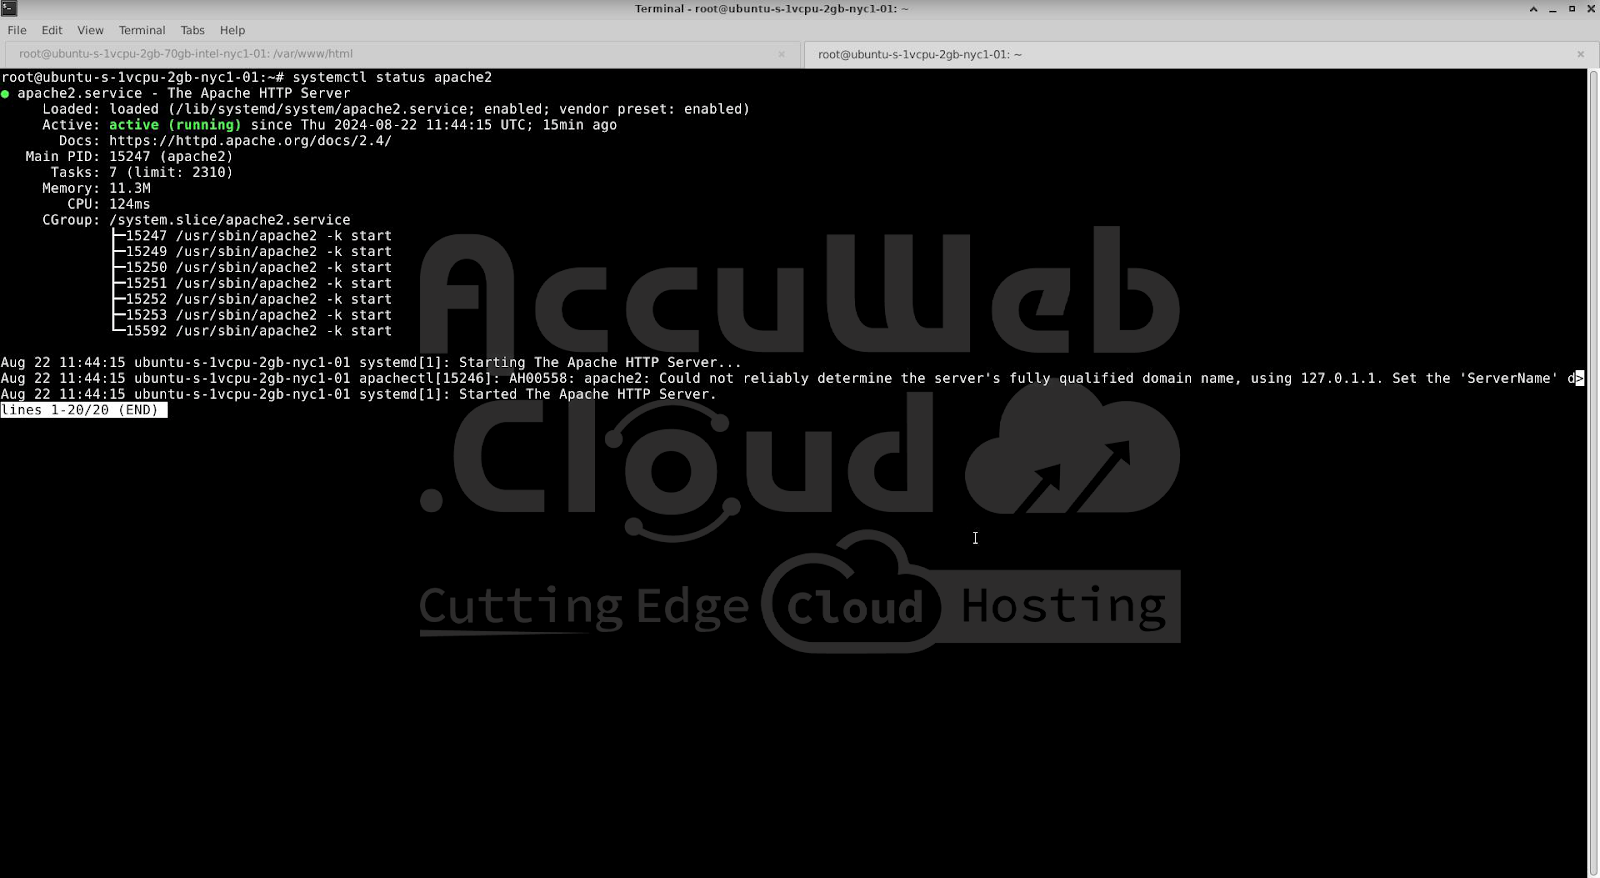
Check if Apache is running by executing
systemctl status apache2Add Content/Files
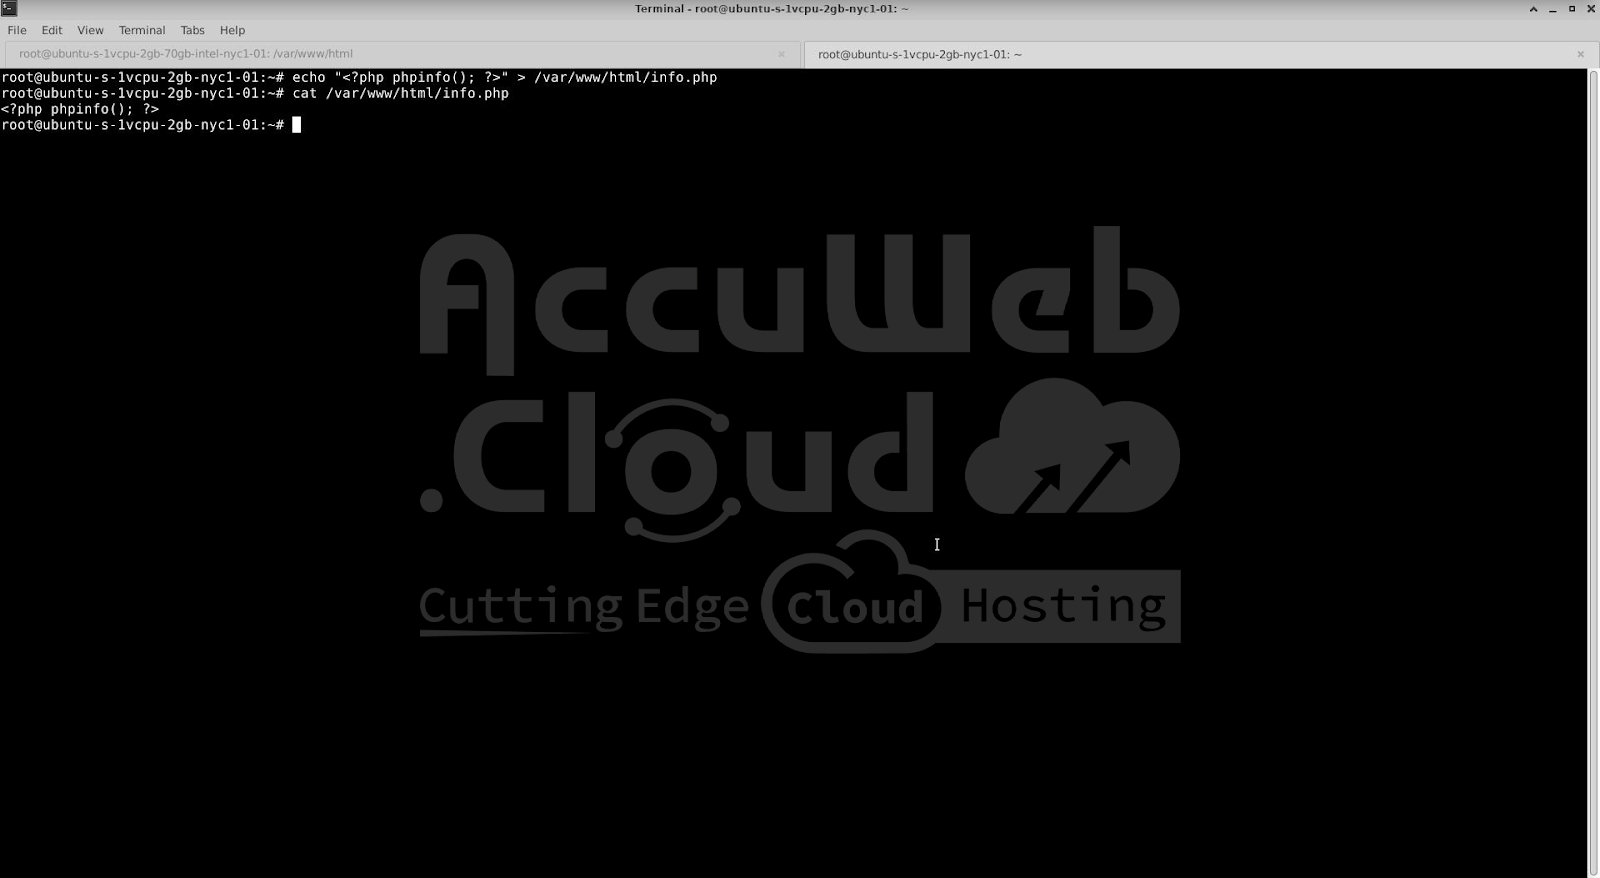
Create a sample PHP file with
echo "<?php phpinfo(); ?>" > /var/www/html/info.phpSet Correct Permissions for Apache
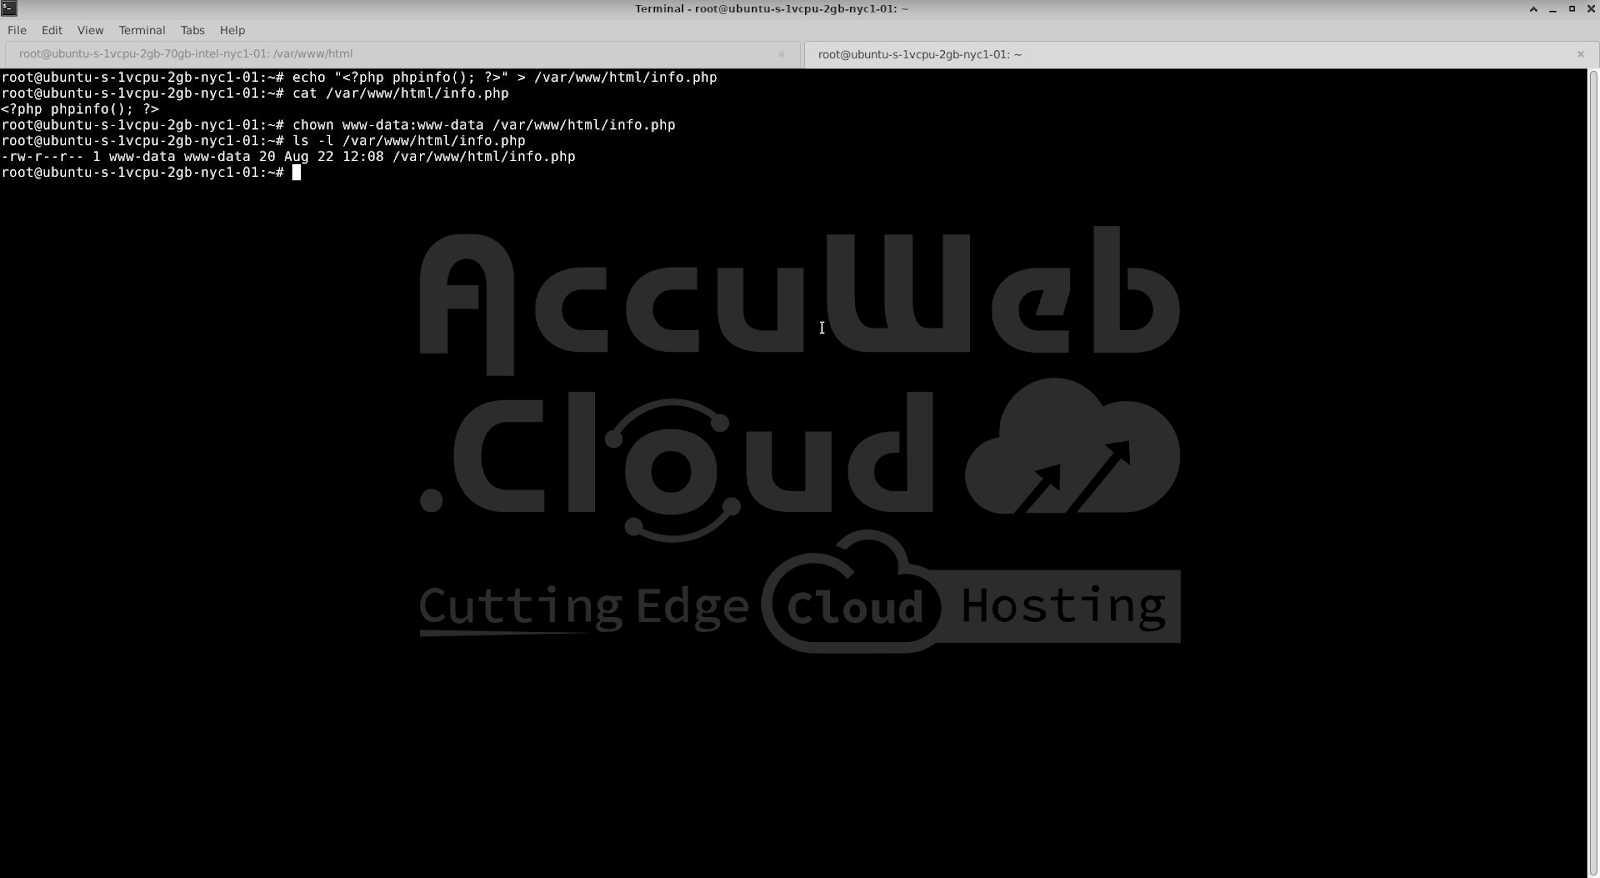
Ensure Apache has the correct permissions for the files by running
chown www-data:www-data /var/www/html/info.phpVerify Access via Web Browser
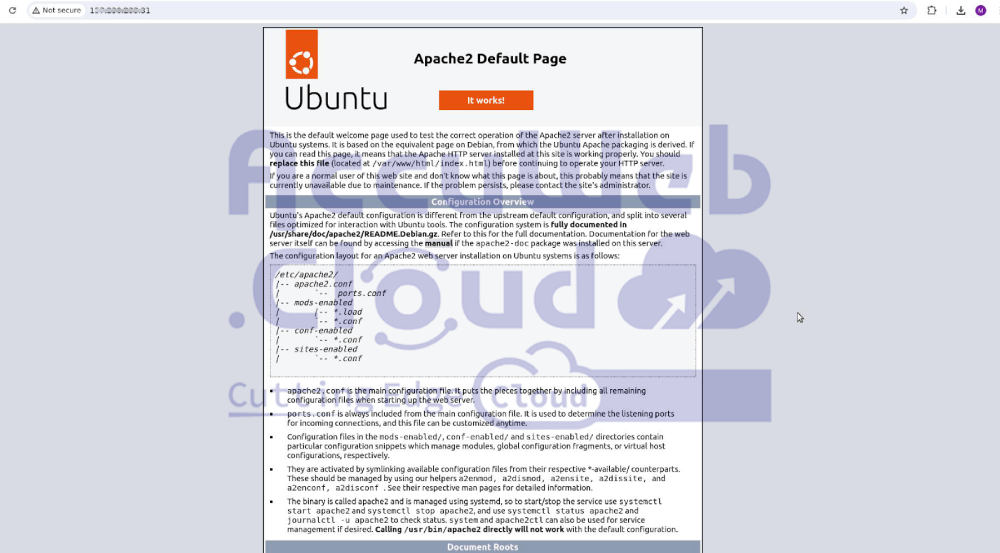
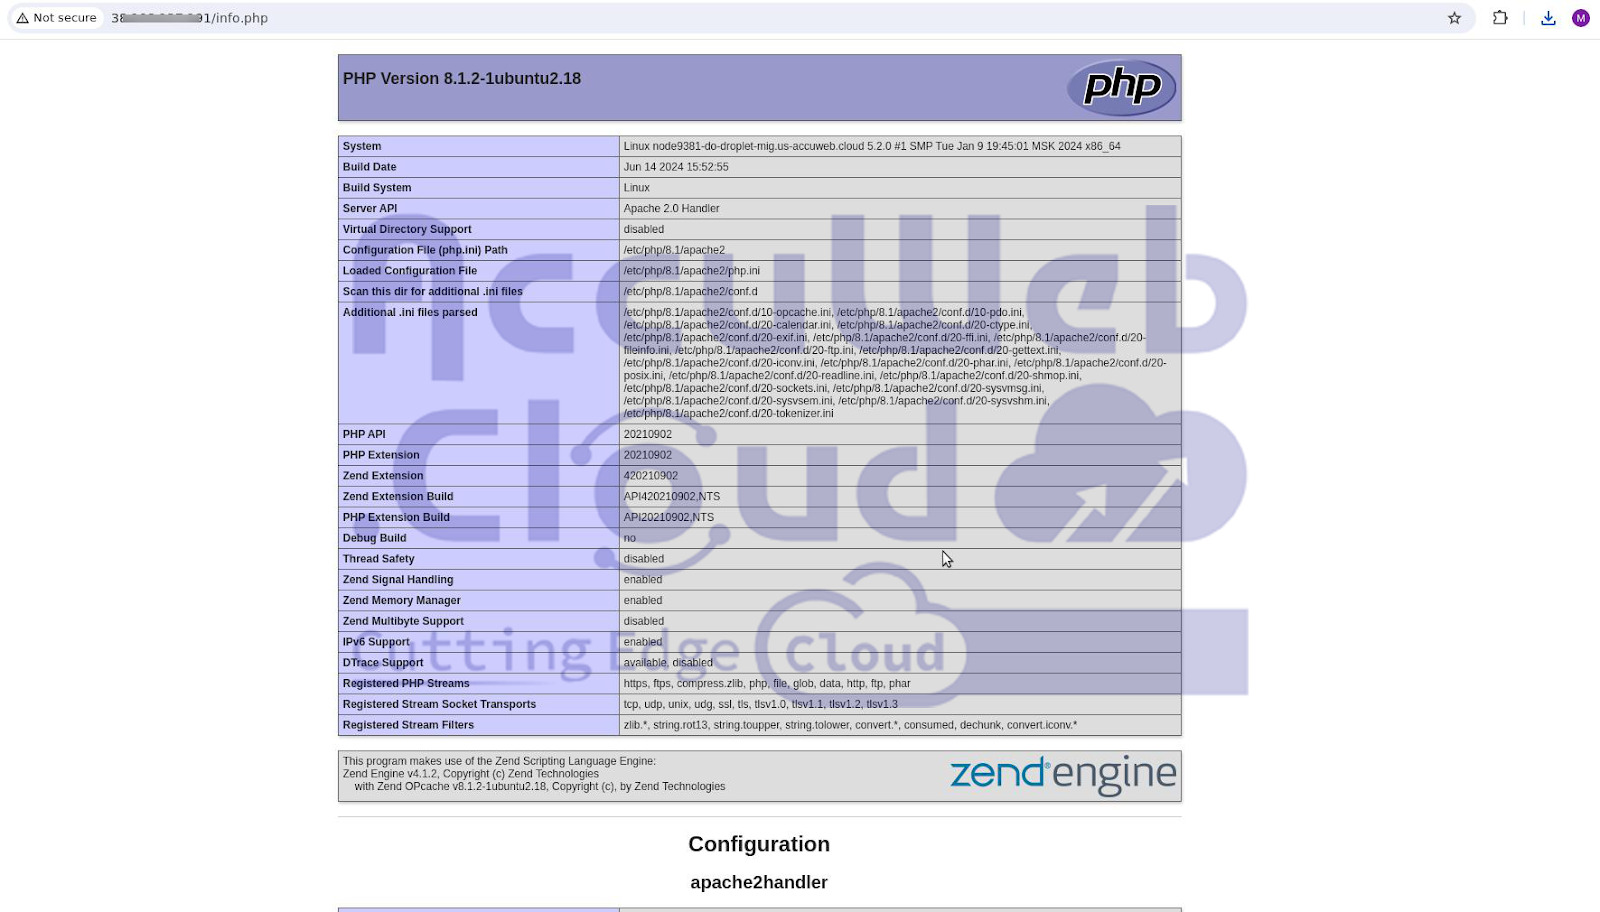
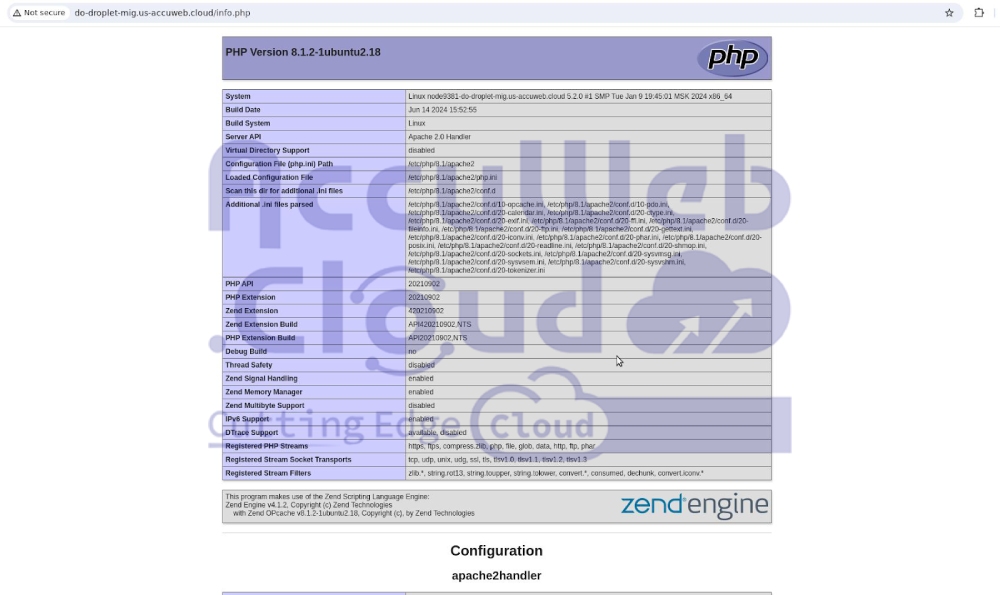
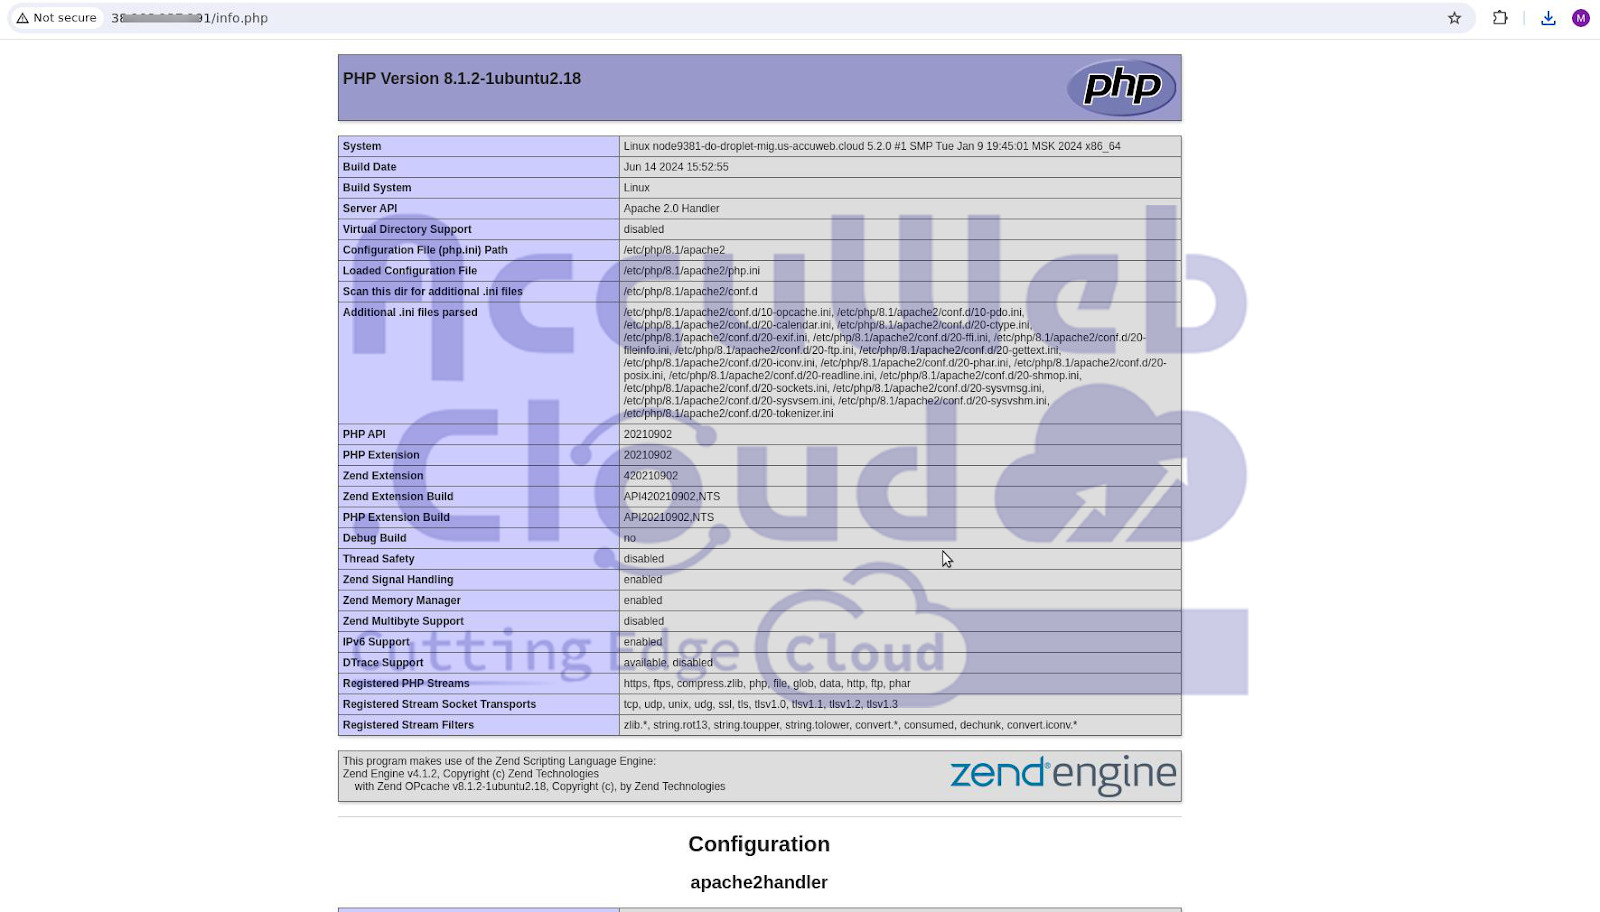
Confirm you can access the file by navigating to http://<your-droplet-ip>/info.php in a web browser.
Default index file
Info.php
Create Docker Image
Before we create a Docker image, we need to ensure that Docker is installed and running on your droplet. Docker is a platform that automates the deployment of applications inside lightweight, portable containers, making it an essential tool for modern development environments.
Install Docker on your droplet with
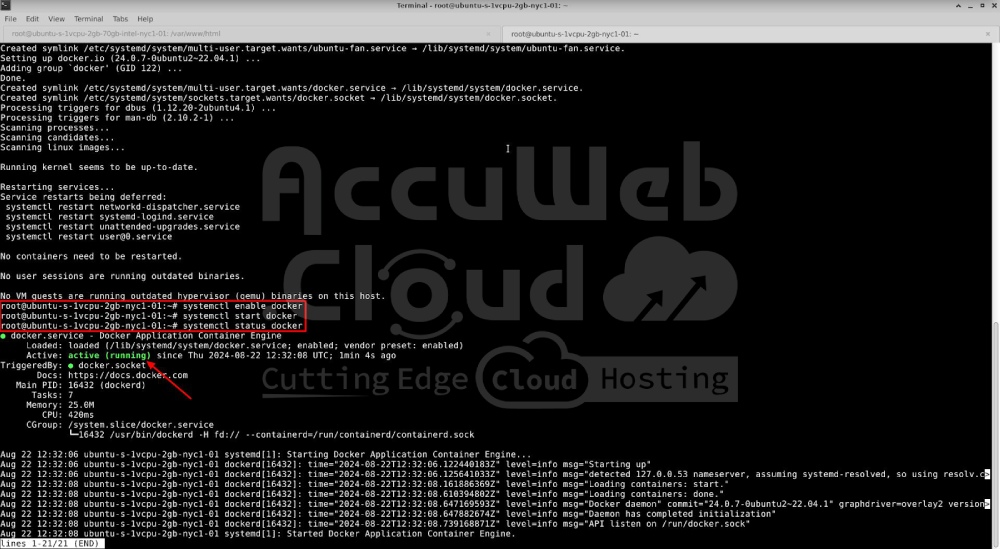
apt-get install -y docker.ioEnable Docker to start automatically on boot
systemctl enable dockerStart the Docker service with
systemctl start dockerPrepare Dockerfile
To create a Docker image that includes Apache and PHP, follow these steps to set up a Dockerfile. This file will install the necessary packages and copy your sample files into the container.
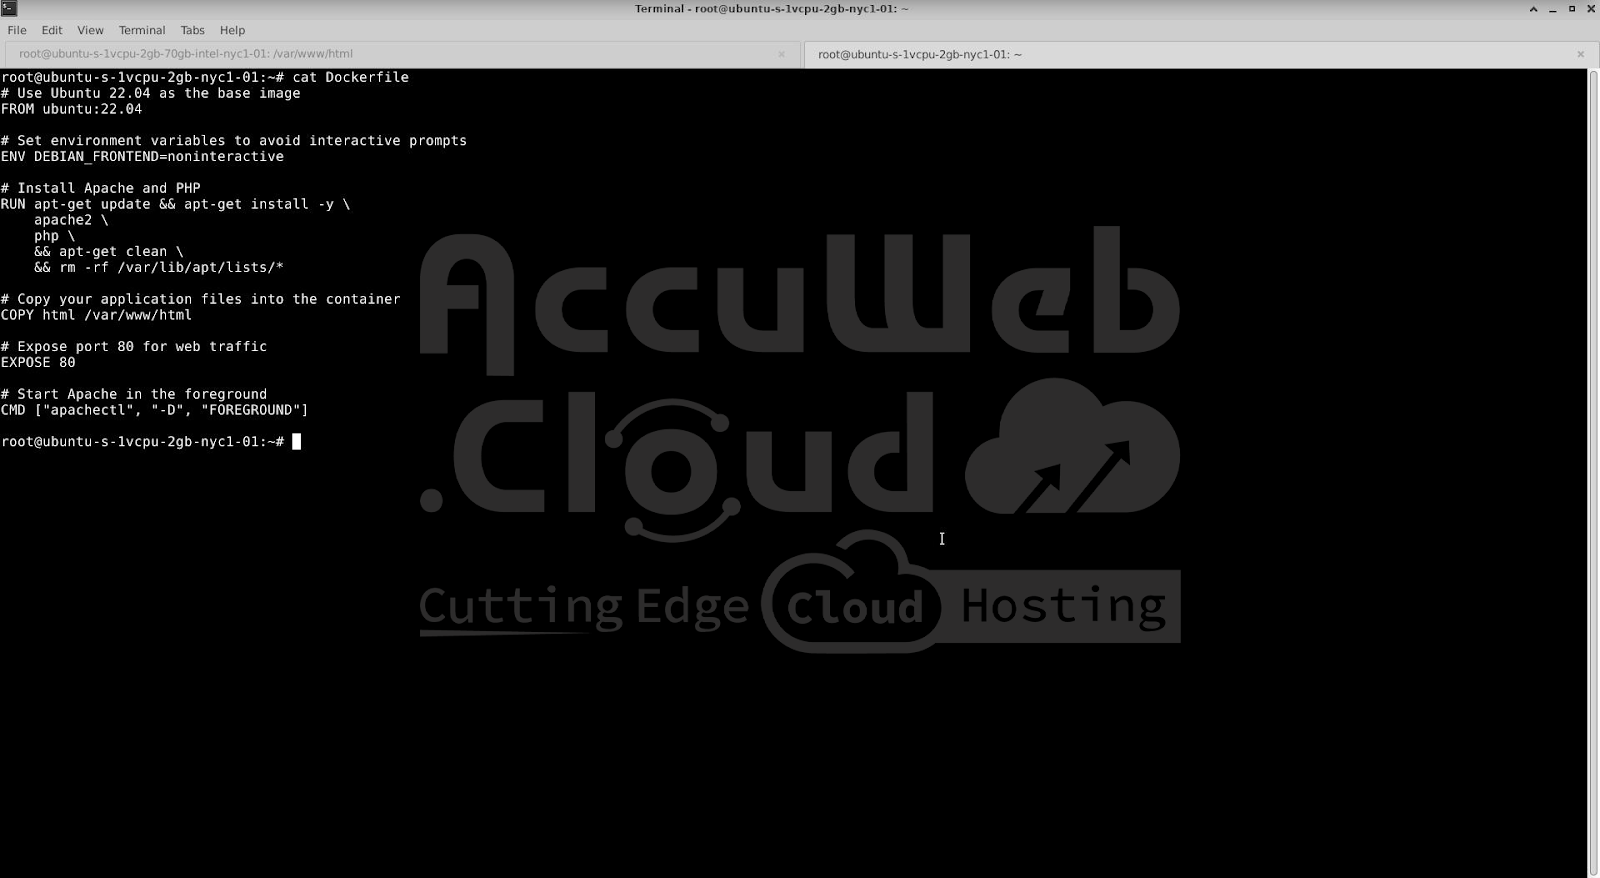
Create a Dockerfile with the following code:
# Use Ubuntu 22.04 as the base image
FROM ubuntu:22.04
# Set environment variables to avoid interactive prompts
ENV DEBIAN_FRONTEND=noninteractive
# Install Apache and PHP
RUN apt-get update && apt-get install -y \
apache2 \
php \
&& apt-get clean \
&& rm -rf /var/lib/apt/lists/*
# Copy the entire /html directory into the container
COPY html /var/www/html
# Expose port 80 for web traffic
EXPOSE 80
# Start Apache in the foreground
CMD ["apachectl", "-D", "FOREGROUND"]
Build Docker Image
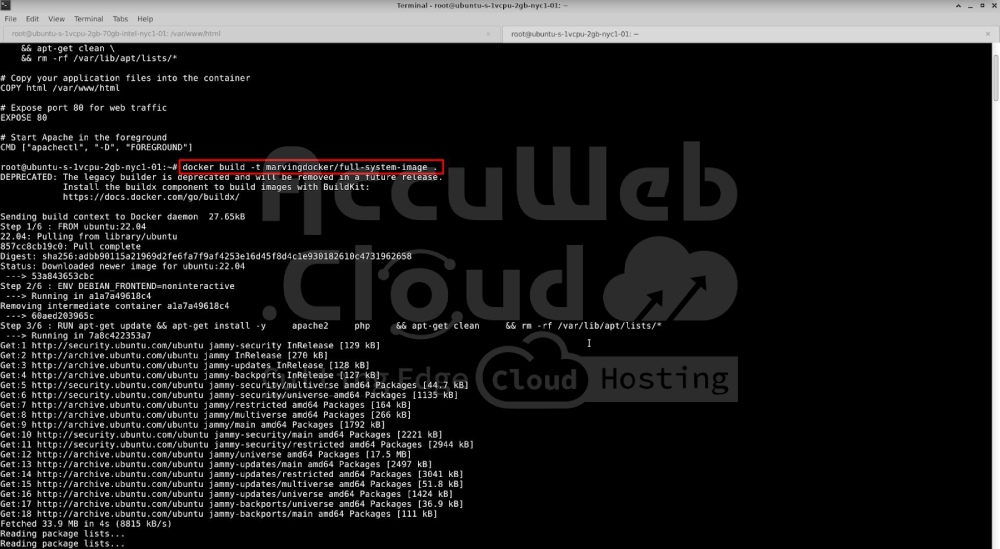
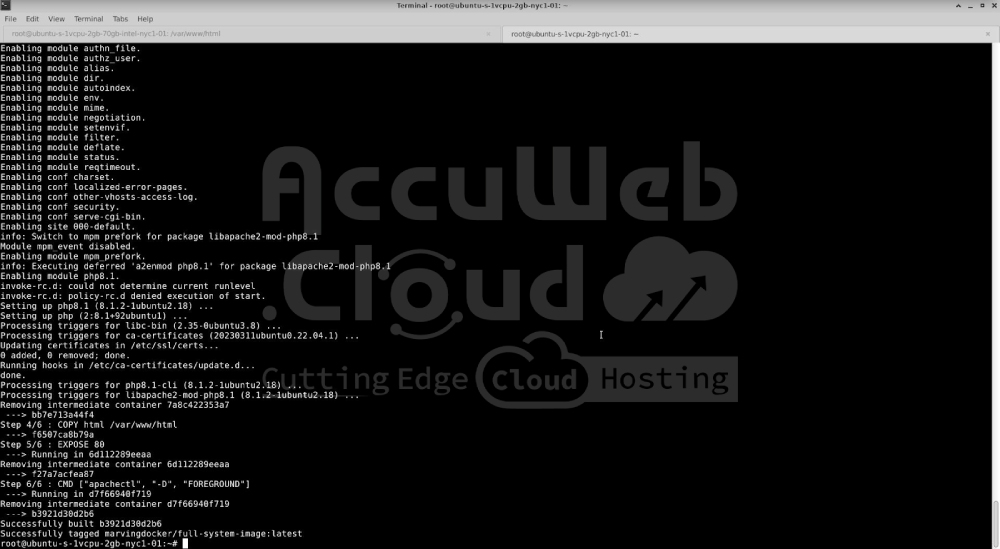
Build the Docker image using the following command
docker build -t marvingdocker/full-system-image .Here’s a breakdown of each parameter:
docker build This is the Docker command used to create a new image from a Dockerfile.
-t marvingdocker/full-system-image The -t flag tags the image with a name and optionally a tag. In this case, marvingdocker/full-system-image is the name assigned to the image. You can think of it as a label for the image, where marvingdocker is the username or organization and full-system-image is the name of the image. You can also append a tag (e.g., :v1) to specify a version.
. The period represents the build context, which is the directory containing the Dockerfile and any files it needs. In this case, . refers to the current directory. Docker will use this context to locate the Dockerfile and any other files specified in it (like info.php in this example).
Verify Docker Image
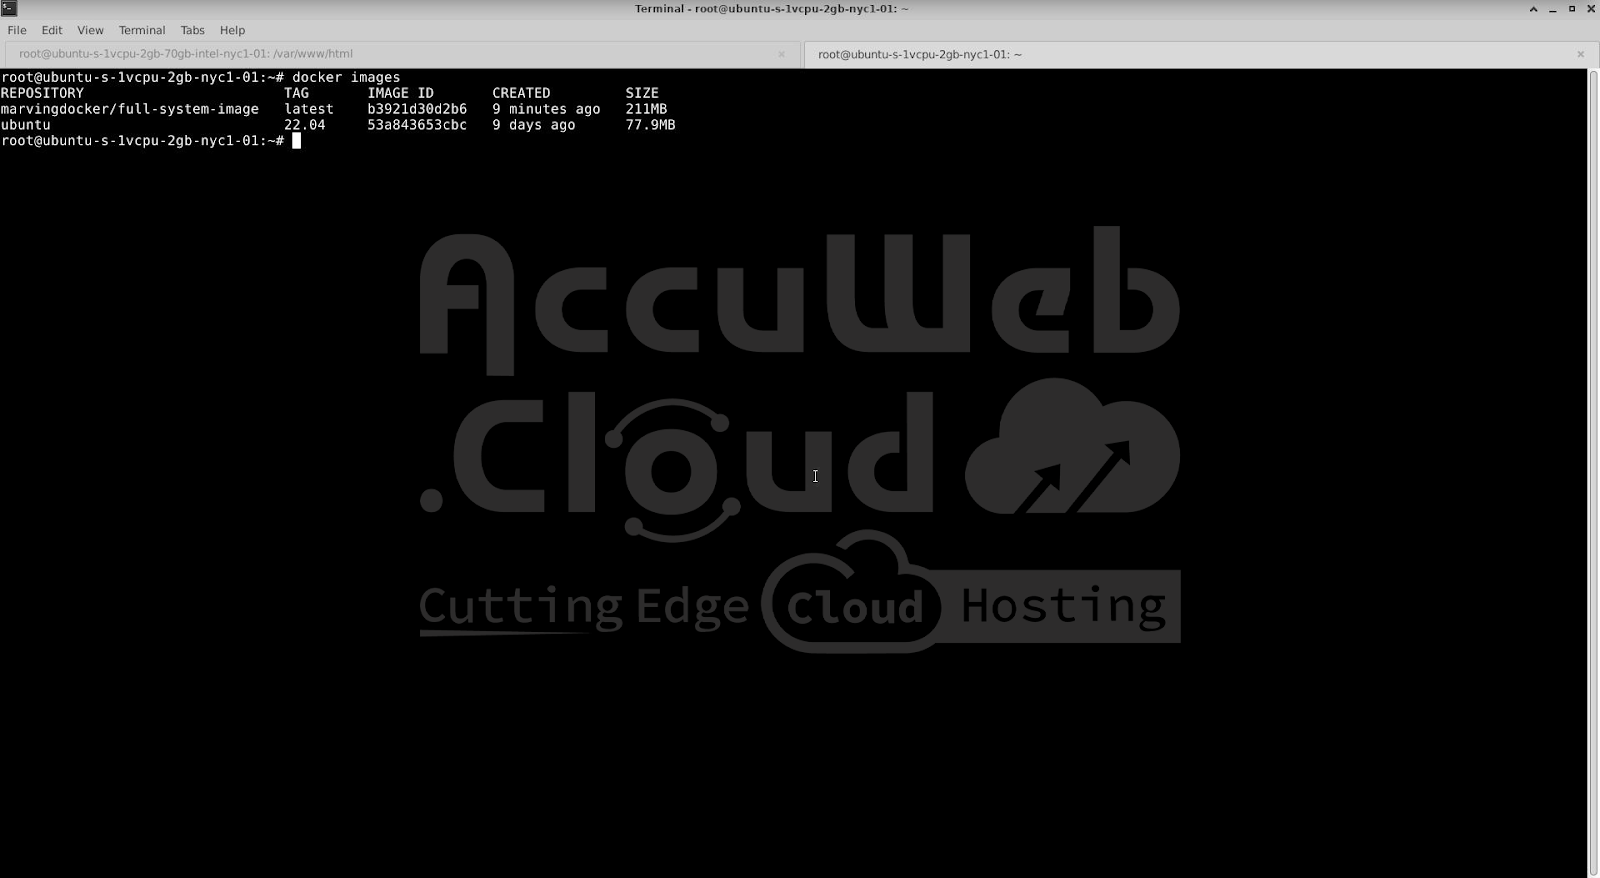
To confirm that your Docker image was created successfully, use the following command to list all available images on your system:
docker imagesThis command will display a list of Docker images, including the repository name, tag, and image ID. Verify that marvingdocker/full-system-image appears in the list with the correct tag.
Push Docker Image to Docker Hub
Log in to Docker Hub
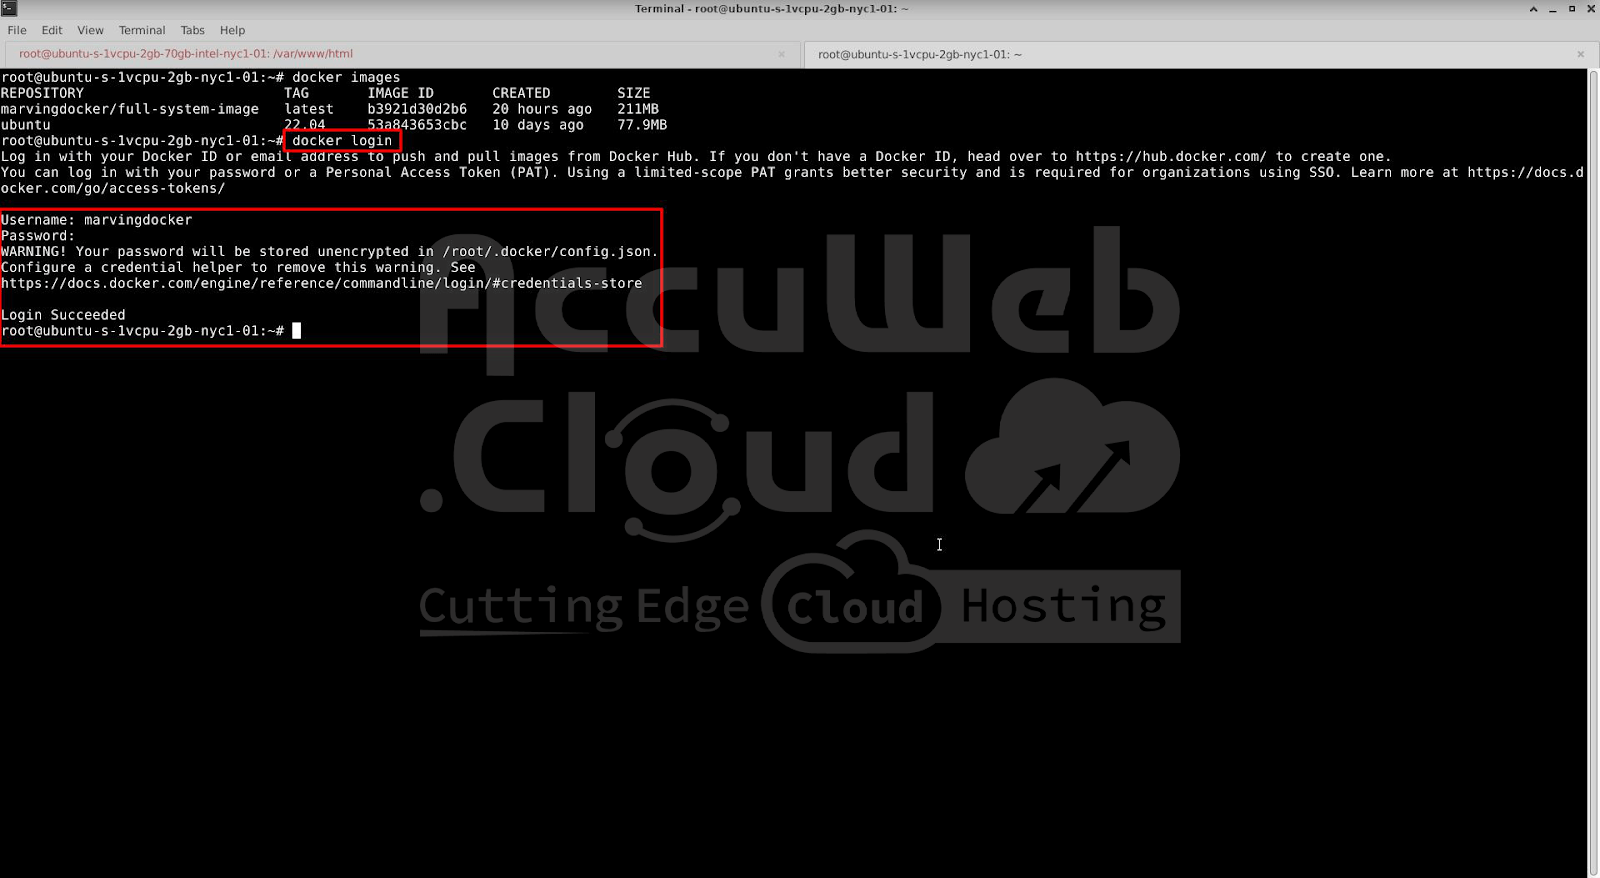
To push your Docker image to Docker Hub, you first need to log in to your Docker Hub account. Use the following command to authenticate:
docker loginYou will be prompted to enter your Docker Hub username and password. Once authenticated, you will be able to push images to your Docker Hub repositories.
Tag and Push the Docker Image
It’s recommended to tag your Docker image for clarity, especially if you plan to push it to Docker Hub:
docker tag marvingdocker/full-system-image marvingdocker/full-system-image:v1.0This tags your image with a version tag (v1.0), making it easier to manage and identify different versions.
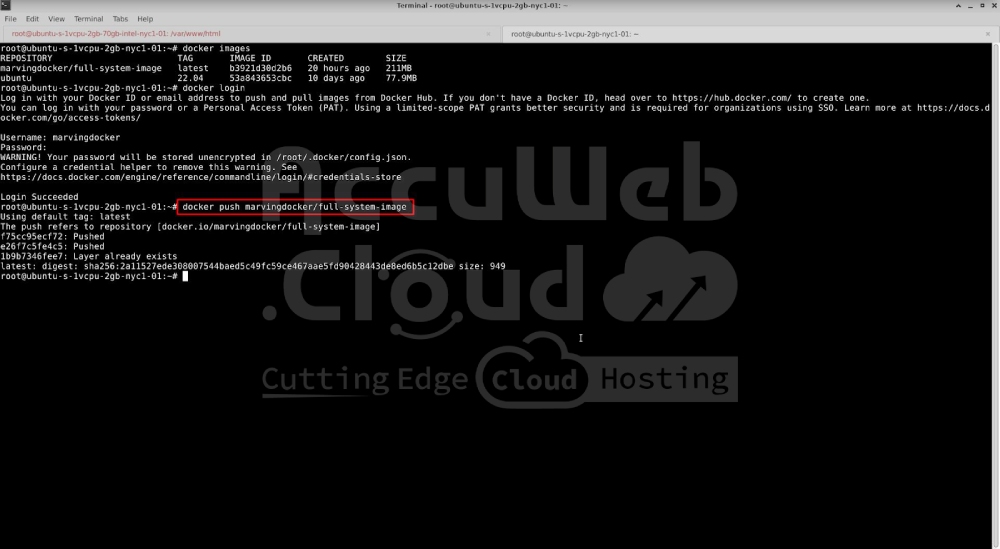
Once tagged, push the Docker image to Docker Hub
docker push marvingdocker/full-system-imageThis will upload the image to your Docker Hub repository, making it accessible from anywhere.
Verify Push
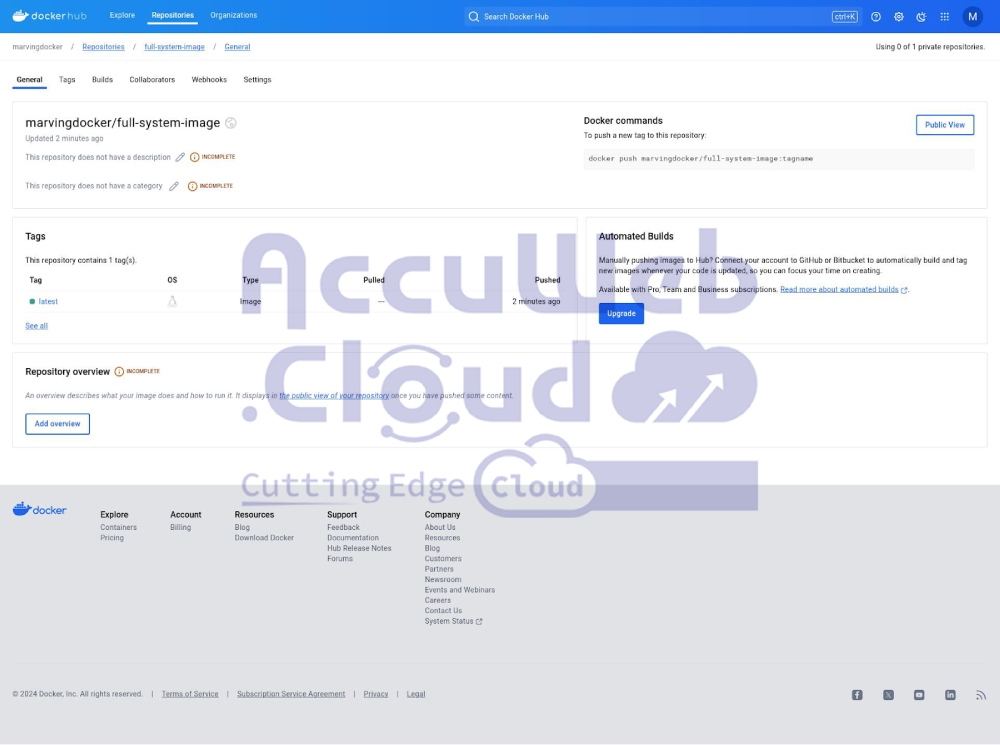
You can log in to your Docker Hub account and verify that the pushed image appears in your repository. Simply navigate to the repository section of your Docker Hub account, and you should see the image listed there with the tags you specified.
We have successfully pushed the Docker image, created from a DigitalOcean droplet, to Docker Hub. We will now import this image into the Docker template section of the AccuWeb.Cloud dashboard and use it to create a new instance. This will enable us to deploy and manage our application efficiently within the AccuWeb.Cloud environment.
Access the AccuWeb.Cloud Dashboard
Step 1. Log in to your AccuWeb.Cloud account.
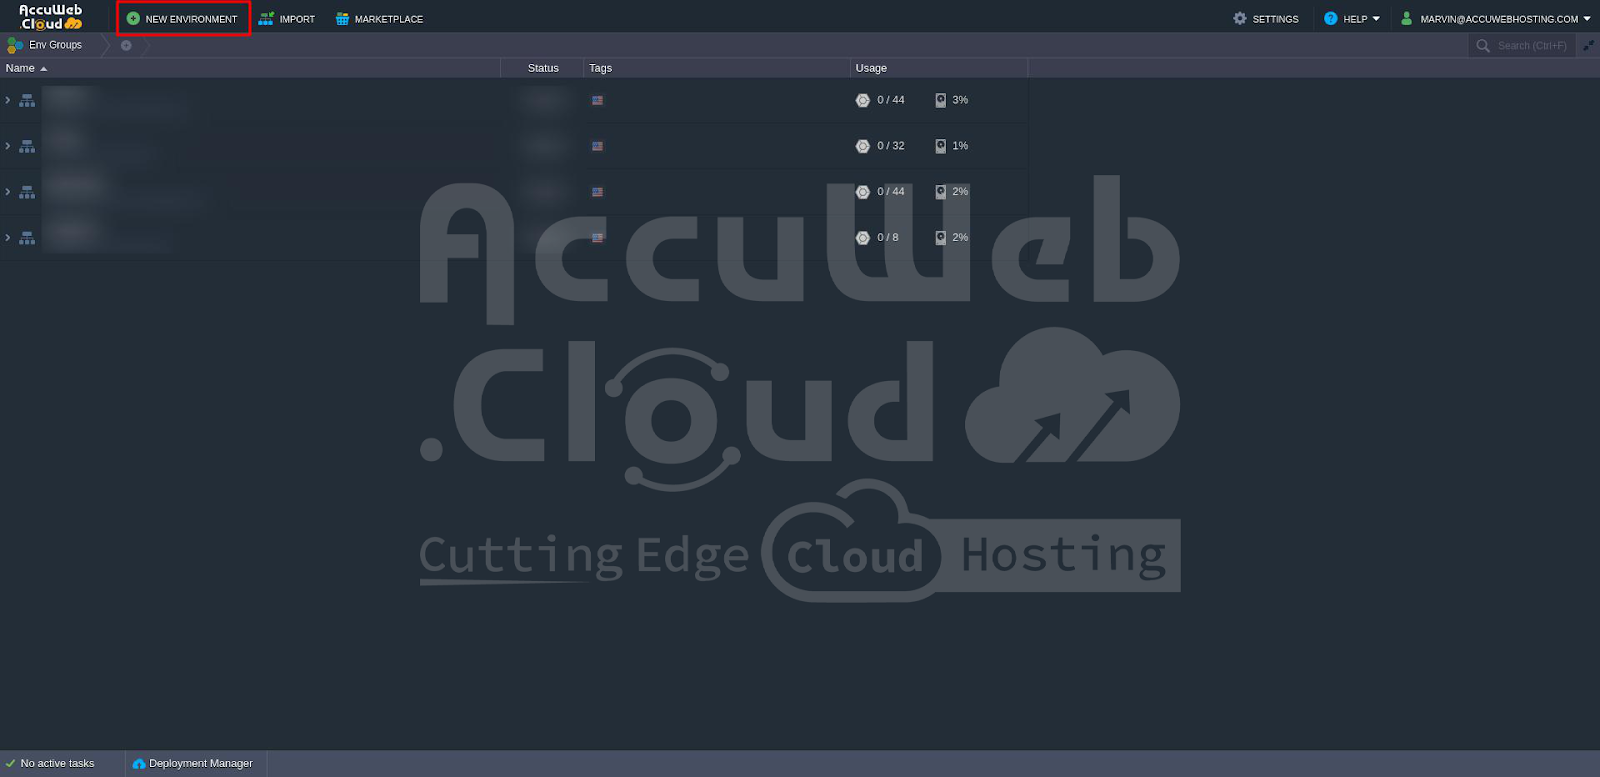
Step 2. Select the New Environment option from the menu on the left side of the screen.
Add Docker Image to AccuWeb.Cloud
Navigate to the Custom Tab
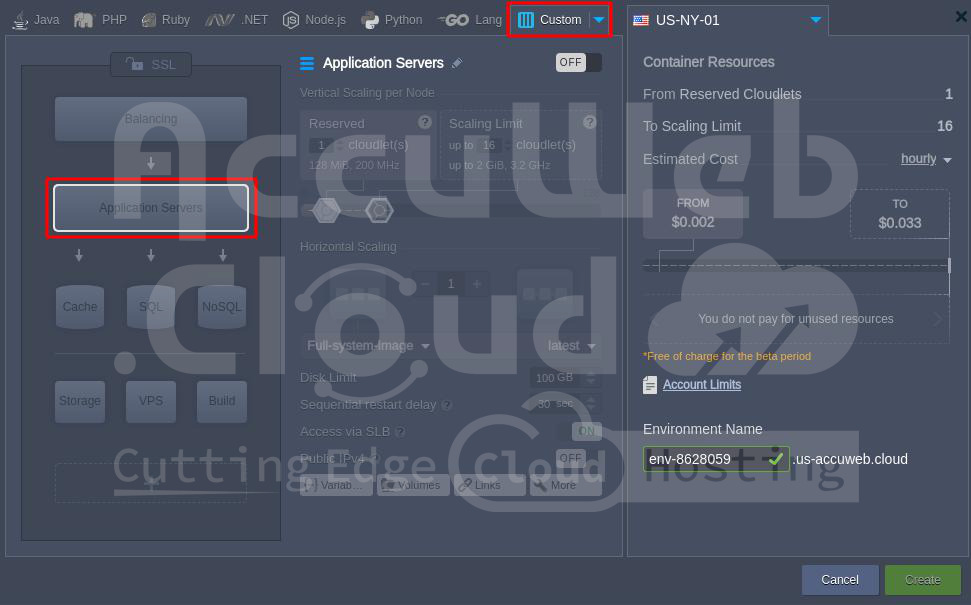
Go to the Custom tab in the Topology window and select the Application Servers option.
Add New Image
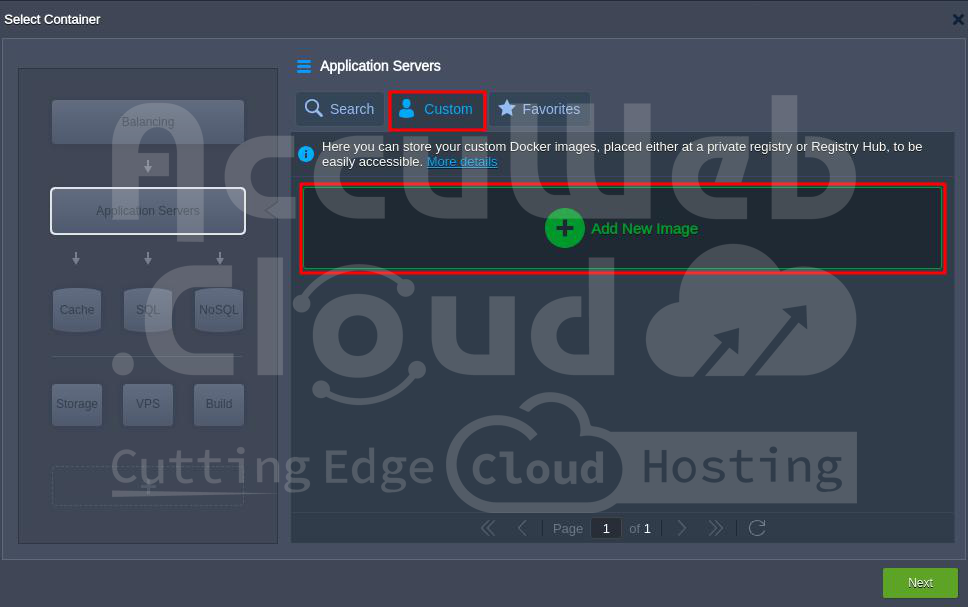
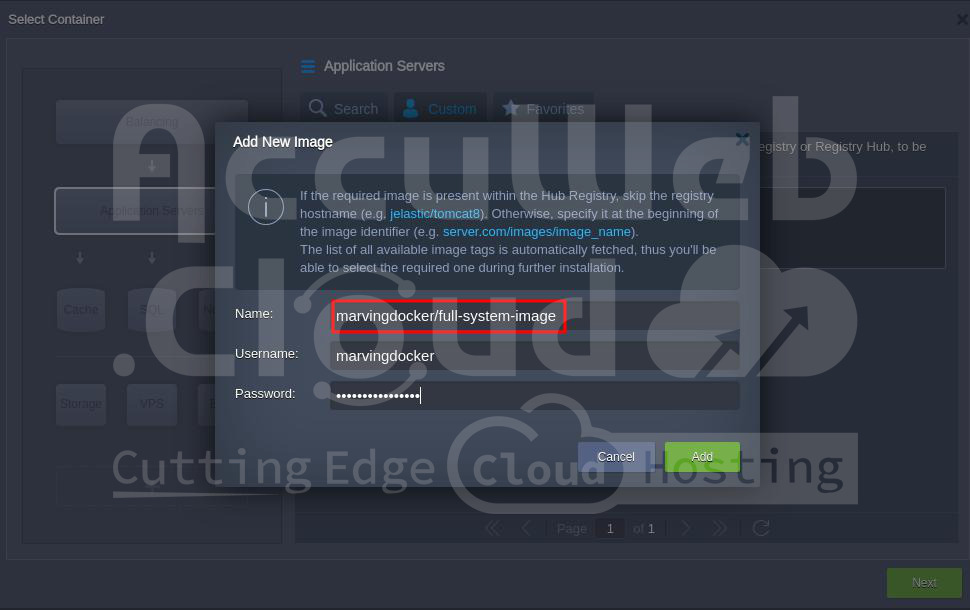
In the Application Servers window, select Custom and click on the Add New Image option.
Enter Image Details
In the Add New Image window, provide the following information:
- Name: Enter the Docker Hub repository details (e.g., marvingdocker/full-system-image).
- Username: Enter your Docker Hub username.
- Password: Enter your Docker Hub password.
Click the Add button.
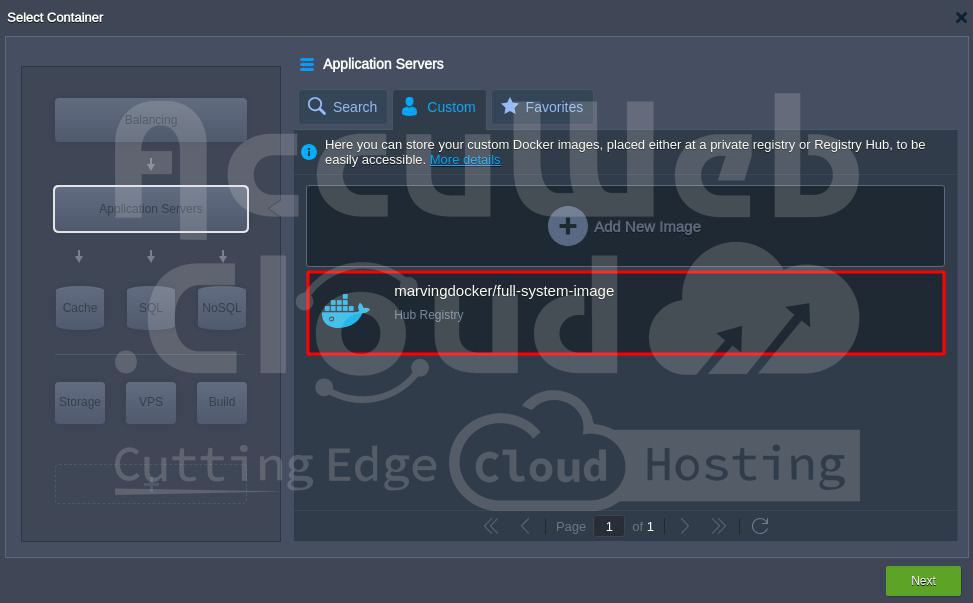
Verify Image Addition
If the details are correct, the Docker image will be added to the AccuWeb.Cloud dashboard’s Docker template. You should see the Docker image listed in AccuWeb.Cloud.
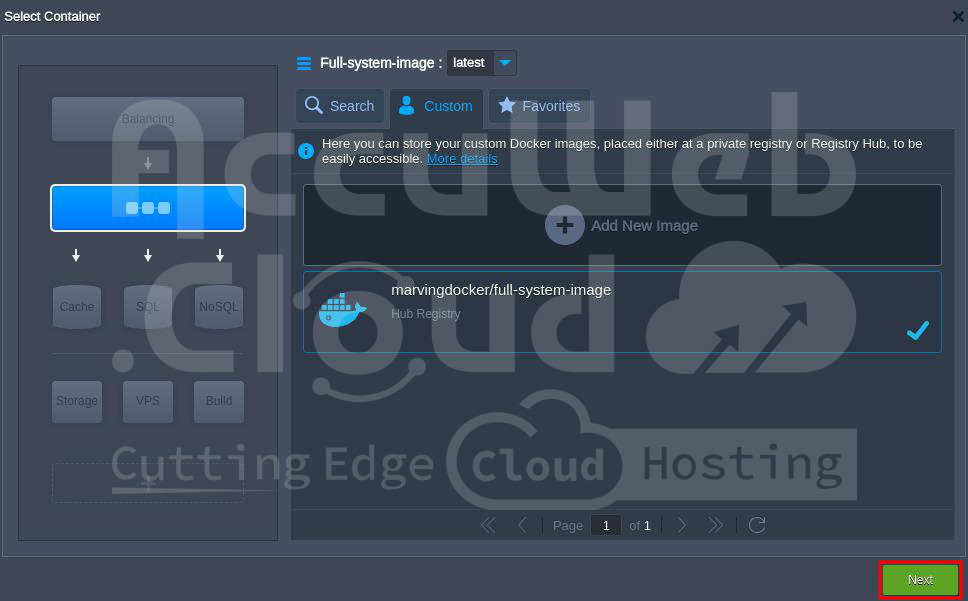
Select the Docker Image
Choose the added Docker image and click the Next button to proceed with building the application.
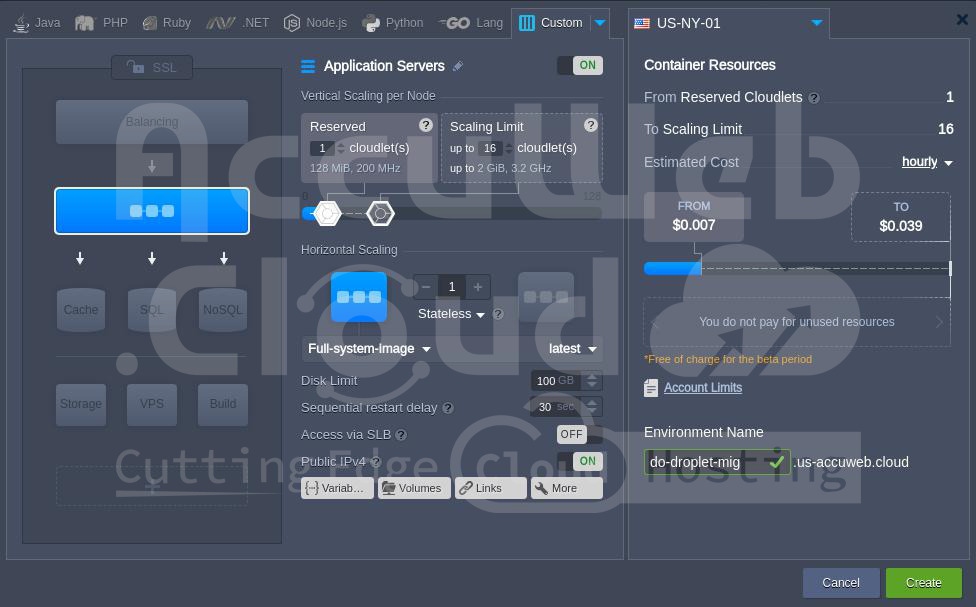
In the Topology window, adjust the Cloudlets in the Reserved and Scaling Limit sections, then click the Create button to start the build process.
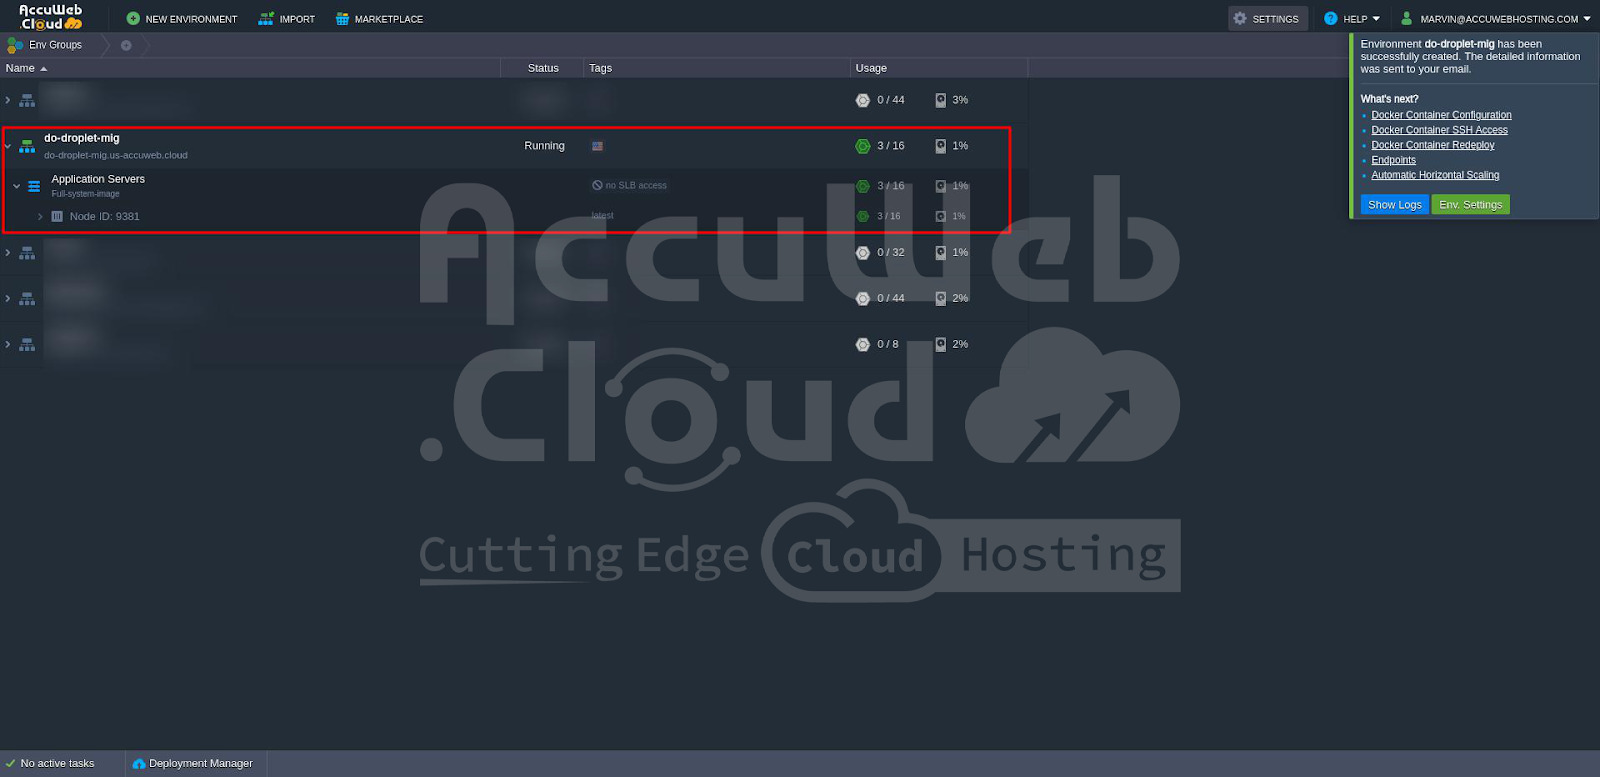
After the build process completes, you will see that the application has been successfully built using the Docker image.
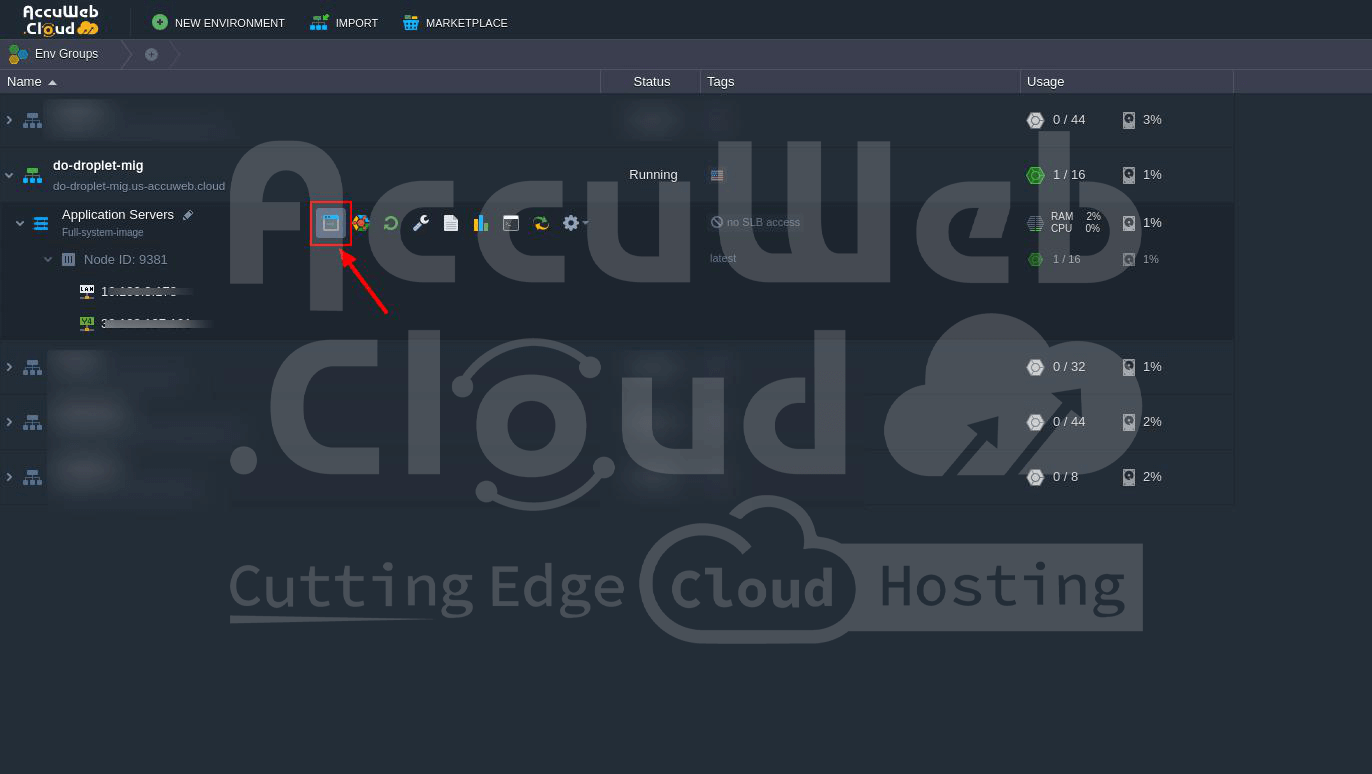
Click on the Open in Browser option to verify the application or website content.
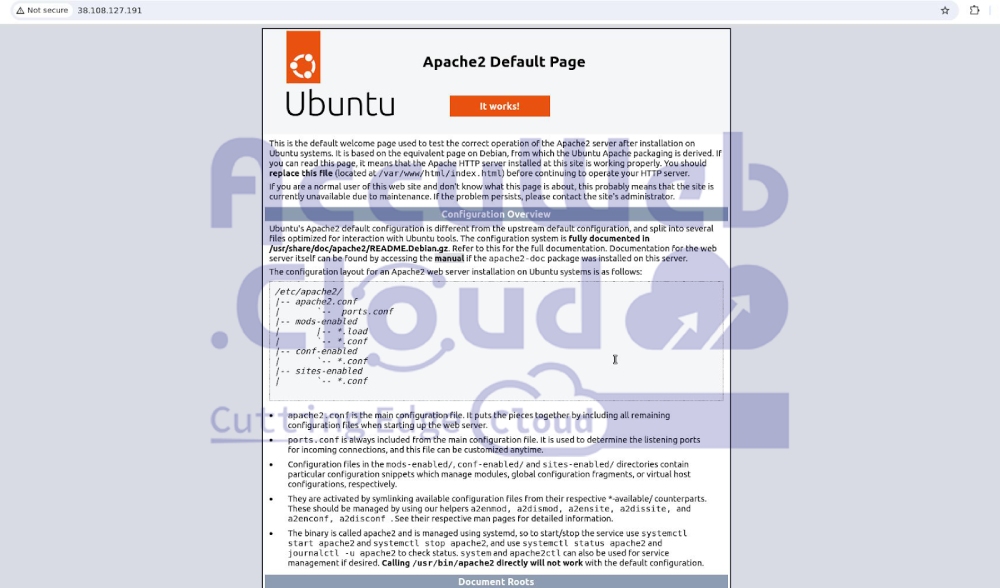
You can see the Apache default page displayed, indicating that the application has been successfully deployed in the AccuWeb.Cloud environment.
You can also access your application using the IP URL:
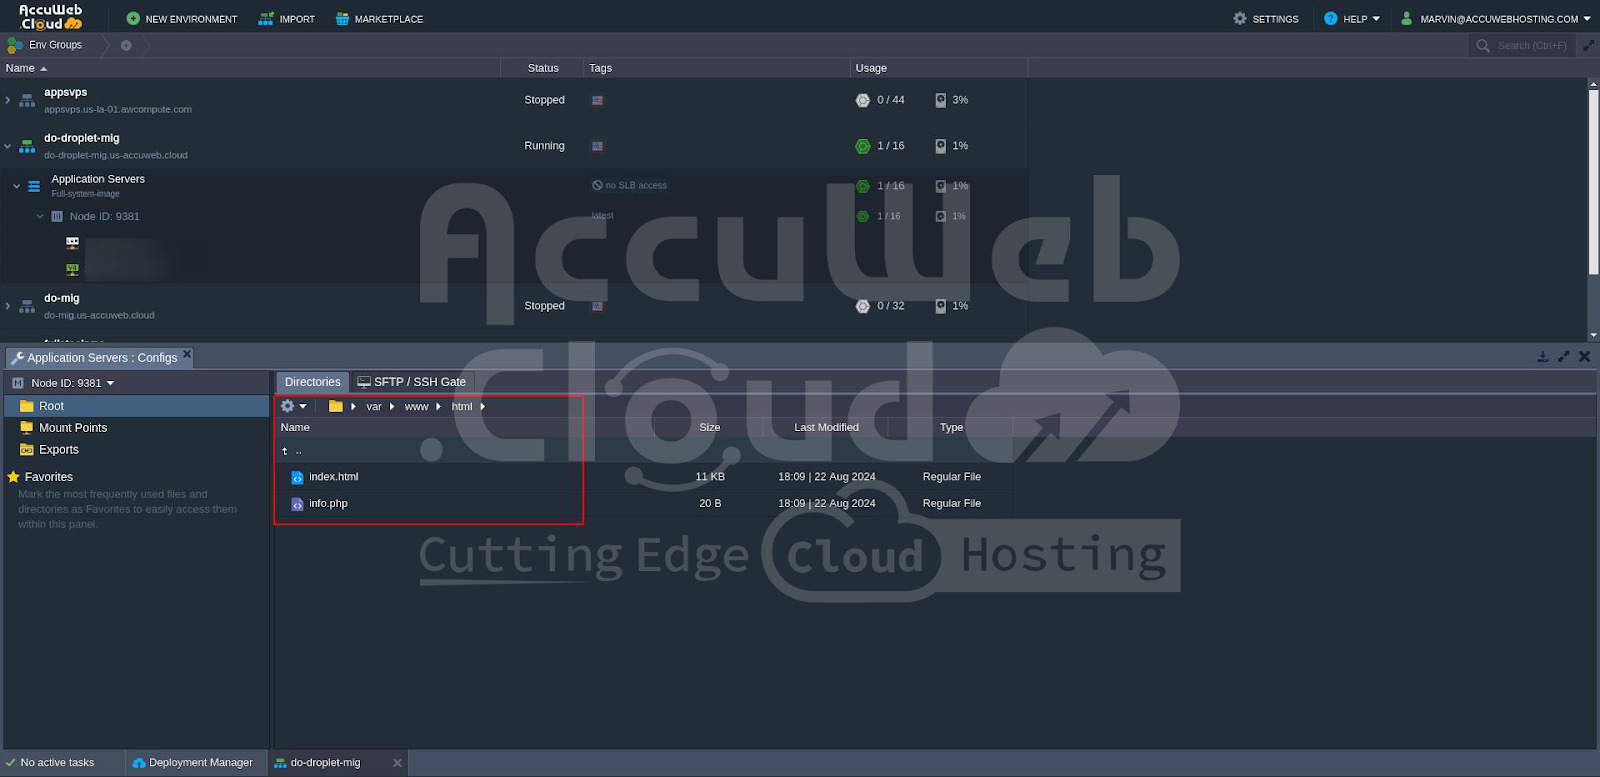
You can also verify the application content by navigating to the path where it is stored. In this example, the content is located in /var/www/html/.
Conclusion
In this article, we successfully demonstrated the migration of a DigitalOcean droplet to a Docker image, which was then pushed to Docker Hub and deployed on an AccuWebCloud instance. This process highlights the power and flexibility of Docker for cross-platform deployment, showcasing how efficiently you can replicate and manage your server setup across different cloud platforms.


