How to Manually Back Up and Restore Applications Using Export/Import on AccuWeb.Cloud?
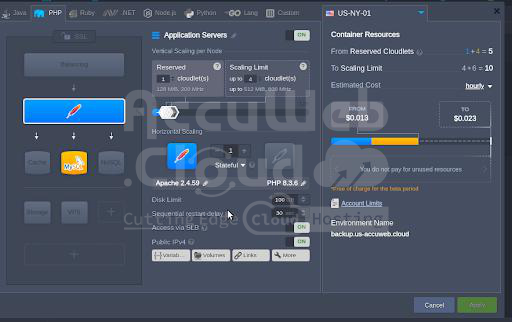
Step 1. Establish the environment on AccuWeb.cloud.
Set up your application environment on AccuWeb.cloud.
Step 2. Prepare the required files or website content for backup.
Ensure all application data and configurations are fully prepared.
Step 3. Set up a Database and User in phpMyAdmin:
Access phpMyAdmin via your AccuWeb.cloud control panel. Create a new database and user with the necessary permissions.
Step 4. Backup Your Website Files and Database:
After creating them, proceed to backup your database:
- Export your database using phpMyAdmin or a similar tool.
- Compress your website files into a ZIP archive.
- Download both the database backup and ZIP file to your local machine.
Step 5. Now, after backing up all your files, proceed to export your environment:
- Export your environment settings and configurations.
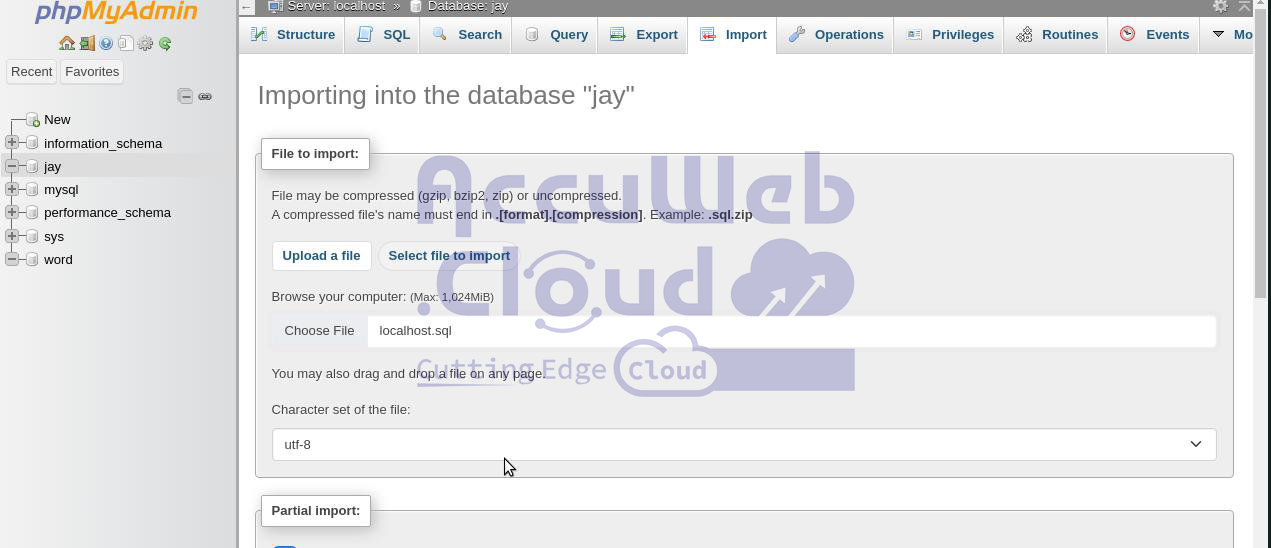
Step 6. Similarly, restore your database using phpMyAdmin:
- Import your database backup file, as illustrated in the image.
Step 5. Once the database import process is complete, your database will be fully restored.
Step 6. Validate and Restore Your Environment on AccuWeb.cloud
After backing up your files and database:
- Export your environment settings from AccuWeb.cloud.
- Save the exported environment file to your local machine for restoration.
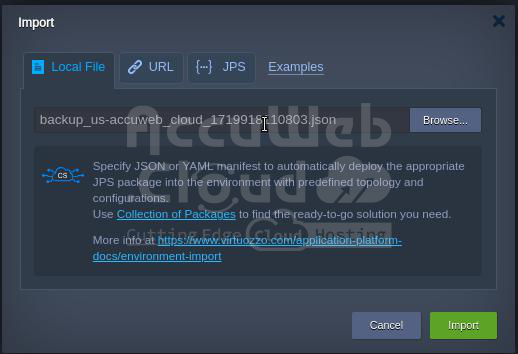
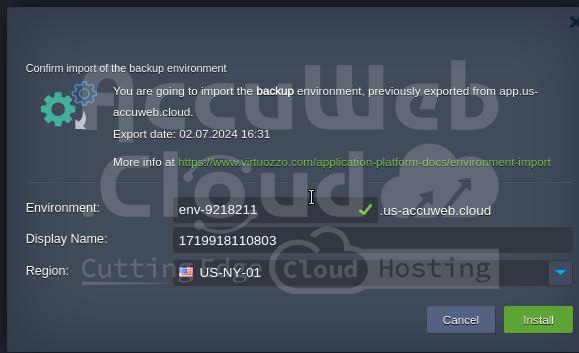
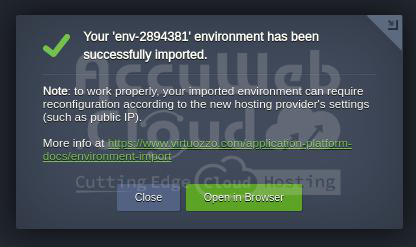
Step 7. Import the downloaded export file to install and configure the environment.
Step 8. Create a New Environment
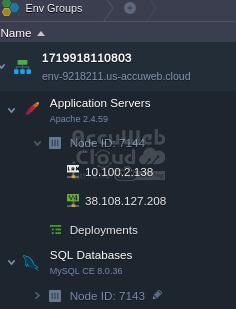
After installation, review the changes made, such as updates to your environment name or public IPs.
Step 9. Once the environment is created, your public IP address undergoes a complete change.
Step 10. Upload the Downloaded ZIP File to the New Environment
After noting the complete change in the public IP:
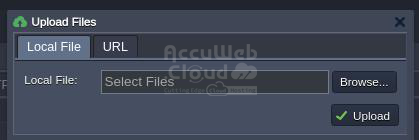
Proceed by uploading the downloaded ZIP file to the webroot folder of the new environment.
Step 11. Extract the ZIP File
Take the ZIP file and unzip it to proceed.
Step 12. Verify Access to Your Restored Website
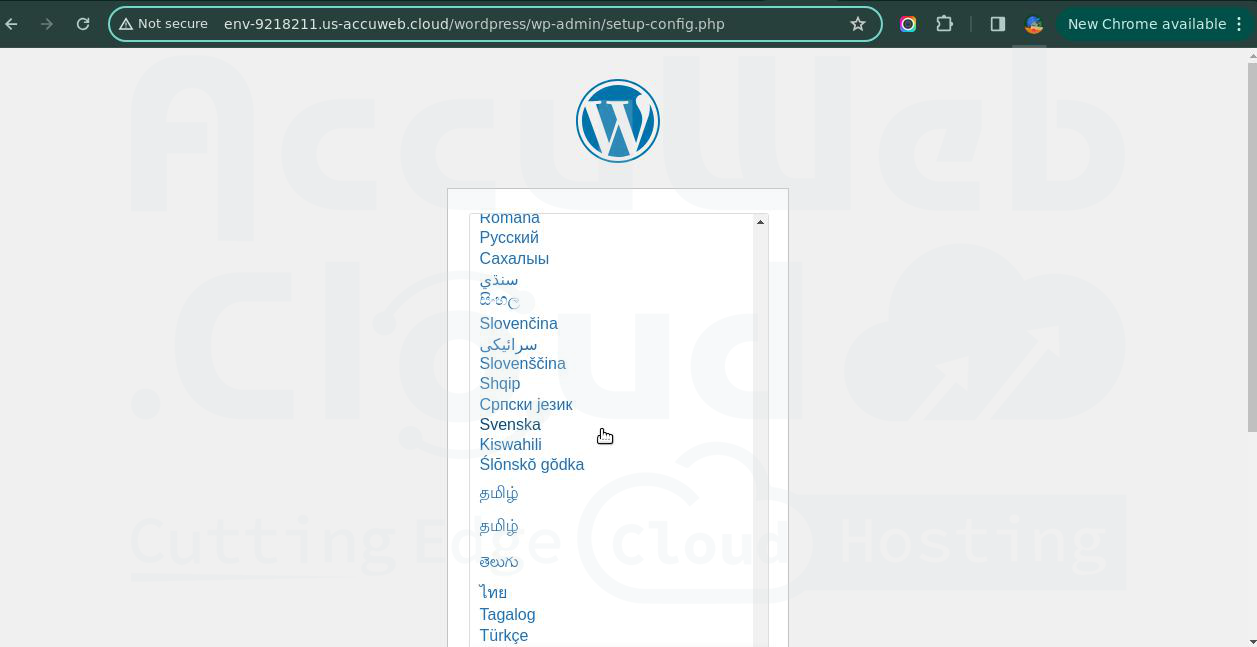
After completing the restoration process, attempt to access your website to ensure it is accessible.
After restoring the files, we can successfully access the website again on the imported environment, confirming the completion of our manual backup process.


