How to Create an Environment Group?
Creating a new environment group means making a unique tag. This tag can then be linked to the specific environment on the dashboard to label it clearly. You have the freedom to choose any naming method that suits you. For instance, if your project has development, testing, and production versions, you can assign tags to each environment accordingly, making it simple to distinguish between them.
if you need to set up a team environment in a pinch, just follow these steps to get it done.
Step 1: Head to your platform’s dashboard and locate the “+” (Create New) button situated in the Env Groups section at the top.
Step 2: Choose the option to “Create a New Point.”
Step 3: You will be prompted with the below dialogue box, where you need to enter your Group Name, select the Parent Group, and specific Environment.
- Group name: Enter a name for your group (you can use any combination of letters, numbers, and special characters, including spaces.)
- Parent Group: You can choose to set up nesting for the group you’re making, so it becomes a part of another group as a subgroup.
- Environments: Choose the environments that you want to include in the group (remember, you can’t add shared environments to your personal groups). You can also make a new group and add environments to it later, even if it starts empty.
Step 4: Once you enter all these details, hit the Add button to add the new Group.
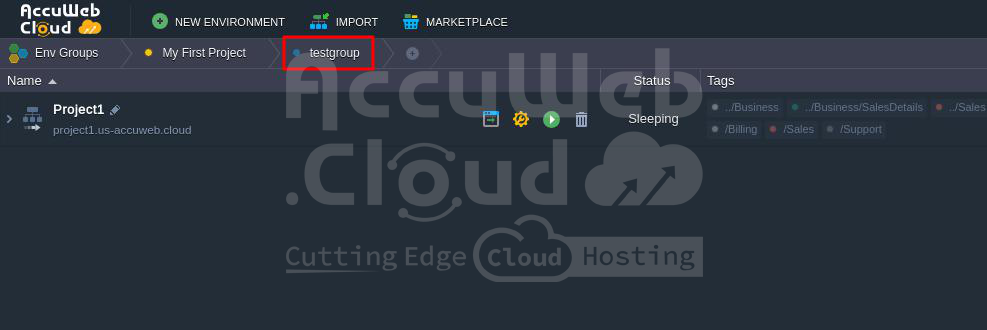
Step 3: Once you create a new group, it will pop up right at the top of the Env Groups navigation panel. This makes it easy to spot. Also, the environments you see will match up with that group, so you’ll only see what’s relevant to it.
Also, make sure to discover how to handle your different environment groups and smoothly navigate between them on the dashboard.


