How to migrate Joomla to AccuWeb.Cloud?
This guide outlines the step-by-step process to manually deploy Joomla on your platform, enabling you to utilize it as a powerful content management system (CMS) for creating websites and online applications.
Setting Up Your Environment
Log in to AccuWeb.Cloud
Step 1. Open your web browser and navigate to AccuWeb.Cloud
Step 2. Enter your credentials (username and password) to access your AccuWeb.Cloud dashboard.
Create a New Environment
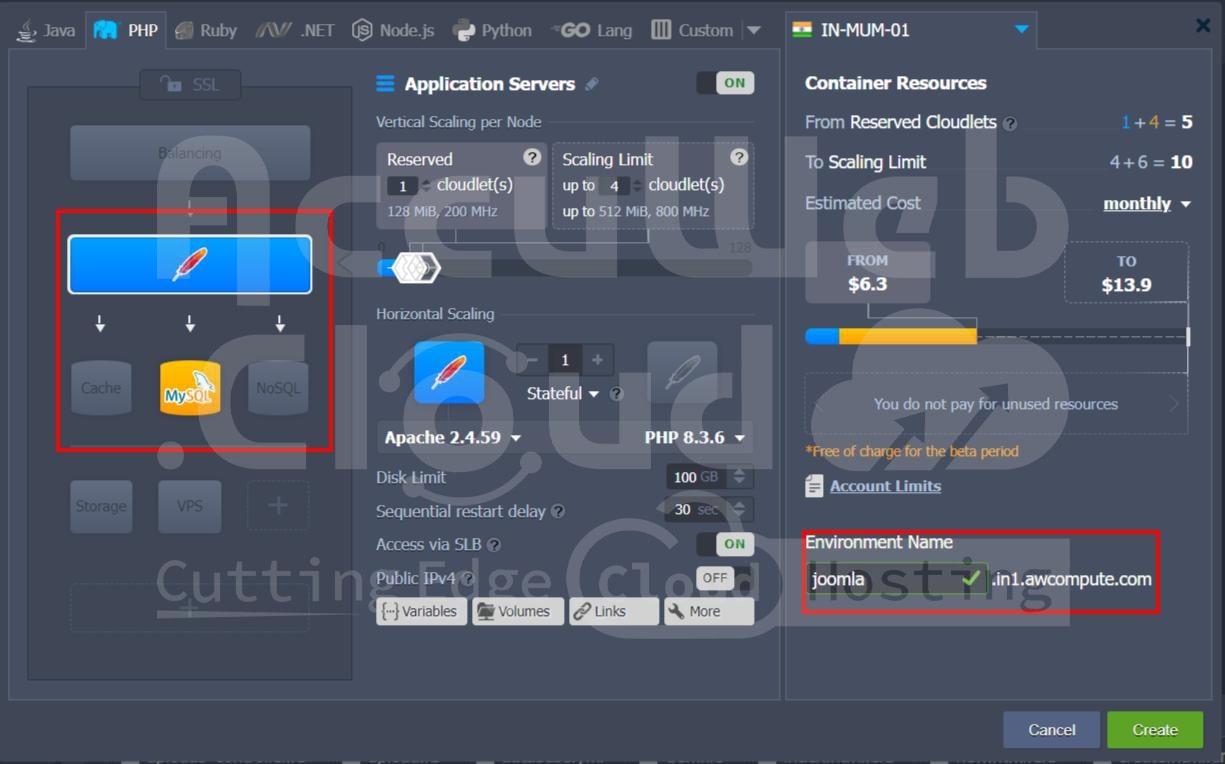
Step 3. Click on the “New Environment” button located at the top left of the dashboard.
Step 4. Choose Apache as the application server, along with PHP and MySQL for the database setup.
Step 5. Your environment, equipped with Apache and MySQL, will be created and visible in the environment list shortly.
Configuring the Database
Access Database Credentials
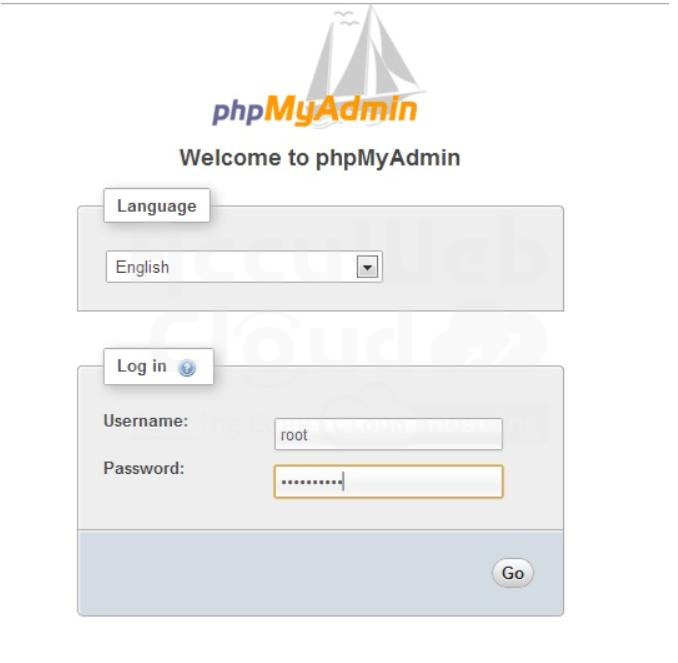
Step 1. To access your Joomla! database through your Web Hosting Control Panel and PHPMyAdmin:
Step 2. After deployment, click “Open in Browser” for the MySQL node in your environment.
Step 3. Retrieve database credentials from the email you received upon environment creation.
Step 4. Use these credentials to create a database account and set up the database for your Joomla application.
Export the original Joomla MySQL Database
- Log in to your Web Hosting Control Panel.
- Locate the MySQL Database used by your Joomla! installation.
- Look for the PHPMyAdmin link for Database Administration and click on it.
- Once inside PHPMyAdmin, select the Joomla! database to display all its tables.
- With all tables displayed, click on the “EXPORT” button at the top menu.
In the ‘EXPORT’ selection box, ensure all tables are selected (use the SHIFT key to select multiple items). - Leave all settings and checkboxes unchanged.
- Scroll down to the bottom of the page and click the ‘GO’ button.
- This action will generate the database dump in SQL format.
- Copy and paste the SQL contents into Notepad or keep the browser window open for later use when setting up the new database.
Installing Joomla
Access Apache Server
Step 1. Click “Open in Browser” for the Apache server within your environment to proceed with Joomla installation.
This involves setting up a new database and database username—feel free to choose any names you prefer.
Opt not to install SAMPLE DATA—you won’t need it since you have your existing data, right?”
Step 3. Import the Old Database Dump into the New Database
- Now access the control panel for your new website.
- Find the MySQL database used by the new Joomla! installation and navigate to its PHPMyAdmin page.
- Ensure the new database is empty. If any tables exist, select all of them and choose ‘DROP’ from the drop-down list to delete them.
- Click on the ‘SQL’ button in the top navigation bar, which opens an empty text box labeled ‘Run SQL query/queries on the database.’
- Paste the original database DUMP content into this text box (the content you saved in Notepad or left minimized in a browser window).
- Finally, click the ‘GO’ button. You will see your content added to the database, and a comprehensive list of tables will appear in the database structure.
Completing the Move…
Next, you need to overwrite all essential Joomla! folders on the new site with those from the old site. This step ensures that all your customizations, including installed components and modules, edited templates, and other files, are transferred over. These are the ESSENTIAL FOLDERS to Copy over (and OVERWRITE):
- Administrator
- Components
- Editor
- Help
- Images
- Includes
- Language
- Mambots
- Media
- Modules
- Templates
Everything is DONE and DUMPED! Troubleshooting…
Congratulations, mission accomplished! If you’ve changed your domain name (rather than just moving hosts) and encounter issues, follow these steps:
- Edit the CONFIGURATION.PHP file located in your Joomla! installation Root.
- Replace any instance of your Old Domain Name with Your New Domain Name.
- Ensure that both websites use the same MySQL version. Differences in MySQL versions (like choosing between MySQL 4.0 or 5.0) can cause issues when importing SQL dumps, so it’s crucial to match them.


