Kubernetes Cluster: Velero Backups
As stated on the official website, Velero is an open-source tool specifically engineered for safe backup, restoration, disaster recovery, and migration of Kubernetes cluster resources and persistent volumes.
To effortlessly integrate Velero backups with your Kubernetes cluster, follow these steps:
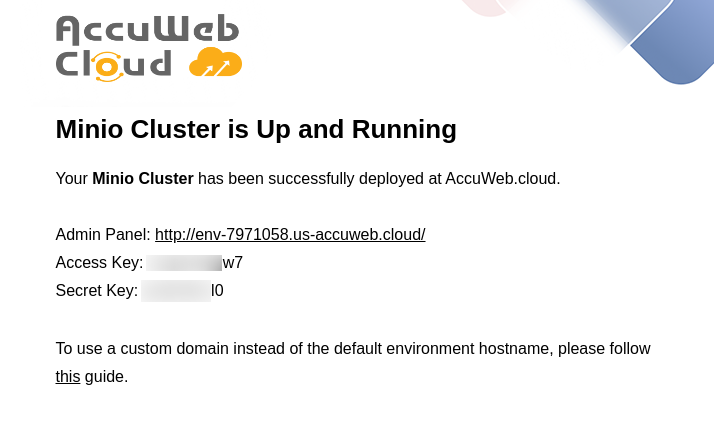
Step 1: Install a Minio Cluster directly from our Marketplace, serving as the storage solution for Velero’s backups.
Once the cluster is installed the login credentials would have been mailed to your registered email account.
Step 2: Access the admin panel of your Minio cluster and Create a Bucket in the storage cluster.
Step 3: Install the latest release of the Velero package (in our case v1.8.1).
Step 4: Access your Kubernetes Cluster control plane via SSH. Then, download the archive using the provided link and extract the Velero binary to the /usr/local/sbin directory.
$ wget https://github.com/vmware-tanzu/velero/releases/download/v1.8.1/velero-v1.8.1-linux-amd64.tar.gz
$ tar -zxvf velero-v1.8.1-linux-amd64.tar.gz -C /usr/local/sbin --strip-components=1 velero-v1.8.1-linux-amd64/velero
$ chmod 755 /usr/local/sbin/velero
Step 5: Create the /root/credentials-Velero file and put the storage credential.
[default]
aws_access_key_id = {accessKey}
aws_secret_access_key = {secretKey}
Step 6: Adjust the below-mentioned command:
- {bucket} – a name of the bucket (test bucket in our case, see the second step)
- {s3Url} – an http:// link to your S3 storage (http://env-7971058.us-accuweb.cloud/ in our case, see the first step)
- {image} – a Velero container image (Velero/Velero:v1.8.1 in our case, see the third step)
$ velero install --provider aws --plugins velero/velero-plugin-for-aws:v1.4.1 --bucket {bucket} --secret-file ./credentials-velero --use-volume-snapshots=true --backup-location-config region=default,s3ForcePathStyle="true",s3Url={s3Url} --image {image} --snapshot-location-config region="default" --use-resticStep 7: To evaluate Velero’s backup capabilities, let’s deploy a test application that includes storage and mounts. Create a test-instance.yaml file. Insert the below-mentioned code in it.
$ vi test-instance.yaml
$ kubectl apply -f test-instance.yaml
apiVersion: v1
kind: Namespace
metadata:
name: test-nginx
---
apiVersion: v1
kind: PersistentVolumeClaim
metadata:
name: ceph-ext
labels:
app: nginx
namespace: test-nginx
spec:
accessModes:
- ReadWriteOnce
resources:
requests:
storage: 1Gi
---
apiVersion: v1
kind: Pod
metadata:
name: nginx-test
namespace: test-nginx
spec:
volumes:
- name: mystorage
persistentVolumeClaim:
claimName: ceph-ext
containers:
- name: task-pv-container
image: nginx
ports:
- containerPort: 80
name: "http-server"
volumeMounts:
- mountPath: "/usr/share/nginx/html"
name: mystorageStep 8: You can test whether the application is running with the following commands.
$ kubectl get pods,pvc,pv -n test-nginxRun the following commands to generate random data that simulate application usage.
$ kubectl -n test-nginx exec -it nginx-test -- /bin/bash
dd if=/dev/urandom of=/usr/share/nginx/html/test-file3.txt count=512000 bs=1024
ls -laSh /usr/share/nginx/html/
exit
Step 9: Annotate your application pods to ensure that the NFS storage data is included in the backup. You can obtain the required storage name from the deployed application (e.g., “mystorage” in our case).
$ kubectl -n test-nginx annotate pod/nginx-test backup.velero.io/backup-volumes=mystorageStep 10: Now, let’s take a backup of the test application.
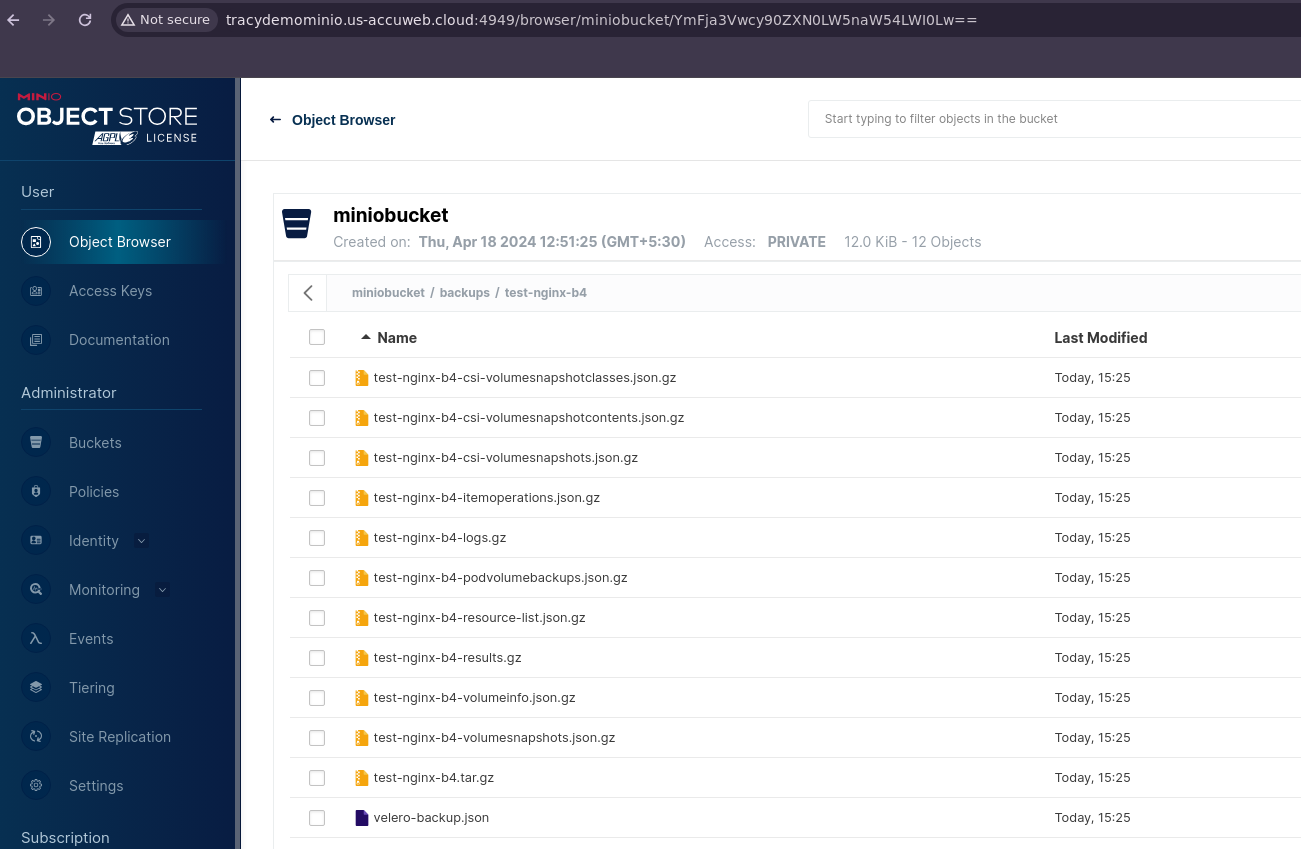
$ velero backup create test-nginx-b4 --include-namespaces test-nginxStep 11: Check that the created backup exists and is fine. Also, confirm that the data from Velero and restic backups is available in your MinIO storage.
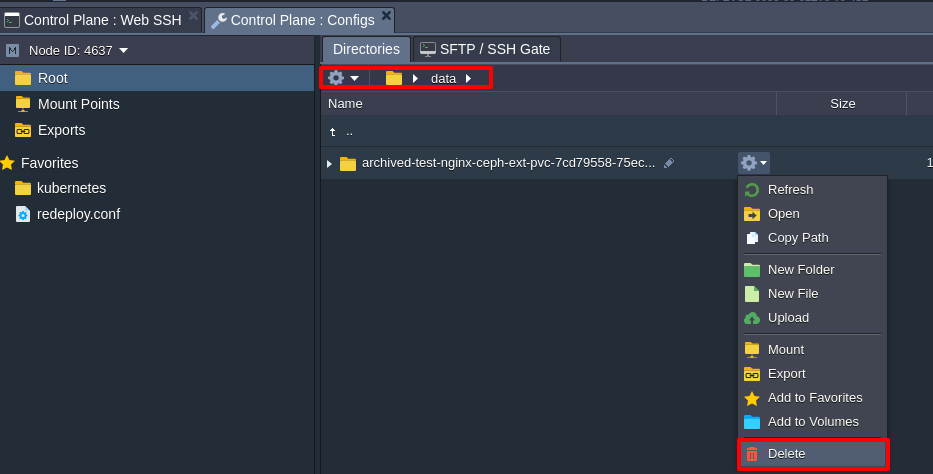
$ kubectl get backupsStep 12: Let’s thoroughly remove the example application to properly test the restoration process.
$ kubectl delete ns test-nginxClean the Storage data also(/data directory).
Step 13: Restore the backup of the application using the below-mentioned command.
You’ve got it! Ensure to double-check that all components, including stored data, are successfully restored.
Backup Scheduling
Velero allows you to automate backups by scheduling them. You can create a schedule template using the cron notation in the UTC timezone. Here’s how you can do it:
Step 1: Use the table below to set your schedule using a standard cron expression:
| Character Position | Character Period | Acceptable Values |
| 1 | Minute | 0-59,* |
| 2 | Hour | 0-23,* |
| 3 | Days of Month | 1-31,* |
| 4 | Month | 1-12,* |
| 5 | Day of Week | 0-7,* |
For example, to create a backup every six hours:
$ velero schedule create myschedule --schedule="0 */6 * * *"Step 2: Alternatively, you can use the @every {duration} syntax to schedule backups. The duration can be specified in seconds (s), minutes (m), or hours (h).
For example, to create a backup every six hours:
$ velero schedule create myschedule --schedule="@every 6h"Step 3: You can customize your schedule further (like backing up a specific namespace or setting backup lifetimes) using specific parameters. Use the help flag to see all available options:
$ velero schedule create --helpCongratulations! Now you can automate backups for your Kubernetes projects using Velero.


