How to Set Up a Node.js Project With TypeScript on AccuWeb.Cloud?
Node.js is a highly flexible JavaScript runtime environment that has gained immense popularity in the development community. It allows developers to use JavaScript for server-side scripting and brings the power of JavaScript back-end development. When paired with TypeScript, it offers powerful features like type safety, better error handling, and modern JavaScript support, which improves code quality and development productivity.
AccuWeb.Cloud provides a reliable and scalable cloud platform where you can host your Node.js applications. This guide will take you through the steps of setting up a Node.js project with TypeScript on AccuWeb.Cloud.
What Is TypeScript and Why Use It?
TypeScript is an open-source programming language developed by Microsoft. It extends JavaScript by adding optional static typing, interfaces, and modern JavaScript features. The main advantage of TypeScript is that it allows developers to catch errors during the development process instead of at runtime. TypeScript code is compiled into JavaScript, which can run in any JavaScript environment, including Node.js.
Why Use TypeScript in Node.js Projects?
Using TypeScript in a Node.js project brings a variety of benefits:
Type Safety: TypeScript helps catch type-related errors during development and makes code more robust. For example, it checks whether a function is receiving the correct type of argument and reduces the chances of runtime errors.
Enhanced IDE Support: TypeScript enables better support for modern development environments. Features like autocompletion, inline documentation, and error highlighting make coding easier and faster.
Scalability: TypeScript is particularly beneficial for large-scale applications. The language’s type system makes it easier to understand and maintain larger codebases by clearly defining interfaces and expected data types.
Early Access to ESNext Features: TypeScript supports upcoming JavaScript features (like async/await or ES modules) before they become widely available in Node.js.
You are incorporating TypeScript into your Node.js projects increases maintainability, reduces bugs, and enhances code quality, making it a powerful tool for modern backend development.
Steps to Set Up a Node Project With TypeScript on AccuWeb.Cloud
Step 1: To begin, you need to log in to your AccuWeb.Cloud account. Visit https://app.cp-accuweb.cloud/ and sign in with your credentials. Once log in you will be taken to the AccuWeb.Cloud Dashboard where you can manage your cloud environments.
Step 2: In the dashboard locate and click on New Environment.
Step 3: You will be prompted to select the type of environment you wish to create. Choose the Node.js tab to configure a Node.js environment.
Step 4: Select your desired Node.js version from the available options. Node.js frequently updates so ensure you choose a version that is compatible with your project.
Step 5: Choose your preferred process manager. Options include ‘npm‘, ‘pm2‘, or ‘forever‘. ‘pm2’ is highly recommended for production deployments because it manages application processes, handles automatic restarts, and provides monitoring tools.
Step 6: Customize your environment settings such as the environment name, and region, and click Create.
Step 7: Once your environment is created, you can access the server through the AccuWeb.Cloud dashboard. Use the embedded Web SSH client to access the environment directly from your browser, or use a third-party SSH client (like PuTTY or OpenSSH) for remote management.
Step 8: On your server (via SSH or the embedded terminal), create a directory for your project:
mkdir my-typescript-projectcd my-typescript-projectThis will create and enter a folder called ‘my-typescript-project’ where all your project files will reside.
Step 9: Now that you’re in the project directory initialize a new Node.js project using npm (Node Package Manager). This will create a ‘package.json’ file, which keeps track of project dependencies and scripts.
npm init -yThe ‘ -y’ flag automatically answers “yes” to all the prompts, which creates a basic ‘package.json’ file.
Step 10: Next, install TypeScript as a development dependency. This will allow you to write TypeScript code and compile it to JavaScript.
npm install typescript --save-devStep 11: ‘ts node’ is a utility that allows you to run TypeScript files directly, without manually compiling them to JavaScript. It streamlines development, especially when testing or running small scripts.
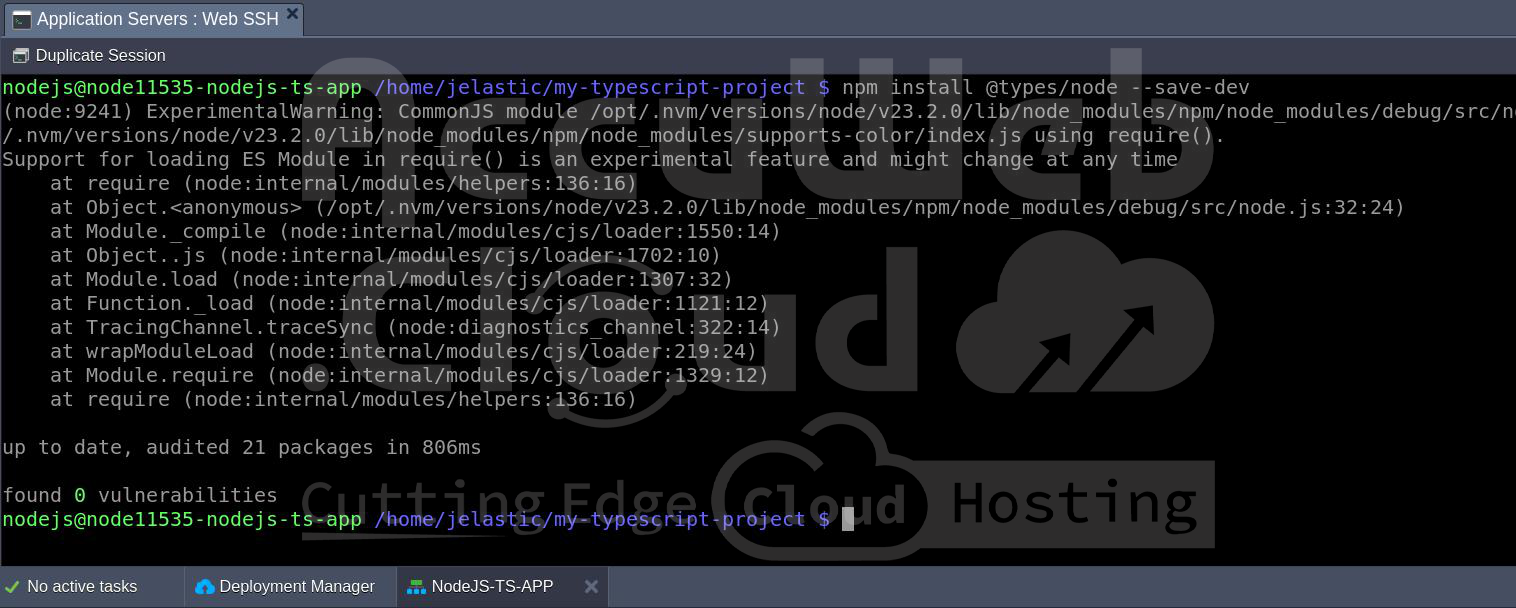
npm install ts-node --save-devStep 12: To get the appropriate types for Node.js in TypeScript, you will need to install the ‘@types/node’ package—this provides type definitions for Node.js and helps TypeScript understand the core Node.js libraries.
npm install @types/node --save-devStep 13:To automatically restarts the server whenever the code changes (especially useful in development), you can install ‘nodemon’. This tool will monitor your TypeScript files and reload the server.
npm install nodemon --save-devStep 14: In order to configure TypeScript for your project, run the following command to generate a basic ‘tsconfig.json’ file:
npx tsc --initThis file contains various TypeScript compiler options, such as module types, file inclusion/exclusion, and output settings.
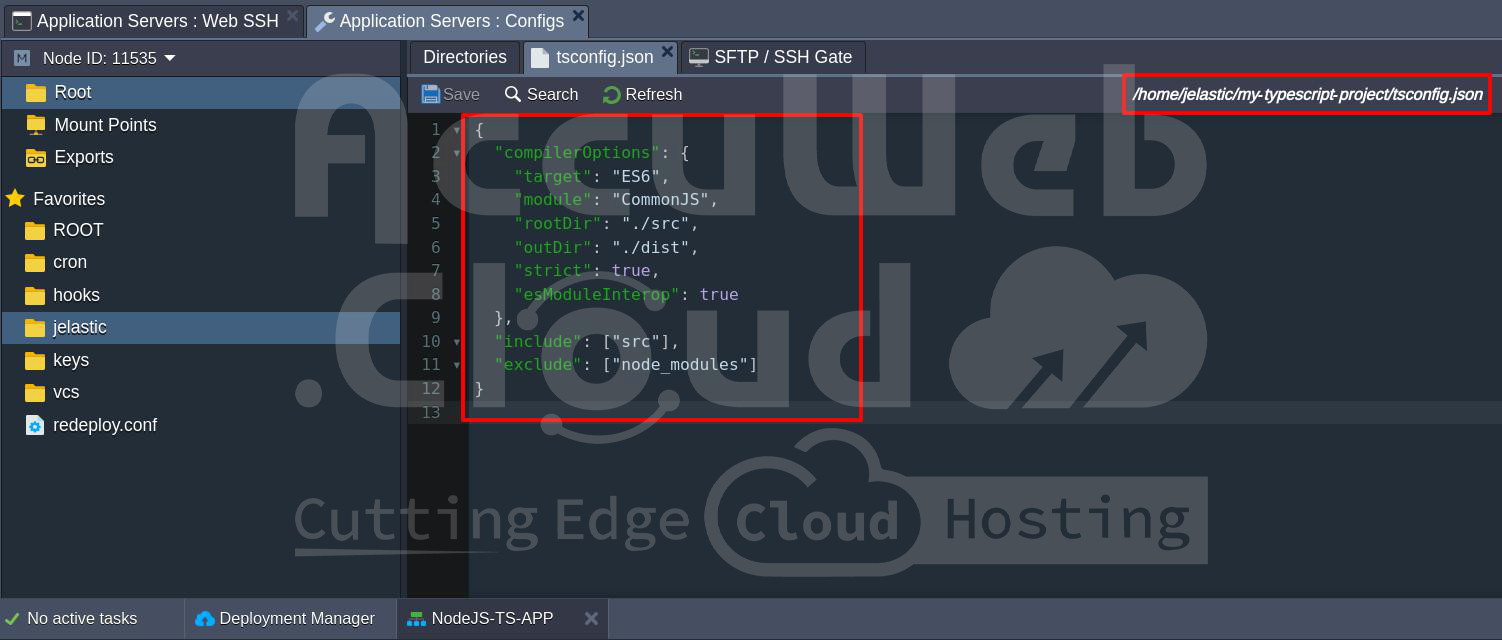
Step 15: You will need to modify the ‘tsconfig.json‘ file to ensure it works for your Node.js project. Open ‘tsconfig.json’ and adjust the settings as follows:
{
"compilerOptions": {
"target": "ES6",
"module": "CommonJS",
"rootDir": "./src",
"outDir": "./dist",
"strict": true,
"esModuleInterop": true
},
"include": ["src"],
"exclude": ["node_modules"]
}
Here is what each option means:
- ‘”target”: “ES6″‘ tells TypeScript to compile code to ECMAScript 6 syntax.
- ‘”module”: “CommonJS”‘ specifies the module system to use in Node.js.
- ‘”rootDir”: “./src”‘ defines the root folder for your TypeScript files.
- ‘”outDir”: “./dist”‘ specifies the folder where the compiled JavaScript files will be stored.
- ‘”strict”: true’ enables strict type checking.
- ‘”esModuleInterop”: true’ enables compatibility with ECMAScript modules.
Step 16: Create a ‘src’ directory where you will write your TypeScript files.
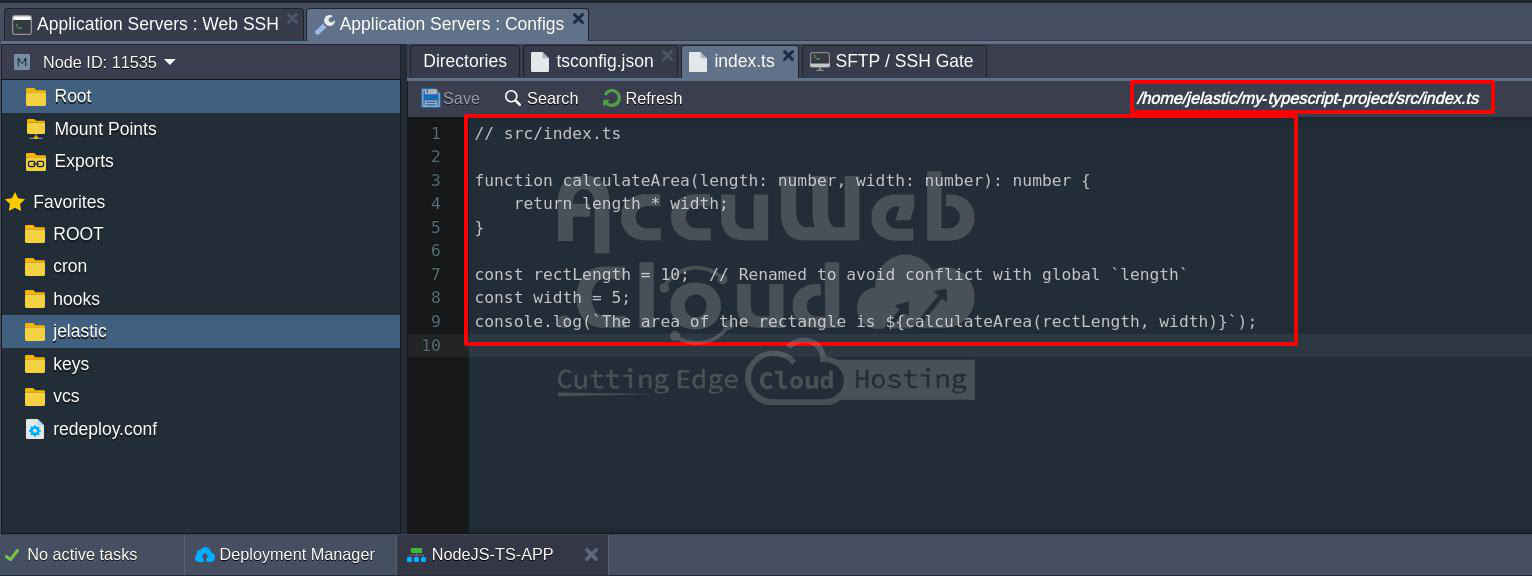
mkdir srcStep 17: Within the ‘src’ directory, create an ‘index.ts’ file to write your first TypeScript code:
// src/index.ts
function calculateArea(length: number, width: number): number {
return length * width;
}const length = 10;
const width = 5;
console.log(‘The area of the rectangle is ${calculateArea(length, width)}’);
This simple TypeScript code defines a function ‘calculateArea‘ that calculates the area of a rectangle. It then logs the result to the console.
Step 18: Before running the project, you need to compile your TypeScript code into JavaScript. You can do this with the following command:
npx tscThis will transpile all ‘.ts‘ files from the ‘src‘ folder into ‘.js‘ files in the ‘dist‘ folder, as specified in the ‘tsconfig.json‘ file.
Step 19: Now, run the compiled JavaScript code with Node.js:
node dist/index.jsThis will execute the code in the ‘index.js‘ file located in the ‘dist‘ folder and you should see the output:
The area of the rectangle is 50

For development purposes, you can use ‘ts-node’ to run TypeScript files directly without needing to compile them manually. This is especially useful for rapid testing.
npx ts-node src/index.tsThis command will execute your TypeScript file directly, skipping the compilation step.
Step 20: Edit the ‘package.json’ file to include commonly used scripts for building, running, and developing the project.
"scripts": {
"build": "tsc",
"start": "node dist/index.js",
"dev": "nodemon --watch src --exec ts-node src/index.ts"
}
'npm run build':Compiles the TypeScript code.
'npm run start':Runs the compiled JavaScript code.
>'npm run dev':Runs the TypeScript code directly using ‘ts node’ and automatically restarts on file changes with ‘nodemon‘.
Conclusion
By following the steps in this guide, you have successfully set up a Node.js project with TypeScript on AccuWeb.Cloud. In this guide, we’ve walked through a process to set up a Node.js project with TypeScript. By combining the power of Node.js with the type safety and enhanced development features of TypeScript, you’ve established a strong foundation for building more robust, scalable, and maintainable server-side applications.


