Set up Docker-Based Couchbase Cluster
Couchbase is an open-source NoSQL database that can handle many users at once, making it ideal for interactive applications and Big Data. It can be used as a document database, key-value store, or distributed cache.
Starting with version 4.x, Couchbase offers Multi-Dimensional Scaling, allowing it to grow both vertically and horizontally. To fully use this feature, you’ll need a flexible hosting platform, like our PaaS.
To improve availability and failover, you can combine multiple Couchbase instances into a reliable cluster.
Below are step-by-step instructions on setting up a scalable Couchbase DB cluster on the platform.
Environment Creation
To make deploying the database easy, we’ll use Docker containers on the platform with a pre-made Docker template that includes the Couchbase image.
Step 1. Click the “New Environment” button at the top of the platform dashboard. In the wizard that opens, switch to the Custom tab and click “Select Image” in the middle section.

Step 2. Use the search function to find and select the “couchbase/server” image. Click “Next” to continue.

Step 3. In the Horizontal Scaling section, use the +/- buttons to set the number of servers (we’ll use 3 as an example).
Set resource limits for each server using the cloudlet sliders in the Vertical Scaling per node section. Choose the environment region, name it (e.g., couchbase), and click “Create.”

Step 4. After a few minutes, your environment will appear on the dashboard.

To check if everything went well, click the “Show Logs” button in the pop-up message.

The logs should show no errors and indicate that the web UI is accessible at port 8091.
Launch Couchbase
To access the Couchbase web interface and start managing it, you can either attach a public IP to your environment (a paid option) and open it at port 8091, or add a corresponding endpoint for free. We’ll cover the free option:
Step 1. Click the “Settings” (wrench icon) next to your environment, go to the “Endpoints” menu, and click the “Add” button.

Step 2. In the form that appears, fill in the following details:
- Node: Select the node for the endpoint (any of the 3 servers in your environment).
- Name: Enter a name for your endpoint.
- Private port: Enter 8091 to access the web UI.
- Protocol: Select TCP.
Click the “Add” button to confirm.

Step 3. The endpoint will be added shortly. Click the “Access URL” field to copy the link.

Step 4. Open the link in a new browser tab to launch the Couchbase web interface.
You’ll need to set it up before use.

Step 5. Follow the five configuration steps to adjust Couchbase to your needs. For this example, we’ll keep the default settings, and click Next Accept Terms to read and accept the terms and conditions.

Tick the box I accept the terms & conditions and click on the Finish with Defaults button to save the changes and start the cluster configuration with default settings.

That’s it! Your server is now configured and ready to use.
Configure Couchbase Cluster
Once you’ve deployed and accessed the Couchbase web interface, you can create a cluster by linking the other servers to the one you’re using.
Step 1. Click the “Server” option at the left side of the screen and then click on the “Add Server” button.

Step 2. In the form that appears, fill in the required fields:
Server IP Address: Enter the IP address of the server you want to add to the cluster (you can find this in the nodes list on the dashboard).

Username / Password: Enter the administrator credentials you specified during setup.
Untick the “Index” and “Query” services, then click the “Add Server” button.

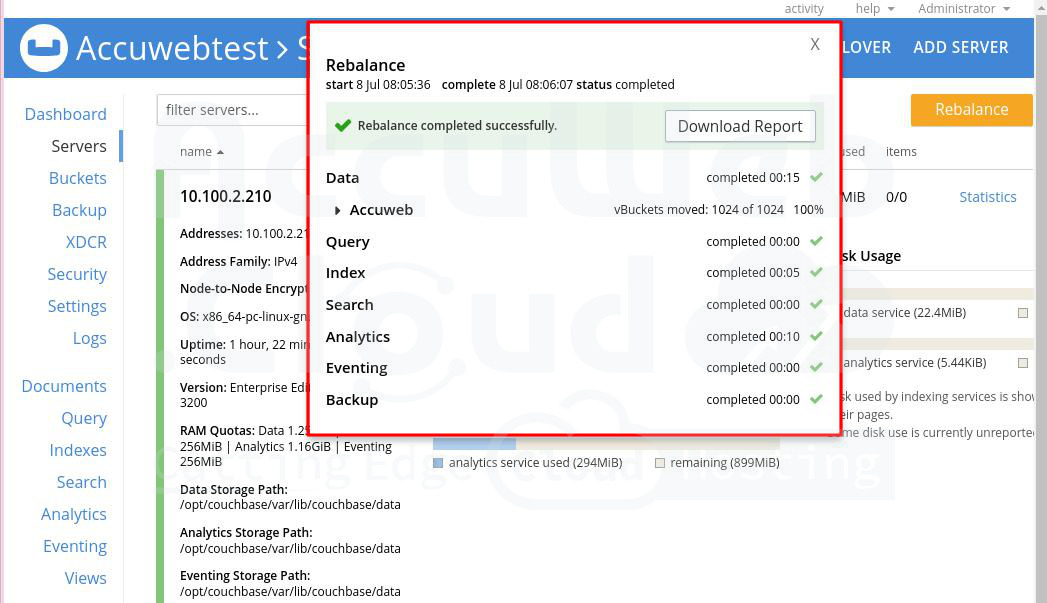
Step 3. Repeat the previous step for the remaining server(s). Click the “Rebalance” button to include them in the cluster.

That’s it! Wait for the process to complete, and you’ll have your Couchbase Docker-based database cluster ready to use on the platform.
That’s all.