Data Synchronization
If multiple PHP application servers are necessary in your environment, incorporating them seamlessly without concerns about additional configurations is easily achievable.
To synchronize the newly added instances with the initially added node, you simply need to follow the subsequent workflow:
1. Access the platform dashboard by logging in.
2. Initiate the process of setting up a new environment by clicking on “Create Environment.”
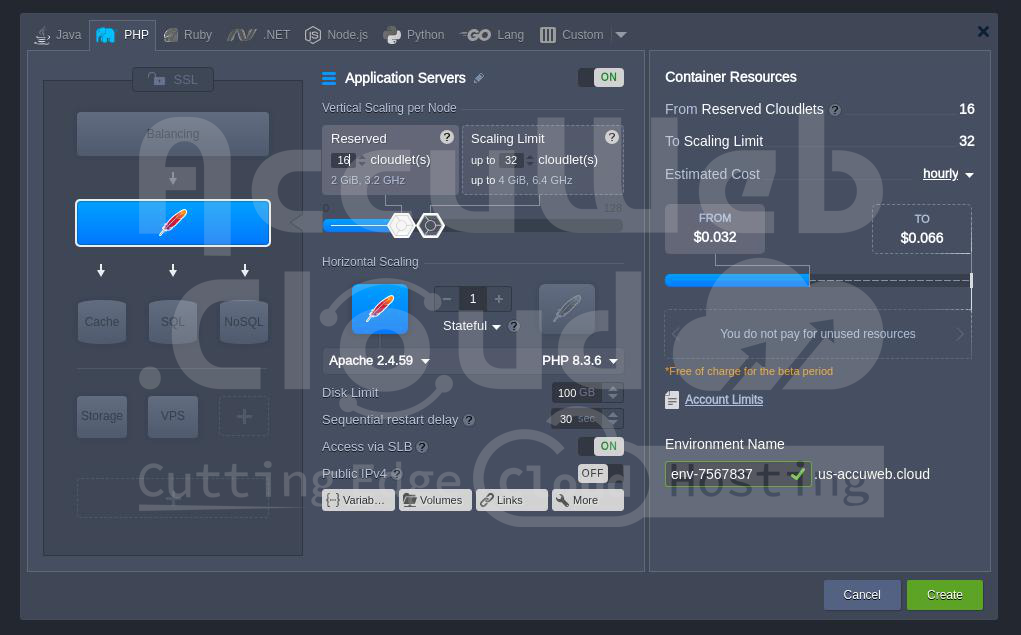
3. Within the “Environment Topology” window, choose a single application server along with any additional instances required. Subsequently, input your desired environment name and proceed by clicking on “Create.”
4. Employ the Deployment Manager to upload your project.
5. Select the application ZIP file to upload. In the ensuing window, specify the target path for the application if deploying multiple projects onto one server. Then, click “Deploy.”
6. Your application will be swiftly deployed to the designated environment. Following deployment, proceed with any necessary configurations.
7. Lastly, horizontally scale your environment by adding the required number of servers.
Only the initial data configurations and changes are synchronized, subsequent alterations are not.
For data synchronization, you have the option to utilize the WebDAV module. Detailed instructions on activation and usage of the WebDAV module are available on the platform.
In cases where synchronization is required within an existing environment, consider scaling it down to a single node and then scaling it up to the required number of instances. Alternatively, employ the WebDAV module or manually synchronize via the configuration manager.
Additionally, utilize the initial (master) node of the layer as a storage server to facilitate data sharing across the entire layer.


