Custom Environment Variables for Java Application Servers
Similar to placeholders, environment variables allow you to save strings or parameter values that you use frequently. This lessens the need to explicitly mention them in the code every time they’re required. Your work with the platform will be more convenient as the application servers of the platform are preconfigured with default environment variables. These variables may be easily integrated into your app hosted within these servers.
You can add your own custom environment variables to particular Java application servers by following this guide.
Tomcat, TomEE and Jetty Variables
Let’s walk through the simple and similar process that follows for the majority of supported Java application servers.
1. To configure your application server (Jetty, TomEE, or Tomcat), click the “Config” button.
2. Select the variables.conf file in the tab that has opened by going to the /opt/tomcat/conf directory. Setup instructions for your custom environment variables are included.
Here is where you add the required custom variables according to the guidelines. Every variable must begin on a new line and be spaced apart from the others.
For example:
-Dvar1=value1 -Dvar2=value2
-Dmy.var3=/my/value
Remember to save the configurations you’ve made.
3. Next, adjust your application’s code accordingly using the System.getProperty(“your_variable”) method to assign the specified values to the required arguments.
For example:
String var1 = System.getProperty("var1");
String var2 = System.getProperty("var2");
String var3 = System.getProperty("var3")
4. After completing these steps, restart your application server using the appropriate button next to it.
As a result, all the newly made configurations will take effect.
GlassFish Variables
Glassfish’s Administration Console is used to configure variables. How to do it is as follows:
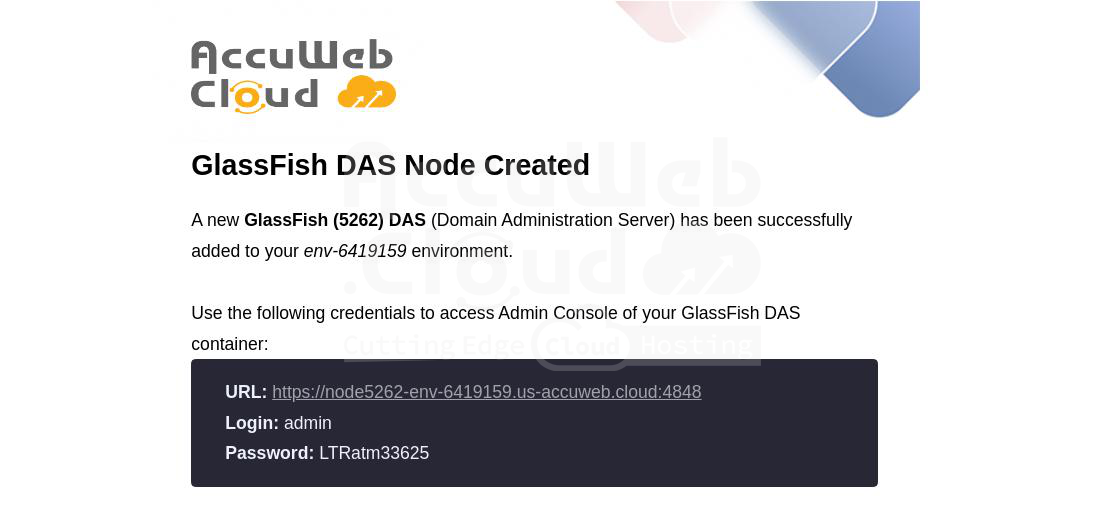
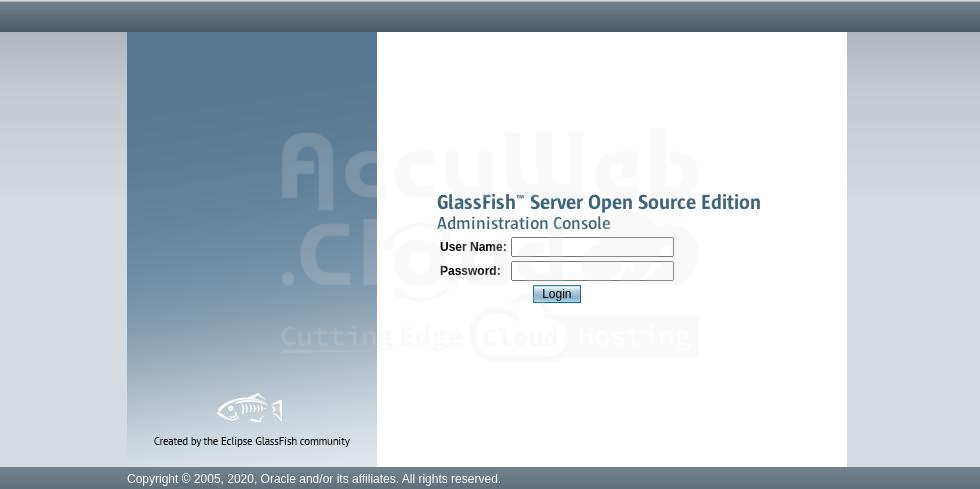
1. Click the email link that you received to access the Admin interface.
2. Using the login information from the same email you previously got, enter the username and password in the appropriate boxes.
3. After logging in, select the Configuration section on the left-hand menu and go to the gfcluster-config > JVM Settings option.
4. Next, select the Add JVM Option button located above the Options list by going to the JVM Options tab. At the top of the list, a new blank field will appear for you to enter your custom environment variable (e.g., -Dvar1=value1).
To use a JAR file as an argument for an option, just upload it to your GlassFish server’s home folder and supply the path to it for the option you want to use. For example:
-javaagent:/opt/glassfish3/temp/newrelic.jarOnce you’ve set all the desired parameters, click the Save button.
5. If everything is fine, you’ll receive the following message:
6. Lastly, return to your platform dashboard and restart GlassFish using the appropriate button.
And that’s it. This is how you use the Admin Console to manage GlassFish environment variables.


