Collaboration Roles & Policies
The collaboration feature of the platform stands out for its remarkable flexibility, achieved through its roles and policies framework. This mechanism allows precise control over access rights and permissions tailored to specific needs. This guide comprehensively covers how roles and policies are configured and applied.
To begin, let’s define roles and policies:
- Policies are small sets of APIs that enable specific operations.
- Roles are combinations of policies that define the exact actions permitted.
These entities can be managed within the platform dashboard under Account Settings > Shared by Me section.
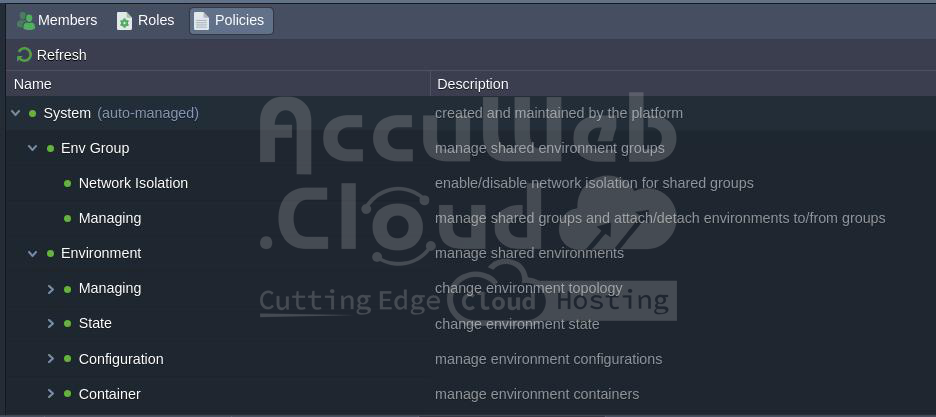
Step 1. The Policies tab lists actions that can be assigned to roles. Initially, the platform offers a comprehensive set of System policies, which can be combined to cover a wide range of collaboration scenarios.
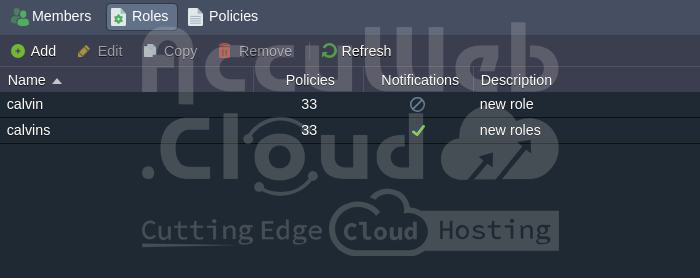
Step 2. The Roles tab enables the creation of custom action sets, granting precise permissions to collaboration members.
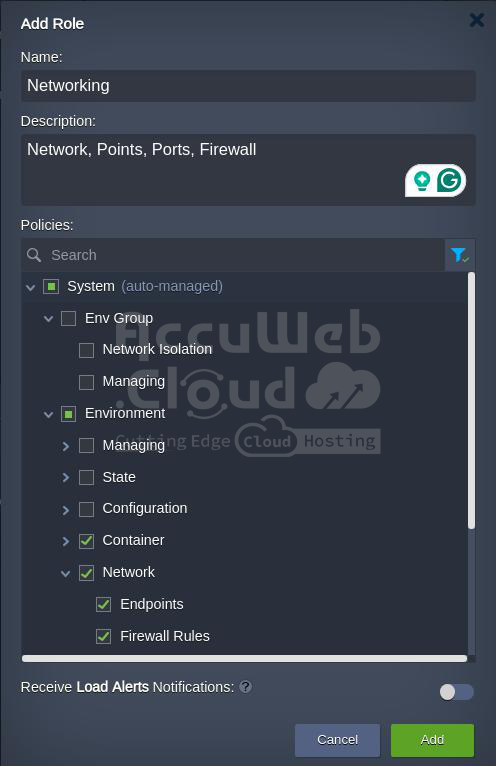
When adding, editing, or duplicating a role, you must provide the following details:
- Name: Choose a suitable name for the role.
- Description: Optionally, include a custom description.
- Policies: Select specific actions permitted for the role; use search and filters to quickly identify and choose relevant policies.
- Receive Load Alerts Notifications: Enable to allow role members to receive load alert notifications for shared environments.
Unused roles can be deleted using the corresponding button in the tools panel.
Step 3. You can create multiple roles as needed. Here are some generic examples that demonstrate the flexibility of role configuration:
- Viewer: Permits viewing logs and files.
- User: Allows basic actions like starting/stopping environments and restarting containers.
- Developer: Offers comprehensive access with some restrictions, such as creating, deleting, migrating, cloning environments, managing environment groups, and changing ownership.
- Admin: Grants full access, including creating new environments, installing JPS packages, and SSH access.
These examples illustrate the potential applications of the feature. Feel free to customize roles according to your specific requirements.
Roles Assigning Algorithm
The platform uses a specialized algorithm to assign roles based on access levels in specific environments. These levels are prioritized as follows:
- Direct roles: Assigned directly to the environment, these roles take precedence over any other assigned roles.
- Shared environment groups: A combination of roles assigned to all shared groups within the current environment. If a group lacks a specific role, it inherits from its parent group, following this chain up to the root Env Groups category (where a default role applies to all groups).
- Base roles: Default roles assigned to all shared environments under the Environments category. These roles have the lowest priority and are only applied when no other roles are assigned.
- Please note: Only roles from the highest available access level are used.
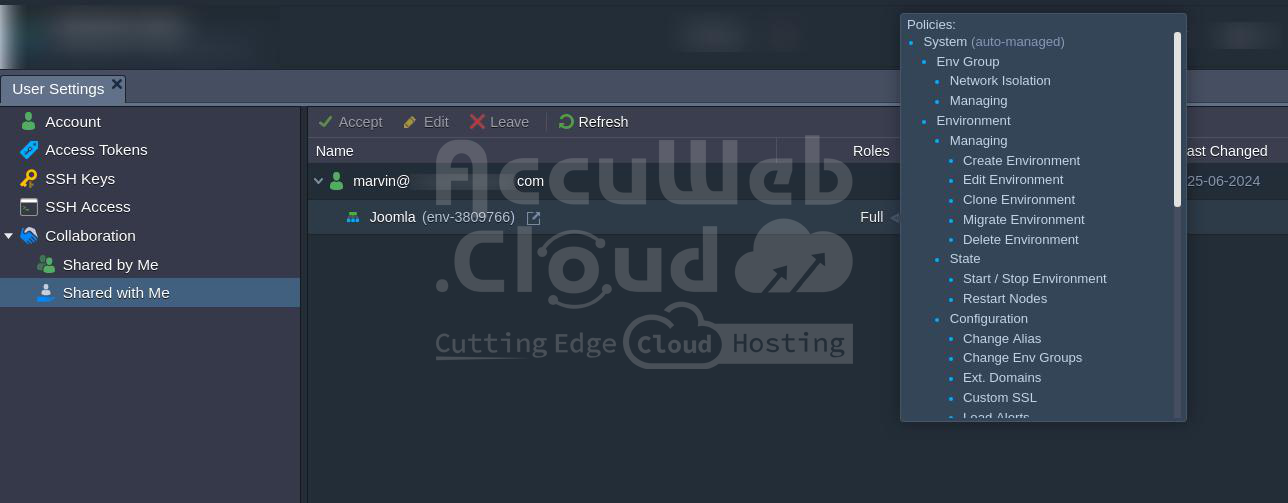
To view your roles and allowed policies for shared resources, please check the account Settings > Shared with Me section.
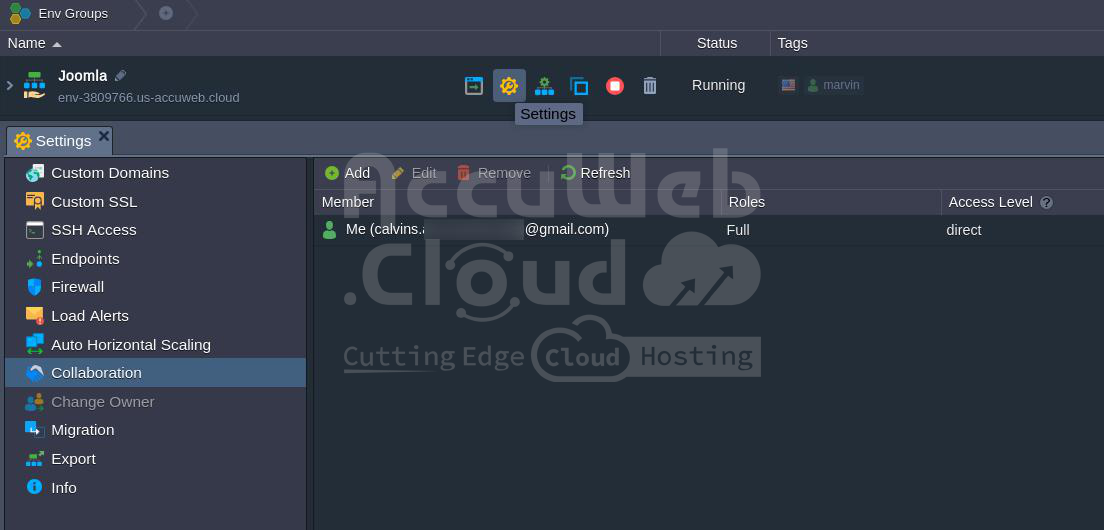
To check the roles assigned in a specific shared environment, navigate to its Settings and then go to the Collaboration section.
Let’s walk through some examples to clarify how roles are determined.
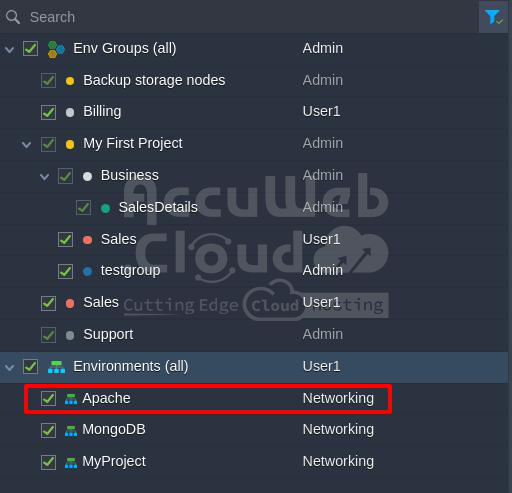
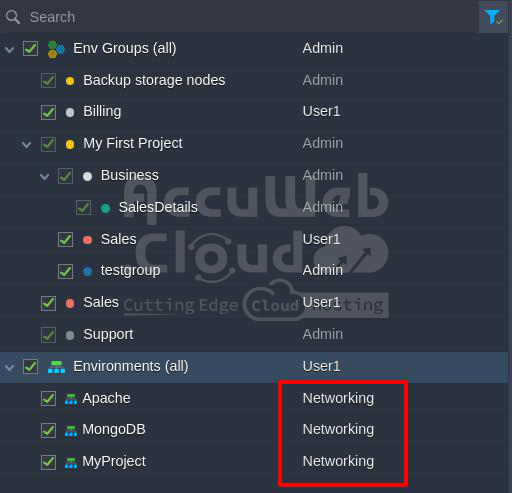
Example 1: If an environment isn’t part of any groups and isn’t directly shared, the default role for all environments is Networking.
Let’s figure out the access permissions. This environment isn’t directly shared and isn’t included in any shared environment group. Nevertheless, every environment has a Networking role assigned to it.
Result: The environment is assigned the Networking role.
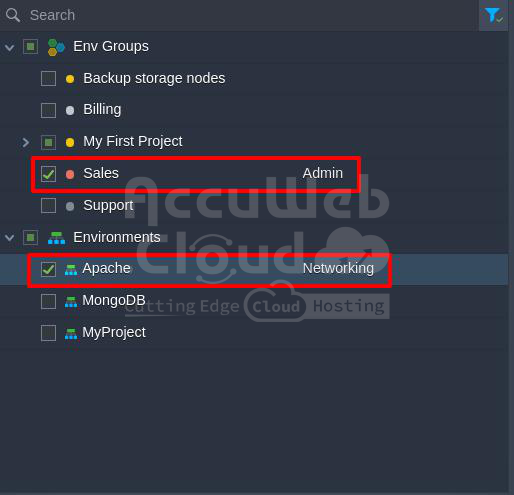
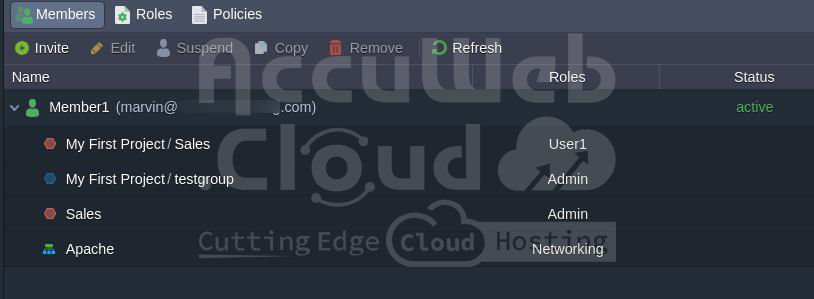
Example 2: The environment is accessible to Networking and is part of the shared group (Sales) that includes administrative roles. It falls within the categories highlighted in the accompanying image.
The system distinguishes between two types of access levels in its environment: Networking and shared environment groups (Admin).
It prioritizes roles based on the higher access level, giving precedence to Networking access roles while disregarding roles assigned at the shared environment groups level.
Result: The environment is assigned only the Networking role.
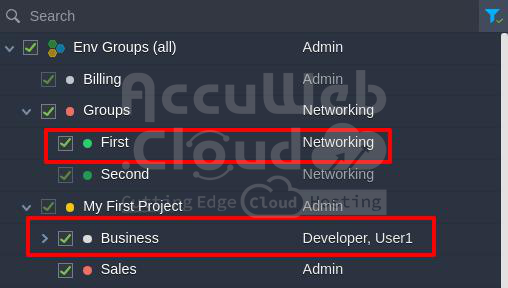
Example 3: The target environment is part of two groups. The first group includes the Developer and User1 roles, with its parent group having the Admin role and the second no assigned roles.
By default, all groups are assigned the Networking role. This environment is illustrated in the image below.
To determine the access level, we need to consider that all roles are associated with shared env groups at the same level. First, we check the roles for each group.
The first group directly includes the Developer and User1 roles, disregarding the parent role.
The second group has no roles, so we refer to its parent group. If the parent group also lacks roles, the default Networking role is assigned.
The result is a combined list of policies from the Developer, User1, and Networking roles.


