Using Apache as a Frontend for Tomcat
Tomcat is a reliable and fast server capable of handling large volumes of data, making it competitive with native web servers. Placing a secure, fast, and flexible Apache HTTP server in front of Tomcat can offer several benefits, such as:
- Load balancing across multiple Tomcat servers for high availability
- Efficient processing and delivery of static content
- Enhanced security features provided by Apache
- Additional functionalities via Apache modules
This setup is commonly used to improve performance in high-load environments.
In this tutorial, we’ll explore how to connect Apache and Tomcat using the mod_proxy or mod_rewrite modules. This allows Apache to forward requests to Tomcat and relay the responses back to the client.
Common Use Cases
Rewriting Links
Considering you have multiple Java applications hosted on different servers.
- http://env-tomcat-first.us-accuweb.cloud/application1/

- http://env-tomcat-second.us-accuweb.cloud/application2/

You can use the Apache mod_rewrite module to make them accessible through a single port with different paths. For example:
- Application 1: http://env-apache.us-accuweb.cloud/application1/
- Application 2: http://env-apache.us-accuweb.cloud/application2/
To set this up, follow these steps:
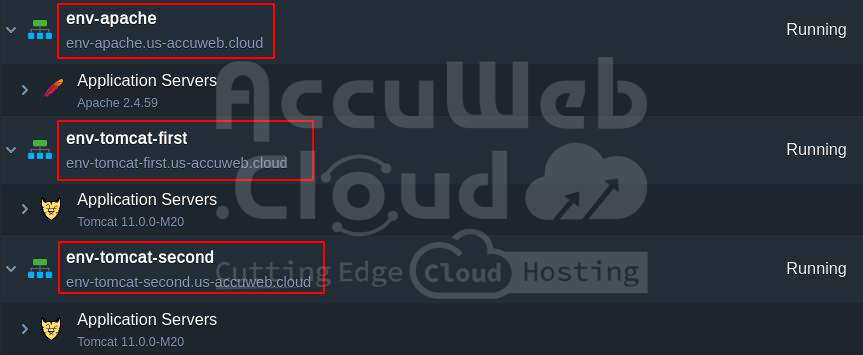
Step 1. Create Environments
- One frontend Apache environment
- Two or more backend Tomcat environments with your Java applications
Step 2. Configure Apache
- Open the Apache configuration manager.
- Edit the /etc/httpd/conf/httpd.conf file to include the following configuration:
<VirtualHost *:80>
ServerAdmin [email protected]
DocumentRoot /var/www/webroot/ROOT
ServerName website.jelastic.com
ServerAlias
RewriteEngine On

RewriteRule ^/application1/(.*) http://env-tomcat-first.us-accuweb.cloud/application1/ [P]
ProxyPassReverse /application1/ http://env-tomcat-first.us-accuweb.cloud/application1/

RewriteRule ^/application2/(.*) http://env-tomcat-second.us-accuweb.cloud/application2/ [P]
ProxyPassReverse /application2/ http://env-tomcat-second.us-accuweb.cloud/application2/

RewriteLog "/var/log/httpd/rewrite.log"

ErrorLog logs/dummy-host.jelastic.com-error_log
CustomLog logs/dummy-host.jelastic.com-access_log combined
</VirtualHost>
- RewriteEngine On is used for enabling the rewriting ability
- RewriteRule and ProxyPassReverse state the conditions and the result of rewriting for both applications
- RewriteLog is optionally added to store the logs of rewriting in the specified location
- Save the changes and restart the Apache server.
Step 3. Test the Setup
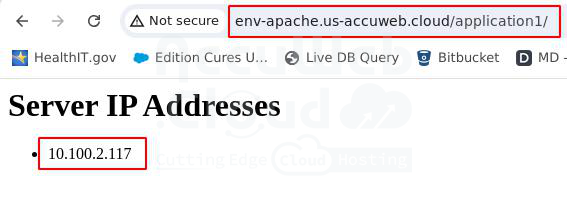
- Open your Apache frontend environment in a browser.
- Append /application1/ or /application2/ to the URL to access the respective applications.
In our case:
This configuration allows you to manage, restart, and debug each application separately while presenting them as a single application to the end user. It also provides descriptive links, making it easier for users to understand the content of each page from the URL.
Serving Static Content
Distributing tasks between Tomcat and Apache can increase the speed of your application. Apache can handle static content delivery while Tomcat serves the application.
In the described setup, Tomcat will handle serving the application, whereas Apache will be responsible for delivering the static content.
To configure this:
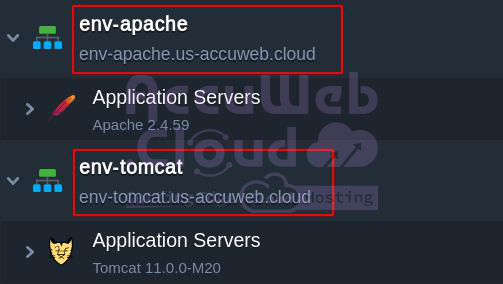
Step 1. Create Environments
- One Tomcat server with your application
- One Apache server for serving static content
Step 2. Configure Apache
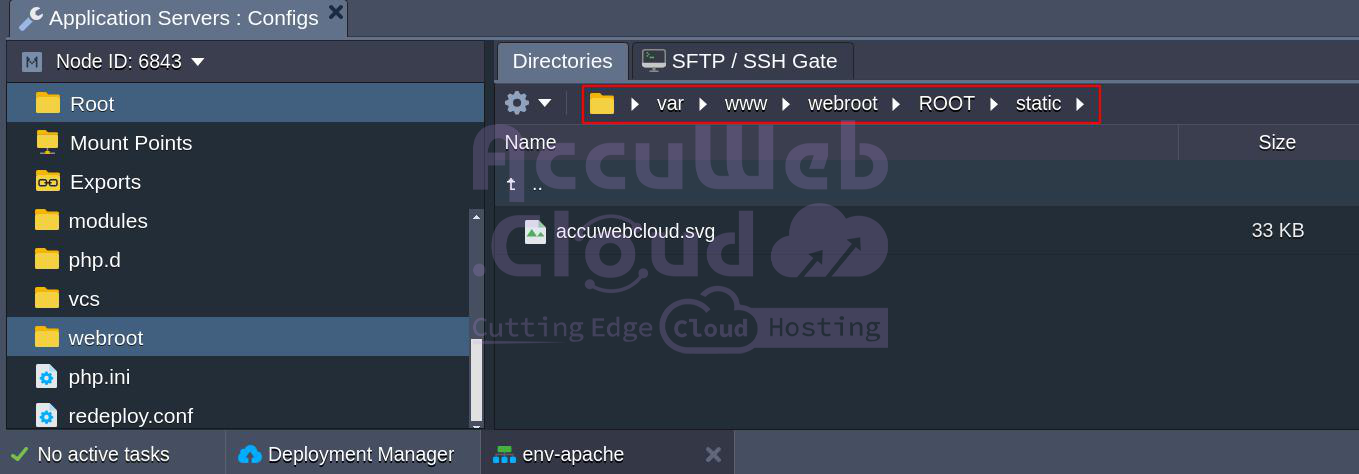
- Open the configuration manager and navigate to /var/www/webroot/ROOT.
- Create a folder for your static content and upload the necessary files (here we’ll create a folder named static).
Edit the VirtualHost section of /etc/httpd/conf/httpd.conf file as follows:
<VirtualHost *:80>
ServerAdmin [email protected]
DocumentRoot /var/www/webroot/ROOT
ServerName website.jelastic.com
ServerAlias *

ProxyPass /static !

ProxyPass / http://env-tomcat.jelastic.com/app1/
ProxyPassReverse / http://env-tomcat.jelastic.com/app1/

ErrorLog logs/dummy-host.jelastic.com-error_log
CustomLog logs/dummy-host.jelastic.com-access_log common
</VirtualHost>
The ProxyPass /static ! line indicates that any requests beginning with /static will not be proxied.
All other requests will be forwarded to the Tomcat server, where your app is hosted, as specified in the ProxyPass and ProxyPassReverse lines.
- Restart the Apache server.
Step 3. Test the Setup
- Open your Apache frontend environment in a browser.
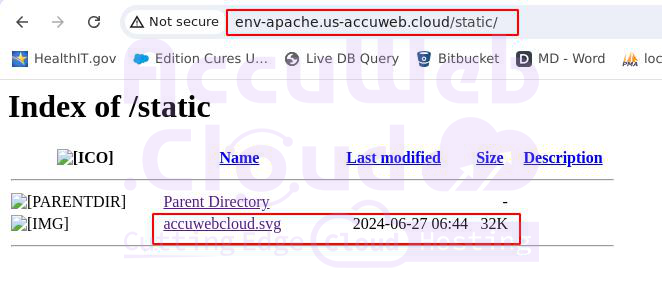
- Access your application and static content through the specified URLs.
In order to see you directory listing you need to add the following code segment in your /etc/httpd/conf/httpd.conf file :
<Directory "/var/www/webroot/ROOT/static">
Options Indexes FollowSymLinks
</Directory>
In this setup, Tomcat serves the application, while Apache handles the static content. This division of labor allows your application to serve more users simultaneously and improves overall performance.
Load Balancing
To handle more load and achieve failover capabilities, you can add multiple Tomcat instances and use Apache as a load balancer. Here’s how:
Step 1. Create Environments
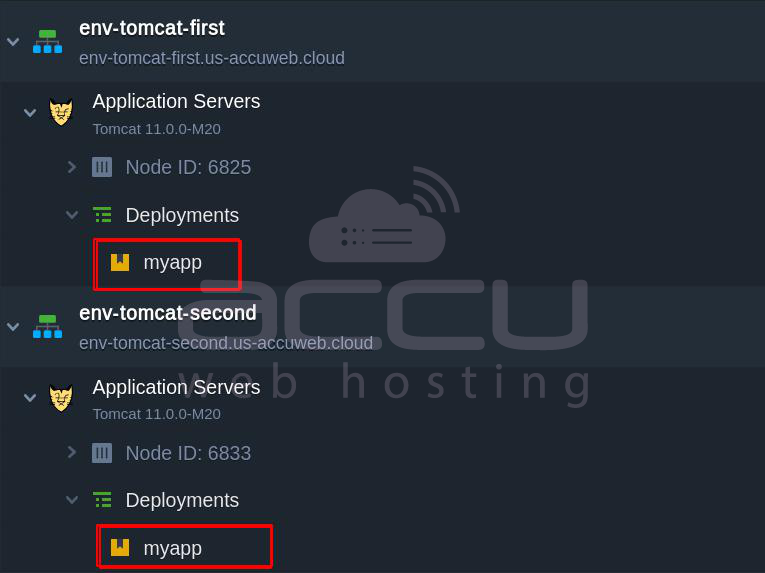
- Two backend Tomcat environments with your Java applications (Please note that it is mandatory to use the same context for applications deployed across both environments).
- One frontend Apache environment
Step 2. Configure Apache
- Open the configuration manager and navigate to /etc/httpd/conf.d.
- Create a servers_list file with the hosts of your applications:
servers {env1_name}.{hoster_domain}|{env2_name}.{hoster_domain}
- Edit the /etc/httpd/conf/httpd.conf file as follows:
<VirtualHost *:80>
ServerAdmin [email protected]
DocumentRoot /var/www/webroot/ROOT
ServerName website.jelastic.com
ServerAlias *

RewriteEngine On

RewriteMap lb rnd:/etc/httpd/conf.d/servers_list
RewriteRule ^/(.*) http://${lb:servers}/myapp/$1 [P,L]

ErrorLog logs/dummy-host.jelastic.com-error_log
CustomLog logs/dummy-host.jelastic.com-access_log common
</VirtualHost>
- RewriteEngine On is used for enabling the rewriting ability
- RewriteMap sets the path to the hosts, stated in the servers_list file, created before.
- RewriteRule sets the load balancing terms
- RewriteLog is optionally added to store the logs of rewriting in the specified location
- Restart the Apache server.
Step 3. Test the Setup
- Open your Apache frontend environment in a browser.
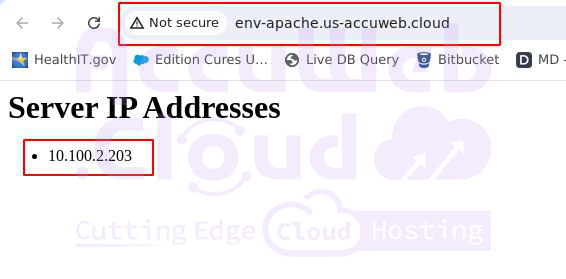
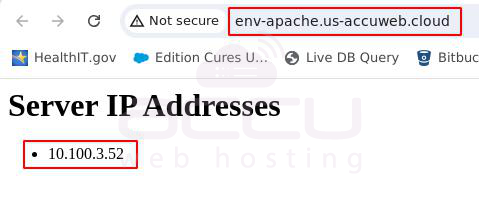
- Refresh the page multiple times to see the load balancing in action, alternating between Tomcat instances.
By following these steps, you can increase the performance, flexibility, and stability of your applications using the Apache and Tomcat interconnection. This configuration allows your environment to handle more load and provides failover capabilities, ensuring your applications remain available and responsive.


