MongoDB Replica Set Auto-Clustering for High Availability and Performance on AccuWeb.Cloud
Setting up MongoDB replica sets for high availability and performance can be streamlined using AccuWeb.Cloud. Follow these steps to configure your MongoDB environment
Key Features of MongoDB Replica Set on AccuWeb Cloud
Redundancy and Data High Availability
Maintaining multiple copies of data across different database servers ensures a high level of fault tolerance against data loss. This setup guarantees that your data remains accessible even if one or more servers fail.
Scalability and Auto-Discovery
When new nodes are added during horizontal scaling, they are automatically integrated into the cluster with all necessary configurations applied. This seamless auto-discovery process allows the cluster to expand without manual intervention.
Automated Failover
In the event of temporary unavailability or high latency of any database node, the system automatically excludes the affected node from the cluster. Once the connection is restored, the node is reintegrated into the cluster, ensuring continuous and efficient operation.
All these benefits can be easily activated in just a few clicks using the topology wizard. Follow these steps to enable auto-clustering for your MongoDB database on AccuWeb.Cloud PaaS:
Specifics of the MongoDB Auto-Clustering
A replica set in MongoDB consists of a minimum of three instances that synchronize data. One instance acts as the primary node, handling all write operations and recording changes in the oplog. The secondary nodes use this oplog to replicate the primary’s data. If the primary node goes offline, one of the secondary nodes is automatically promoted to primary after a brief period.
The default configuration settings for the automatically configured cluster are as follows:
- “chainingAllowed”: true – Enables secondary members to replicate data from other secondaries.
- “heartbeatIntervalMillis”: 2000 – Sets the frequency of heartbeats to 2000 milliseconds.
- “heartbeatTimeoutSecs”: 10 – Specifies a 10-second timeout for replica set members to wait for a successful heartbeat before marking a node as inaccessible.
- “electionTimeoutMillis”: 10000 – Sets a 10,000-millisecond timeout for detecting if the primary member is unreachable.
- “catchUpTimeoutMillis”: -1 – Indicates an infinite timeout for the newly elected primary to catch up with members that have more recent writes.
- “catchUpTakeoverDelayMillis”: 30000 – Provides a 30,000-millisecond delay for a secondary node, which is ahead of the current primary, to allow for catch-up before initiating an election to become the new primary.
Ensuring
security and protection from unauthorized access is crucial. Authentication is a key security measure, requiring each replica set member to authenticate itself during internal communications using a unique authentication key file. During cluster configuration, the platform automatically:
- Applies necessary configurations in /etc/mongod.conf
- Generates an authentication key located at /home/jelastic/mongodb.key
To maintain consistency, this key file is also included in the redeploy.conf file, ensuring its persistence throughout all container lifecycle operations.
Performance with WiredTiger Storage Engine
MongoDB defaults to the WiredTiger storage engine, which offers high performance through non-locking algorithms and efficient cost/resource utilization. The default WiredTiger options are optimized for running a single mongod instance per server, making them suitable for AccuWeb.Cloud PaaS containers. MongoDB leverages both the WiredTiger internal cache and the filesystem cache:
- Internal Cache Size: Set to 50% of total RAM minus 1 GB, with a minimum of 256 MB.
- Filesystem Cache: Uses the free memory not occupied by WiredTiger or other processes.
For detailed information on WiredTiger configurations, refer to the official MongoDB documentation.
Automated Node Management
A distinctive feature of the MongoDB auto-cluster is its ability to automatically detect and manage nodes during scaling operations. When new nodes are added through horizontal scaling, they are seamlessly included in the replica set without manual intervention. Similarly, nodes are automatically removed from the cluster during scaling in.
Activate Auto-Clustering for Databases
The entire MongoDB auto-clustering process can be accomplished with a single click.
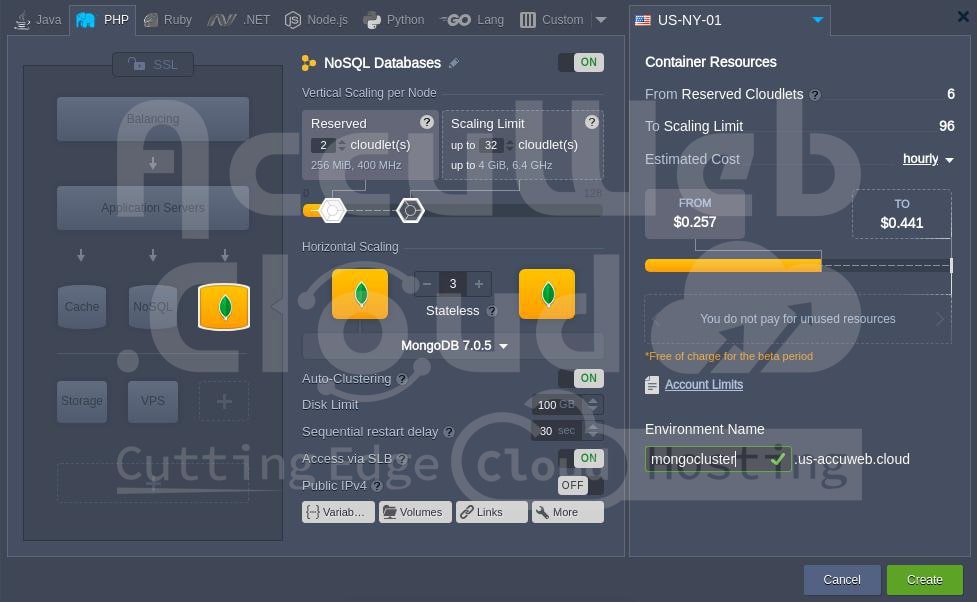
Step1. Click the “New Environment” button at the top-left corner of the dashboard to open the topology wizard. Select the MongoDB database option and enable Auto-Clustering using the designated switch
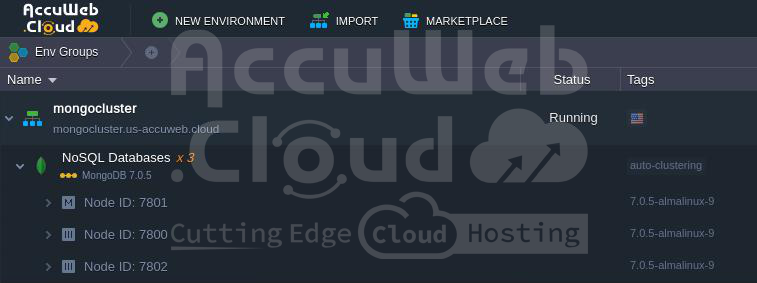
Step 2. Allow the platform a minute to automatically configure the cluster for you.
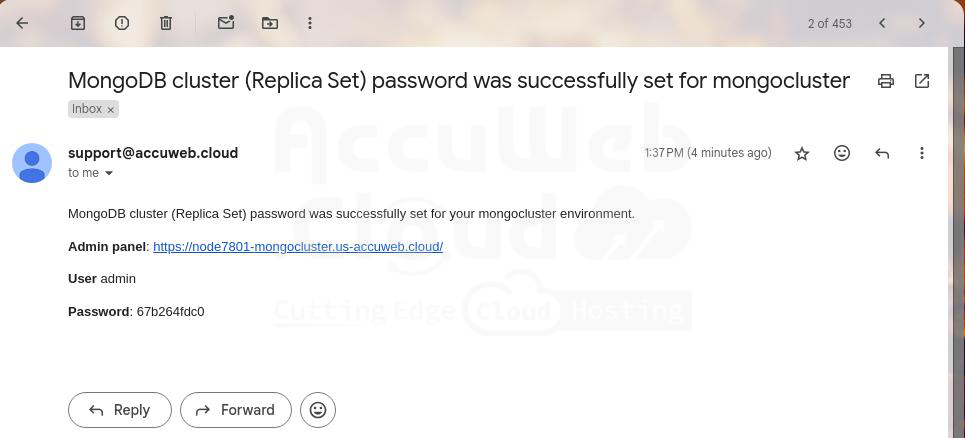
Step 3. Once the installation is complete, you will receive an email confirming the successful configuration of the replica set.
You can use these credentials to access the admin panel or to establish connections from your applications directly to the primary node of the replica set.
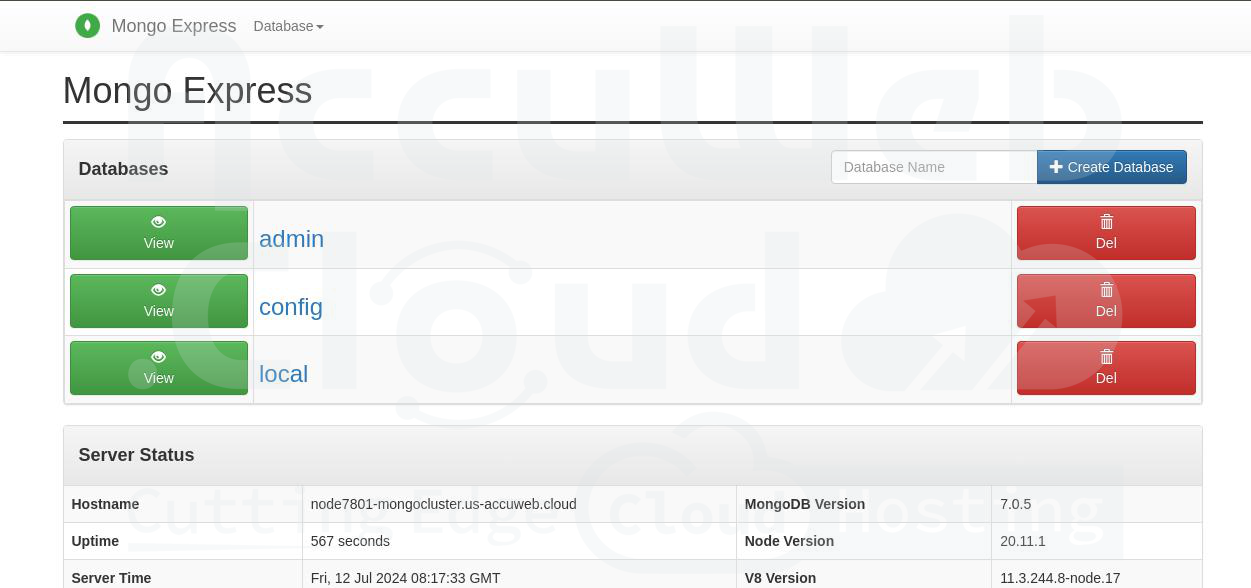
Step 4. The auto-cluster utilizes the Mongo Express administration panel by default, offering support for managing replica sets.
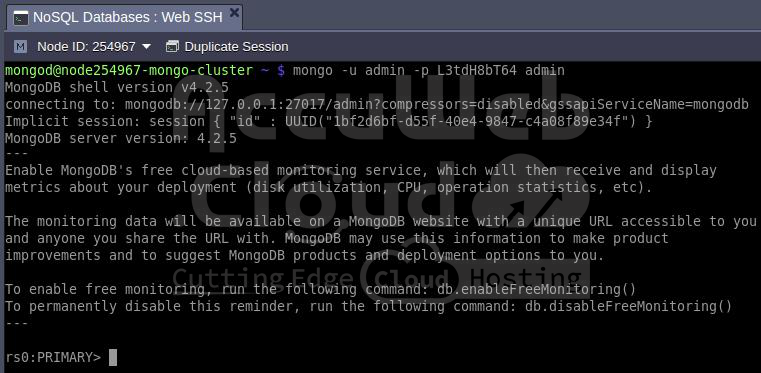
Step 5. Additionally, you have the option to connect to your database directly via the mongo shell in your terminal, such as through the integrated Web SSH feature.
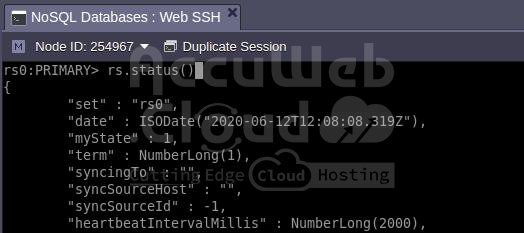
mongo -u {user} -p {password} {B_name}Step 6. You can verify the status of the replica set using the appropriate command
rs.status()As observed, the replica set (named rs0 by default) is operational. For further replica set operations, refer to the official documentation. For instance, to view replica set configurations, you can use the rs.conf() command.


