Container-Volumes
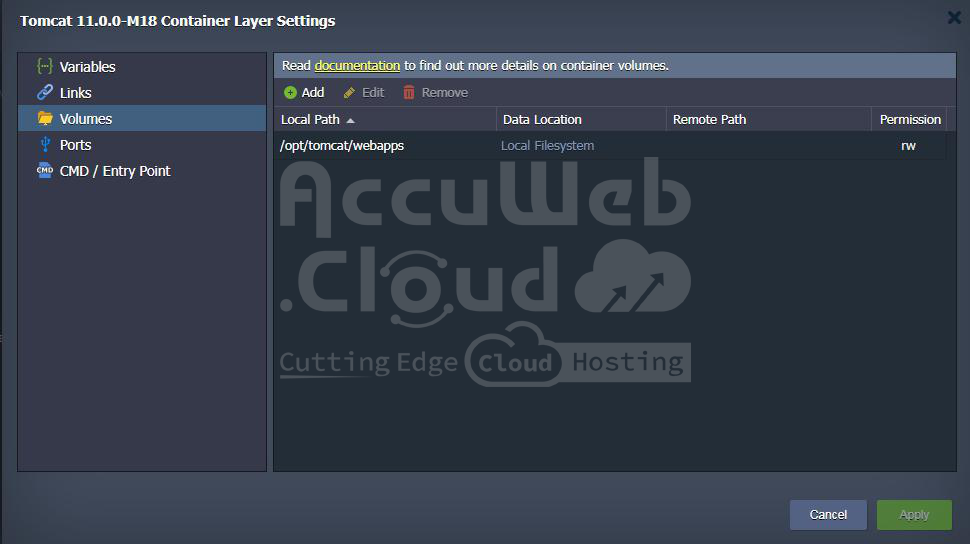
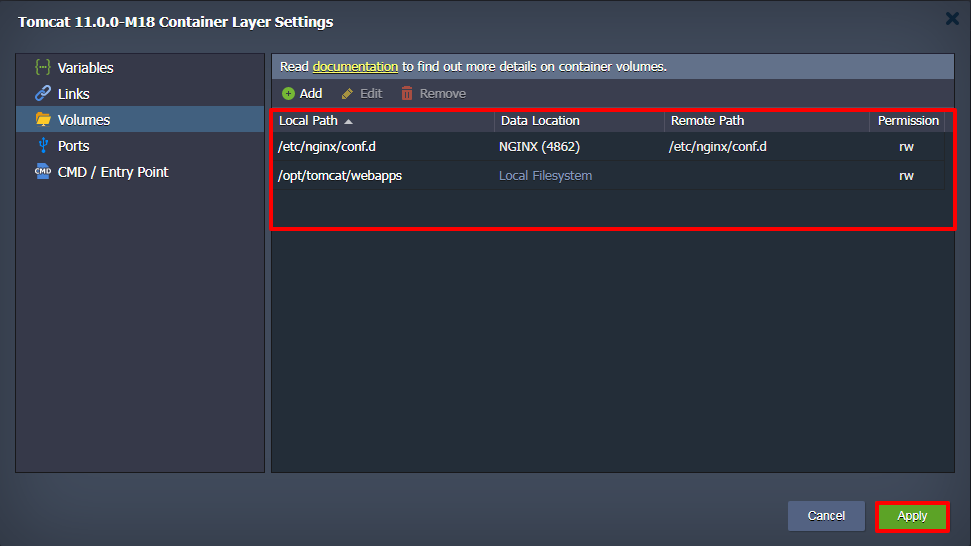
The Volumes tab shows the list of data storage connected to the current container. These areas are meant to keep data safe even if the container is restarted or changed. They’re shown as paths to where they’re connected inside a node server.
Using volumes to store data lets you do different things inside the container without losing your data. This keeps your data safe and intact.
Next, we’ll talk about how you can add your own storage area to your container and the different ways you can connect data to it, like using your computer’s storage, a separate container just for data, or an External NFS Server.
Operating Custom Volumes
By default, the storage spaces that are already set up in a certain way are displayed in the Docker settings under Volumes.
But you can also set up your own storage spaces. These can be on your computer, on another part of the platform, or even on an outside server. Here’s how you do it:
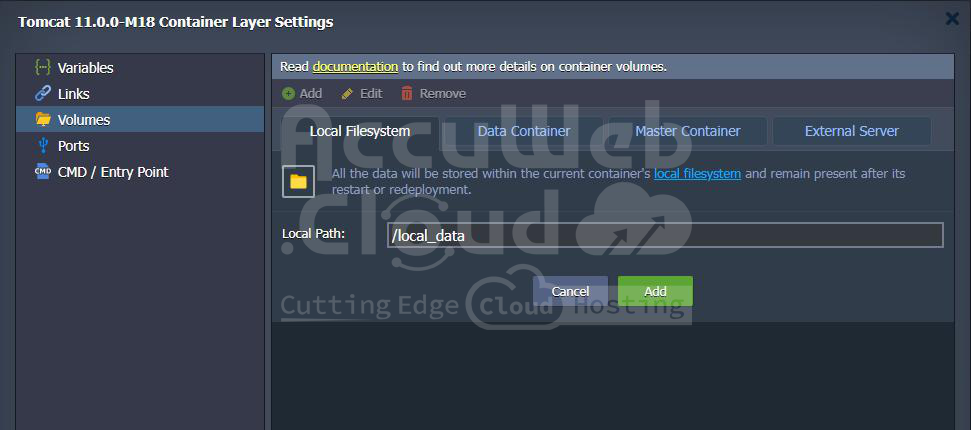
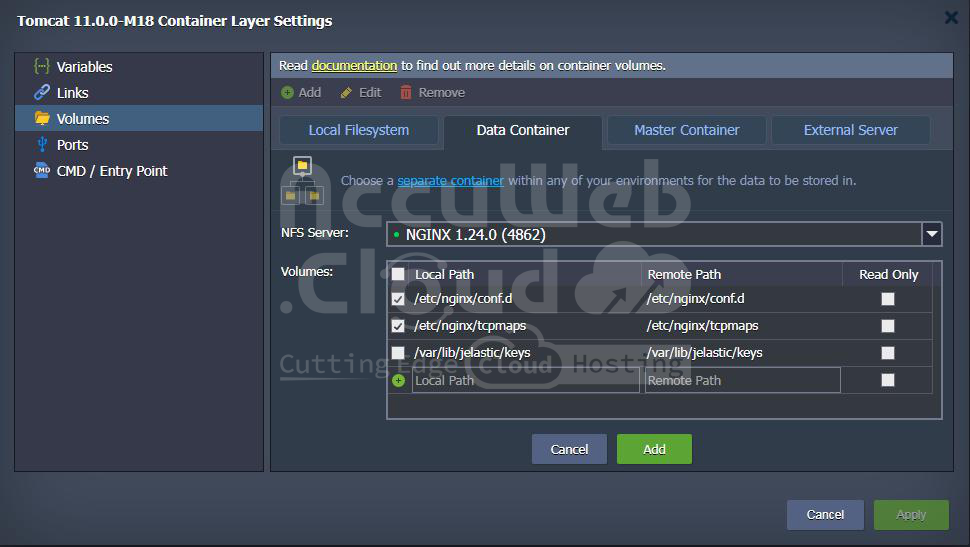
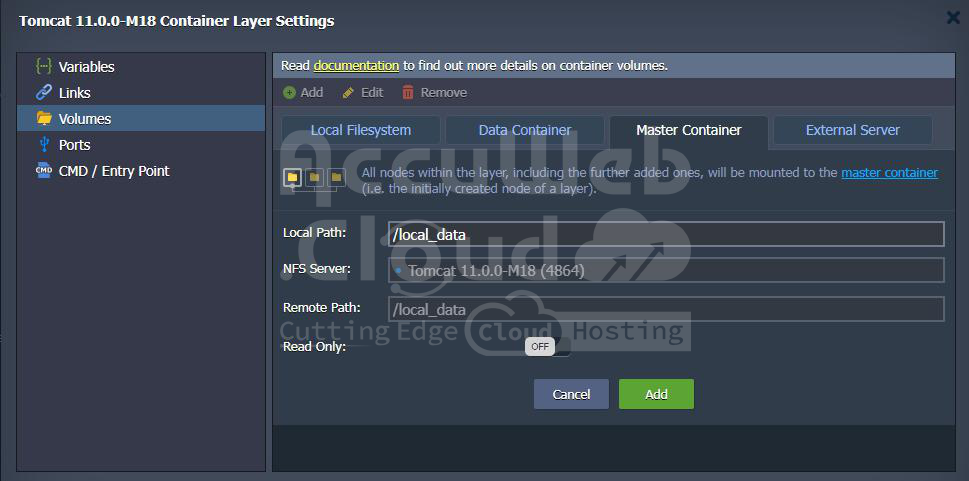
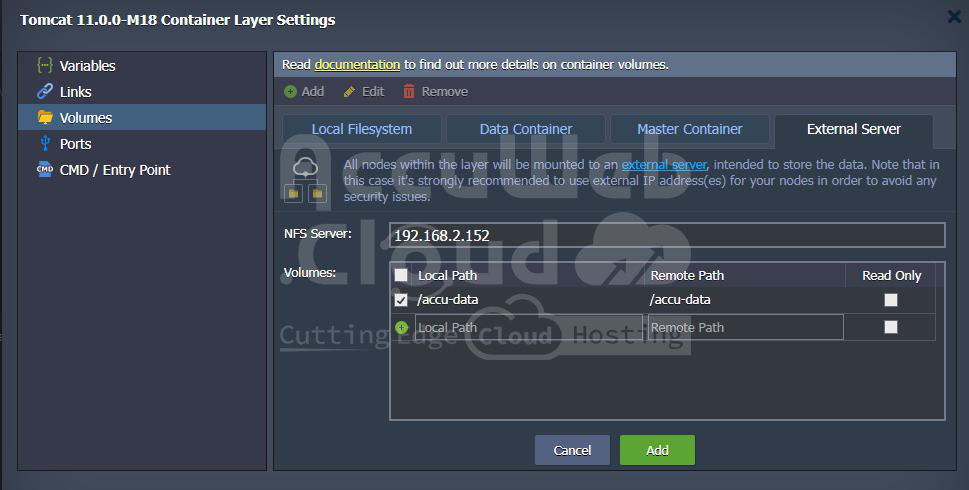
Step 1: Click the Add button above the list. You’ll see four tabs. Each tab is for a different kind of storage space you can create:
Local Filesystem: This is a storage space on your computer. It keeps your data safe even if you restart the container or use a different computer.
Data Container: This storage space lets you use data from another part of your account.
Master Container: Data stored here is on the main computer of your setup. It’s automatically shared with all the other computers in your setup.
External Server: This lets you use data from an outside server, like a storage space you set up yourself or from another platform.
Once you’ve filled in all the details for the storage space you want, click Add to finish setting it up.
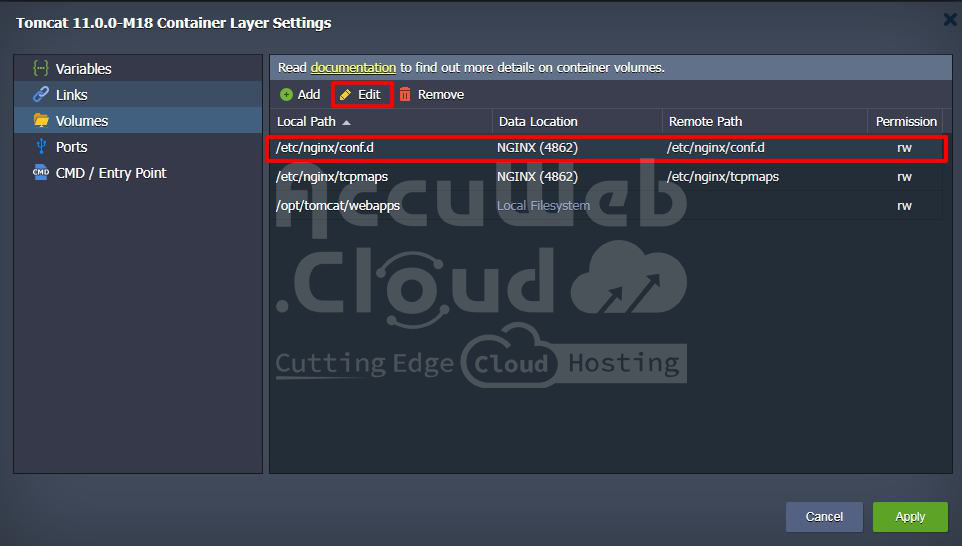
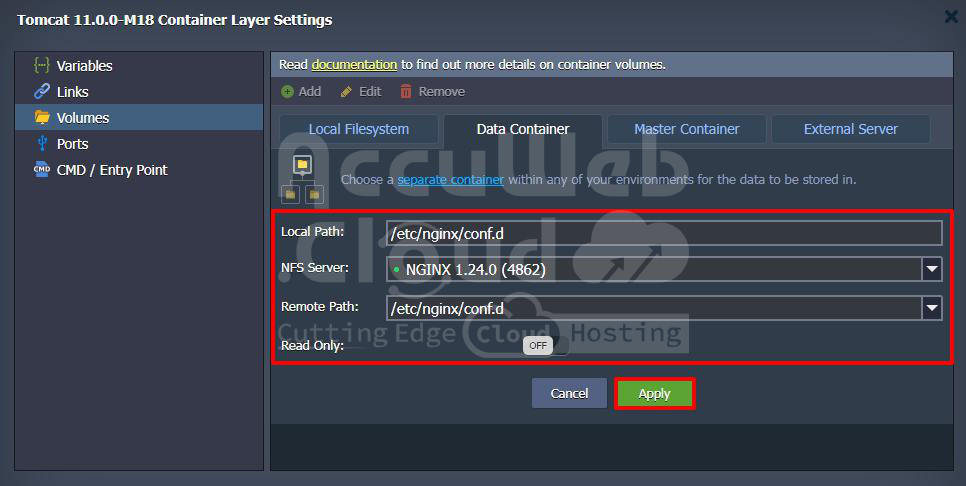
Step 2: If you want to change settings for a storage space you already made, you can do it by clicking Edit at the top or double-clicking the record.
You can’t change the Local Path where the data is stored, but you can switch how it’s connected or change who can read and write to it.
Remember to click Apply after making any changes.
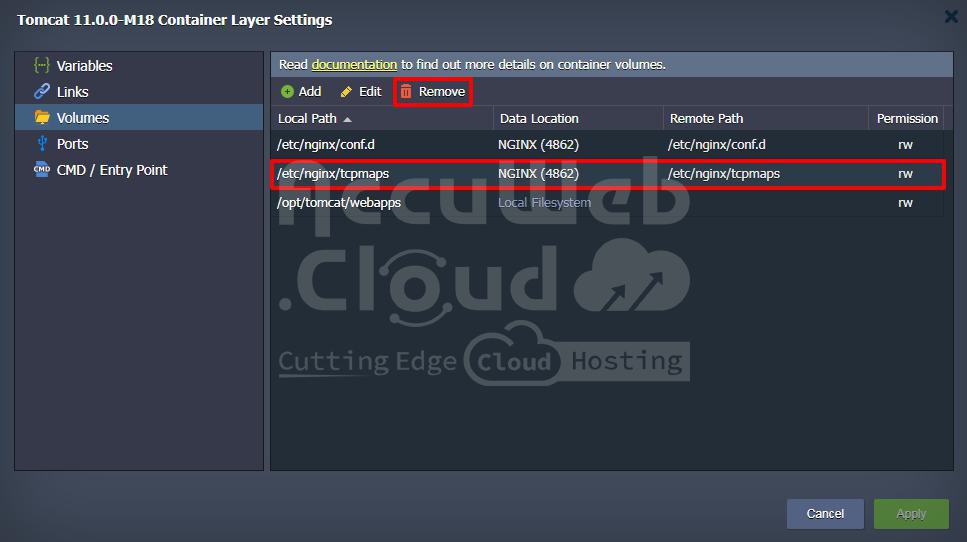
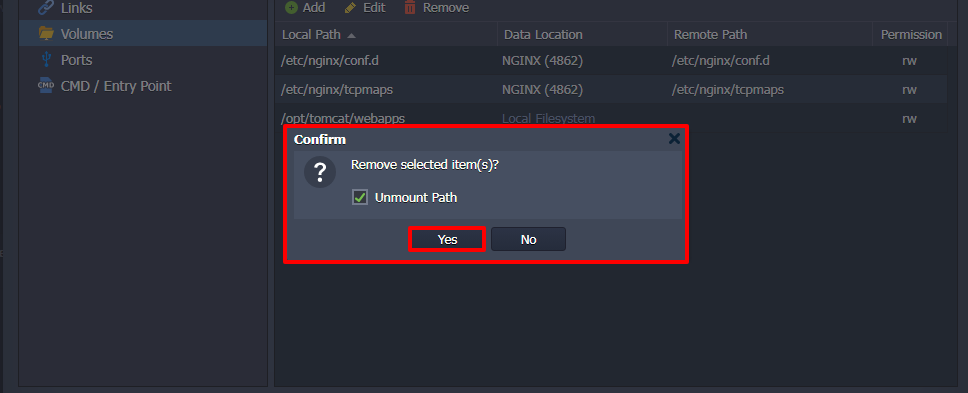
Step 3: If you don’t need a storage space anymore, you can remove it easily by selecting it and clicking Remove.
Here are some things to remember:
- Before you delete a storage space, make sure it doesn’t have any important data because once you delete it, you can’t get it back.
- You can’t delete the storage spaces that were already set up for you, but you can change them.
- If you want to remove a storage space but keep where it’s connected, uncheck the box that says Unmount path.
Confirm your choice in the pop-up window that appears.
After that, remember to apply your changes by clicking the right buttons in the Docker settings and the topology wizard if needed.


