
The AccuWeb.Cloud Reseller Onboarding Journey
A Complete Overview of the Reseller Setup Cycle
Becoming an AccuWeb.Cloud Reseller opens the door to a fully white-labeled cloud hosting business, backed by our infrastructure, technical expertise, and dedicated support. To ensure a smooth and transparent experience, we have structured the onboarding process into a series of clear, well-defined steps. This document walks you through the entire Reseller setup cycle, from your initial inquiry to the activation of your fully configured Reseller Portal, so you know exactly what to expect at every stage of the journey.
Step 1: Client Inquiry
The journey begins when you submit our Inquiry Form, sharing basic details such as your name, contact information, address, and any specific questions or requirements you may have. This helps our team understand your needs from the very start.
Step 2: Initial Response from Our Technical Department
Once your inquiry is received, our Technical Department sends a detailed introductory email outlining what the AccuWeb.Cloud Reseller Program has to offer. This includes white-label branding, flexible pricing options, robust infrastructure and technical support, and centralized client management tools. The email also explains the account balance requirement, which is needed to activate the Reseller Panel, along with guidance on how to get started.
Step 3: Client Confirmation
Upon receiving your confirmation to proceed, our Billing Department creates your AccuWeb.Cloud Client Area and shares your login credentials. An invoice for the minimum needed amount is then raised for activation of your Reseller Panel, which can be conveniently paid directly through your Client Area.
Note: The amount that is paid by you as an account balance will be credited to your reseller dashboard.
Step 4: Post-Invoice Payment
Once your payment is successfully processed, our Technical Team sends you a follow-up email specifying the technical information required to set up your Reseller Portal. This includes selecting two subdomains, adding the necessary CNAME records, and providing SSL certificates for those subdomains.
The required CNAME records are as follows:
| Hostname | Record Type | Points To |
| manage.yourdomain.com | CNAME | manage.accuweb.cloud |
| api.yourdomain.com | CNAME | api.accuweb.cloud |
Step 5: Creation of Your Account
While you are updating your CNAME records and arranging your SSL certificates, our team does not wait idle. We proceed with creating your account on our platform and send an activation email to your registered email address. You will then need to complete your account activation using the link provided in that email.
Step 6: Reseller Dashboard Activation
After your account activation is complete, we will share the login details for your AccuWeb.Cloud Reseller Dashboard. From there, you will need to add a minimum balance and save your card details for future invoice settlements, as Reseller accounts operate on a postpaid basis.
Completing this step activates your Reseller Dashboard and allows us to proceed with setting up your Reseller Portal.
From your Reseller Dashboard, you can manage and monitor various aspects of your reseller account, including:
- View your Billing Summary and account details.
- Update your Brand URL and SSL certificates.
- Access your Reseller Portal directly with a single click.
- Reset your Reseller Portal password.
- View the resource quota allocated to your reseller account.
- Submit a quota increase request directly from the dashboard.
- Access the dedicated Support section to raise and manage support tickets.
- Manage and update your profile settings from the Profile section.
Step 7: Reseller Portal Setup
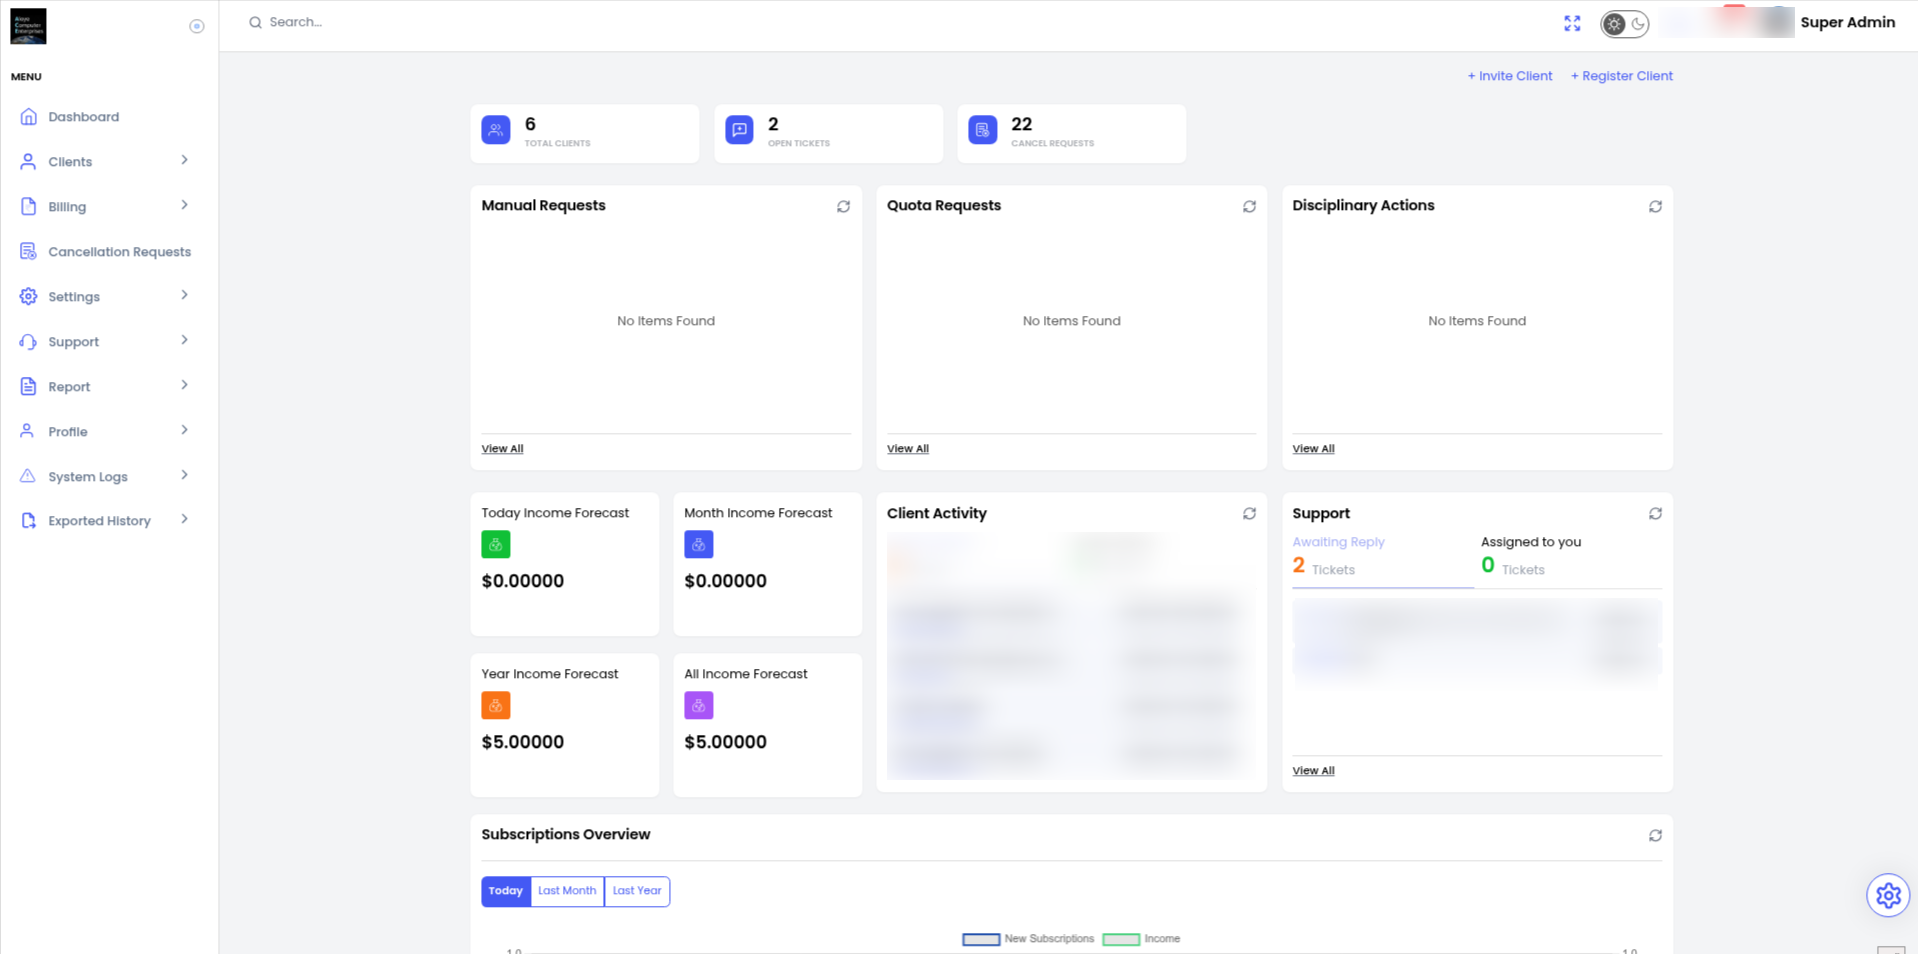
Once your DNS records have propagated, your SSL certificates have been issued, and your dashboard activation is complete, we proceed with configuring your Reseller Portal. This portal serves as a one-stop solution for managing your clients, their billing and invoices, support tickets, and much more.
From the Reseller Portal, you will be able to configure:
- Branding preferences and related settings
- Billing settings, including rate cards, coupons, and more
- Quota configuration
- Email and SMTP configuration
Step 8: Final Configuration and Go-Live
Once we share your Reseller Portal login details, you will be able to configure all the settings mentioned above and begin registering your own client accounts directly from the panel. With this, the entire Reseller setup cycle is successfully complete, and you are ready to operate your own branded cloud hosting business.
Conclusion
The AccuWeb.Cloud Reseller onboarding process is designed to be transparent, structured, and supportive at every stage, from your first inquiry to the activation of a fully functional, white-labeled Reseller Portal. Our teams work closely with you throughout, ensuring that technical requirements are clearly communicated and that your setup progresses smoothly with minimal effort on your end.
We look forward to partnering with you and supporting the growth of your reselling business. Should you have any questions at any stage of this journey, our team remains available to assist you.