How to automatically scale nodes horizontally in AccuWeb.Cloud?
AccuWeb.Cloud has features that automatically adjust the capacity of your application server, both up and down. This automatic scaling is important for making sure your application runs efficiently. To make this work, you need to set up triggers that control when the system should automatically adjust its capacity. This detailed guide walks you through each step of configuring these triggers, from accessing environment settings to finalizing trigger settings.
The platform can automatically adjust the number of containers in a group based on the amount of work coming in. This happens vertically and horizontally. Vertical scaling means adjusting the capacity of a single container, while horizontal scaling means changing the number of containers in the group.
When the platform scales horizontally, it evenly distributes the containers across the available hardware to ensure no single part is overloaded. It does this by placing new containers on the hardware with the least work and the lowest load, ensuring reliability.
The platform uses tunable triggers, and custom conditions, to decide when to add or remove containers based on the workload. Every minute, the platform looks at the average resource usage over a specified time to determine if it needs to adjust the number of containers.
The statistics gathered include the overall workload of the entire group, considering the usage of each container. For example, if three containers have workloads of 20%, 50%, and 20%, the average is 30%. Notably, the conditions for adding or removing containers are separate and not affected by each other.
In this article, we will cover the following points:
Set up Triggers for Automatic Scaling
To set up a trigger for automatic horizontal scaling, follow these steps:
Step 1: Log in to the AccuWeb.Cloud Dashboard and click on the “Settings” button for the desired environment.
Step 2: Go to the Monitoring > Auto Horizontal Scaling section in the opened tab. Here, you can see a list of scaling triggers configured for the current environment (if any).
Use the buttons in the tools panel to manage auto horizontal scaling for the environment:
- Add: creates a new trigger
- Edit: adjusts the existing trigger
- Remove: deletes unnecessary triggers
- Refresh: updates the displayed list of scaling triggers
Click “Add” to proceed.
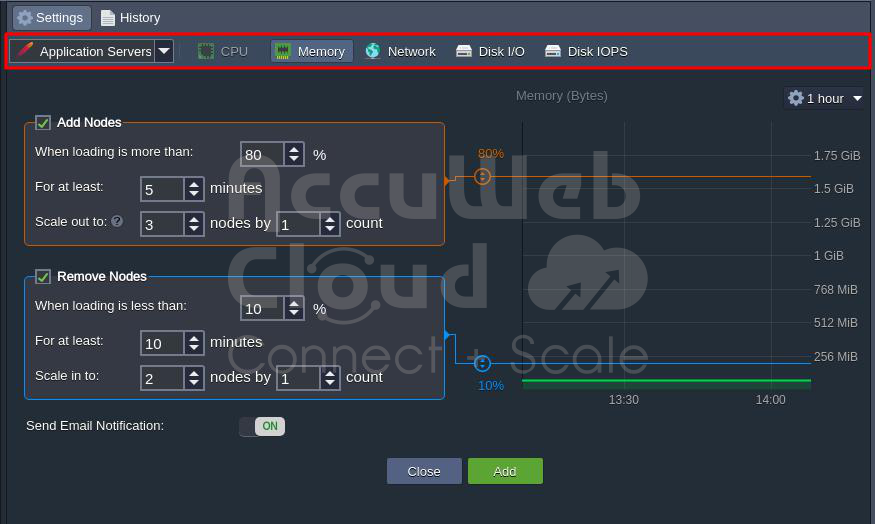
Step 3: Choose the required environment layer from the drop-down list and select the resource type to monitor using one of the appropriate tabs (CPU, Memory, Network, Disk I/O, Disk IOPS).
Important Points:
- The initial (master) node can be a storage server for sharing data within the whole layer, including nodes added through automatic horizontal scaling.
- The CPU and Memory limits are calculated based on the number of allocated cloudlets, which represent 200 MHz CPU and 128 MiB RAM simultaneously.
Step 4: The chart on the right side displays information about how much of a specific resource is being used. Using the drop-down list, you can pick the time period you want to see data for (up to one week). If necessary, you can turn on or off the Auto Refresh function for the statistics.
You can also hover over the chart to see the exact amount of resources used at a specific moment. Use this information to set up the right conditions for your triggers.
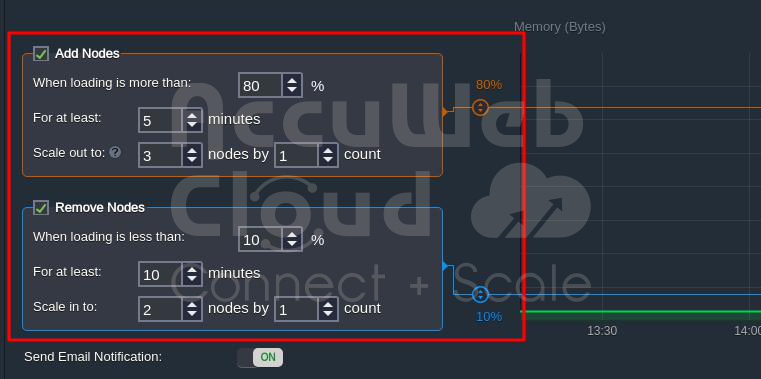
Step 5: Each trigger has conditions for adding or removing nodes, and you can enable these by checking the boxes next to the titles.
Both conditions are set up similarly:
- When the load is more (less) than – sets the upper (lower) limit in percentage for the average load (activates the trigger if exceeded).
Important Points:
- You can set the desired value using the sliders on the chart.
- A 100% value disables the Add Nodes trigger, and 0% disables the Remove Nodes trigger.
- The minimum allowed difference between Add and Remove Nodes conditions is 20%.
- You can use Mbps units instead of percentages for the Network trigger.
- We recommend setting the average loading for the Add Nodes trigger above the 50% threshold to avoid unnecessary scaling (and wasting resources/funds).
- For at least – sets the number of minutes for which the average consumption is calculated (up to one hour with a 5-minute step, like 1, 5, 10, 15, etc.).
- Scale-out (in) to – sets the maximum (minimum) number of nodes for the layer that can be configured through automatic horizontal scaling.
- Scale by – sets the number of nodes to be added or removed at a time when the trigger is executed.
When setting up a trigger, consider the scaling mode of the layer. For example, if the layer is in stateful mode, set a lower loading percent in the Add Nodes trigger, as content cloning takes time, and you may reach resource limits before a new node is created.
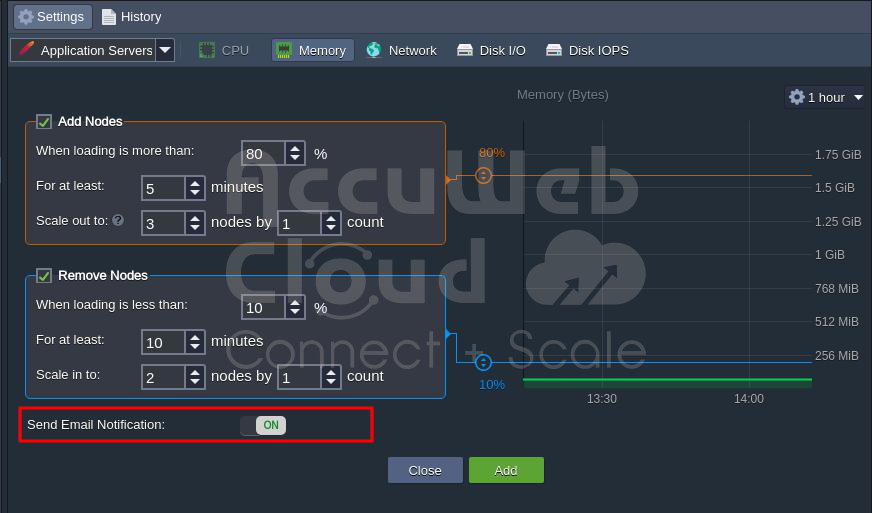
Step 6: By default, you’ll automatically get an email notification about the configured auto horizontal scaling trigger activity. However, you can turn it off using the Send Email Notifications switch if needed.
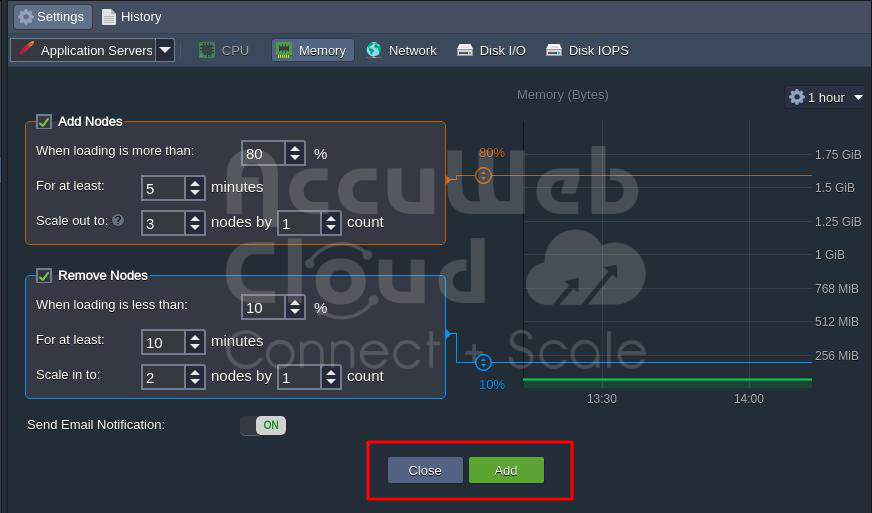
Step 7: At the bottom of the form, you have the following buttons:
- Close: exits the dialog without making changes
- Add: confirms the changes for the trigger
Select the option you need to finish creating or adjusting the trigger.
View Triggers Execution History
You can see a record of when the automatic scaling triggers were activated for a specific environment.
In the example below, we’ll make the application server work hard for 5 minutes (check the RAM usage statistics in the image) with the following triggers set up:
- Add a node when the average RAM usage is more than 65% for at least 5 minutes
- Remove a node when the average RAM usage is less than 20% for at least 10 minutes
Now, let’s check how the automatic horizontal scaling works:
Step 1: Go to the Settings > Auto Horizontal Scaling > History. Using the From and To fields, you can also set a specific time range.
Step 2: The list shows:
- Date and time when the trigger was activated
- Action taken (Adding or Removing Nodes)
- Type of nodes the scaling affected
- Information about the trigger condition
Hovering over a specific entry also gives you the Loading Value (resource usage at the time of activation) and Node Count (number of nodes after the change).
The Add and Remove Nodes triggers work independently. This means the removal condition (average load less than 20% for at least 10 minutes) continues checking even after adding a new node. This approach helps quickly detect sufficient average load during the specified interval. It’s a good idea to set a noticeable difference between scaling out and scaling in limits to avoid frequent changes in the system.
That’s it! This way, you can set up adjustable triggers to ensure your application runs smoothly and monitor the automatic horizontal scaling directly from the dashboard.
Conclusion:
In conclusion, AccuWeb.Cloud provides a straightforward process for automatically scaling nodes horizontally, ensuring optimal performance and resource utilization for your application. By configuring triggers based on factors like resource usage, you can seamlessly add or remove nodes, adapting to changing workloads.
The platform’s user-friendly dashboard allows easy monitoring of trigger activity, giving you control over the automatic horizontal scaling process to enhance your application’s efficiency.


