How to Install NGINX, Apache & OpenLiteSpeed on Ubuntu 22 VPS?
When you launch a Cloud VPS, one of the first and most important decisions you willl make is choosing the right web server. The web server is the engine that delivers your website’s content to visitors, handling requests, managing traffic, and ensuring your site loads quickly and securely.
Among the most popular web servers in the world are NGINX and Apache HTTP Server. Both are powerful, reliable, and widely used in production environments, from small business websites to high-traffic enterprise applications.
Part 1: How to Install NGINX on Ubuntu 22.04?
NGINX is a lightweight, high-performance web server widely used for high-traffic websites and reverse proxy setups.
Step 1: Update Your Server
Always start by updating the package list:
sudo apt update && sudo apt upgrade -y
Step 2: Install NGINX
Install NGINX using:
sudo apt install nginx -y
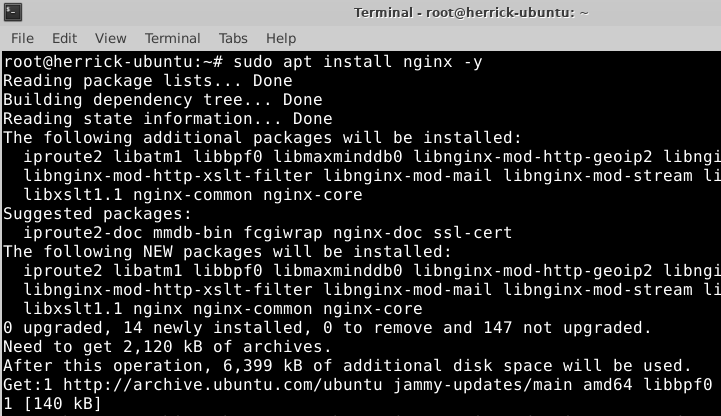
After installation, Ubuntu will automatically start the NGINX service.
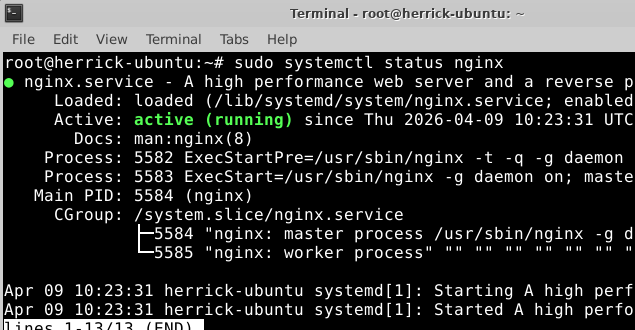
Step 3: Check NGINX Status
Verify that NGINX is running:
sudo systemctl status nginx
You should see:
Active: active (running)
Note: If the status shows inactive, kindly run the command below.
sudo systemctl start nginx
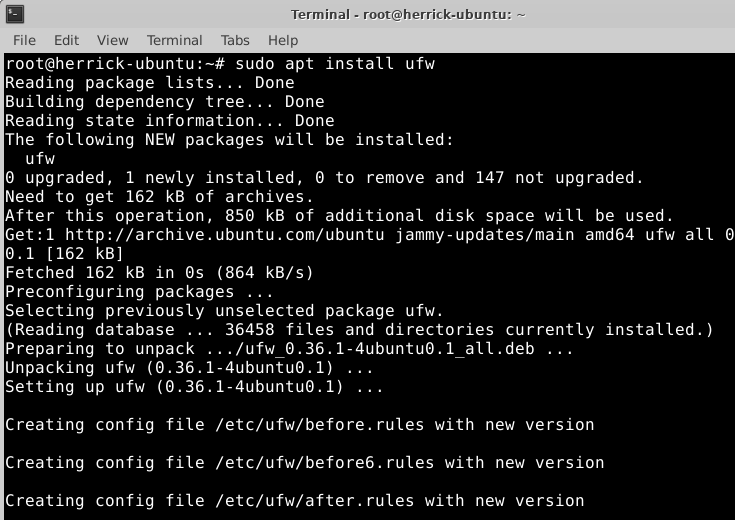
Step 4: Allow NGINX Through Firewall
Install UFW Firewall if not installed
sudo apt install ufw
sudo ufw allow 80
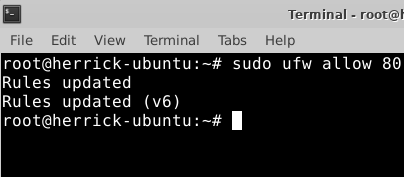
Check firewall status:
sudo ufw status
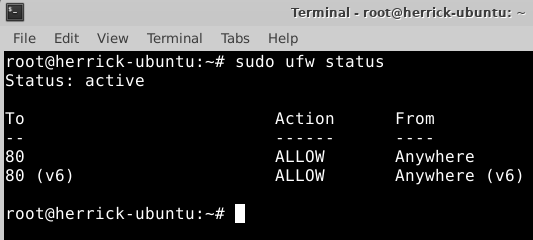
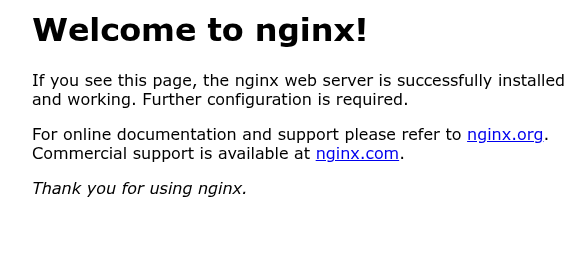
Step 5: Test NGINX in Browser
Open your browser and visit:
http://your_server_ip
You should see the default NGINX welcome page.
Part 2: How to Install NGINX on Ubuntu 22.04?
Apache HTTP Server (commonly called Apache) is one of the most stable and widely used web servers in the world.
ginner-friendly and works very well with PHP-based applications like WordPress.
Step 1: Update Server
If not already updated:
sudo apt update && sudo apt upgrade -y
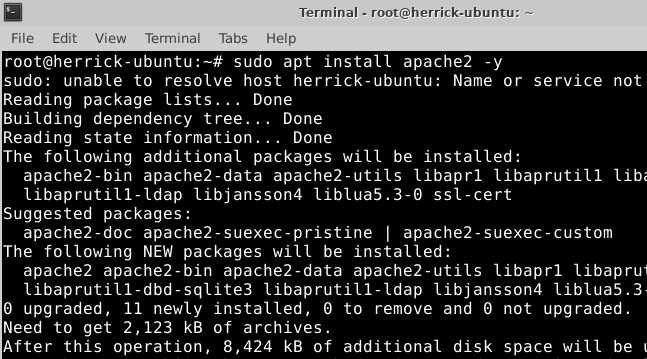
Step 2: Install Apache
sudo apt install apache2 -y
Apache will start automatically after installation.
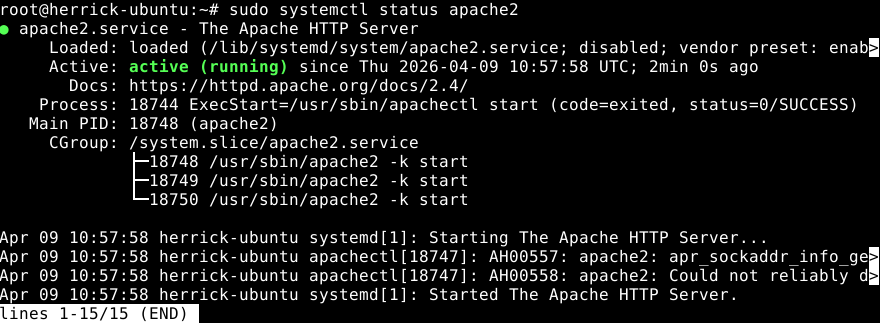
Step 3: Check Apache Status
sudo systemctl status apache2
You should see:
Active: active (running)
Step 4: Allow Apache Through Firewall
Enable Apache in UFW:
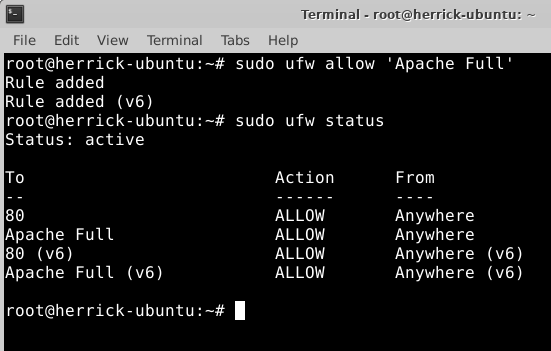
sudo ufw allow ‘Apache Full’
Check status:
sudo ufw status
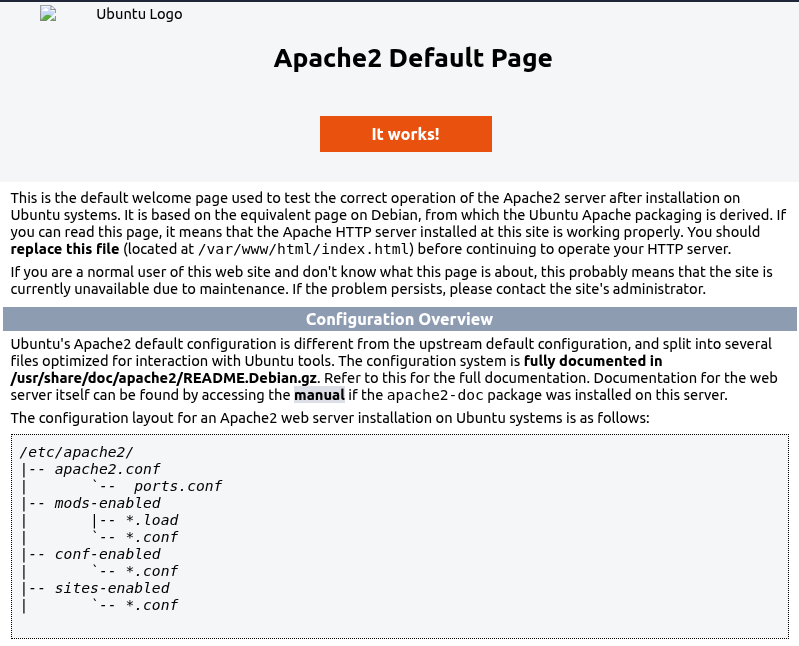
Step 5: Test Apache in Browser
Open your browser:
http://your_server_ip
You should see the default Apache2 Ubuntu Default Page.
Part 3: How to Install and Configure OpenLiteSpeed?
OpenLiteSpeed is a lightweight, high-performance web server developed by LiteSpeed Technologies. It’s free, production-ready, and widely used for WordPress and high-traffic websites.
In this guide, we will install OpenLiteSpeed on a fresh Ubuntu 22.04 Cloud VPS and configure:
- OpenLiteSpeed Web Server
- Firewall (UFW – Ubuntu’s built-in firewall)
- AWC Web-Based Firewall (separate section as requested)
- Basic web server access verification
This tutorial assumes:
- You have a fresh Ubuntu 22.04 VPS
- You have root or sudo access
- Your VPS has a public IP
Step 1: Connect to Your VPS
In Accuweb.cloud, you can either connect from your cloud dashboard using Web SSH, or you can connect from your local system using SSH-Key.
You can follow the article below for your reference.
How to Access Your Elastic VPS on Different Operating Systems?
Step 2: Update the System
Always start with system updates:
apt update && apt upgrade -y
This ensures all packages are up to date before installation.
Step 3: Install Required Dependencies
Install basic utilities:
apt install -y wget curl gnupg2 software-properties-common
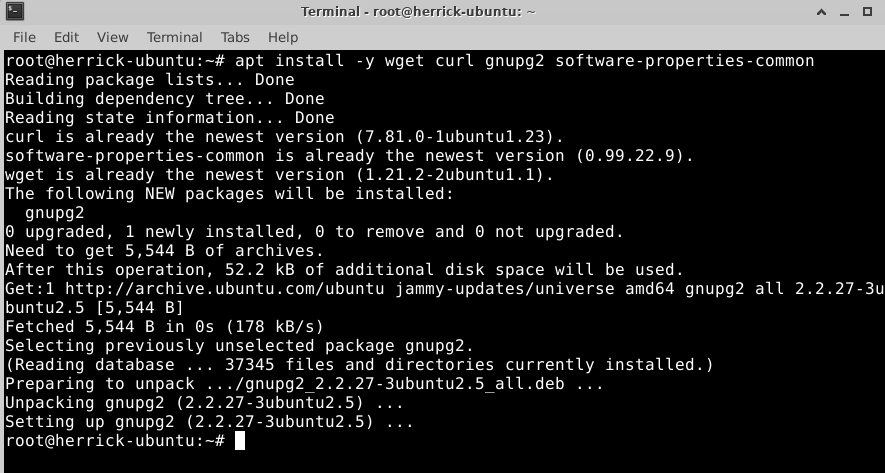
These are needed to add and verify the OpenLiteSpeed repository.
Step 4: Add OpenLiteSpeed Repository
OpenLiteSpeed provides its own repository.
Add the official repository:
wget -O – https://repo.litespeed.sh | bash

Then update package lists:
apt update
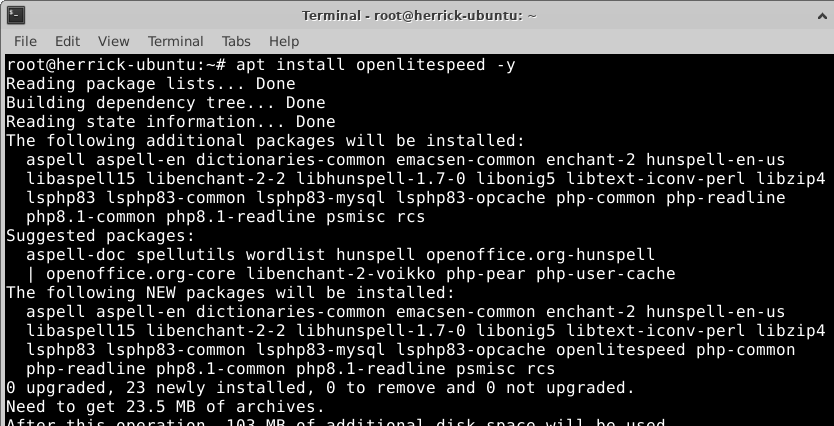
Step 5: Install OpenLiteSpeed
Now install OpenLiteSpeed:
apt install openlitespeed -y
Once installed, start the service:
systemctl start lsws
Enable it to start on boot:
systemctl enable lsws
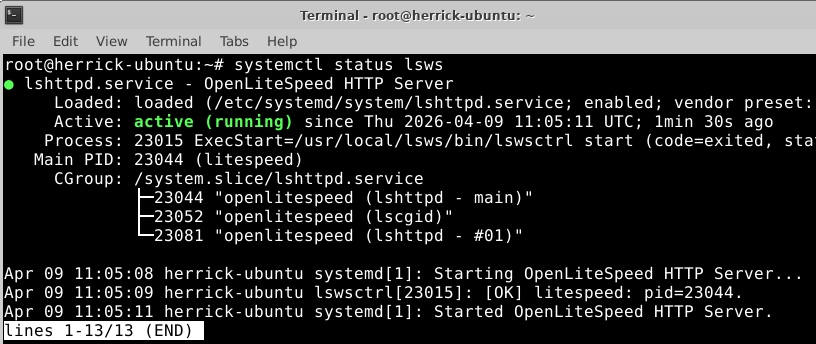
Check service status:
systemctl status lsws
You should see active (running).
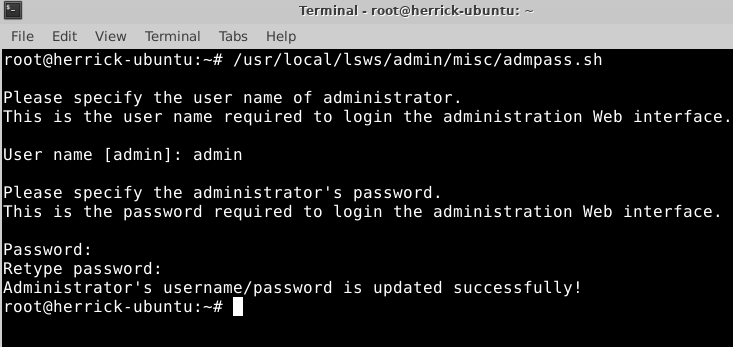
Step 6: Set Admin Panel Password
OpenLiteSpeed includes a web-based admin panel running on port 7080.
Set the admin username and password:
/usr/local/lsws/admin/misc/admpass.sh
You’ll be prompted to enter:
- Username
- Password
Set a strong password.
Step 7: Configure Ubuntu Built-in Firewall (UFW)
Ubuntu 22.04 comes with UFW (Uncomplicated Firewall). If it’s not installed:
apt install ufw -y
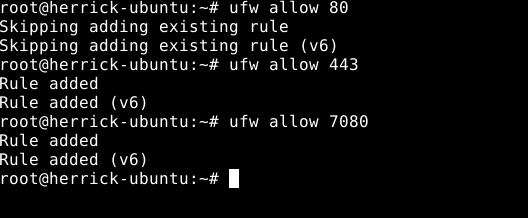
Allow Required Ports
Allow them:
ufw allow 22
ufw allow 80
ufw allow 443
ufw allow 7080
Enable firewall:
ufw enable
Check status:
ufw status
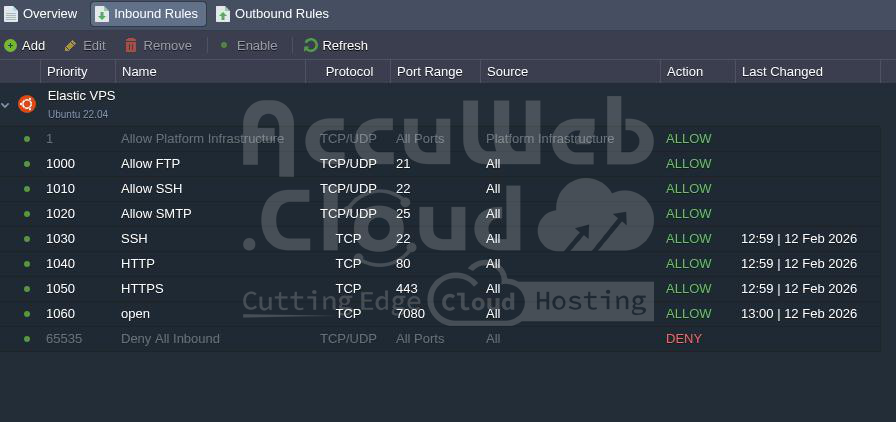
Step 8 : Allow ports in Accuweb.cloud dashbaord
Now add the firewall rule in your Accuweb.cloud dashboard.
Step 1. Log in to your Accuweb.cloud account.
Step 2. Select the environment and click on settings.
Step 3. Now click on Firewall >> Inbound Rule
Step 4. Add the rules as shown in the screen capture below.
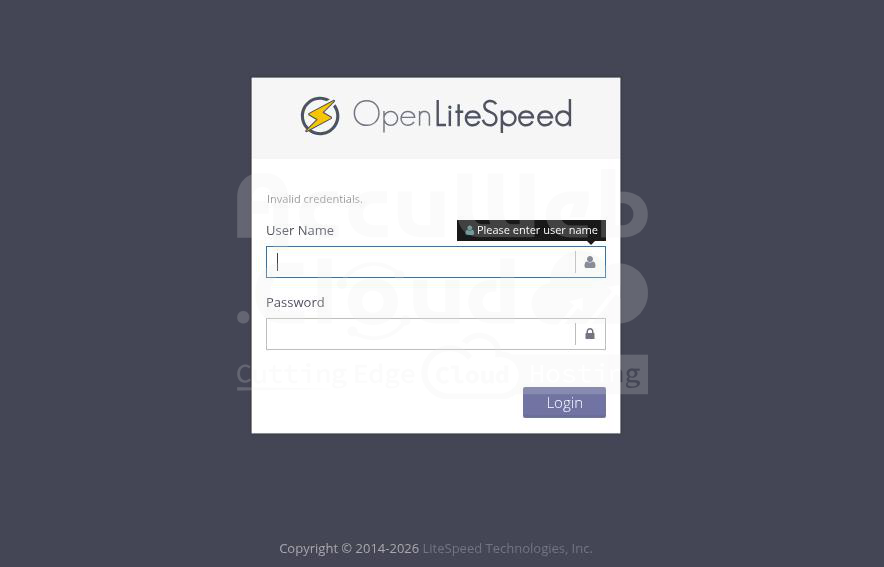
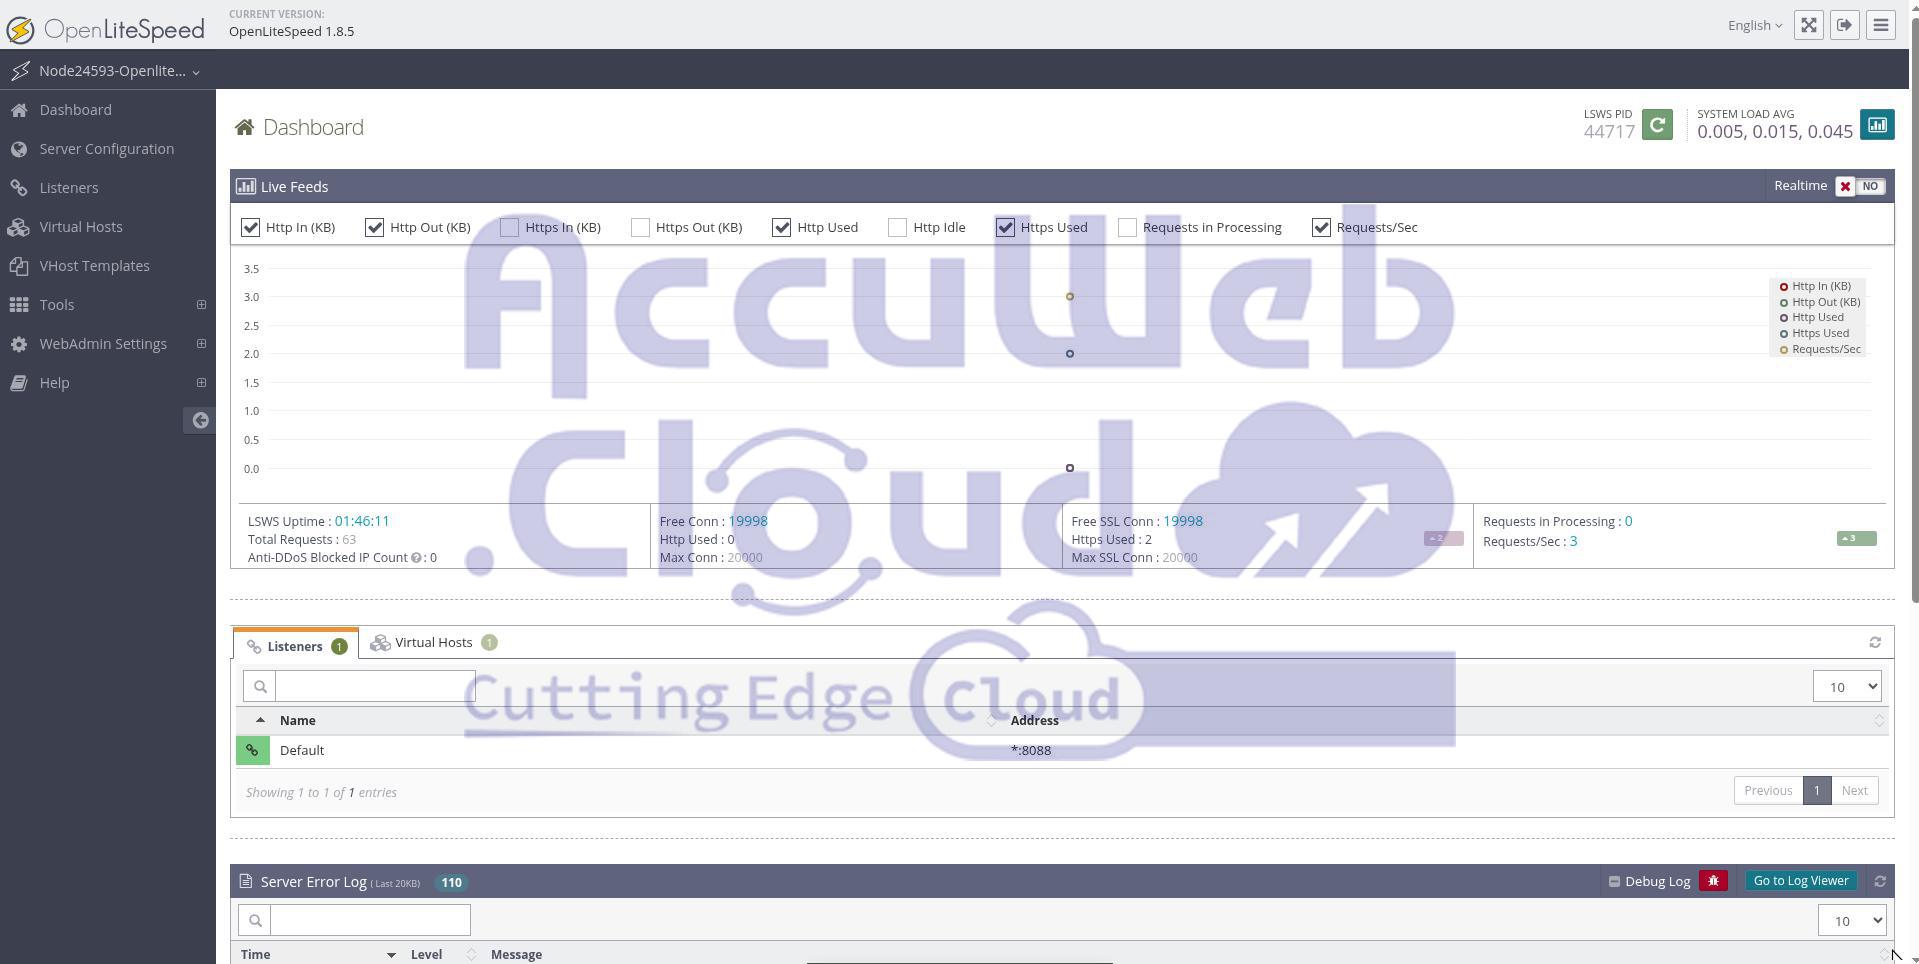
Step 9: Access OpenLiteSpeed
Now open your browser:
https://IP:7080
Conclusion:
Installing a web server on your Cloud VPS at AccuWeb.Cloud is a straightforward process when using Ubuntu 22.04. Whether you choose NGINX for high performance and lightweight resource usage, Apache HTTP Server for flexibility and wide compatibility, or OpenLiteSpeed for optimized speed and built-in caching, each option can be installed and configured within minutes on a Cloud VPS.
The right choice depends on your application requirements, traffic expectations, and management preferences. With the scalable infrastructure of AccuWeb.Cloud, you can confidently deploy any of these web servers and upgrade resources as your project grows – ensuring performance, reliability, and full control over your hosting environment.