
How To Create a Customer?
This guide provides a step-by-step tutorial to help you create a Customer for a Vendor in a Stack Console account, set up billing, verify and access your account.
Steps
- Log in to your Reseller Super Admin Dashboard.
- Click on Clients
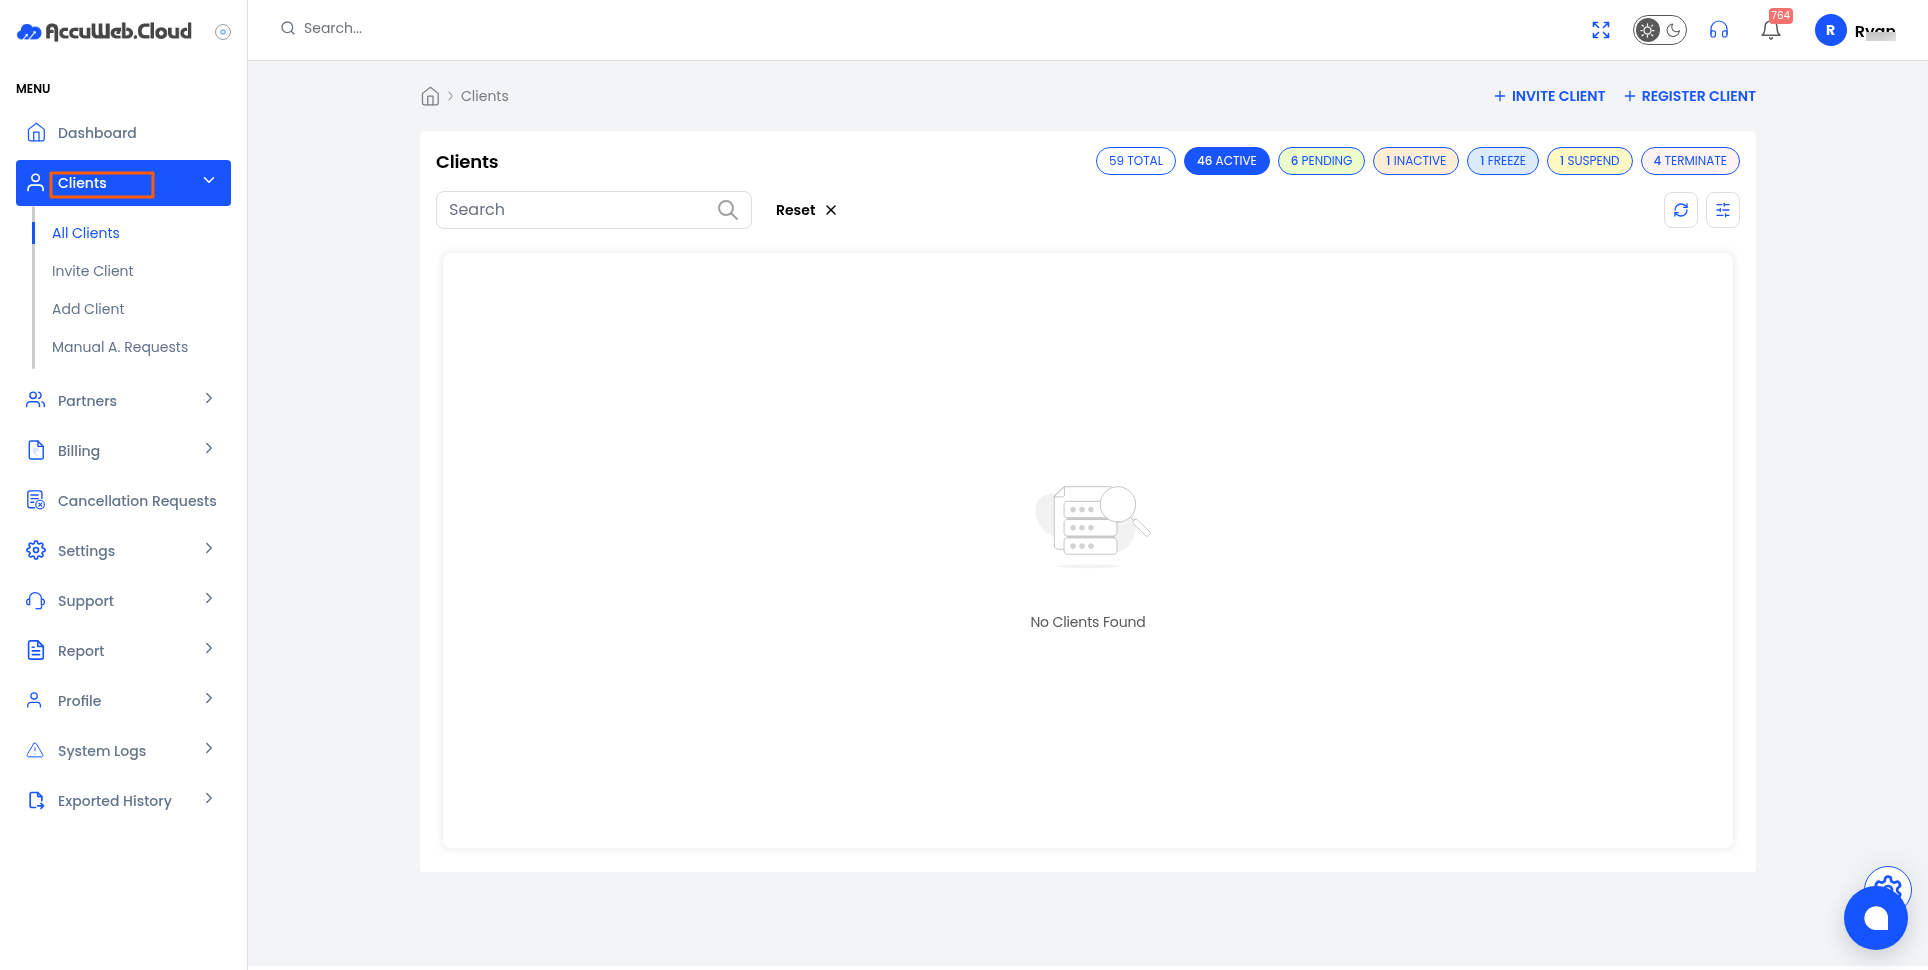
- Hover to “Add Client”
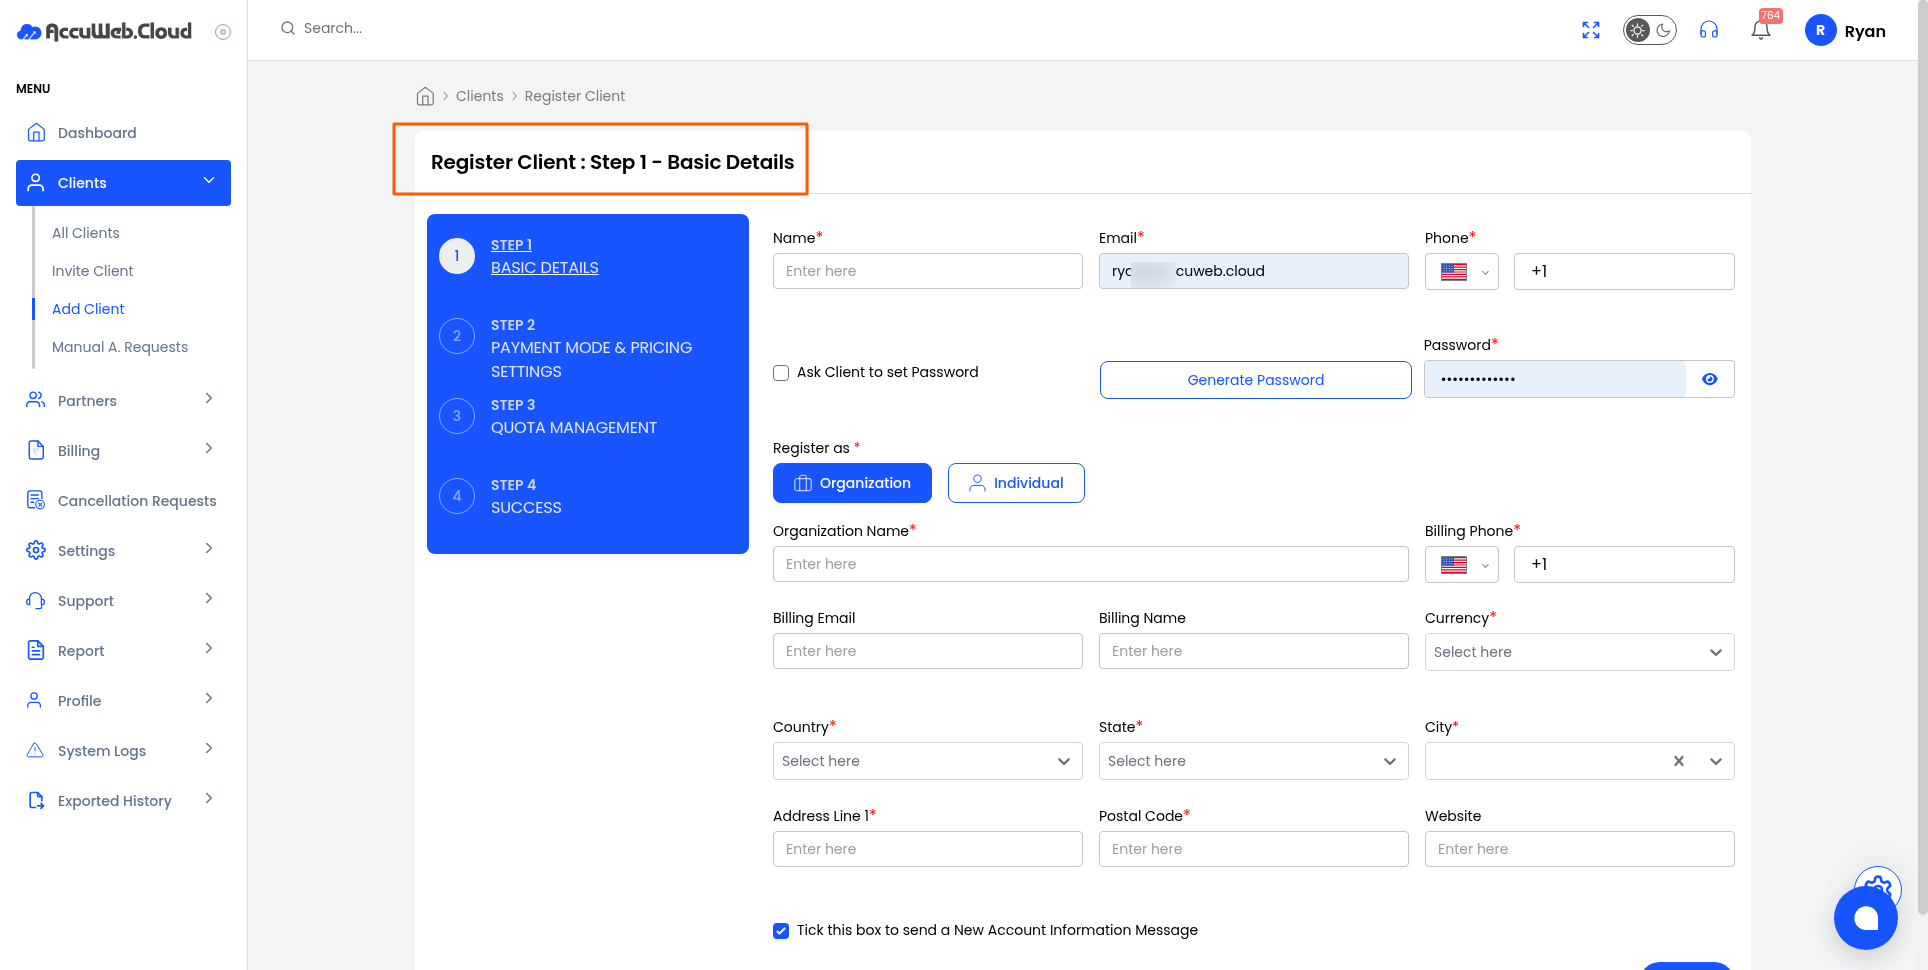
- From the left-hand menu, click on Customers to display a full list of customers created.
- To create a customer, there are two ways to create a customer in Vendor Portal:
- You can create a customer by choosing Create New Customer from the top of the page.
- Otherwise, click on Create Customer from the right-hand side of the page.
- Enter the necessary details, such as your name, email address, and password.
- Choose a customer type:
- Individual: For personal use; enter details like your address.
- Company: For organizational use; provide details such as your company name, website, and address.
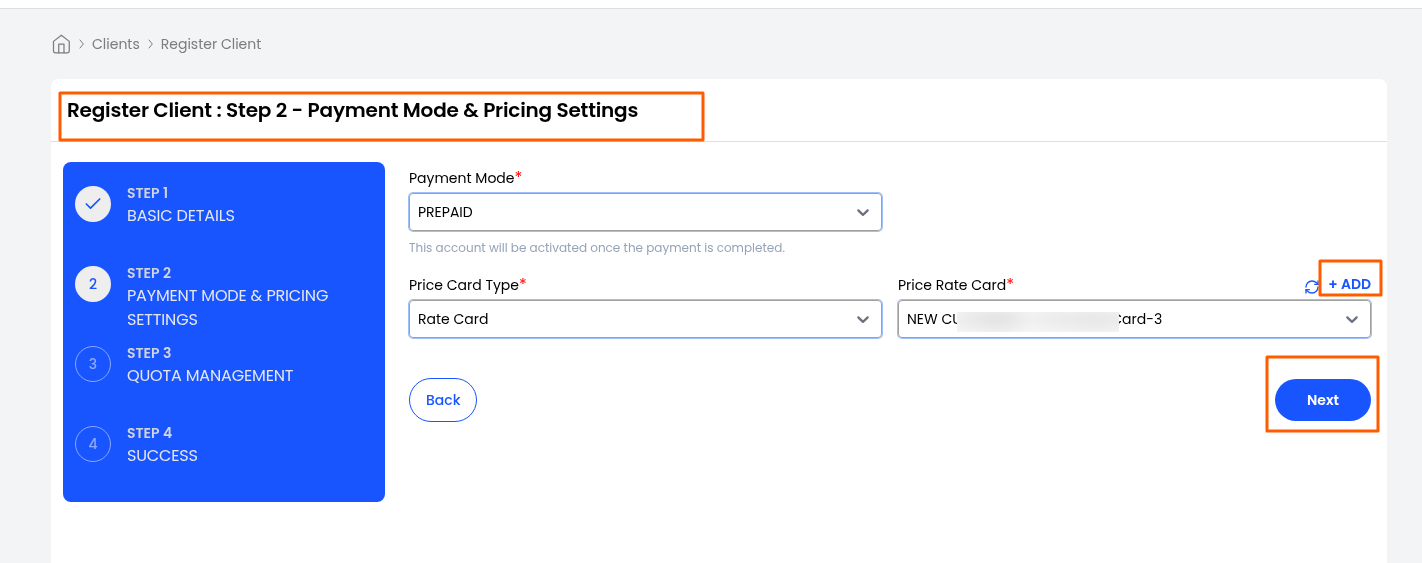
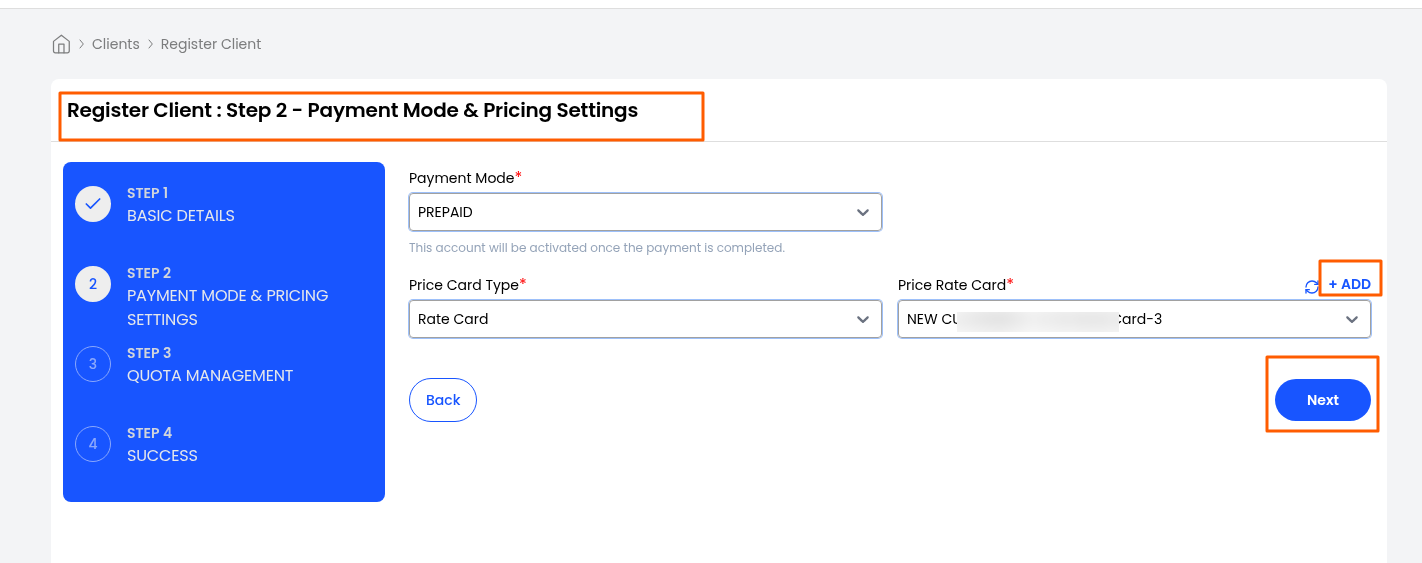
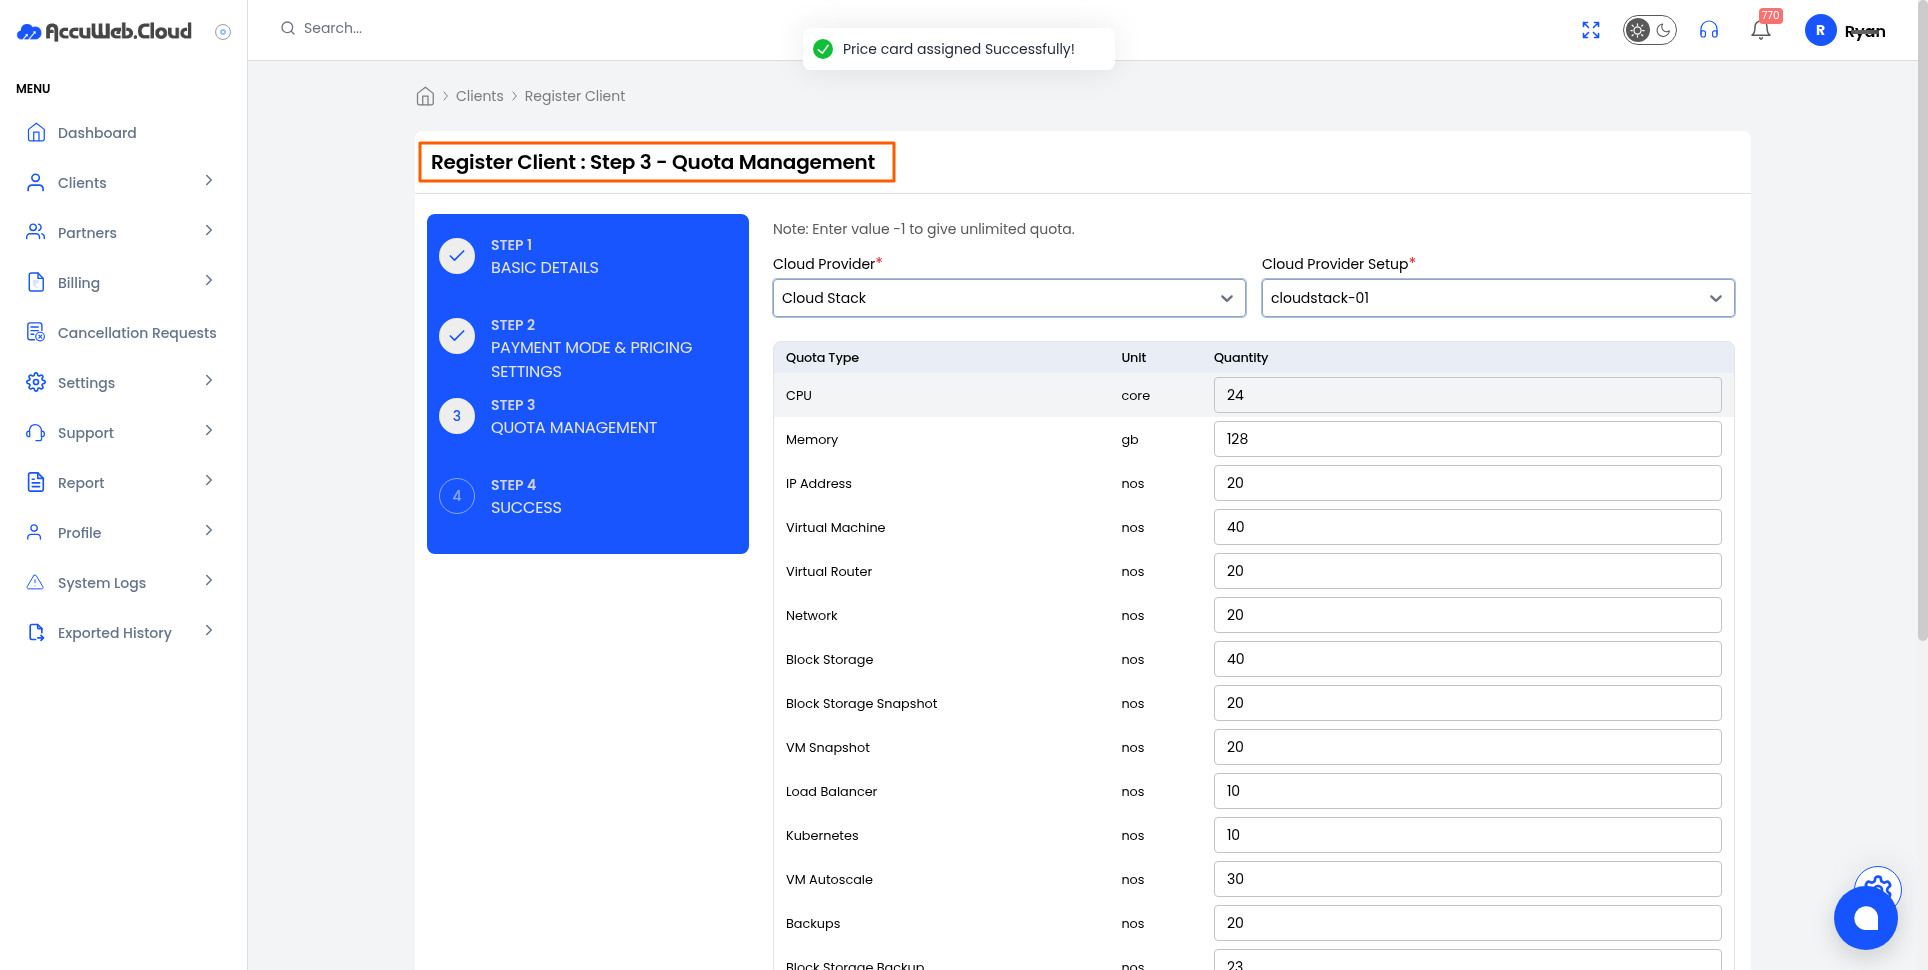
Set the Quota and click Next
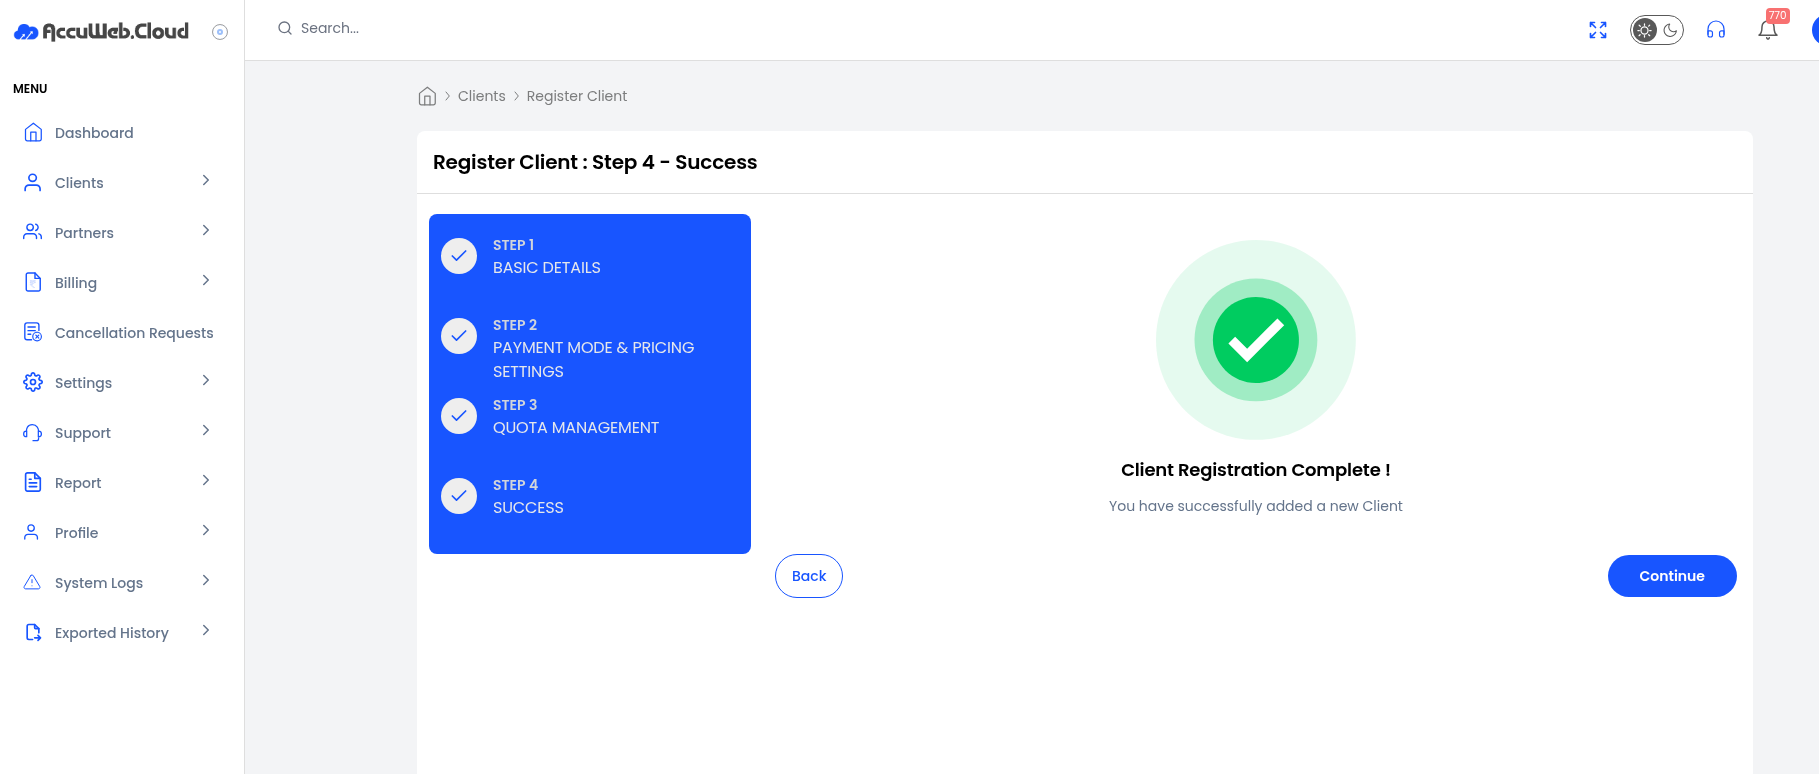
- Now, you have successfully added a new customer.
Note: Once the customer account is created, the customer needs to activate their account by making a payment.
Not registered yet?