
Deploying Laravel on a server no longer requires manually configuring PHP, Composer, web servers, databases, and other dependencies. With the Laravel One-Click Application available through the AccuWeb.Cloud Marketplace, you can deploy a ready-to-use Laravel environment in just a few minutes.
The automated deployment simplifies the initial server configuration and allows you to start building and hosting your Laravel applications quickly.
Deploy Laravel with One Click
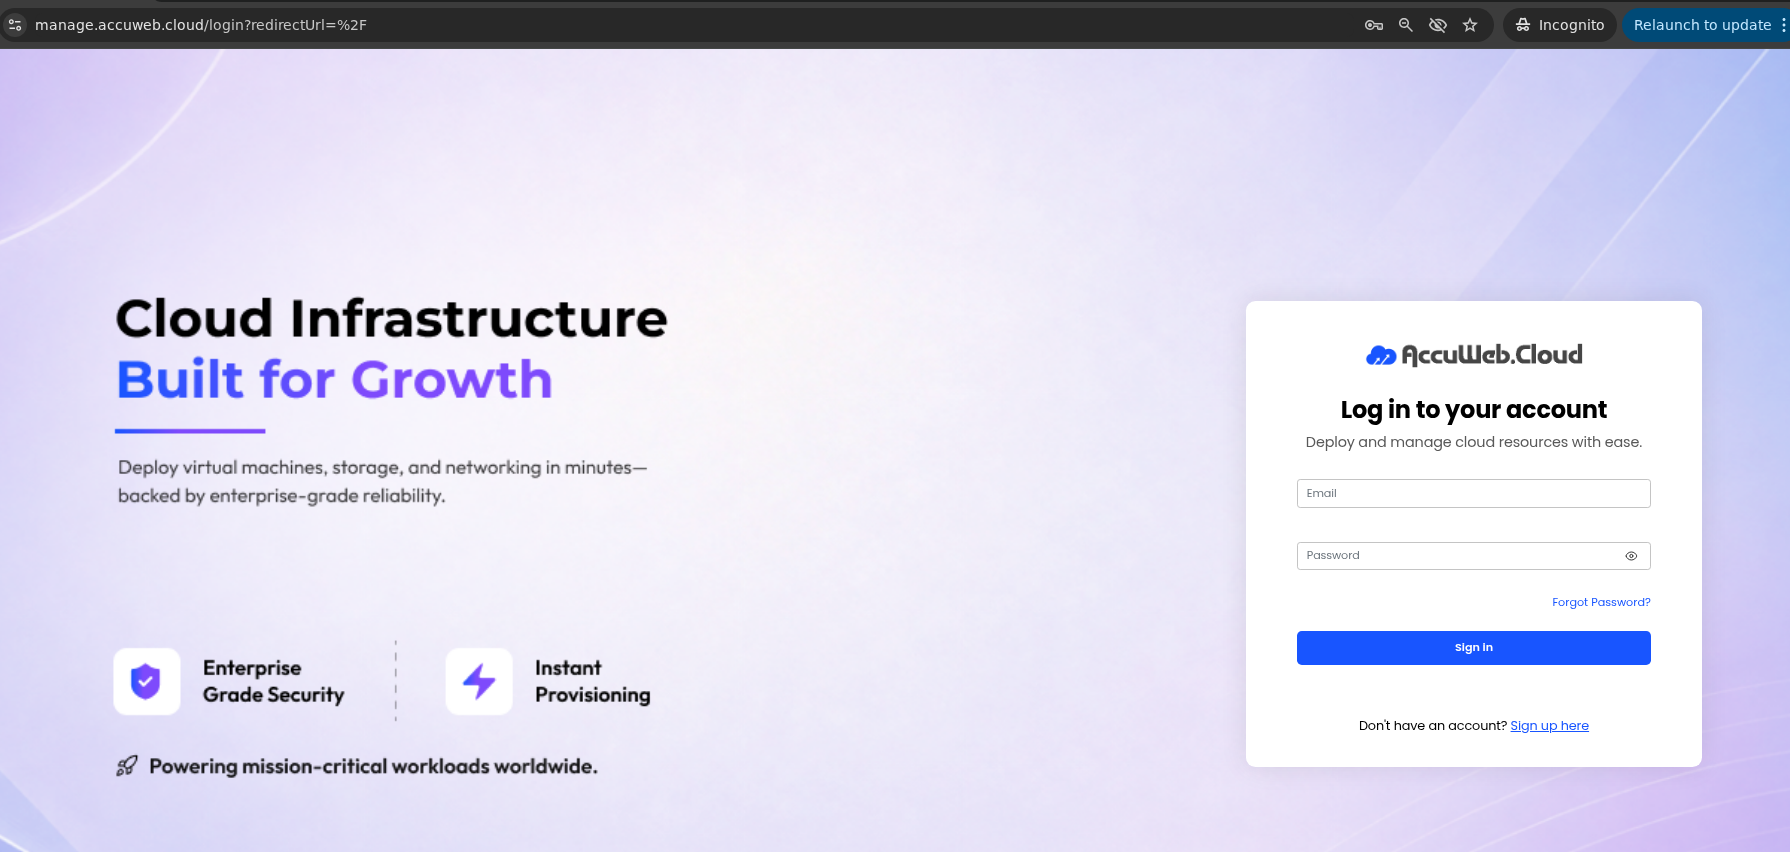
Step 1: Log in to AccuWeb.Cloud
Log in to your AccuWeb.Cloud Dashboard using your registered credentials.
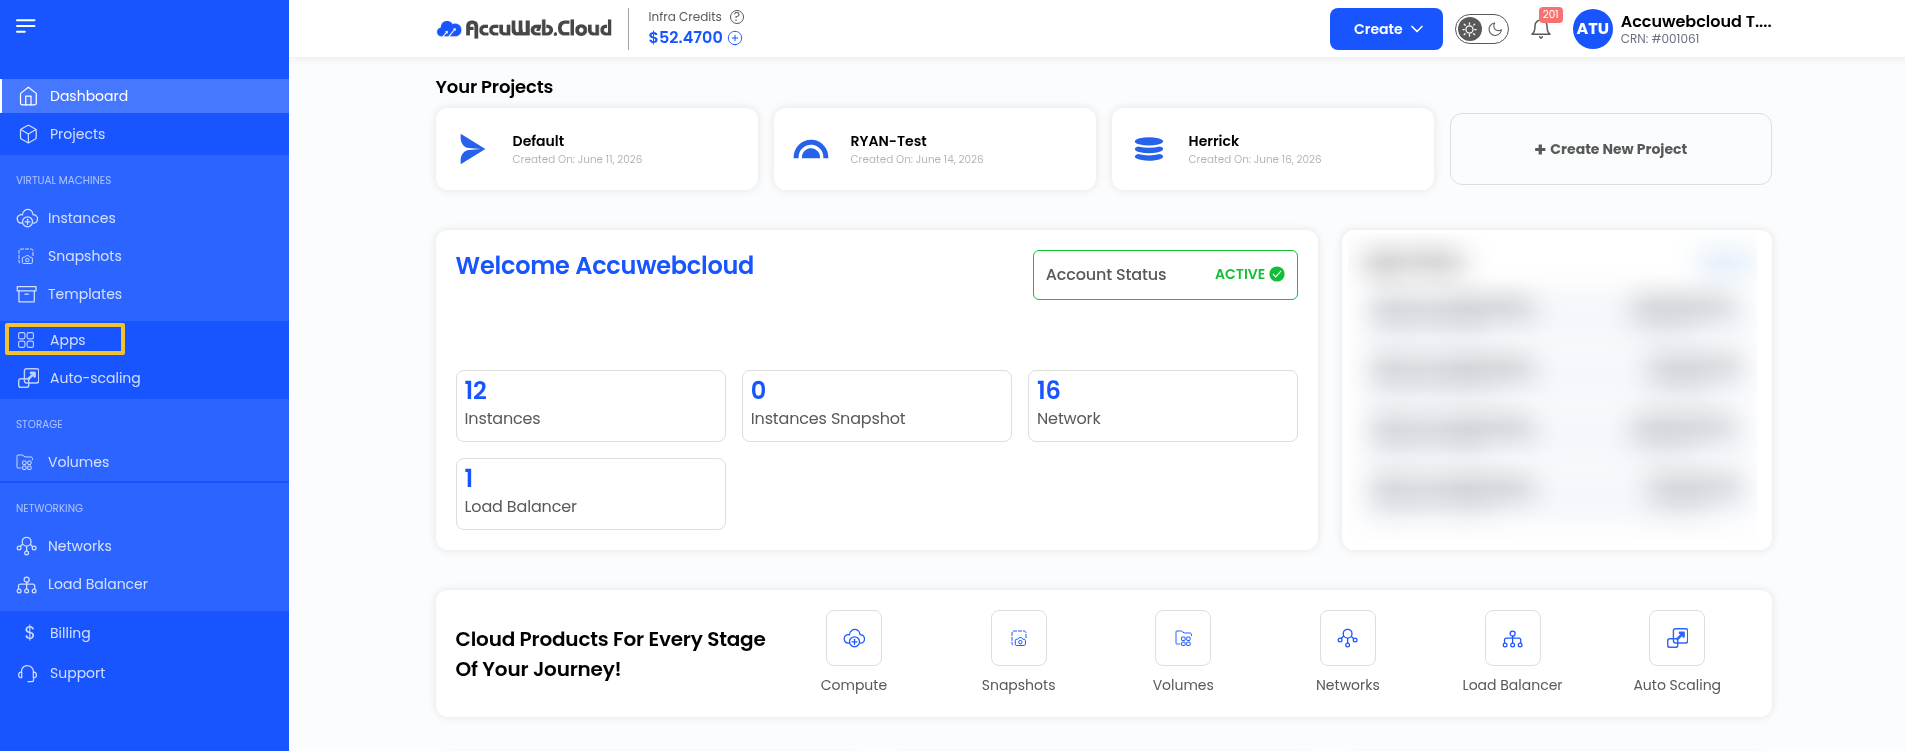
Step 2: Open Apps
From the dashboard, navigate to Apps.
You will see the applications available for deployment.
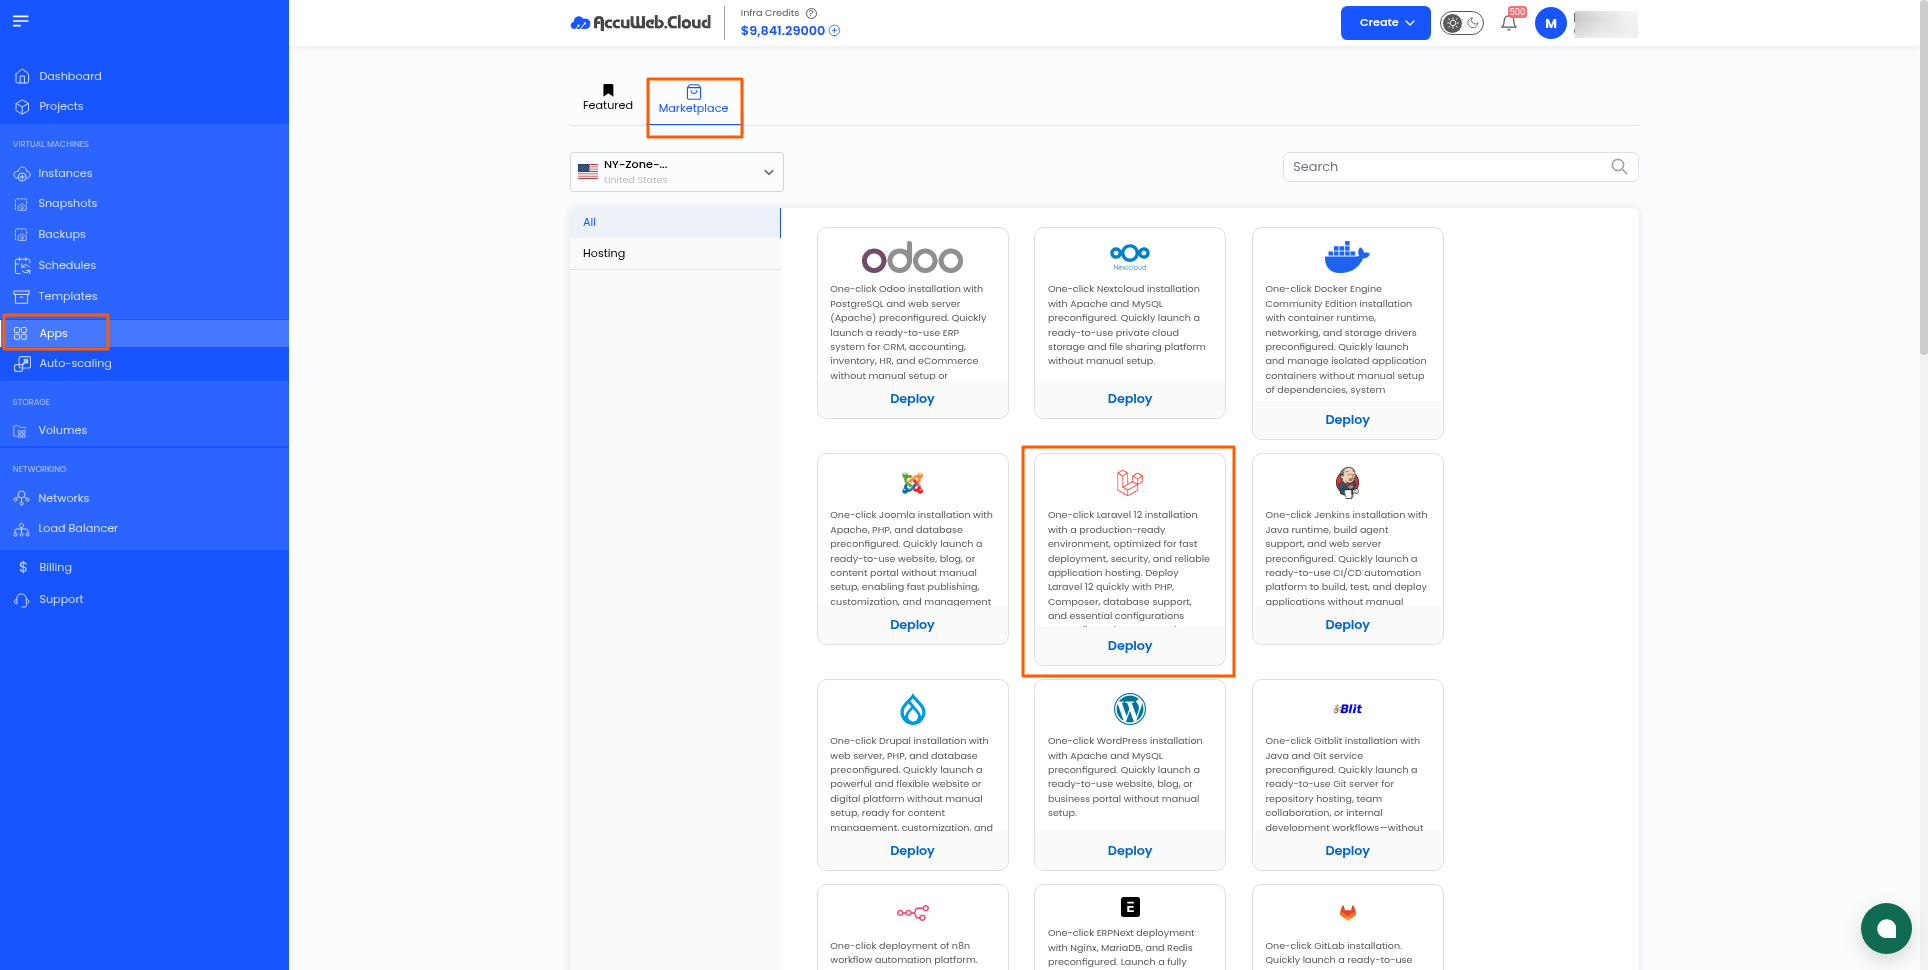
Step 3: Open Marketplace
Under the Apps section, click Marketplace.
The Marketplace displays the available applications that can be deployed on your AccuWeb.Cloud infrastructure.
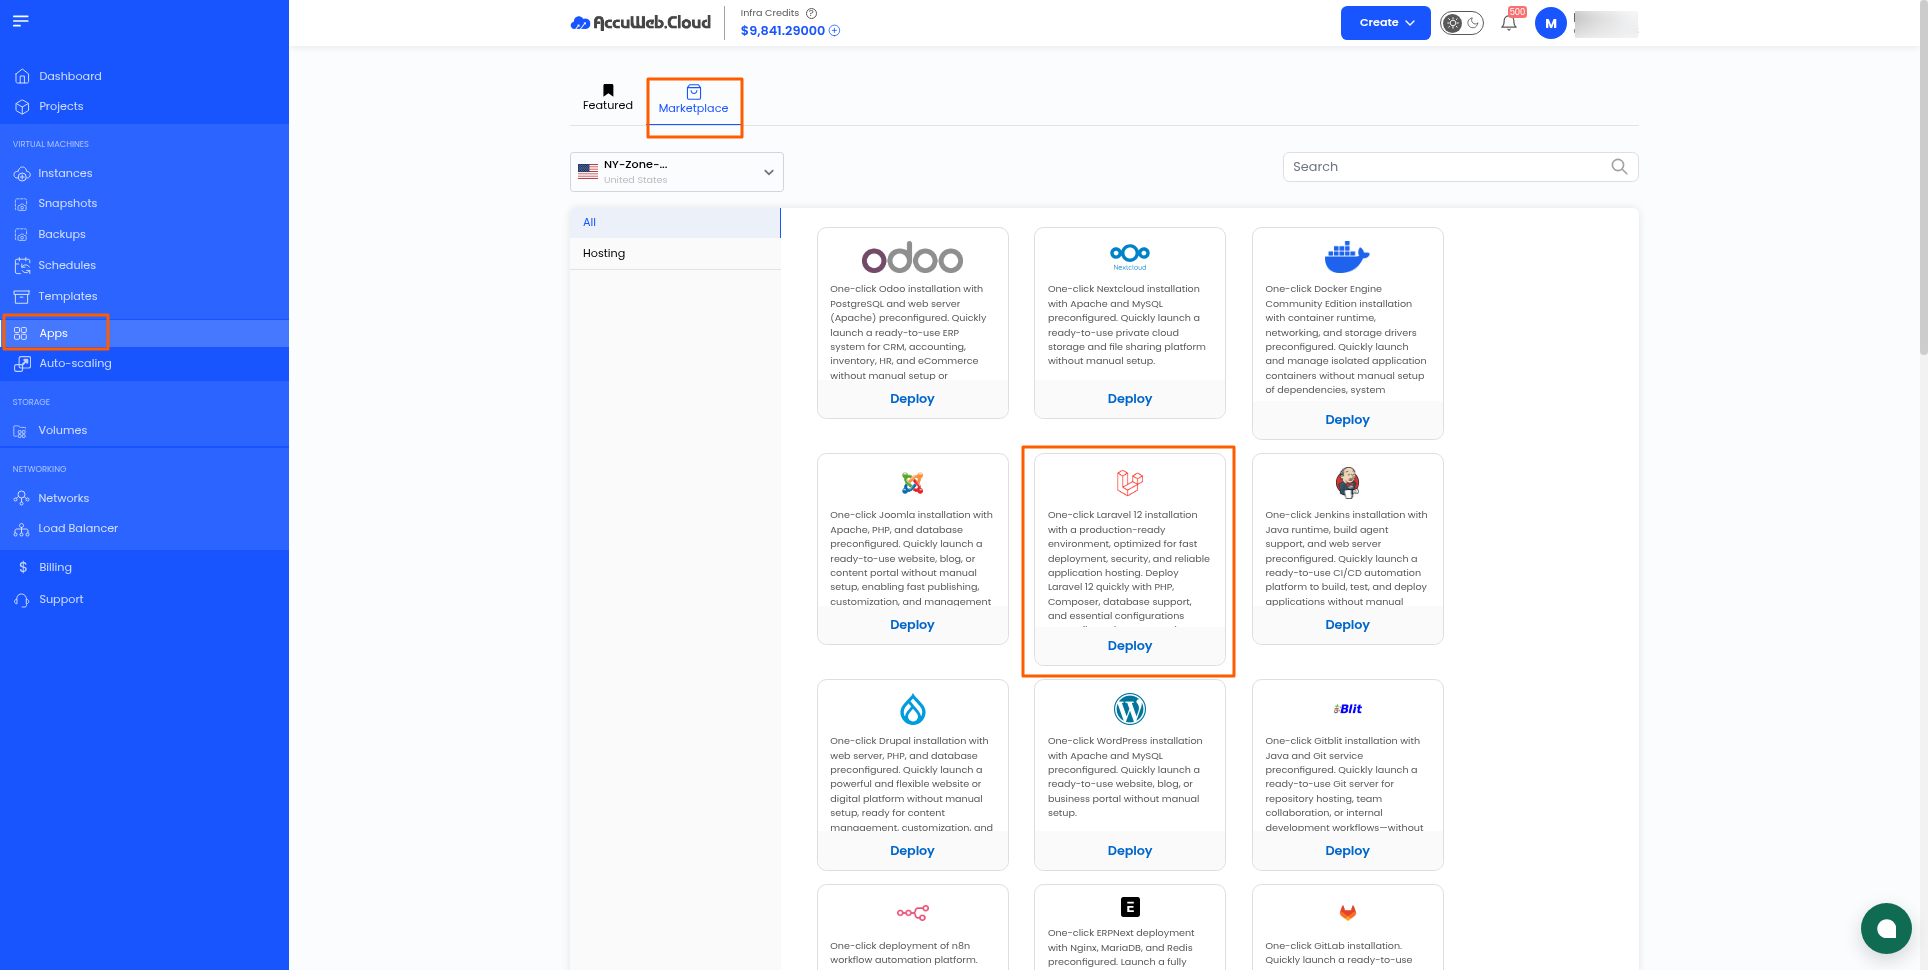
Step 4: Select Laravel
Locate Laravel in the Marketplace.
Click the Laravel application to view its deployment options, and then click Deploy.
Step 5: Select Project and Location
Select the Project where you want to deploy the Laravel application.
Then select the required Location/Region for your deployment.
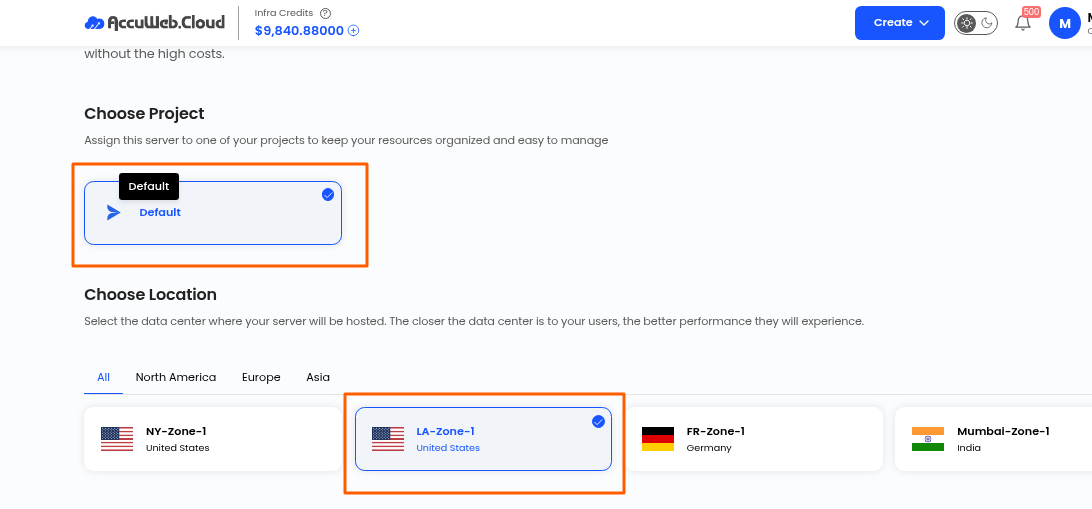
Choosing a location closer to your target users can help reduce network latency.
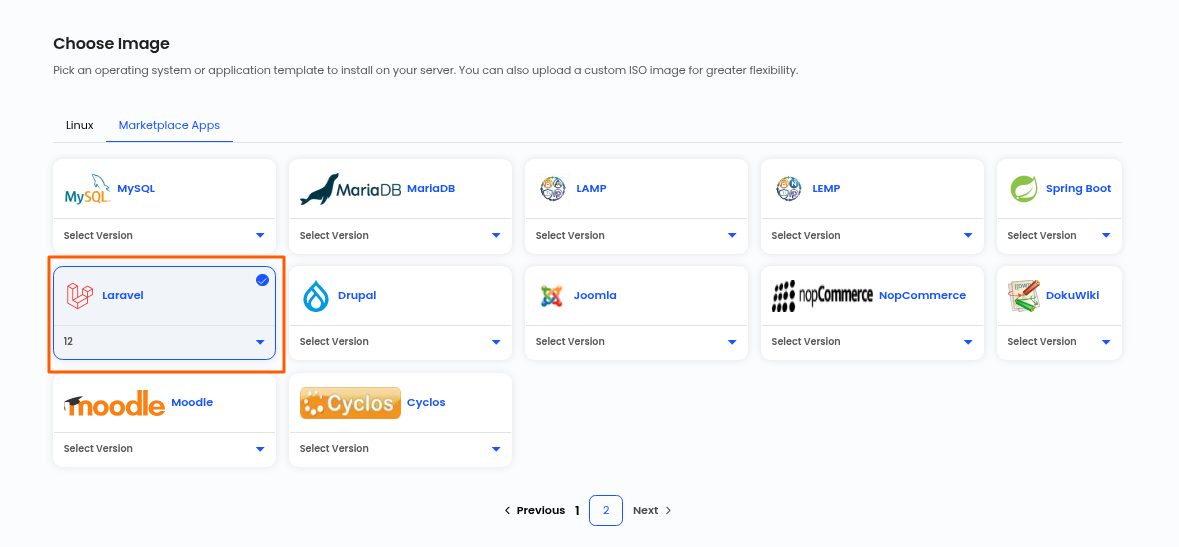
Step 6: Select Compute Offering
Choose the required Compute Offering for your Laravel server.
Select a plan based on your application’s expected workload, traffic, and resource requirements.
For development or testing environments, a smaller compute offering may be sufficient. Production applications may require additional CPU and memory resources.
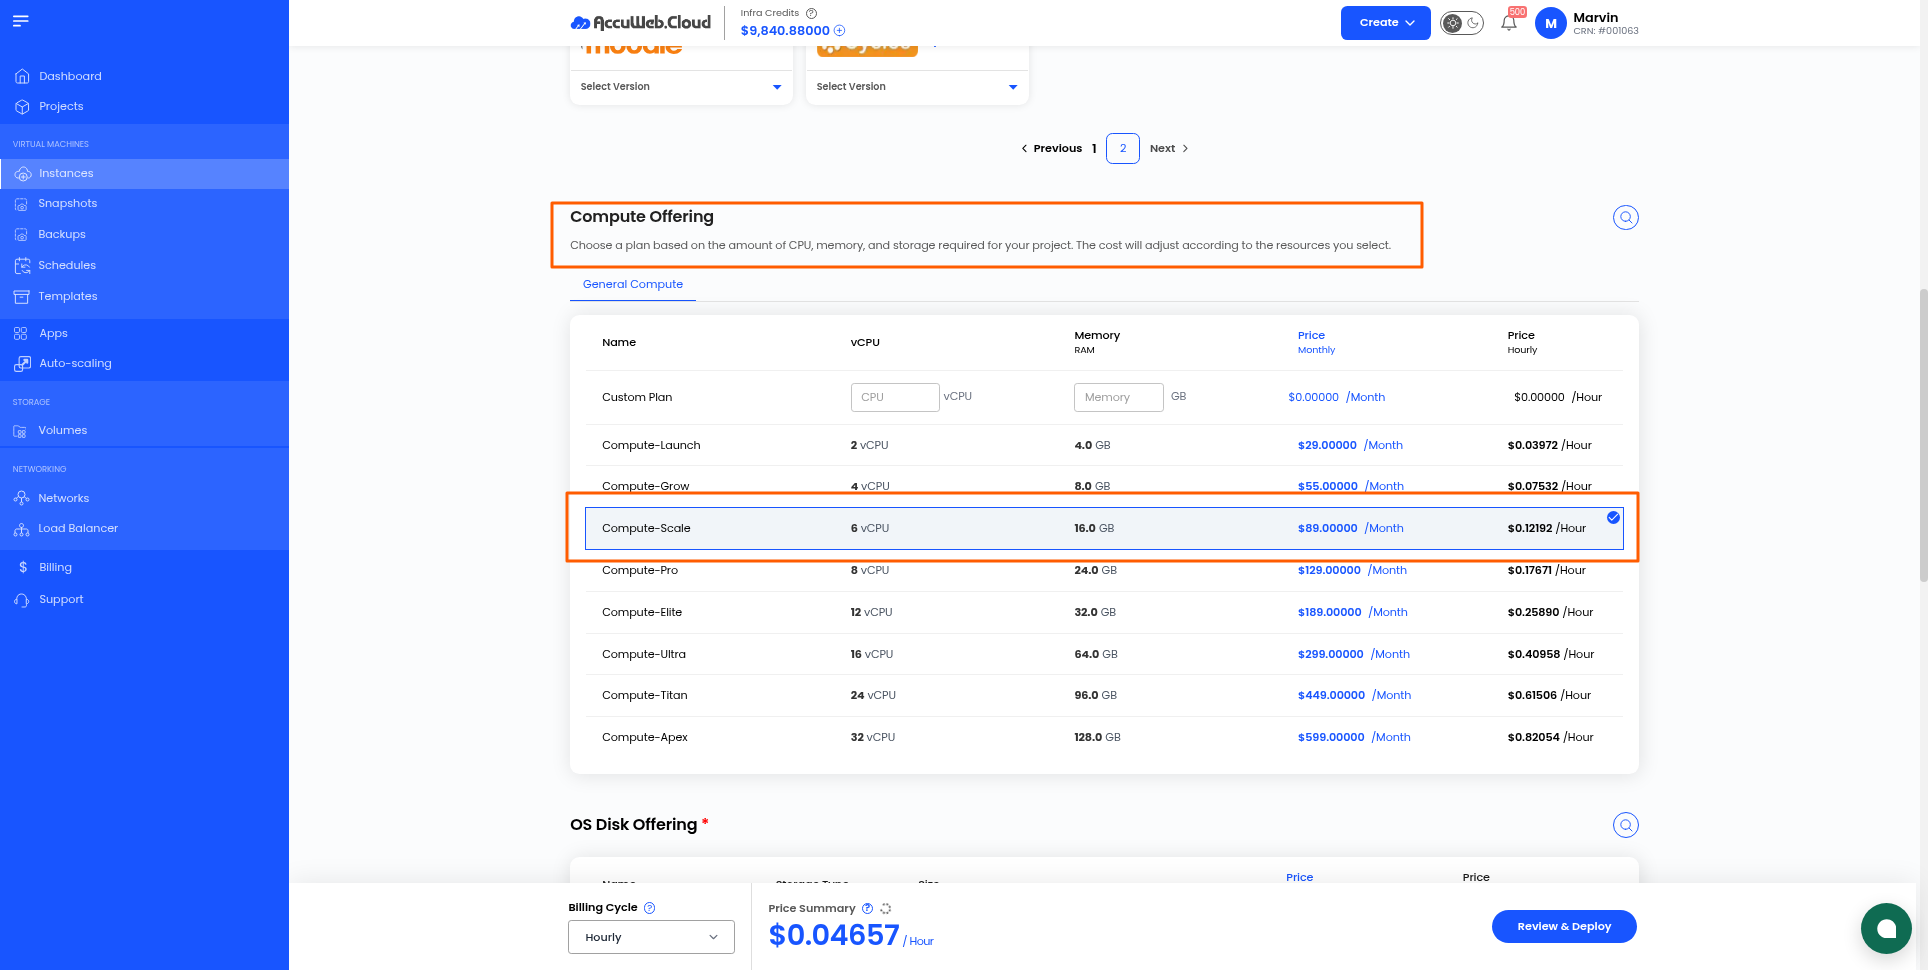
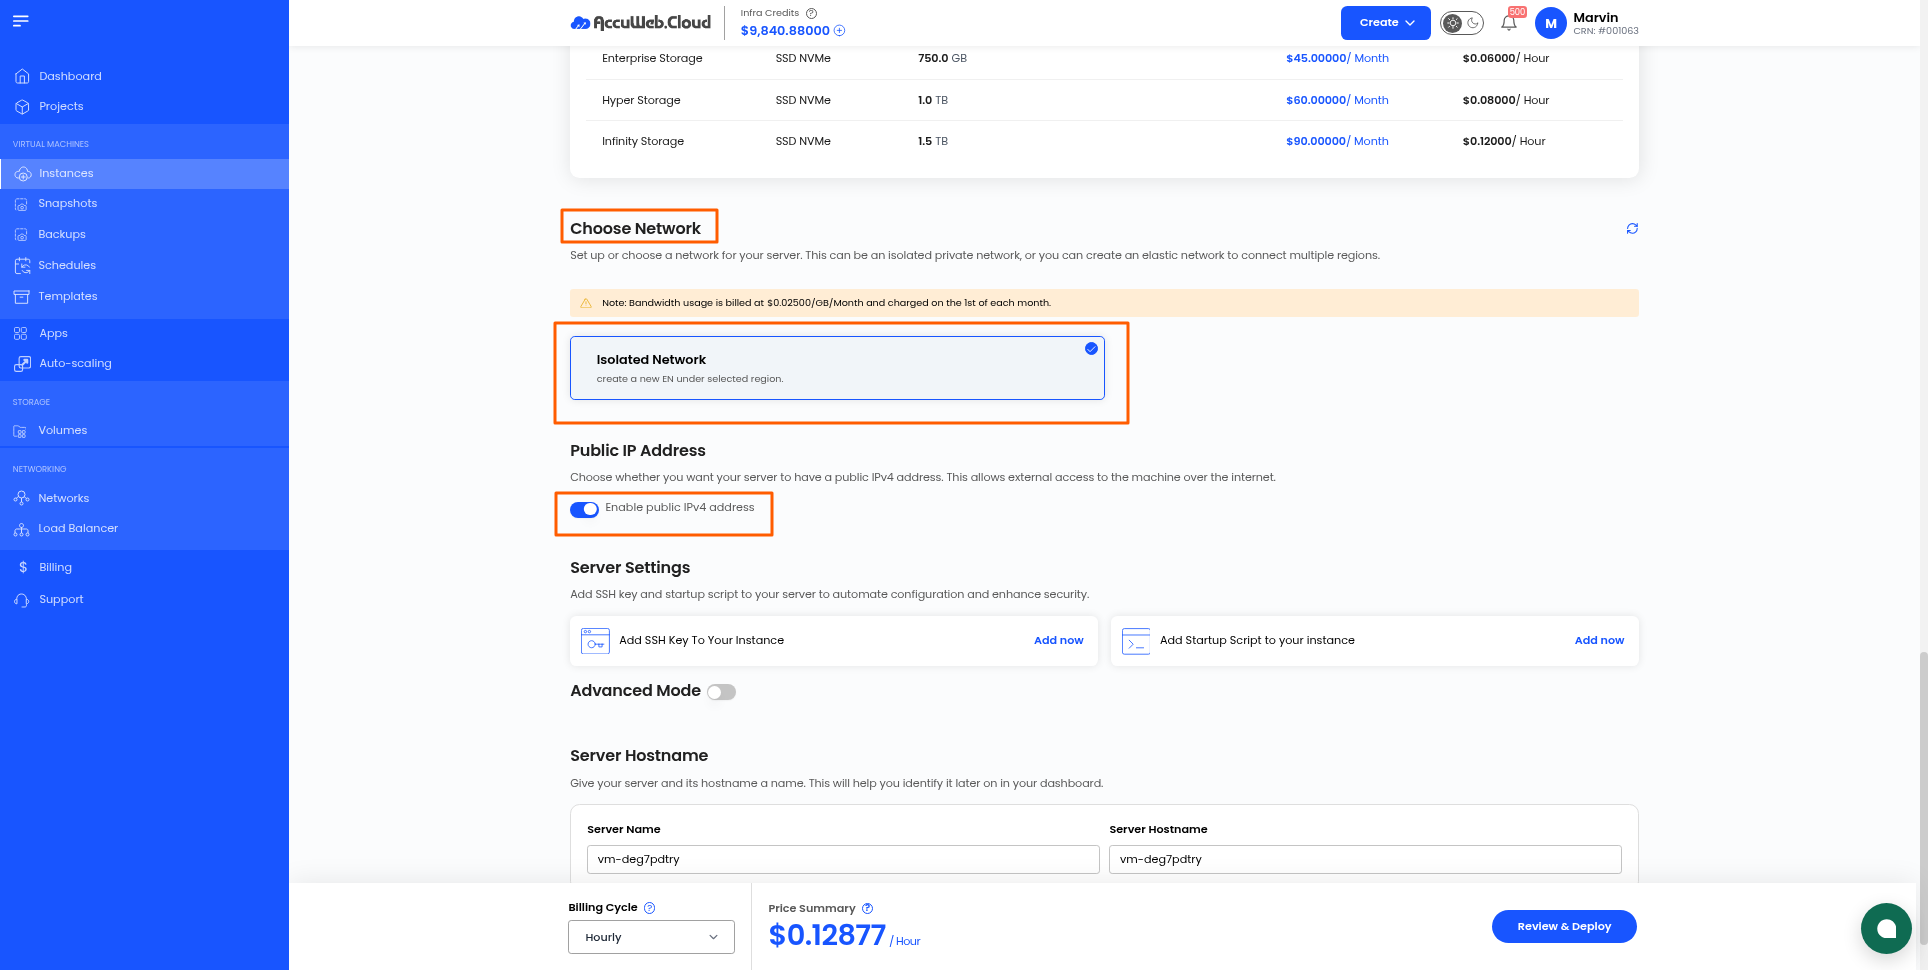
Step 7: Select OS Disk and Network
Select the required OS Disk Offering for the virtual machine.
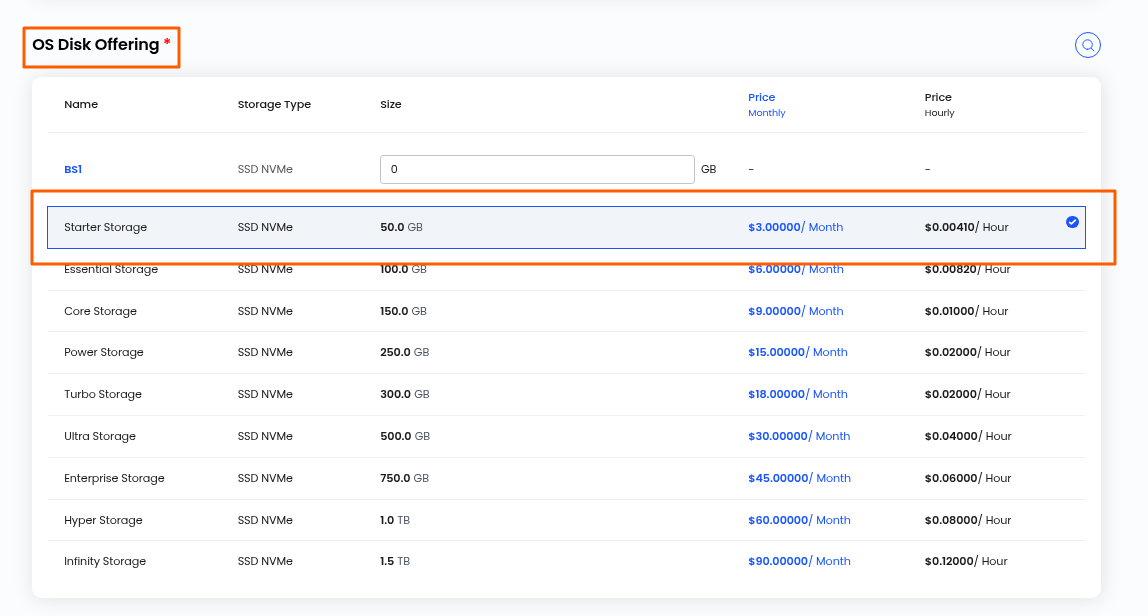
Then select the appropriate Network for your deployment.
Review the selected resources before proceeding.
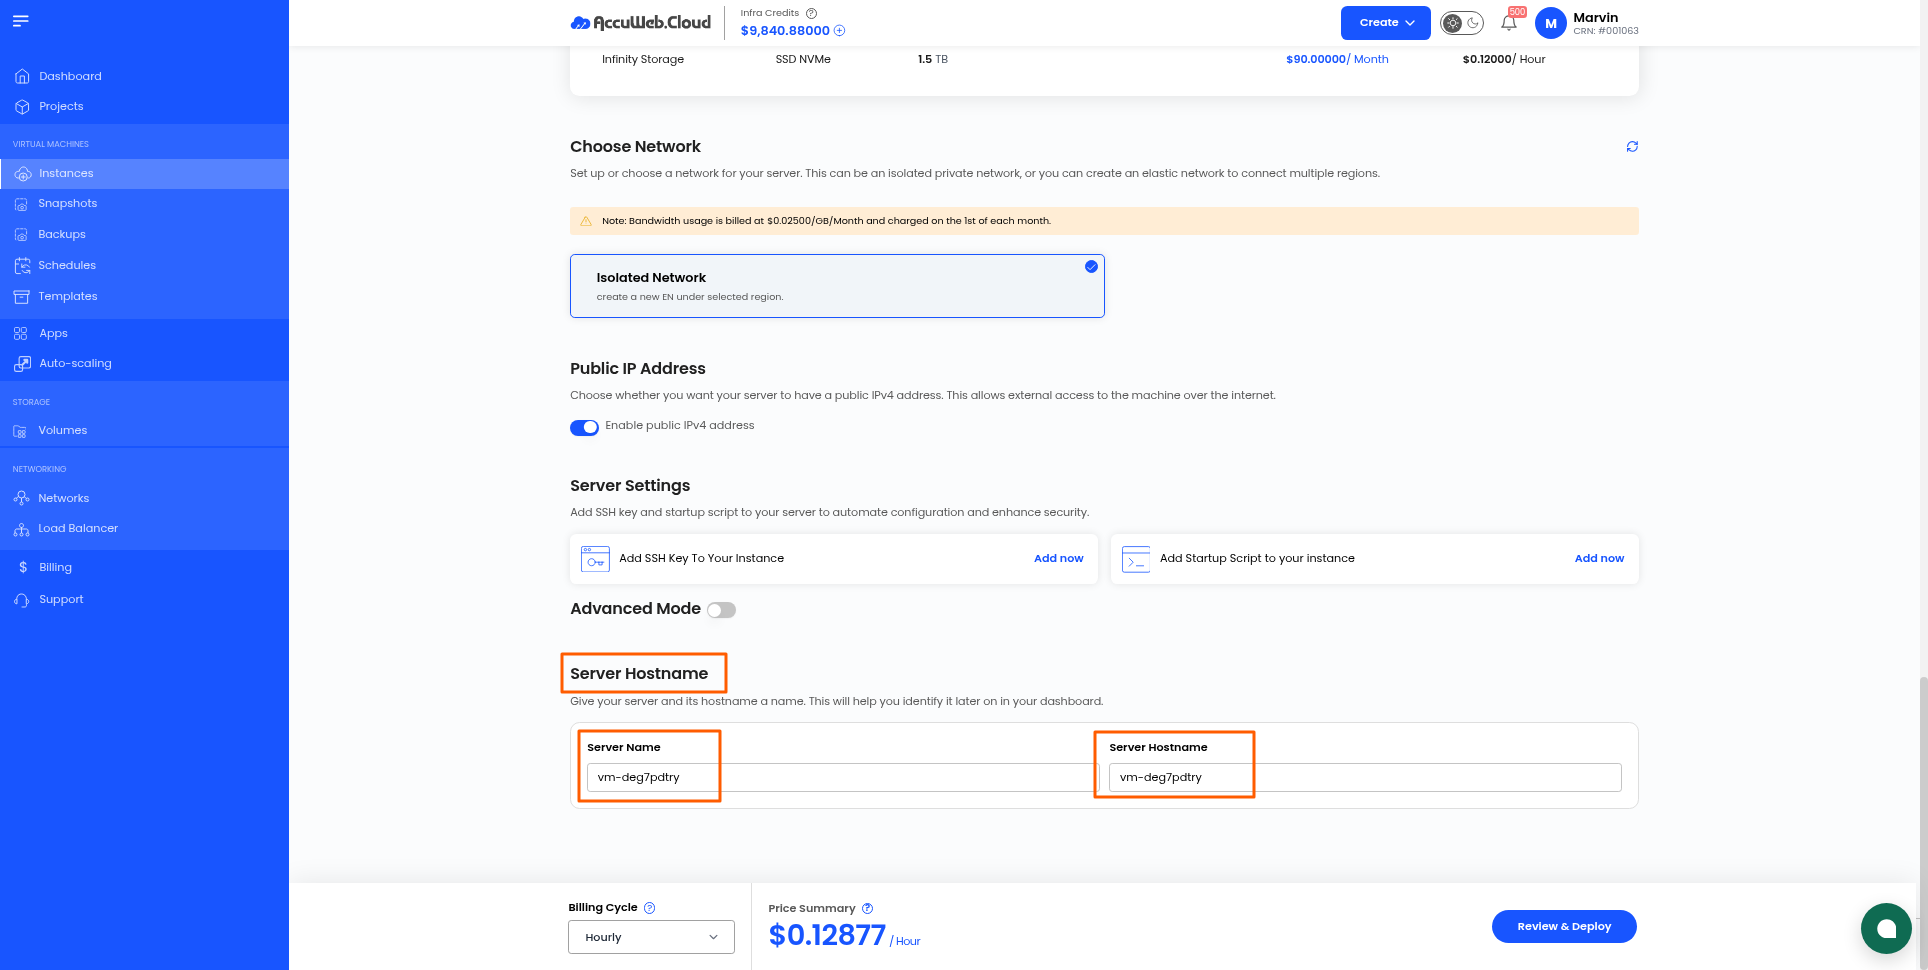
Step 8: Configure Server Name and Hostname
Enter a unique Server Name for your Laravel VM.
Then provide the required Server Hostname.
Use a meaningful hostname to make the server easier to identify and manage from the Cloud dashboard.
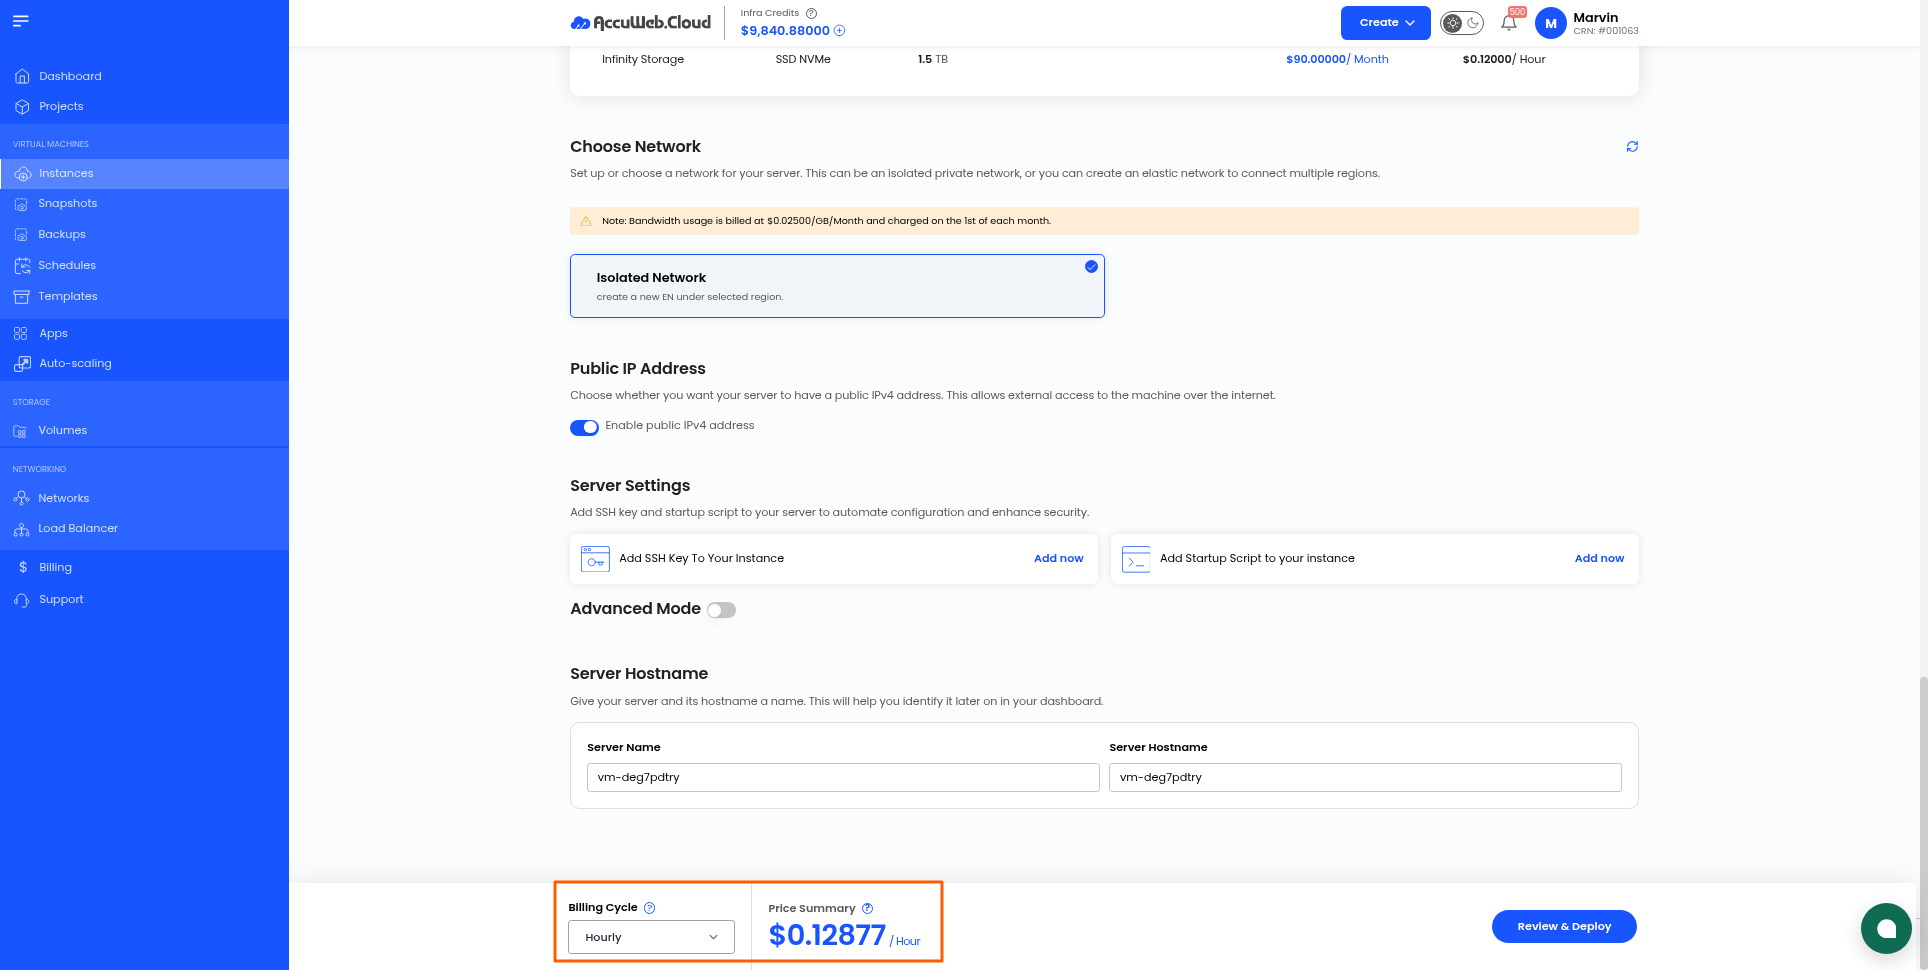
Step 9: Select Billing Cycle
Select your preferred billing cycle:
- Hourly
- Monthly
Choose the option that best matches your hosting requirements.
Step 10: Review the Configuration
Review all selected deployment settings, including:
- Project
- Location
- Compute Offering
- OS Disk Offering
- Network
- Server Name
- Hostname
- Billing Cycle
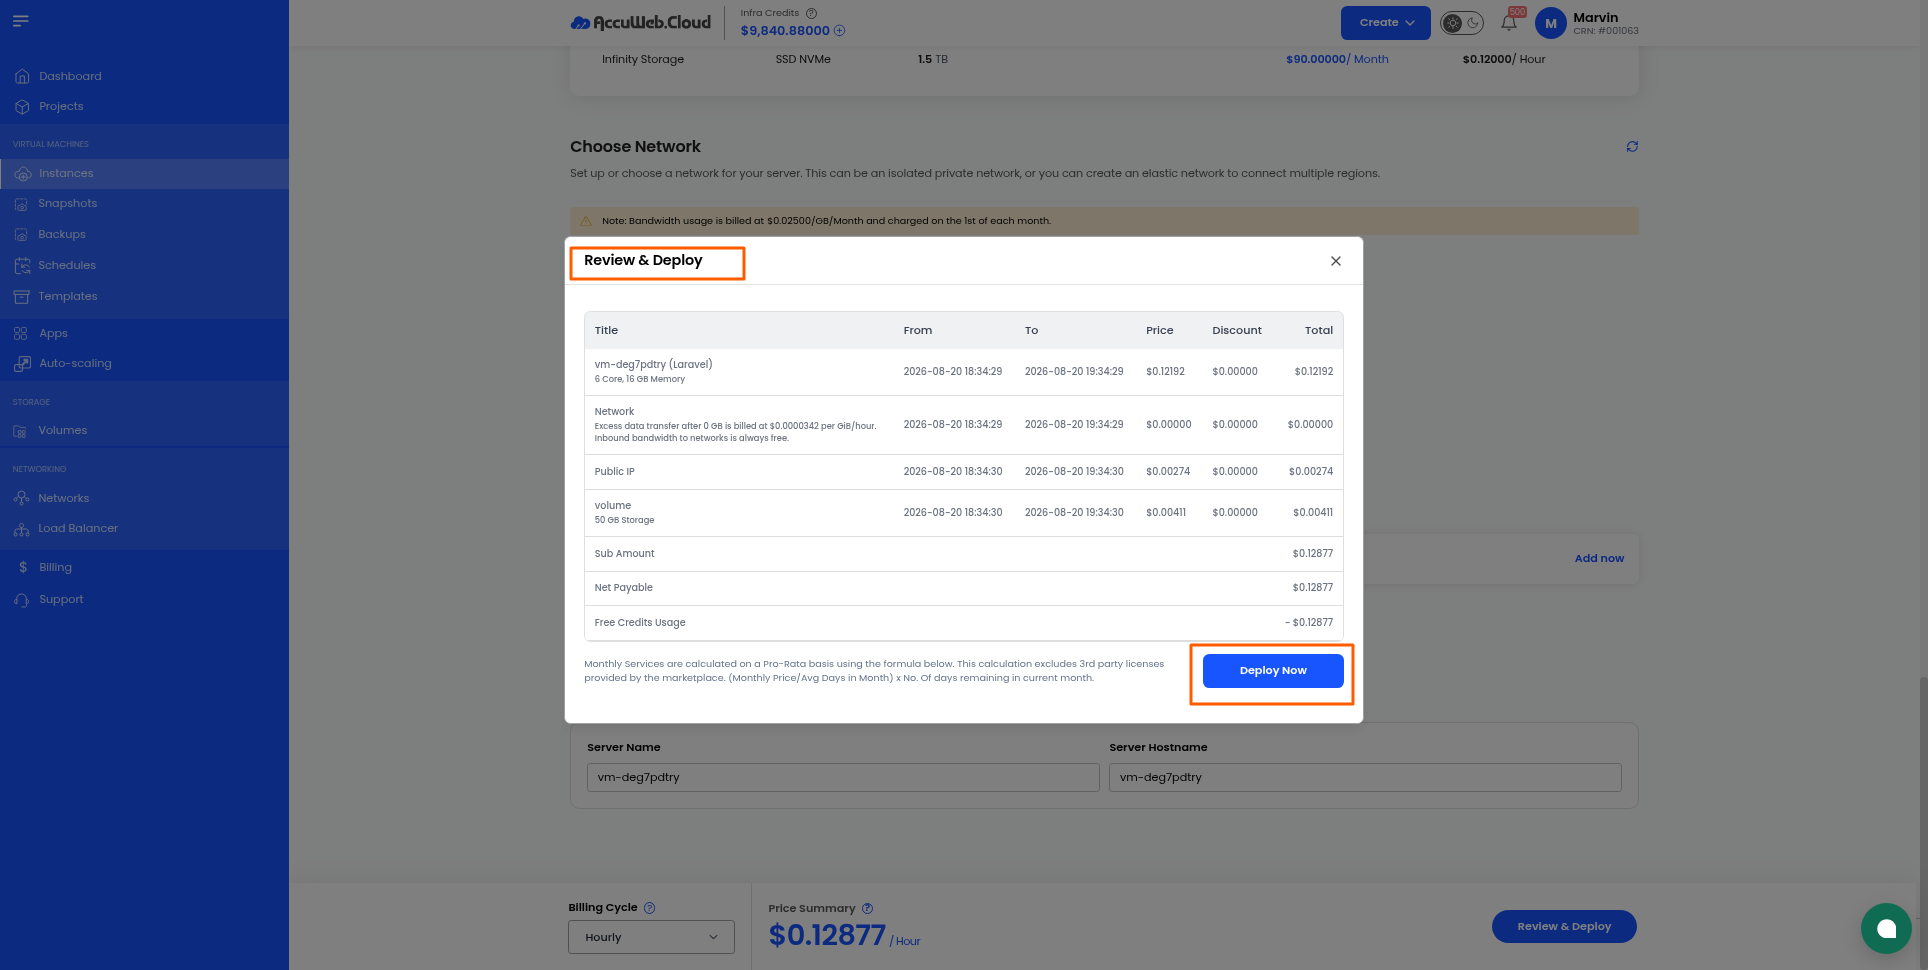
Once everything is correct, click Review & Deploy.
Step 11: Deploy Laravel
Review the final deployment information and click Deploy Now.
AccuWeb.Cloud will begin provisioning the virtual machine and installing the Laravel application and required environment.
Step 12: Wait for the Deployment to Complete
The deployment process will take a few minutes.
Once the deployment is completed successfully, the instance status will be shown as Running in the AccuWeb.Cloud dashboard.
You can open the instance overview to view the server’s assigned IP address and other deployment information.
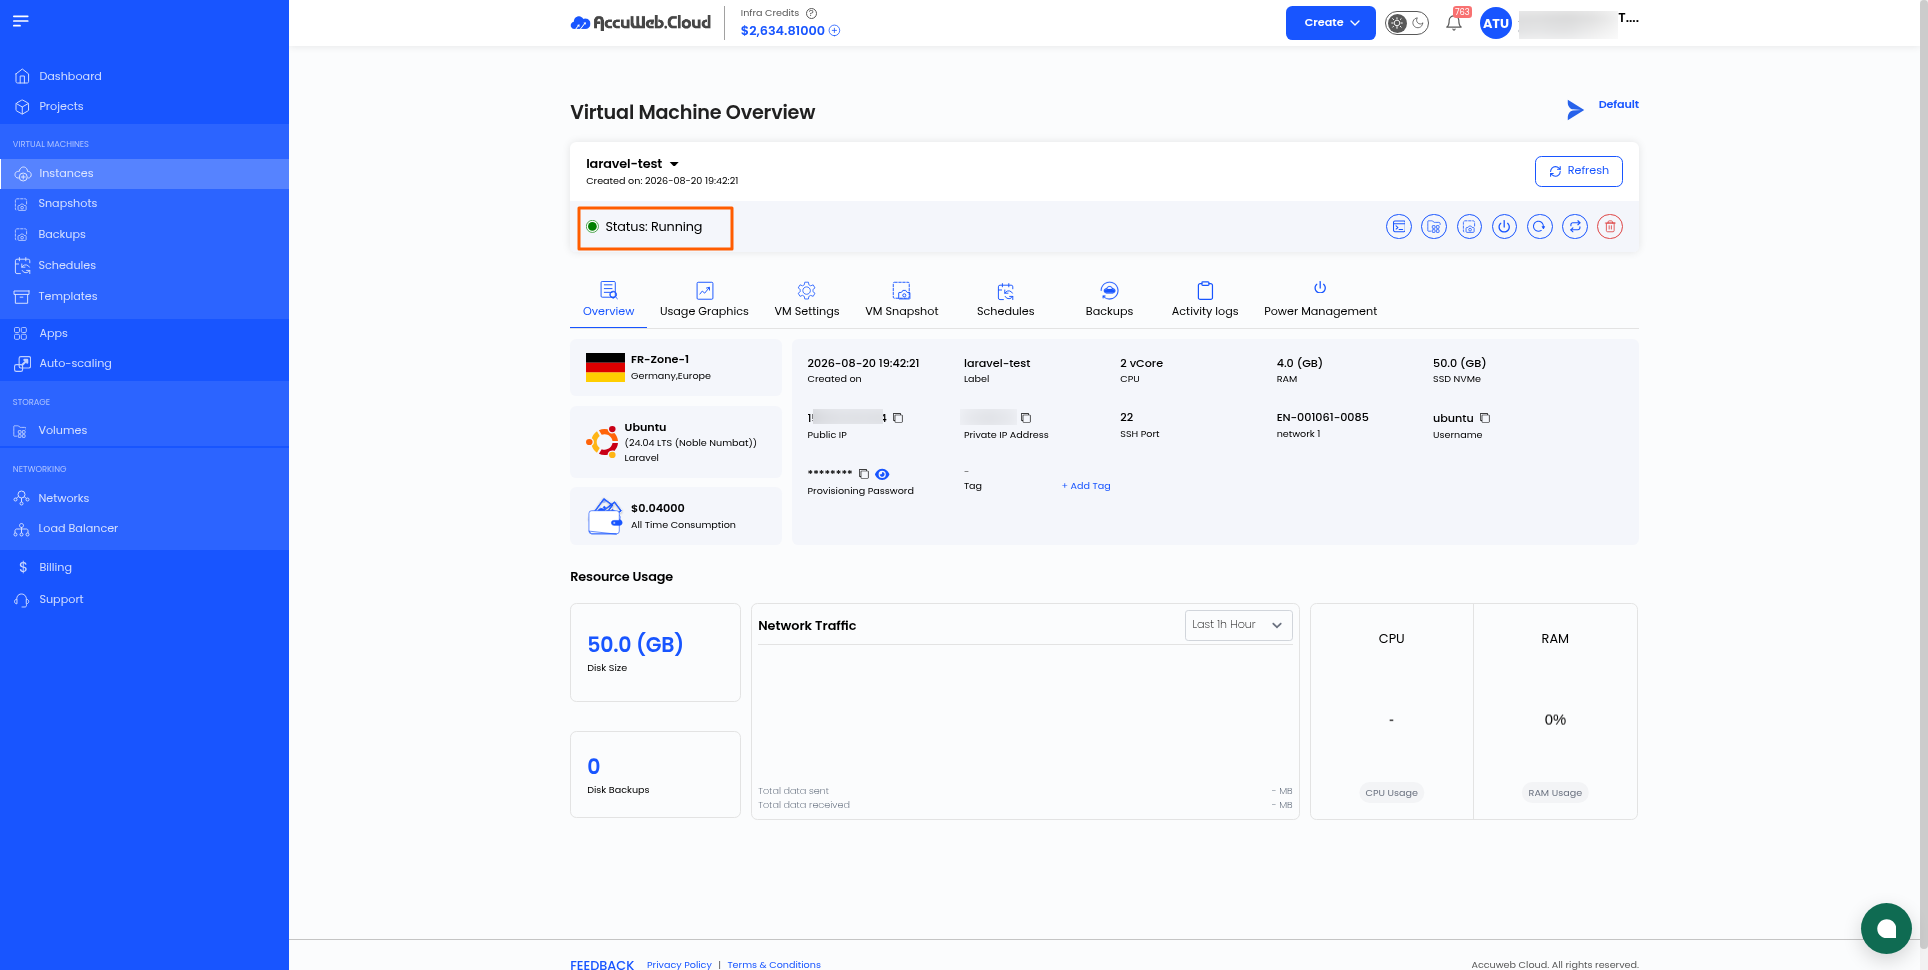
Step 13: Connect to Your Laravel Server
Once the VM is running, connect to the server using SSH with the credentials provided for your instance.
For example:
ssh user@SERVER_IP
Replace SERVER_IP with the public IP address assigned to your Laravel VM.
If required, switch to the root user:
sudo -i
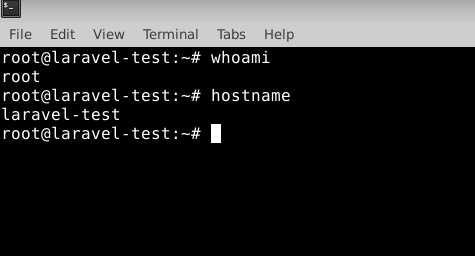
Step 14: Verify the Laravel Installation
After connecting to the VM, verify that Laravel is installed correctly.
You can check the Laravel version using:
ls
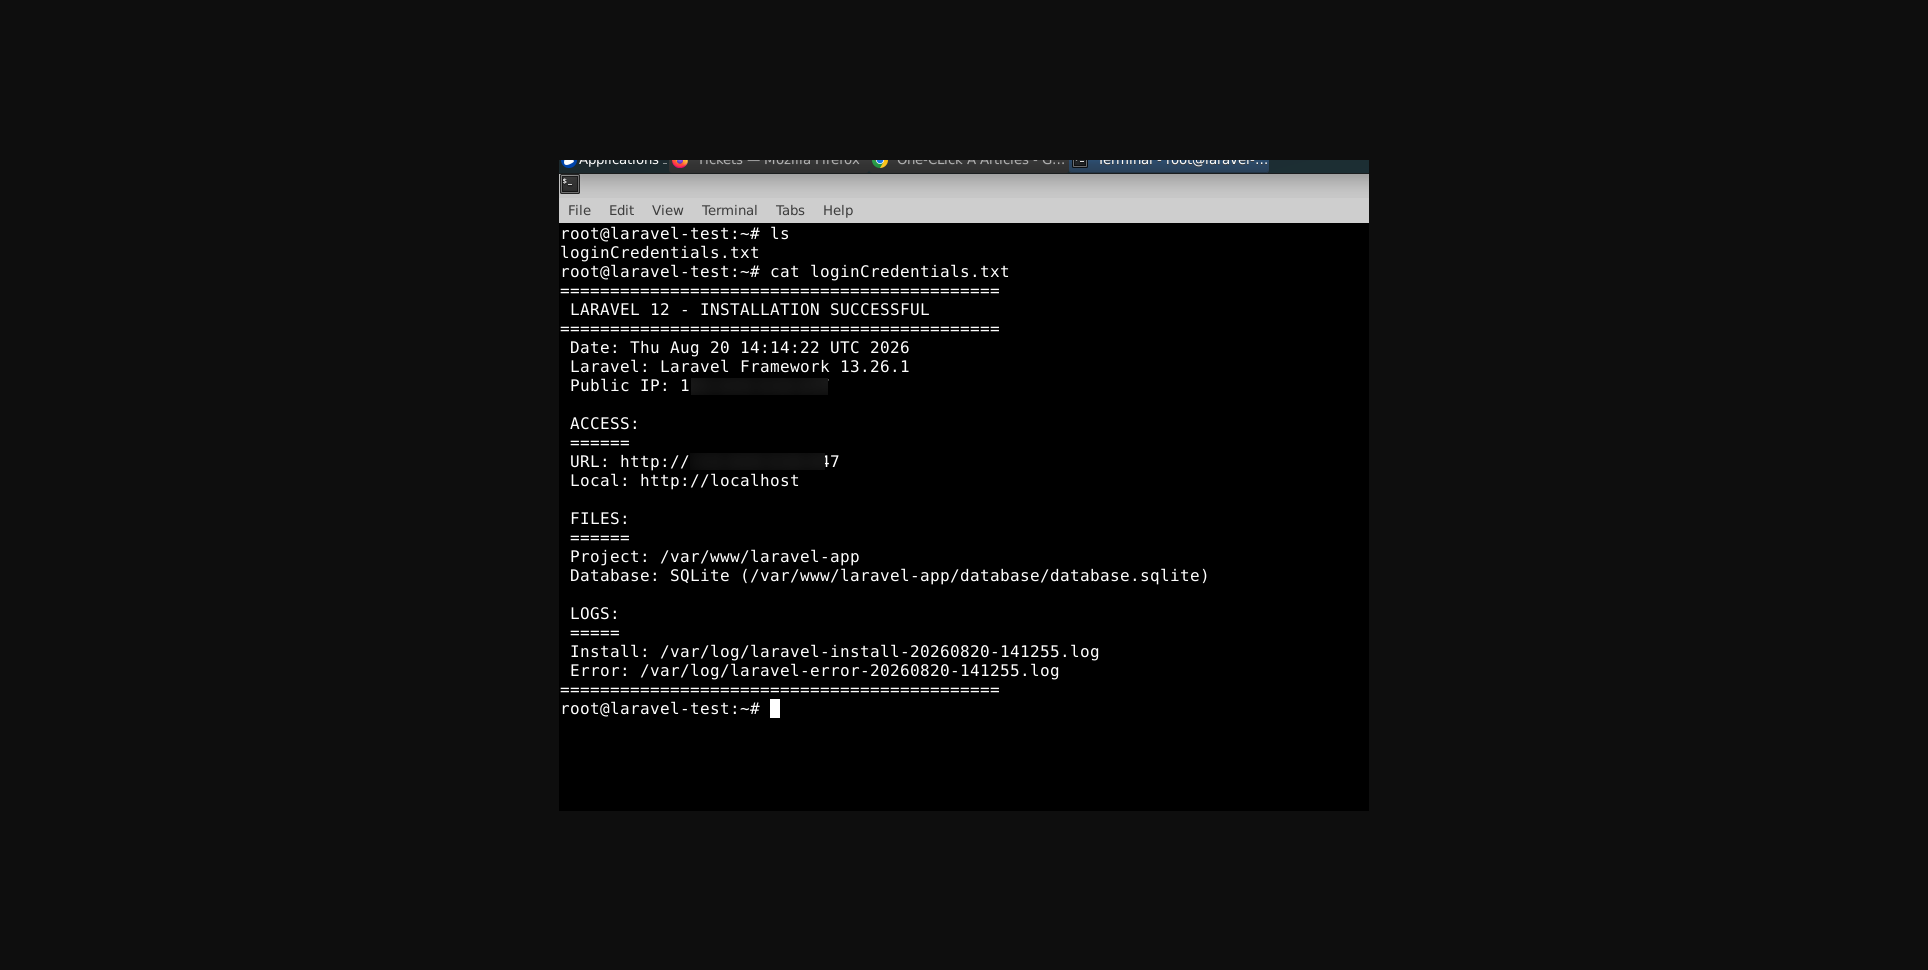
Step 15: Access Your Laravel Application
Open a web browser and navigate to the public IP address or domain configured for your Laravel server.
For example:
http://SERVER_IP
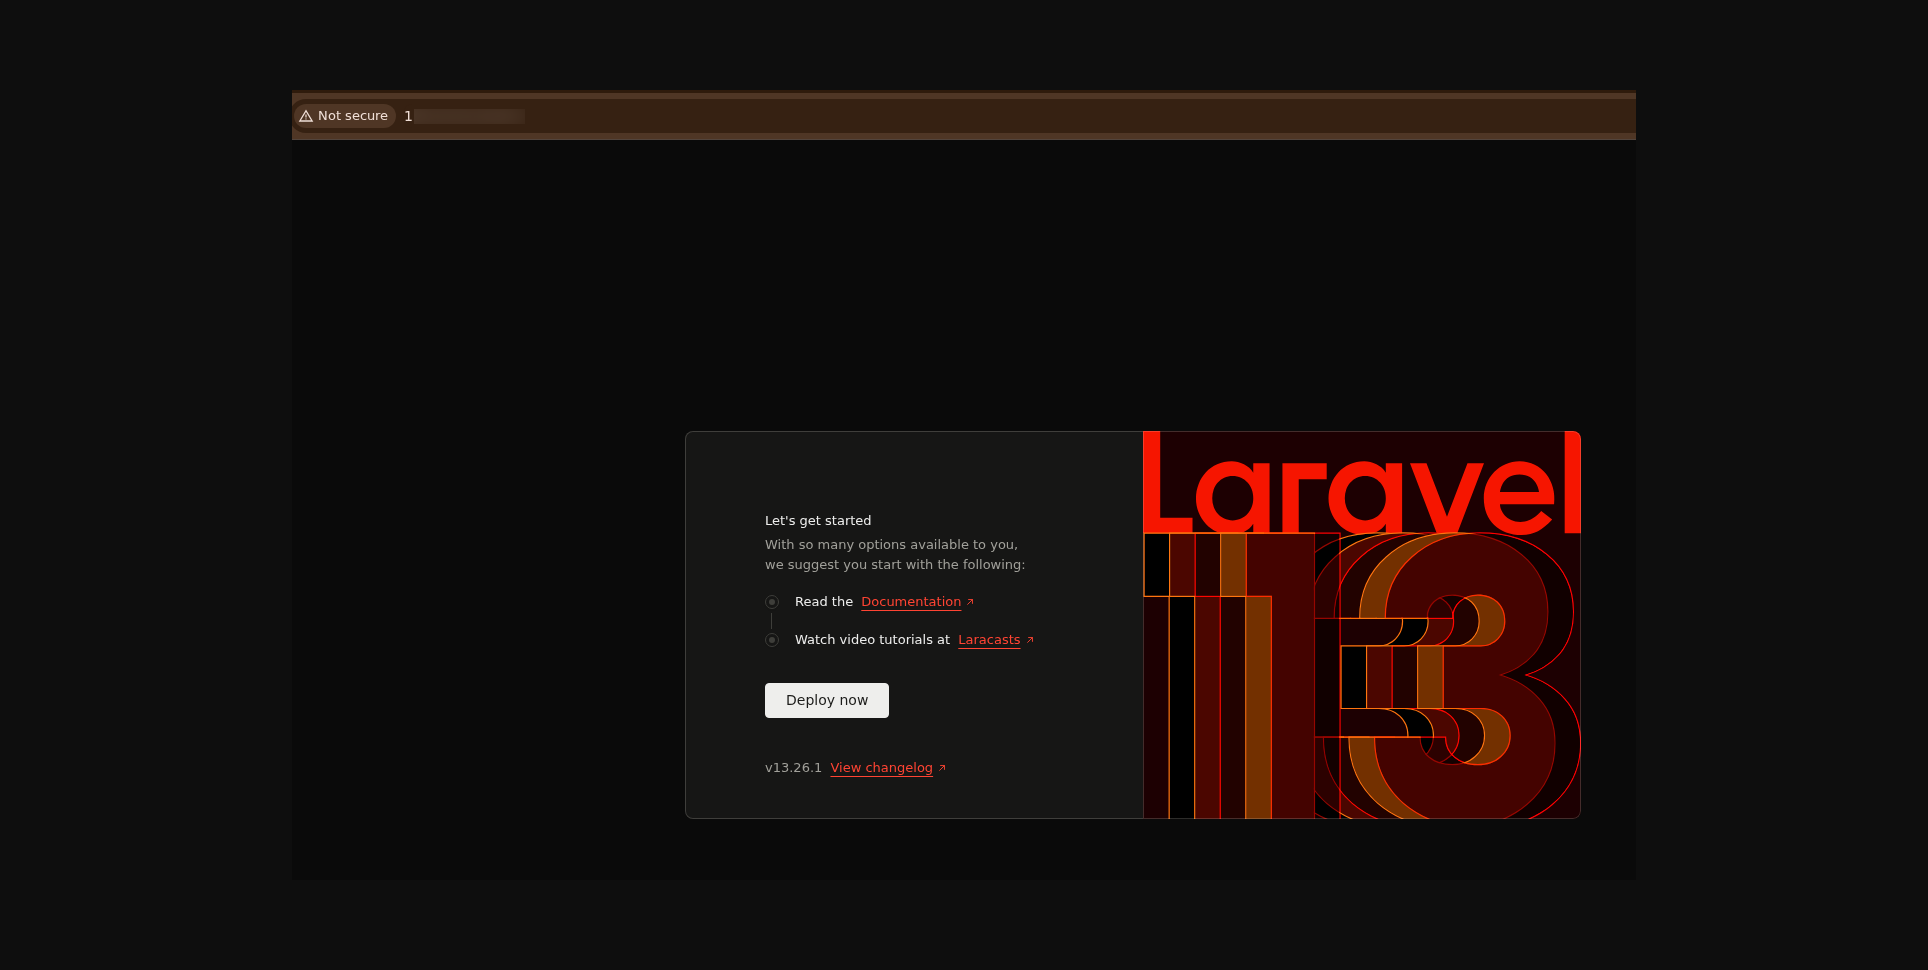
If a domain has already been configured, access the application using your domain name instead.
If the Laravel application is configured correctly and the required network and web-server settings are in place, the application will be accessible through the browser.
Step 16: Start Building Your Laravel Application
Your Laravel environment is now ready for application development and deployment.
You can connect to the server through SSH and manage your Laravel application using standard Laravel and Composer commands.
For example:
# Go to your Laravel directory
cd /var/www/laravel-app
# Run database migrations
php artisan migrate
# Cache configuration
php artisan config:cache
# Cache routes
php artisan route:cache
# Cache views
php artisan view:cache
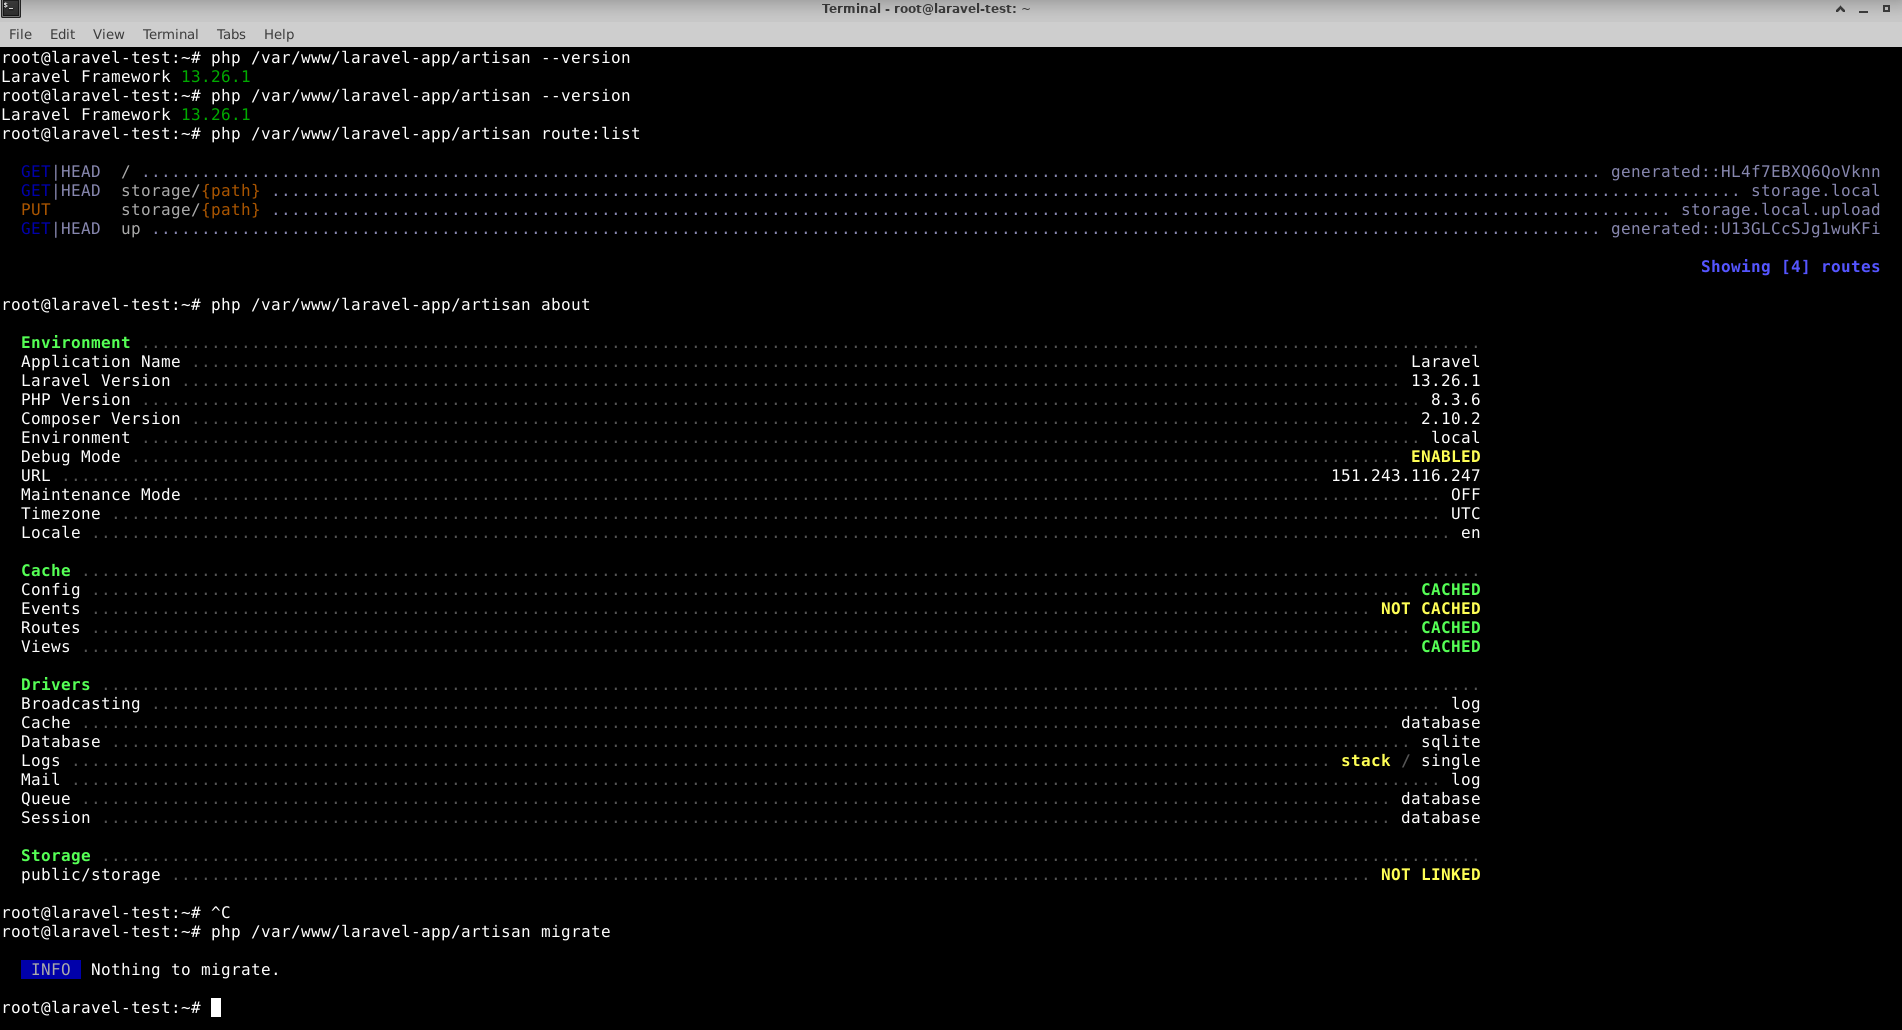
Use these commands according to your application’s deployment requirements.
Troubleshooting
If the Laravel application is not accessible after deployment, verify the following:
- The VM status is Running.
- The correct public IP address is being used.
- Required firewall ports are open.
- The web server is running.
- The Laravel application is configured with the correct permissions.
- The application’s .env file contains the required configuration.
- The database connection details are correct.
- DNS records are correctly configured if you are using a domain name.
For production deployments, we also recommend configuring HTTPS, application-specific firewall rules, database backups, and appropriate server security policies.
Conclusion
With the Laravel One-Click Application on AccuWeb.Cloud, you can deploy a Laravel-ready server without going through the complete manual installation and initial environment configuration process.
Simply select Laravel from the Marketplace, choose your required resources, deploy the VM, and connect to your server to start working with your Laravel application.
This makes Laravel deployment faster and more convenient for developers, agencies, businesses, and teams managing multiple applications.
Ready to deploy Laravel?