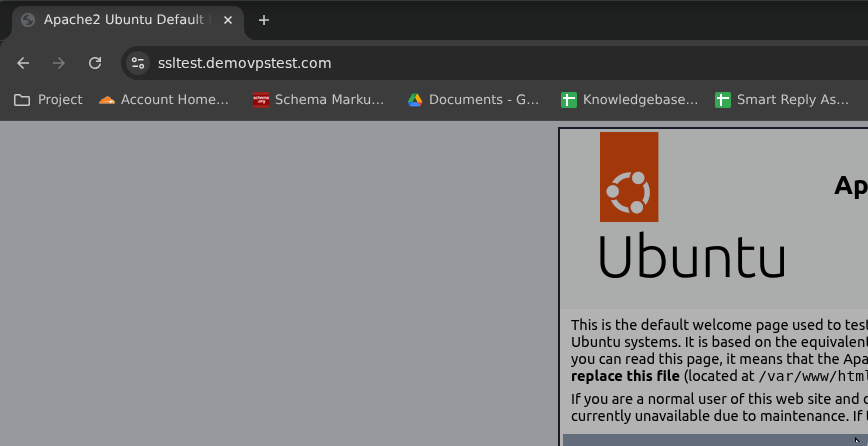
How to install a Let’s Encrypt SSL certificate on a website hosted on an AccuWeb.Cloud VM?
Securing your website with an SSL certificate is essential for protecting data transmitted between visitors and your server. SSL certificates encrypt communication, improve website security, and help build visitor trust. Additionally, modern browsers mark websites without SSL as “Not Secure,” and search engines favor HTTPS-enabled websites.
This guide explains how to install a free Let’s Encrypt SSL certificate on a website hosted on an AccuWeb.Cloud Virtual Machine running Ubuntu Linux and using either Apache or Nginx web server.
Prerequisites
- An active AccuWeb.Cloud Virtual Machine.
- A registered domain name.
- Root or sudo access to the server.
- Apache or Nginx already installed
- The domain’s DNS records point to your server’s public IP address.
Step 1: Create a Virtual Machine on AccuWeb.Cloud
1. Log in to the AccuWeb.Cloud Dashboard
Go to https://manage.accuweb.cloud/ and log in using your registered credentials.

2. Create a New Environment
- Click Create Environment.
- Select the desired region.
- Choose Ubuntu 22.04 LTS (recommended).
- Configure CPU, RAM, and storage resources.
- Assign a public IP address.
- Click Create.

Wait for the VM deployment to complete.
Step 2: Connect to the Virtual Machine
Linux/macOS
ssh root@YOUR_SERVER_IP
Windows (PowerShell)
ssh root@YOUR_SERVER_IP
Replace YOUR_SERVER_IP with your actual public IP address.
Step 3: Update the Server
Update the operating system packages before proceeding.
apt update && apt upgrade -y
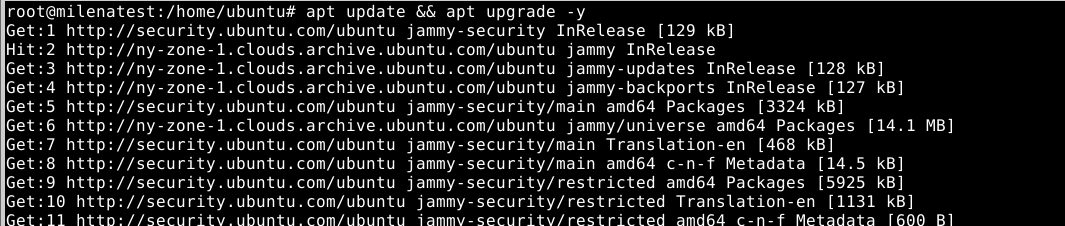
Verify the server is fully updated.
Step 4: Install a Web Server
Install Apache
apt install apache2 -y
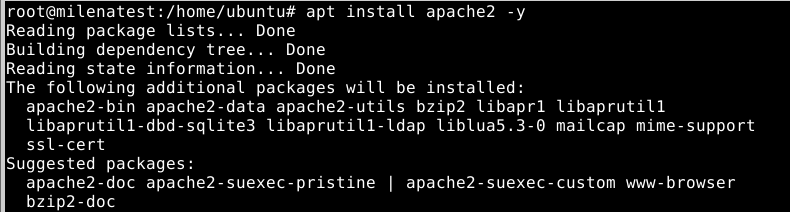
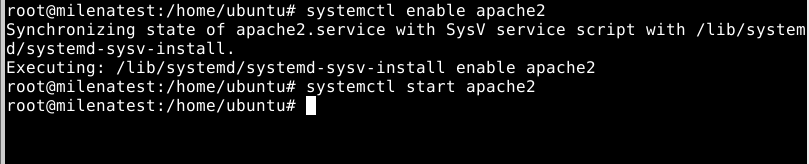
Start and enable Apache:
systemctl enable apache2
systemctl start apache2
OR Install Nginx
apt install nginx -y
Start and enable Nginx:
systemctl enable nginx
systemctl start nginx
Verify the website is accessible using the server’s IP address.
Step 5: Point Your Domain to the VM
Go to your domain’s DNS management panel and add an A record:
Record Type – A
Host – @ or www
Value – SERVER_PUBLIC_IP
Allow DNS propagation to complete.
Step 6: Configure a Virtual Host
Apache Example
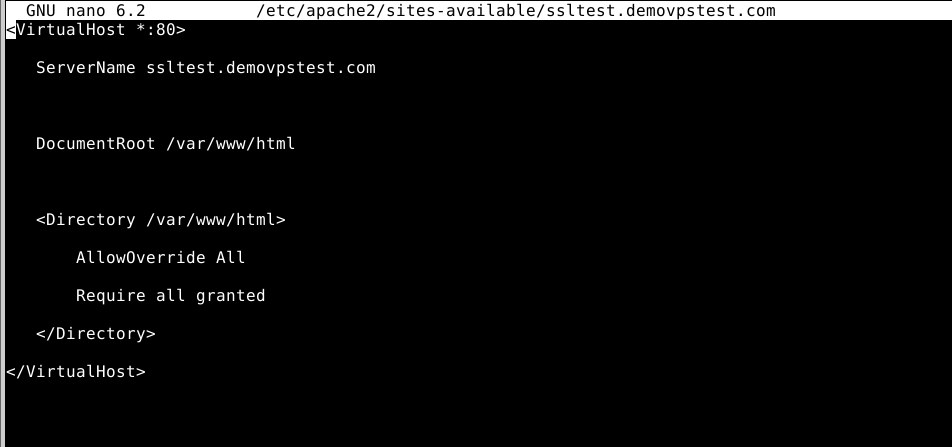
Create a configuration file:
nano /etc/apache2/sites-available/ssltest.demovpstest.com.conf
Add:
<VirtualHost *:80>
ServerName ssltest.demovpstest.com
ServerAlias www.ssltest.demovpstest.com
DocumentRoot /var/www/html
<Directory /var/www/html>
AllowOverride All
Require all granted
</Directory>
</VirtualHost>
Enable the site:
a2ensite ssltest.demovpstest.com.conf
systemctl reload apache2

Nginx Example
Create:
nano /etc/nginx/sites-available/ssltest.demovpstest.com
Add:
server {
listen 80;
server_name ssltest.demovpstest.com ssltest.demovpstest.com;
root /var/www/html;
index index.php index.html index.htm;
}
Enable the site:
ln -s /etc/nginx/sites-available/ssltest.demovpstest.com /etc/nginx/sites-enabled/
nginx -t
systemctl reload nginx
Step 7: Install Certbot
Certbot is the official Let’s Encrypt client used to obtain and manage SSL certificates.
Ubuntu
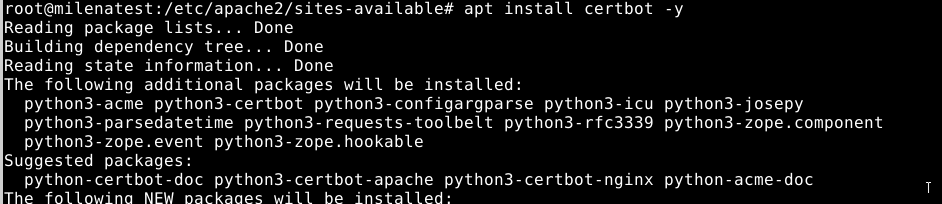
apt install certbot -y
Apache Plugin
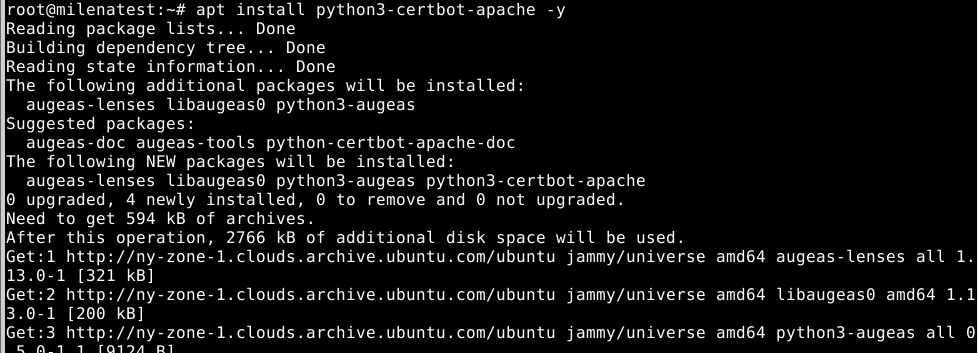
apt install python3-certbot-apache -y
Nginx Plugin
apt install python3-certbot-nginx -y
Step 8: Obtain a Let’s Encrypt SSL Certificate
For Apache
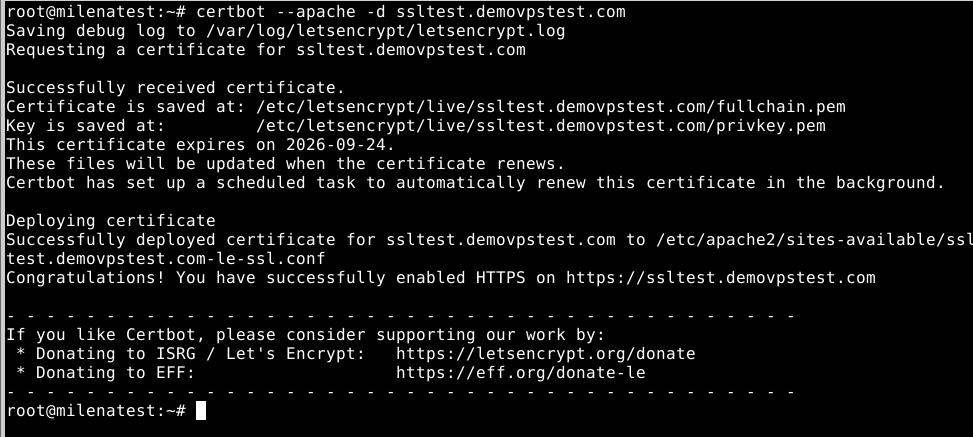
certbot –apache -d ssltest.demovpstest.com -d ssltest.demovpstest.com
Note: Please replace the domain name with your real domain name.
For Nginx
certbot –nginx -d ssltest.demovpstest.com -d ssltest.demovpstest.com
Step 9: Verify SSL Installation
Open your browser and visit:
https://ssltest.demovpstest.com