
How to Set Up a Isolated Network in AccuWeb.Cloud?
An Isolated Network in AccuWeb.Cloud allows multiple Virtual Machines (VMs) within the same project to communicate securely over an internal network. Unlike a public network, an isolated network is isolated from the internet, making it ideal for hosting backend services such as databases, application servers, caching servers, or internal APIs.
Using a Isolated Network improves security, reduces public exposure, and enables faster communication between your cloud instances.
What is an Isolated Network?
An Isolated Network is a dedicated virtual network created exclusively for your project.
When you create an isolated network:
- Each VM connected to the network receives a private IP address.
- Communication between VMs remains entirely within the Isolated Network.
- The network is logically separated from other customers’ networks.
- Internet access is available only through the network’s virtual router (when configured).
- External systems cannot directly access your private IP addresses unless you explicitly configure Port Forwarding or a Load Balancer.
Benefits of an Isolated Network
- Enhanced security for internal services
- Private communication between multiple VMs
- Prevents direct internet access to sensitive applications
- Ideal for multi-tier application architecture
- Supports Port Forwarding, Static NAT, and Load Balancers
Common Use Cases
An isolated network is useful for environments such as:
- Web Server + Database Server
- Application Server + Redis Cache
- Internal API Servers
- Development and Testing Environments
- Production environments requiring network isolation
Steps to Create an Isolated Network on Accuweb.cloud
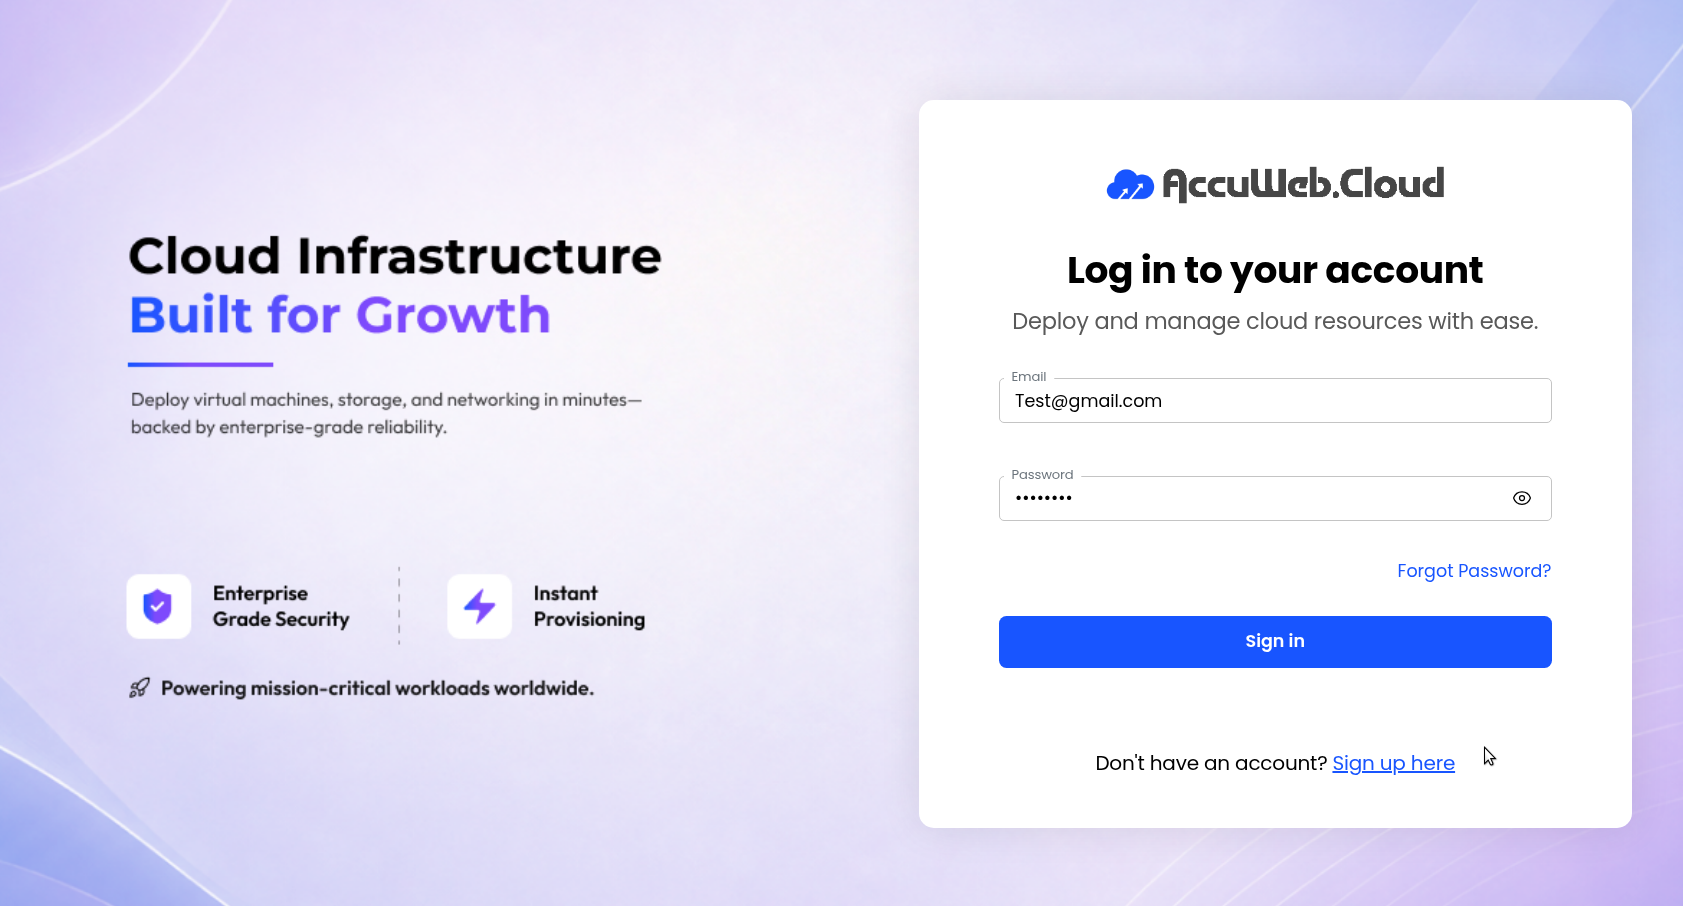
Step 1: Log in to AccuWeb.Cloud
Log in to your AccuWeb.Cloud account and open your project.
Step 2: Open Networks
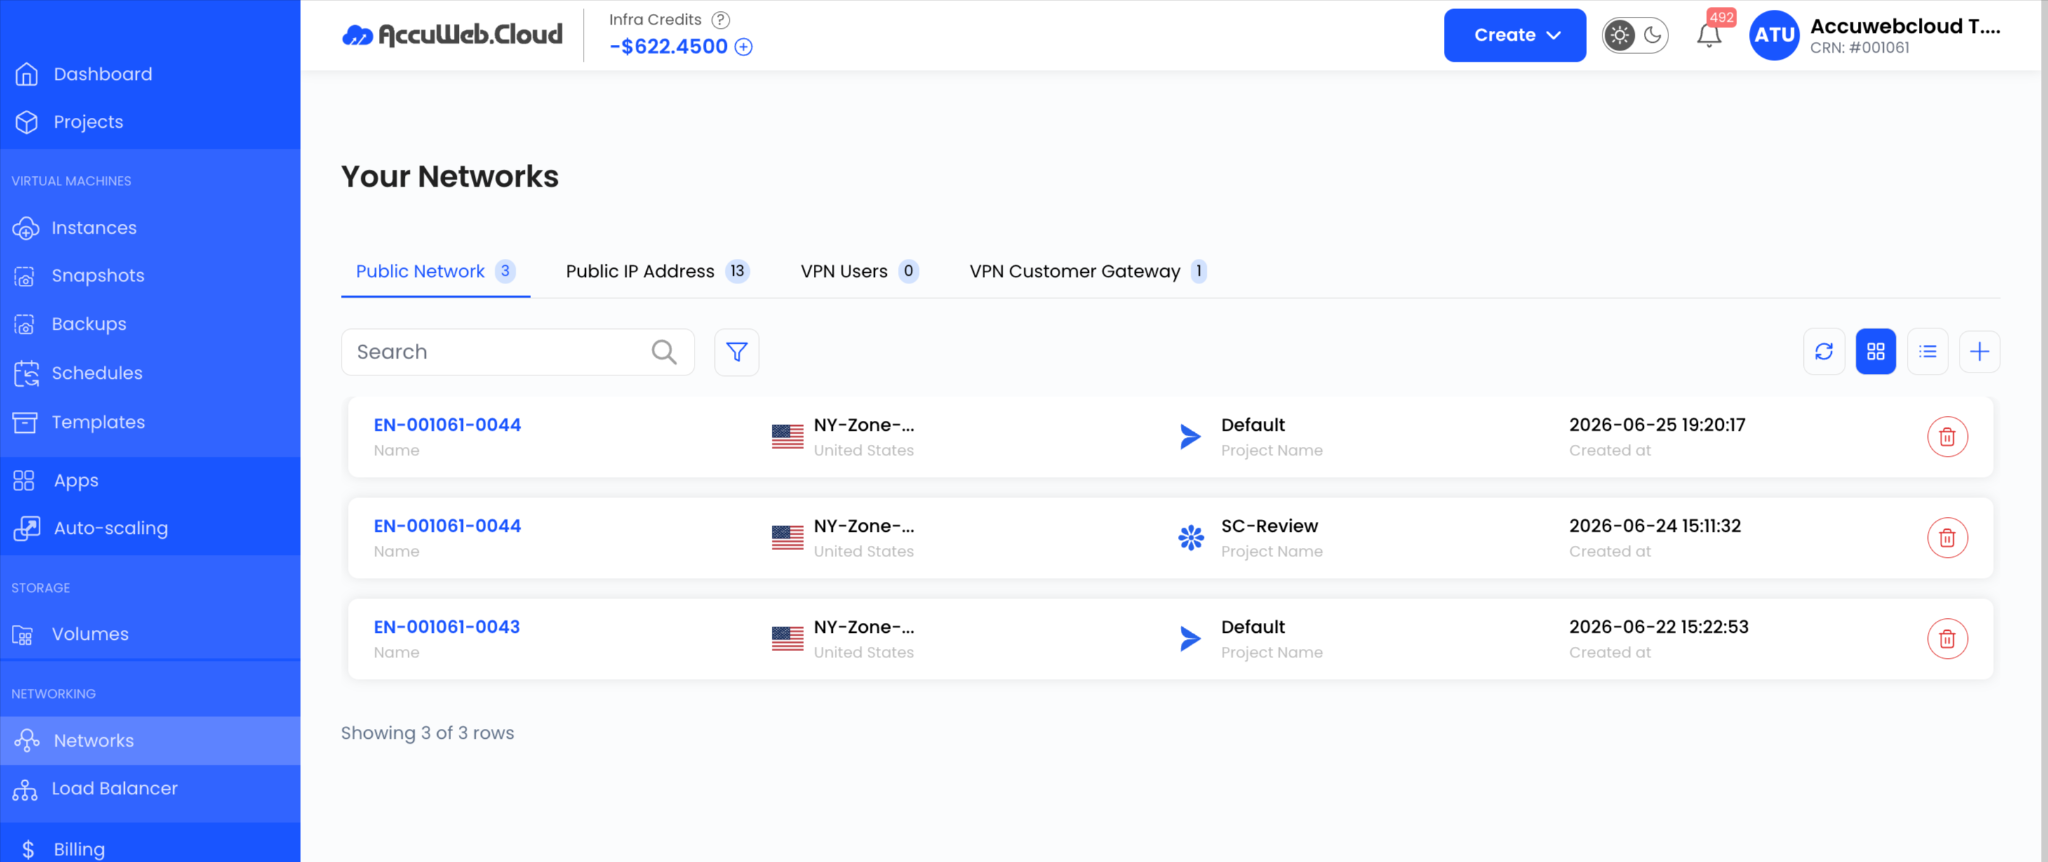
From the left navigation menu, click:
Networking -> Networks
You will see all existing Isolated Networks associated with your project.
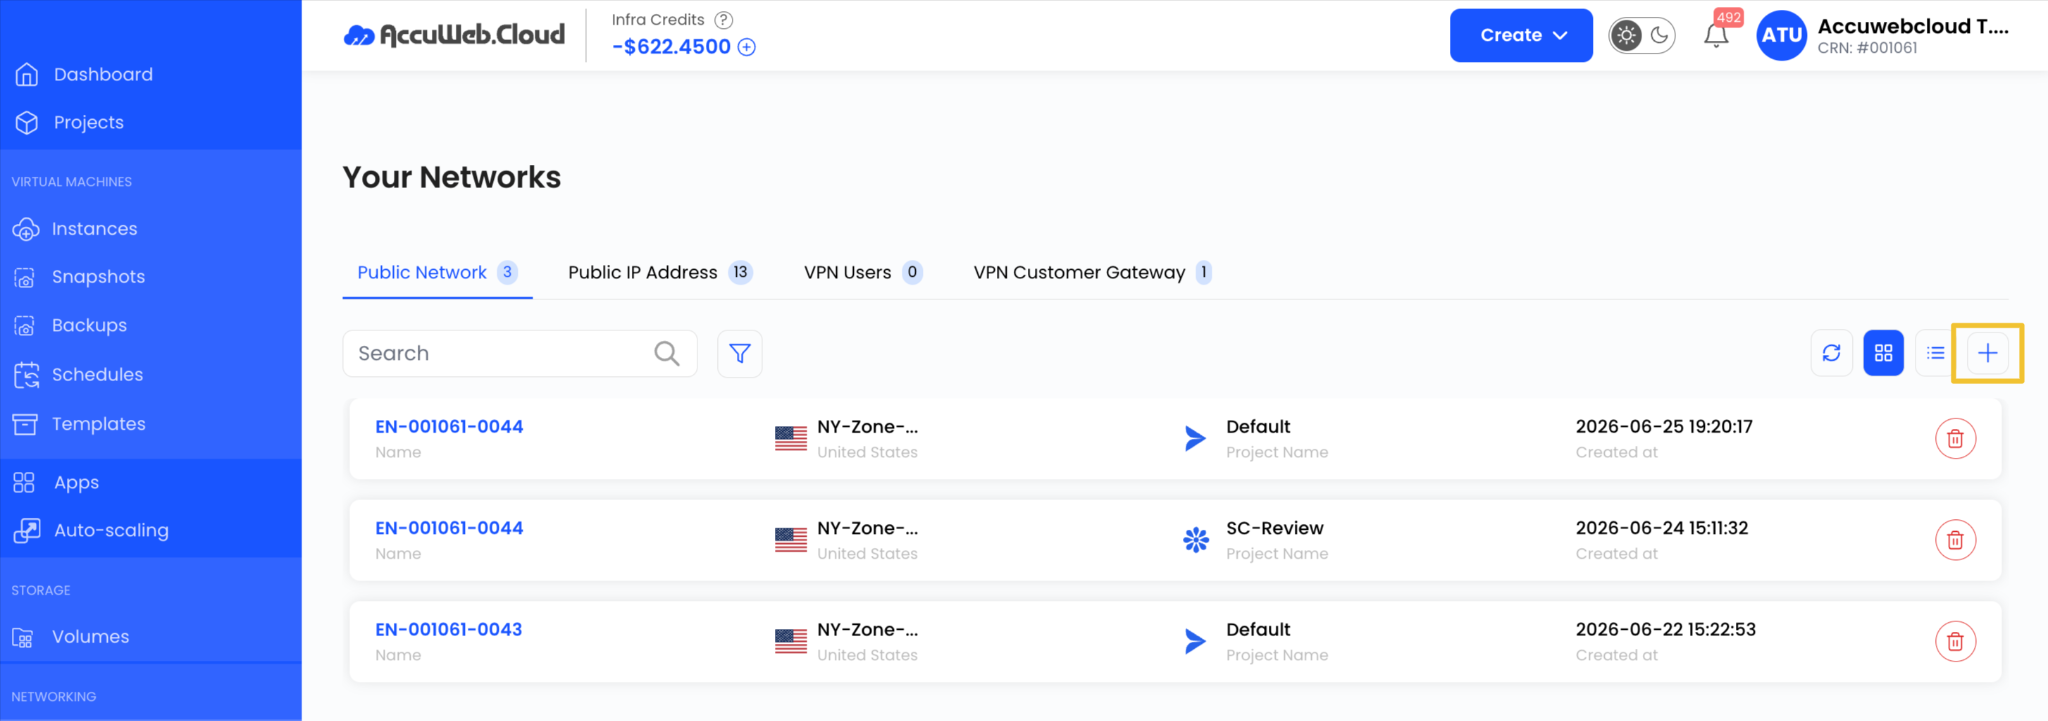
Step 3: Click Create Network
Click the Create Network(+) button.
Step 4: Configure Network Details
Enter the following information:
- Select regions available from the platform
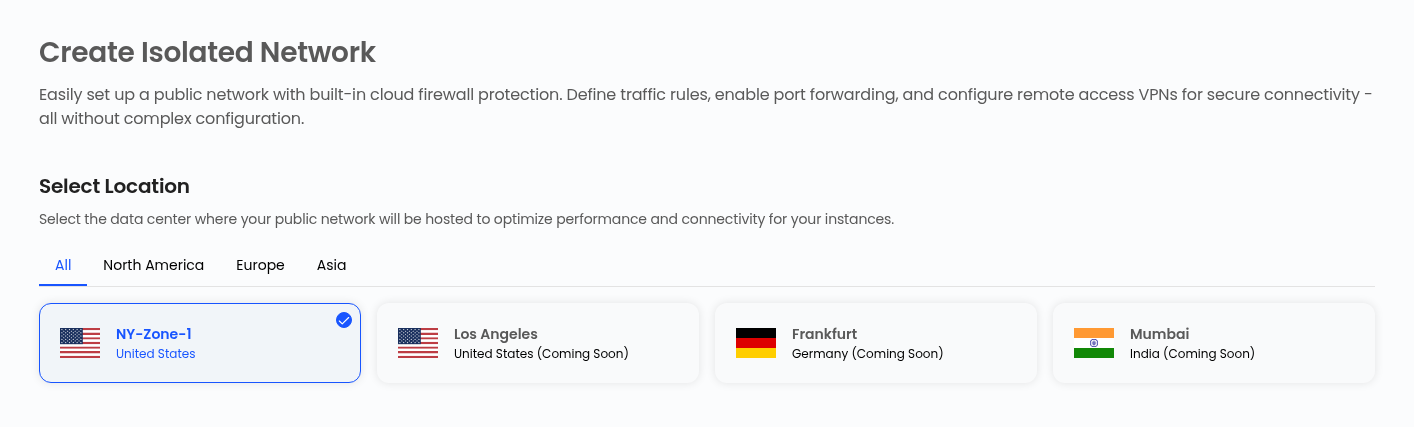
- Select your project

- Network Name – EN-001020-0009
- Network Description – add a description like Isolated Network

- Gateway – Example: 10.0.0.148
- Netmask Example: 255.255.255.0

These settings define the private IP range that your virtual machines will use.
Step 5: Create the Network
Click Create.
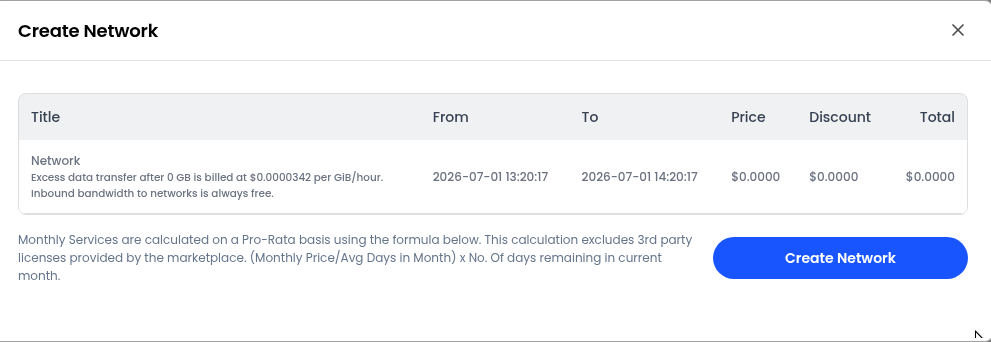
The isolated network will be provisioned within a few moments.
Connect Virtual Machines to the Isolated Network
After creating the network:
- Open Instances

2. Select the virtual machine you want to connect.
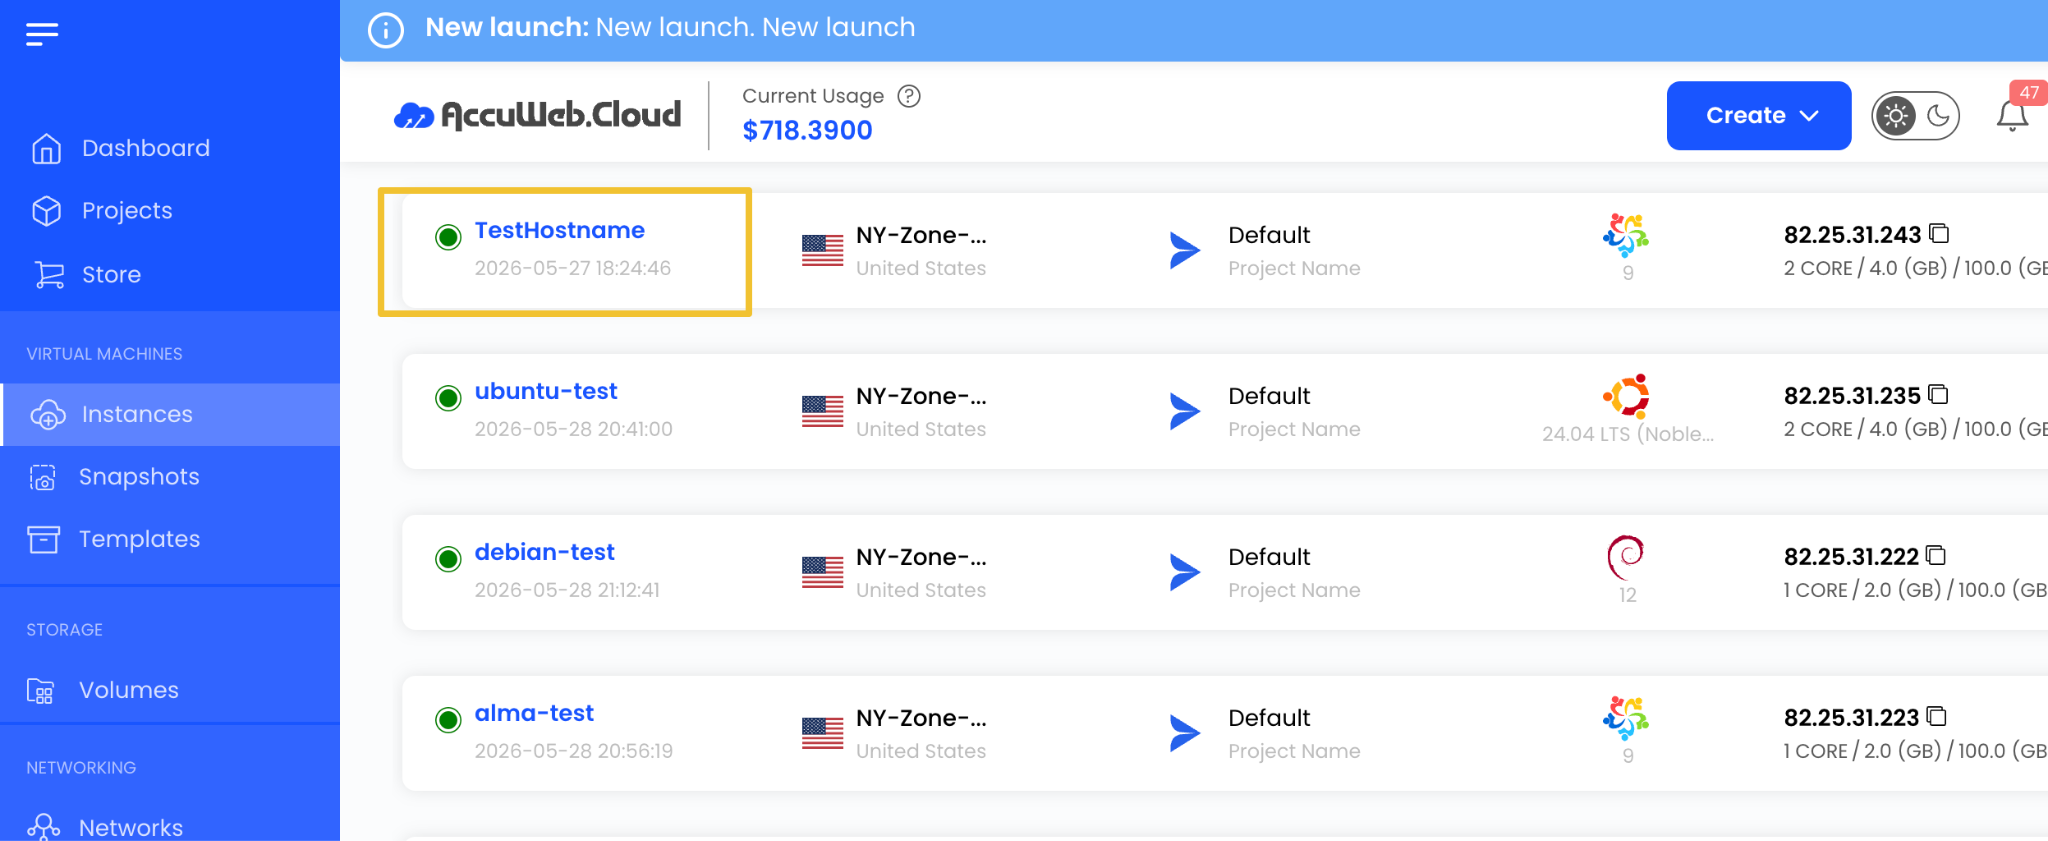
3. Click VM settings and go to Network.

4. Add and select the newly created Isolated Network.
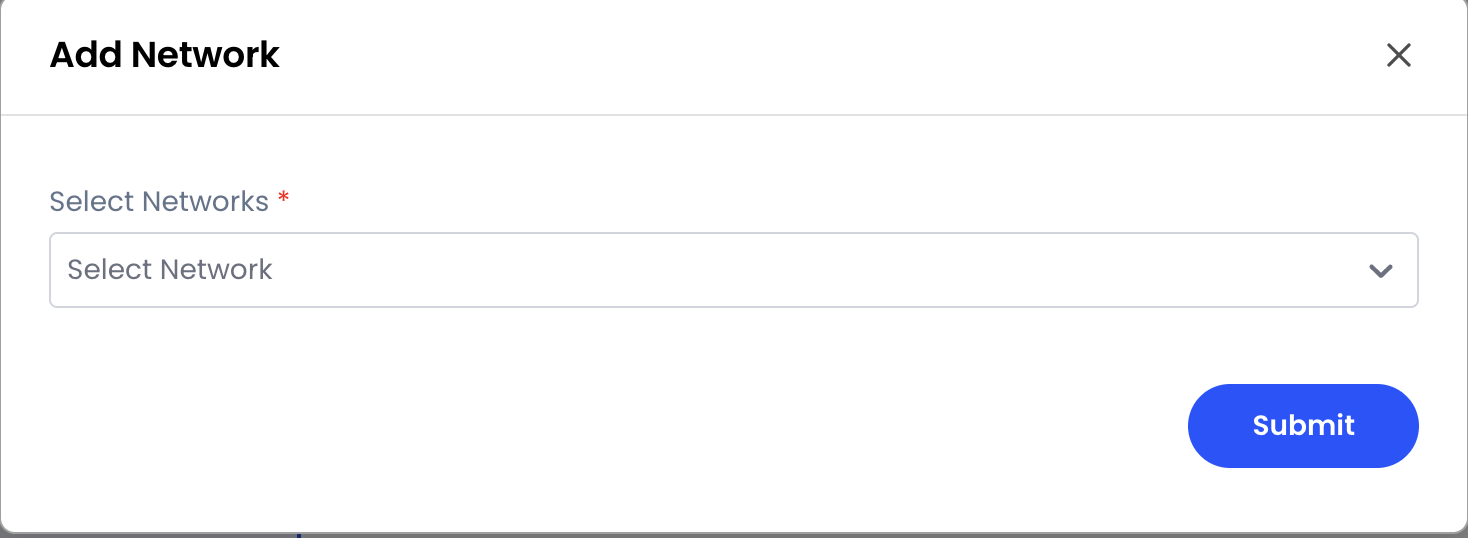

- Save the changes.
The VM will receive a private IP address from the network’s IP range.
Accessing Services
Applications should communicate using the private IP addresses.
For example:
- Database: 10.1.1.20:3306
- Redis: 10.1.1.30:6379
- Internal API: 10.1.1.40:8080
Since these services use private IPs, they remain inaccessible from the public internet unless you explicitly expose them.
Best Practices
- Place databases and cache servers only on the Isolated Network.
- Expose only web or application servers to the internet.
- Use private IP addresses for inter-server communication.
- Configure firewall rules to allow only required traffic.
- Use Port Forwarding or a Load Balancer only when public access is necessary.
Conclusion
An Isolated Network in AccuWeb.Cloud provides a secure, Isolated Networking environment for your cloud infrastructure. By connecting your virtual machines to the same Isolated Network, you can enable fast and secure internal communication while keeping sensitive services protected from direct internet access. This approach is ideal for multi-tier applications, production workloads, and environments that require enhanced security and network isolation.