
One-Click Node.js Hosting on AccuWeb.Cloud
Get your Node.js application online faster with AccuWeb.Cloud’s 1-click deployment.
The setup takes care of the required server configuration and Node.js installation, so you can start building and running applications within minutes. AccuWeb.Cloud makes Node.js hosting simple. Choose Node.js, set your resources, and hit create. The environment is usually ready in a couple of minutes, ready for an API or a full web app.
Deploy Node.js in One-Click
Step 1: Log in to your AccuWeb.Cloud account and open the dashboard.
Step 2: Once you are on the dashboard, go to Apps to view the available applications.
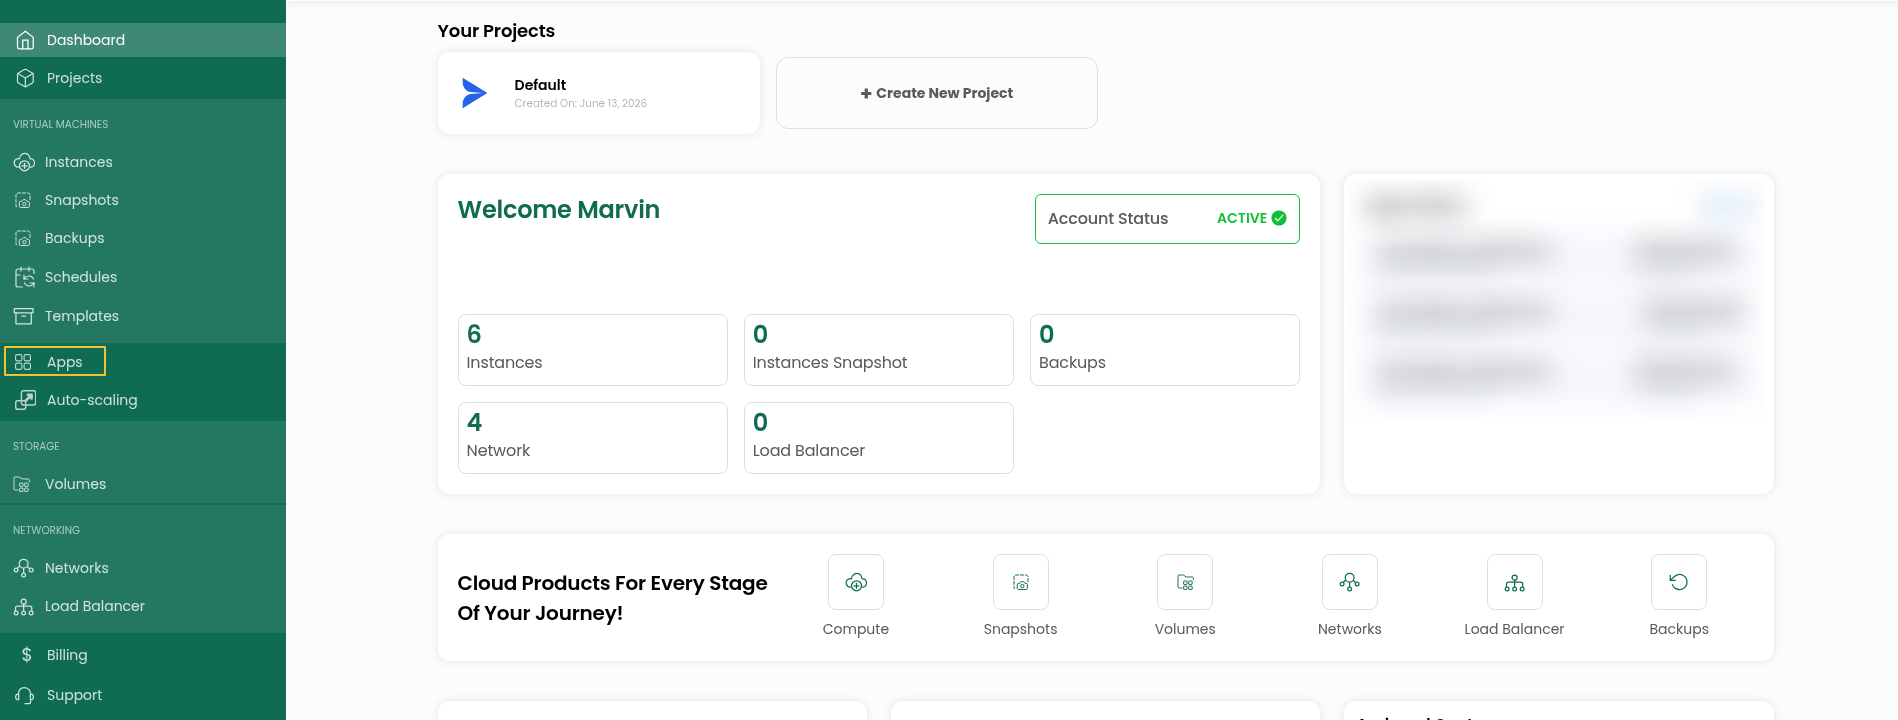
Step 3: Go to Apps and open Marketplace to browse the applications available for deployment.
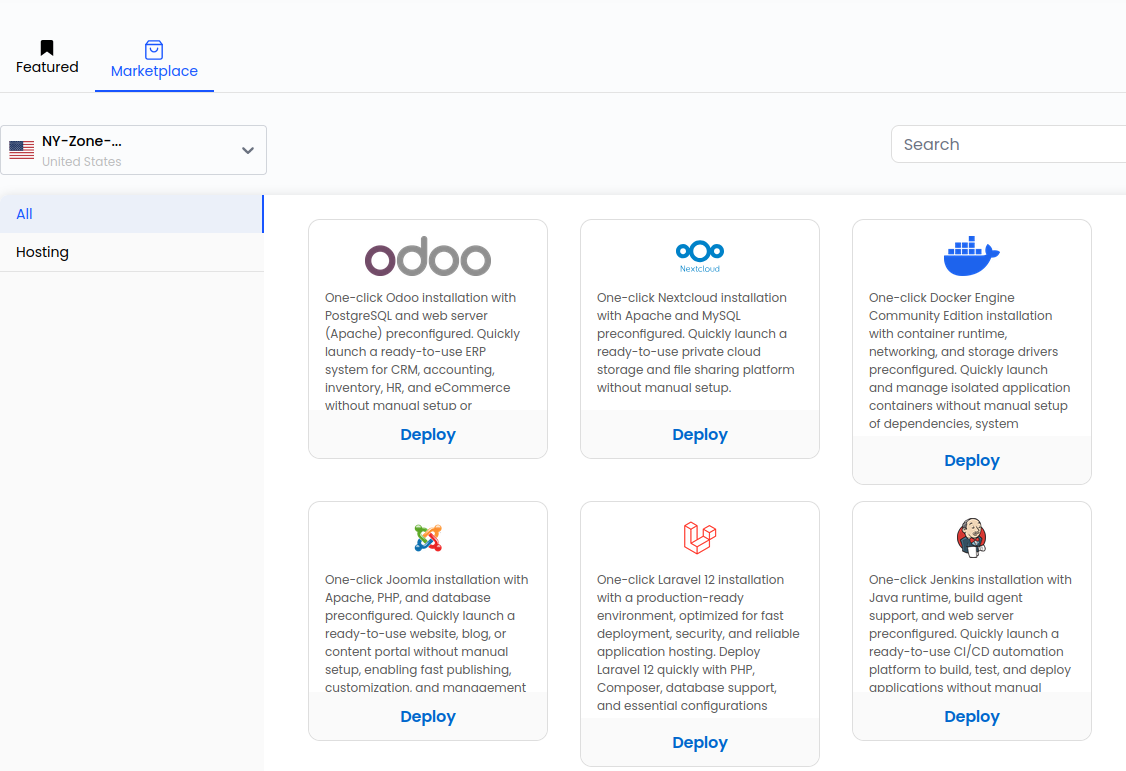
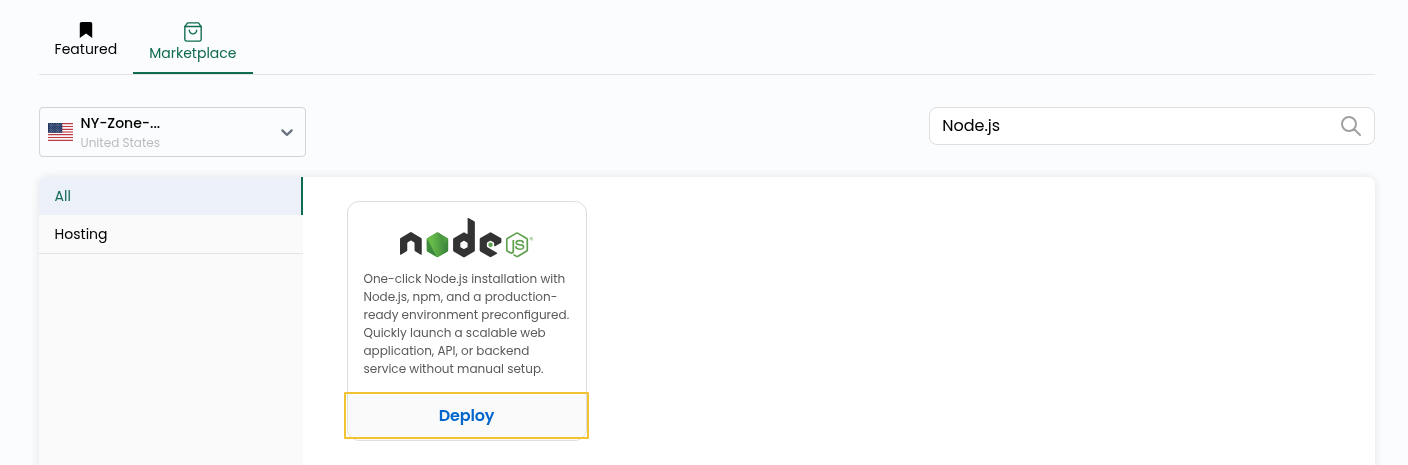
Step 4: Find Node.js in the Marketplace and click Deploy to start the deployment process.
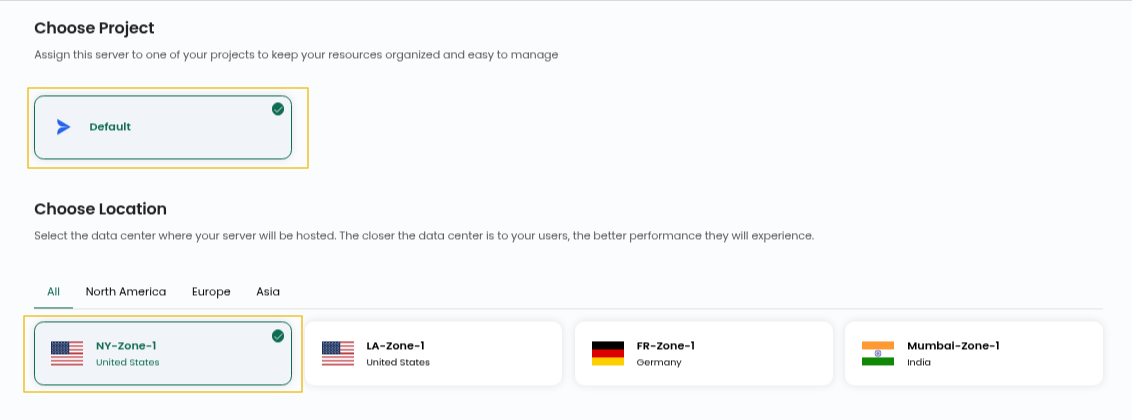
Step 5: Pick the Project and Location for your Node.js server.
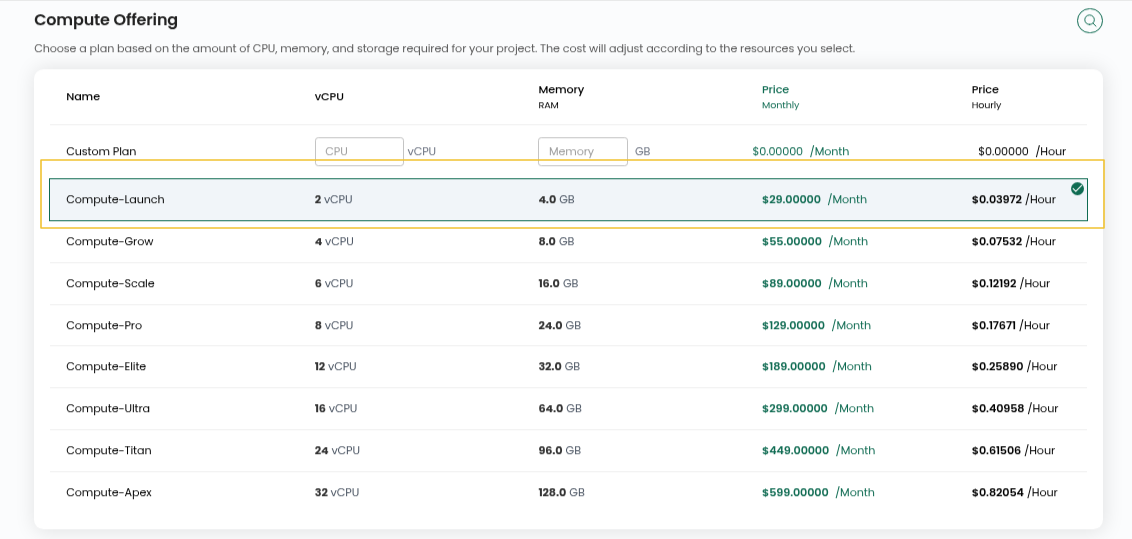
Step 6: Choose the compute option for your instance.
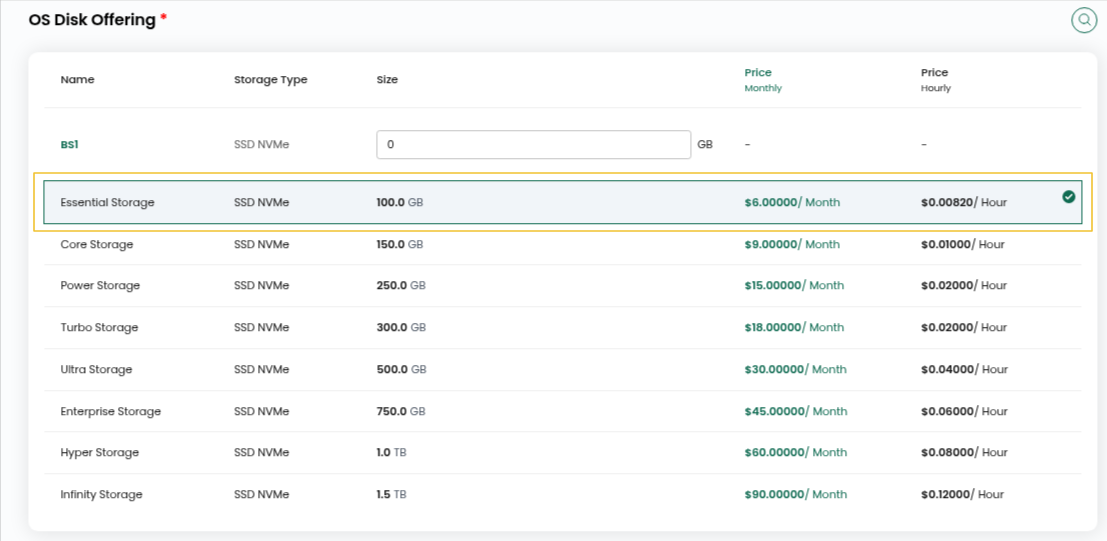
Step 7: Choose the OS Disk Offering and Network you want to use for the instance.
Step 8: Enter a Server Name and Hostname for your Node.js server.

Step 9:Choose Hourly or Monthly billing. Verify your settings below and click Review & Deploy to finish up.

Step 10: Check the details you selected and click Deploy Now.
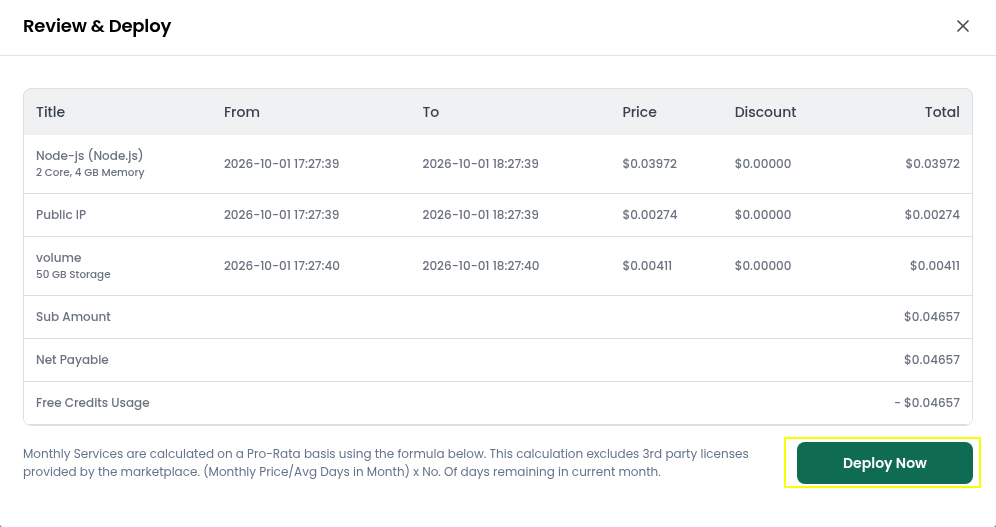
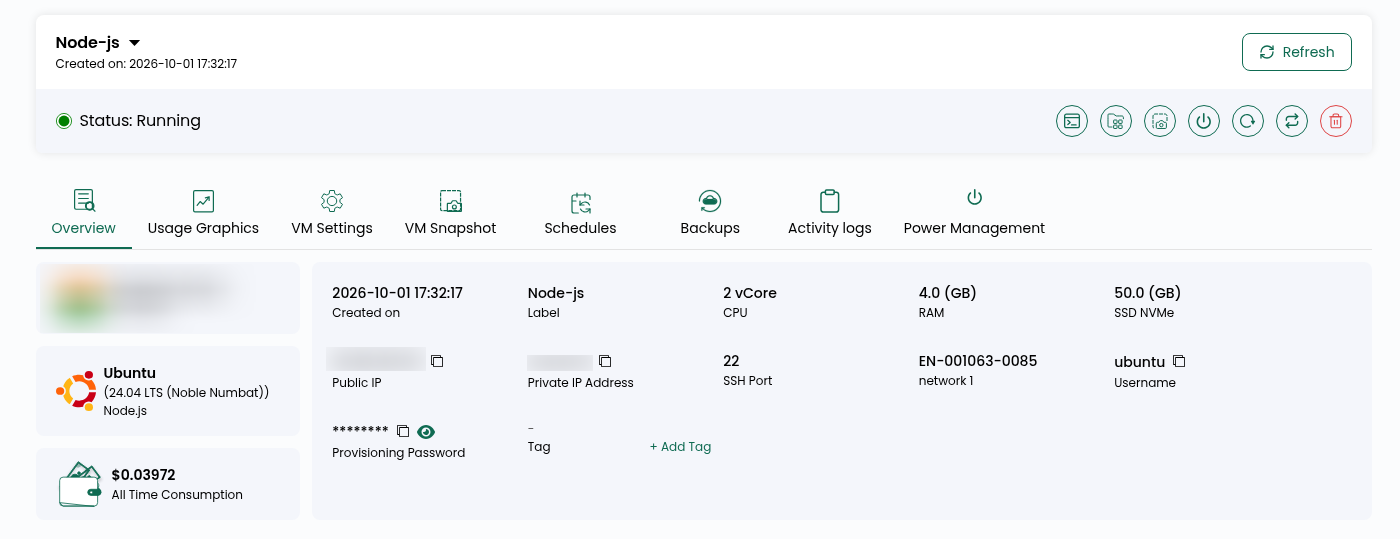
Step 11: Allow a few minutes for the deployment to complete. Wait for the deployment to finish.After Node.js is installed, your instance shows Running in the list.
Step 12: Open your email, and you’ll find the Node.js login details there.
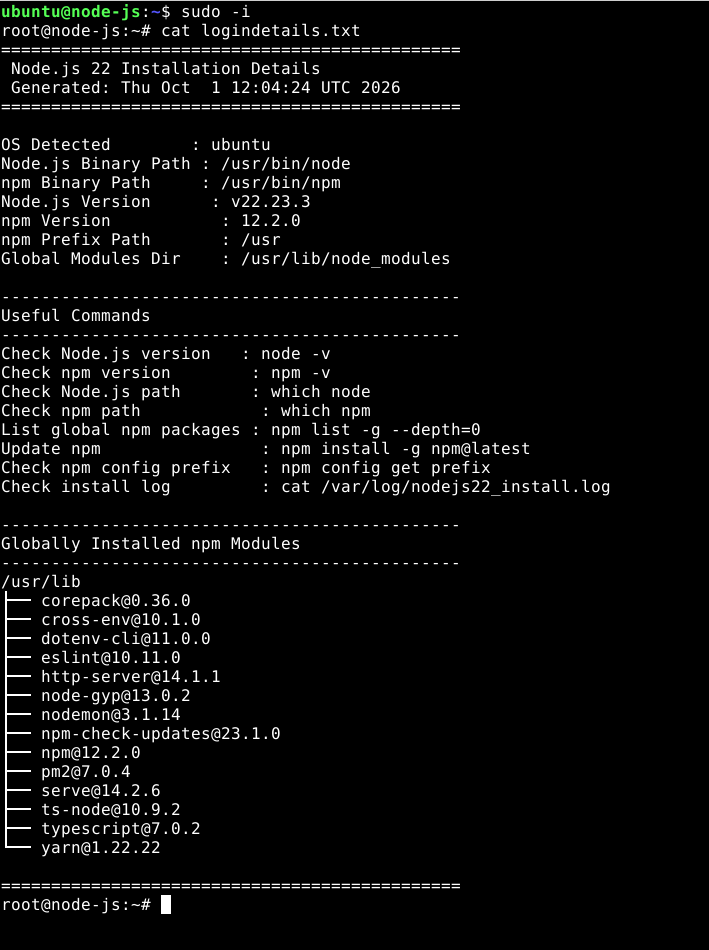
File path: /root/logindetails.txt
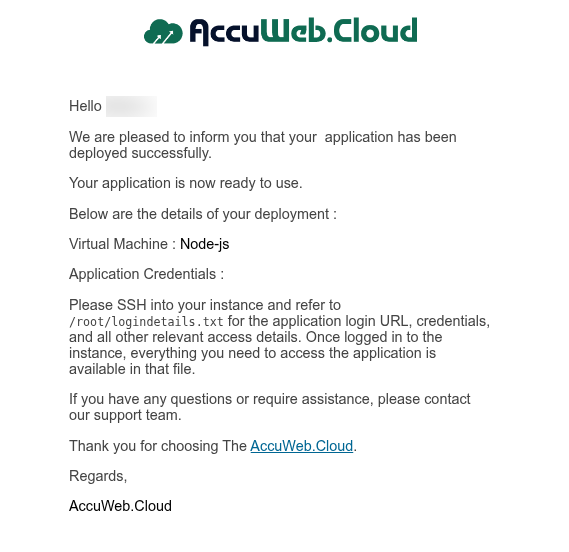
Step 13: Connect to your instance using the login credentials available on the instance overview page. After you connect, open that file and your Node.js access details are inside.
ssh user@IP
sudo -i
cat logindetails.txt
Conclusion
The one-click deployment handles the installation and basic setup, so you can start developing and running Node.js applications without going through the installation process manually.