
One-Click Java Hosting on AccuWeb.Cloud
Setting up Java manually can take time, especially when the required runtime components also need to be installed and configured. With Java Hosting on AccuWeb.Cloud, the one-click Java app installs and base-configures Java and the required runtime components for you. Simply click Deploy, and you can start running Java applications on your server shortly after the deployment is complete.
This one-click setup makes it easier to get a ready-to-use Java environment without going through a lengthy manual installation process.
Deploy Java in One-Click
Step 1: Go to the AccuWeb.Cloud login page, sign in, and the main dashboard will open.
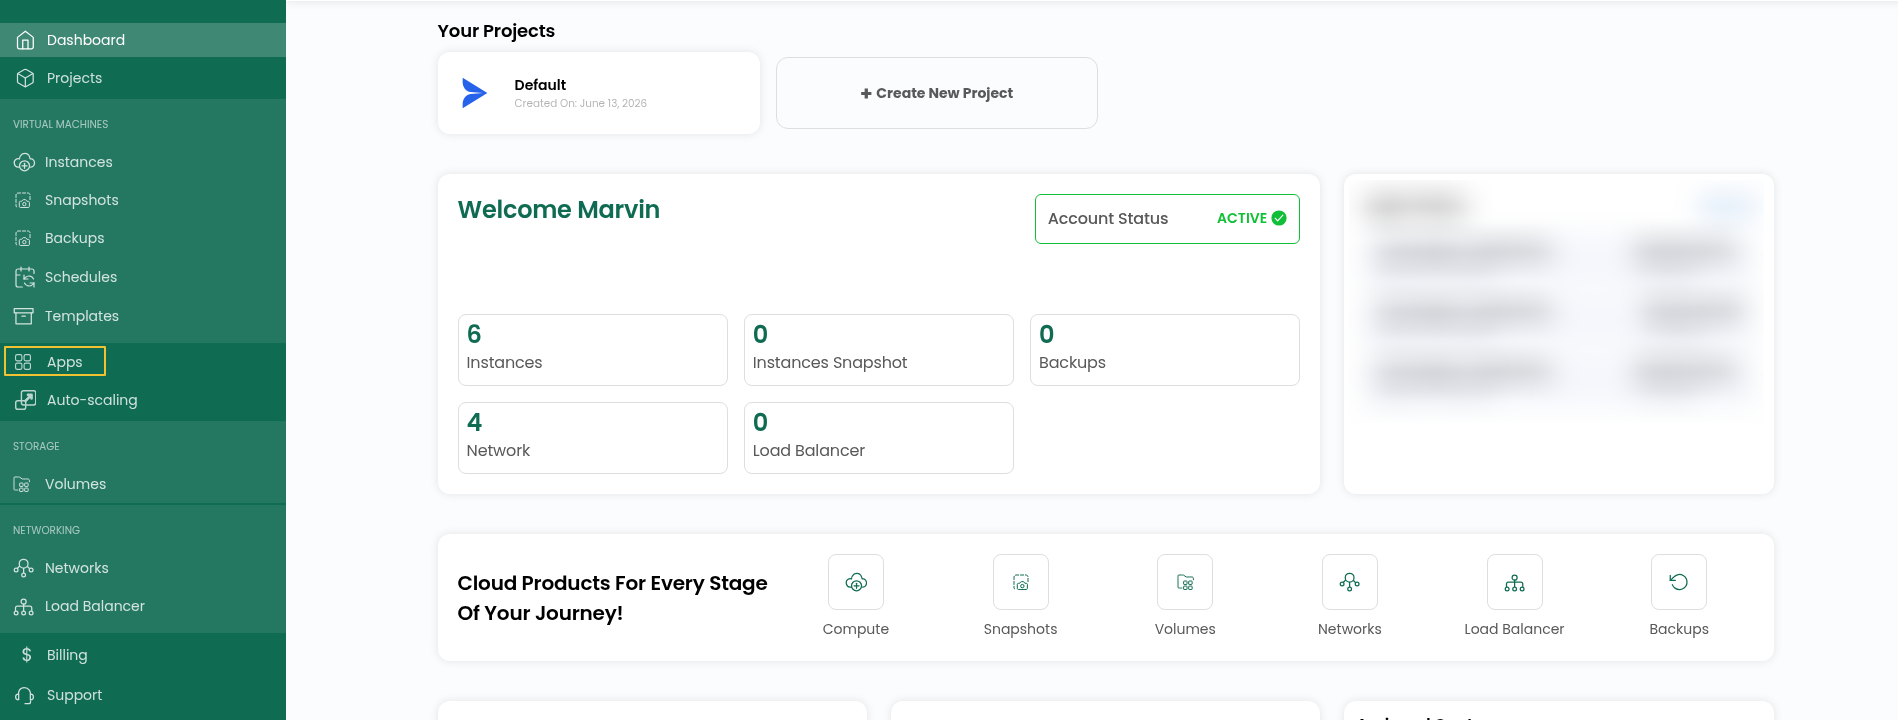
Step 2: From the main screen, head to Apps in the left-hand navigation to see what you can install.
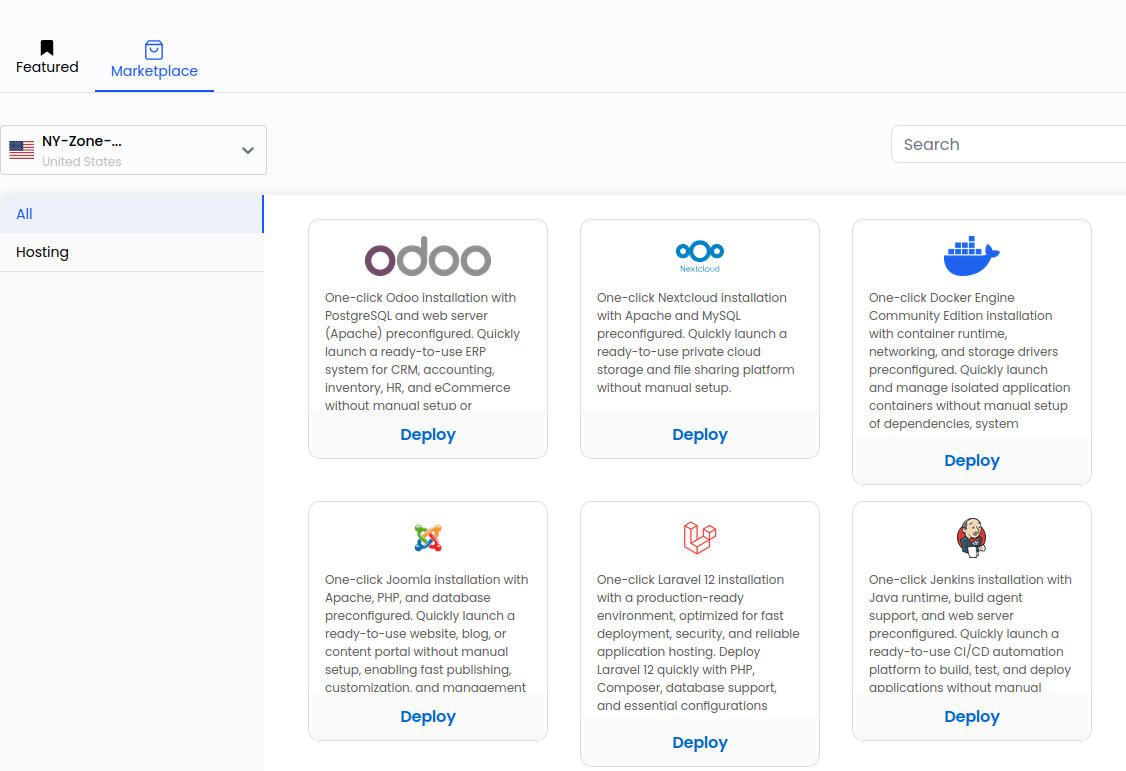
Step 3:Inside Apps, click Marketplace. You’ll see every app that can be deployed in one go.
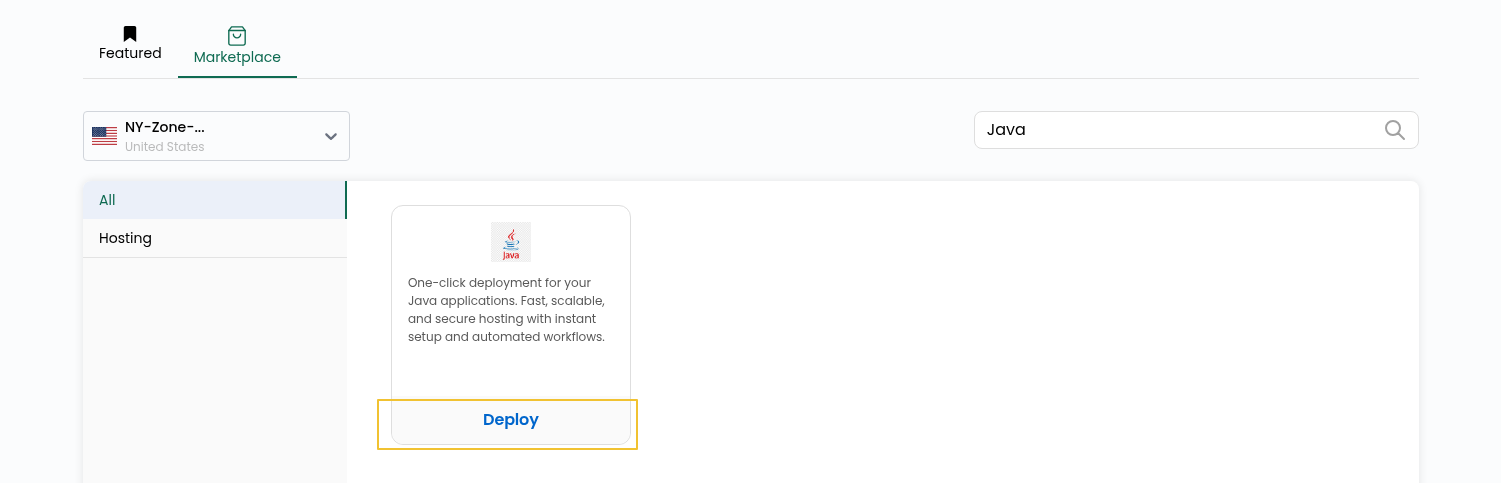
Step 4: Search for Java and click Deploy.
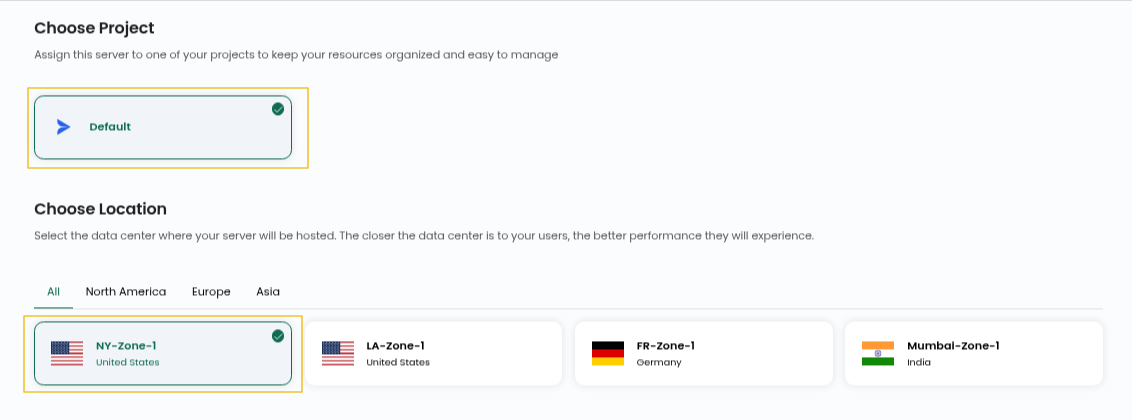
Step 5: Pick the project and location (zone) where you want your Java server to live.
Step 6: Select a compute plan. Go with more CPU and RAM if you expect heavy queries or many connections, or a smaller plan for testing.
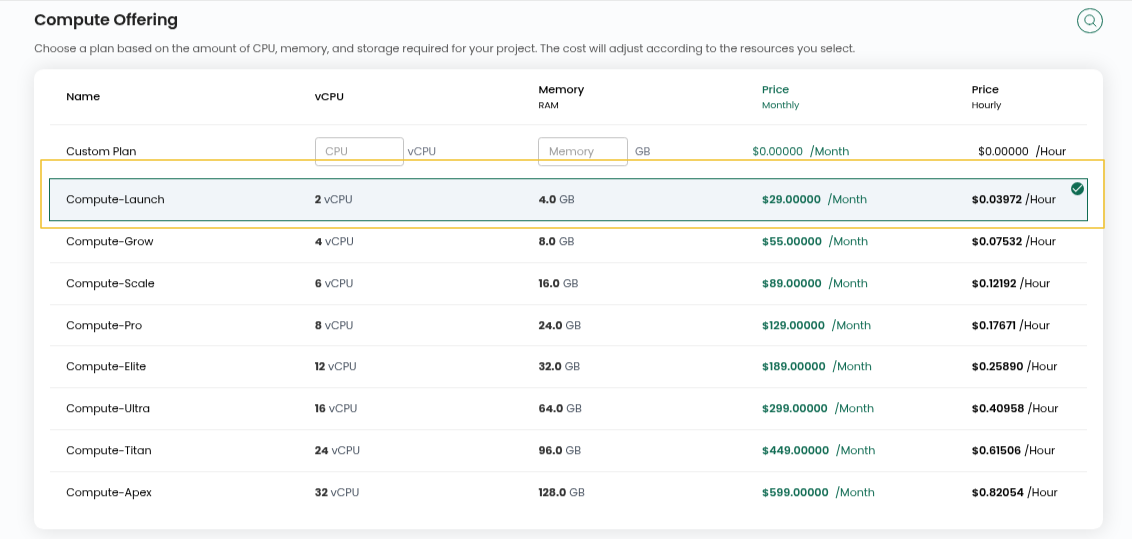
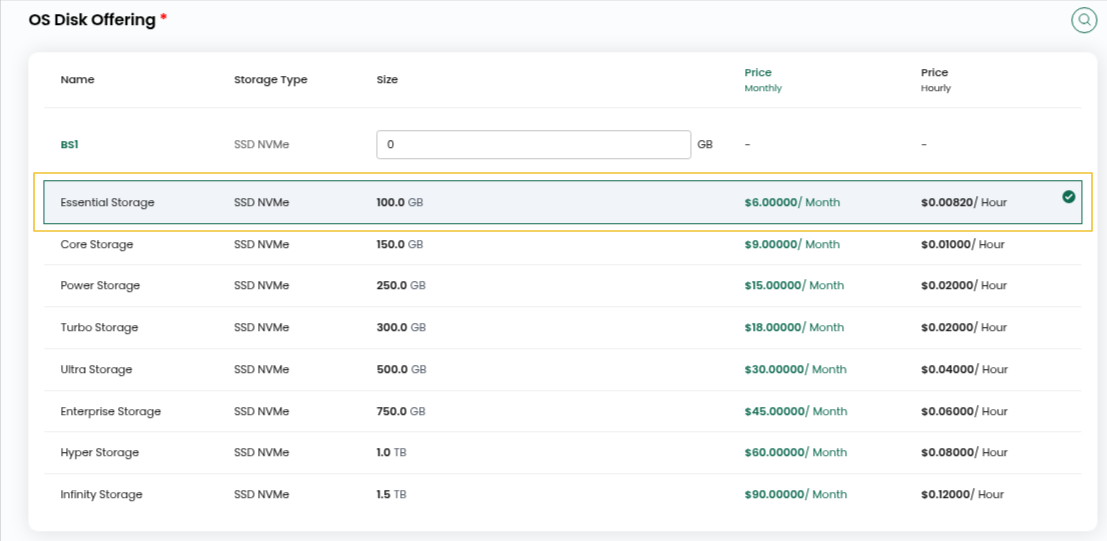
Step 7: Choose an OS Disk Offering for the root disk, then pick the Network the instance should connect to.
Step 8: Enter a Server Name and Hostname for your Java server.

Step 9:Under billing, select Hourly if you need the instance for a short time, or Monthly for long-term use. After that, click Review & Deploy.
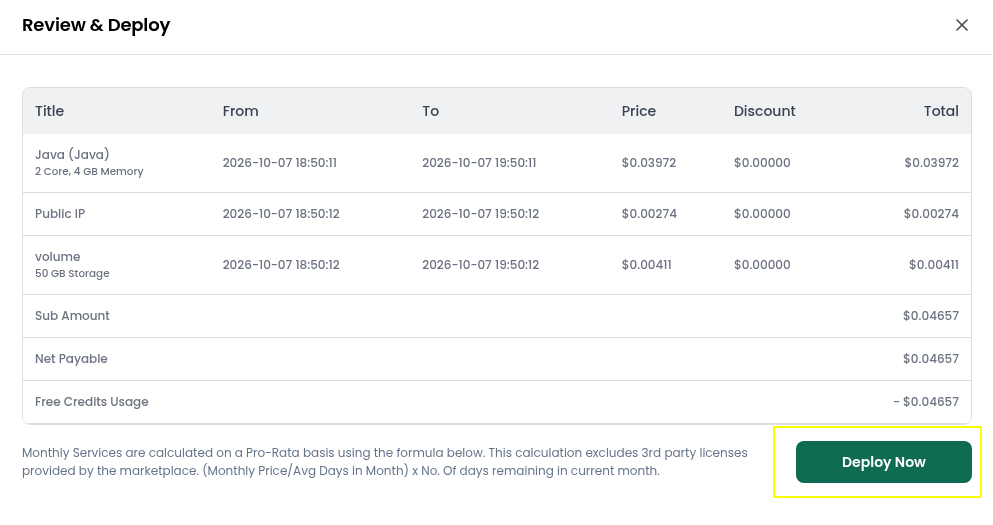
Step 10: Go over the configuration you’ve chosen to make sure everything is correct, then hit Deploy Now.
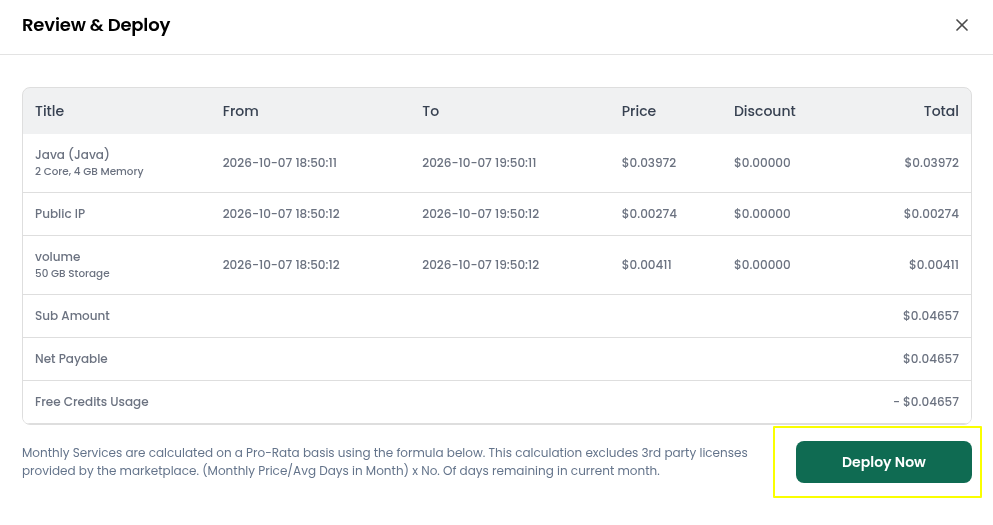
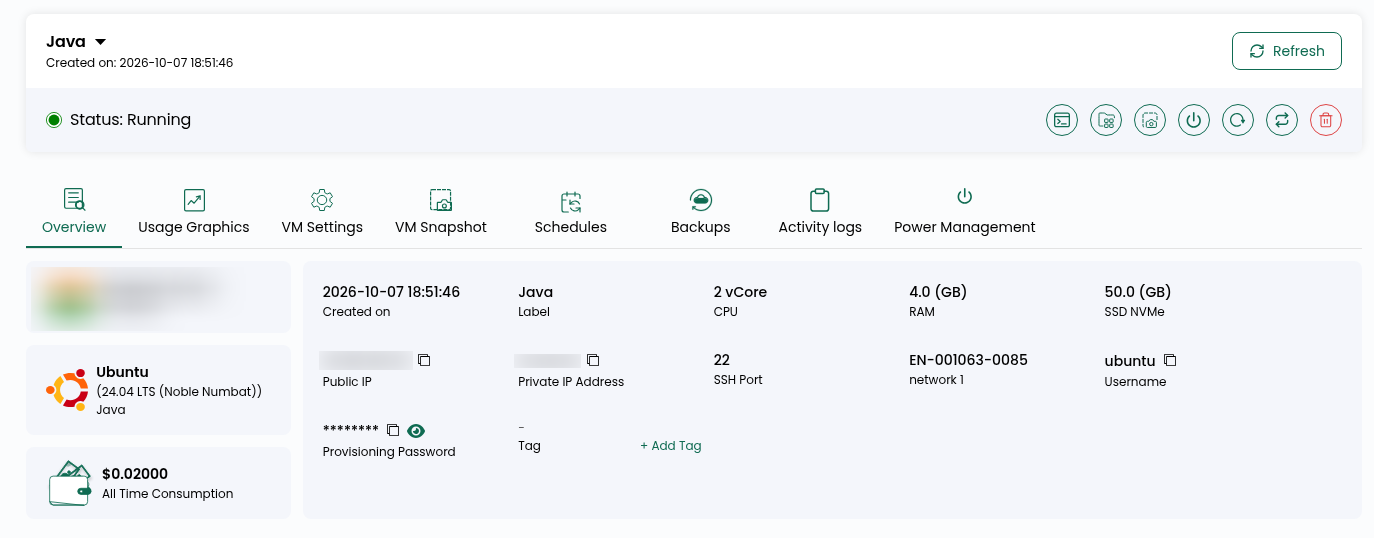
Step 11: Give it a few minutes. Wait until your instance shows “Running” in the list. That means Java is installed and ready.
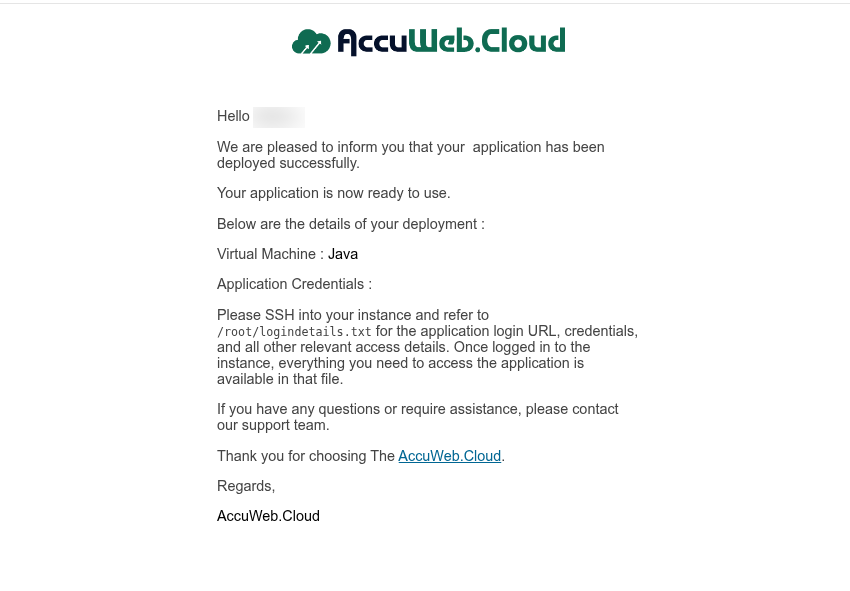
Step 12: Check your email; you have received login details. Keep it handy, since the same details are also stored on the server.
File path: /root/logindetails.txt
Step 13: To log in, you’ll just need your server IP, username, and password. All three are on the instance overview page in your dashboard.
ssh user@IP
sudo -i
cat logindetails.txt
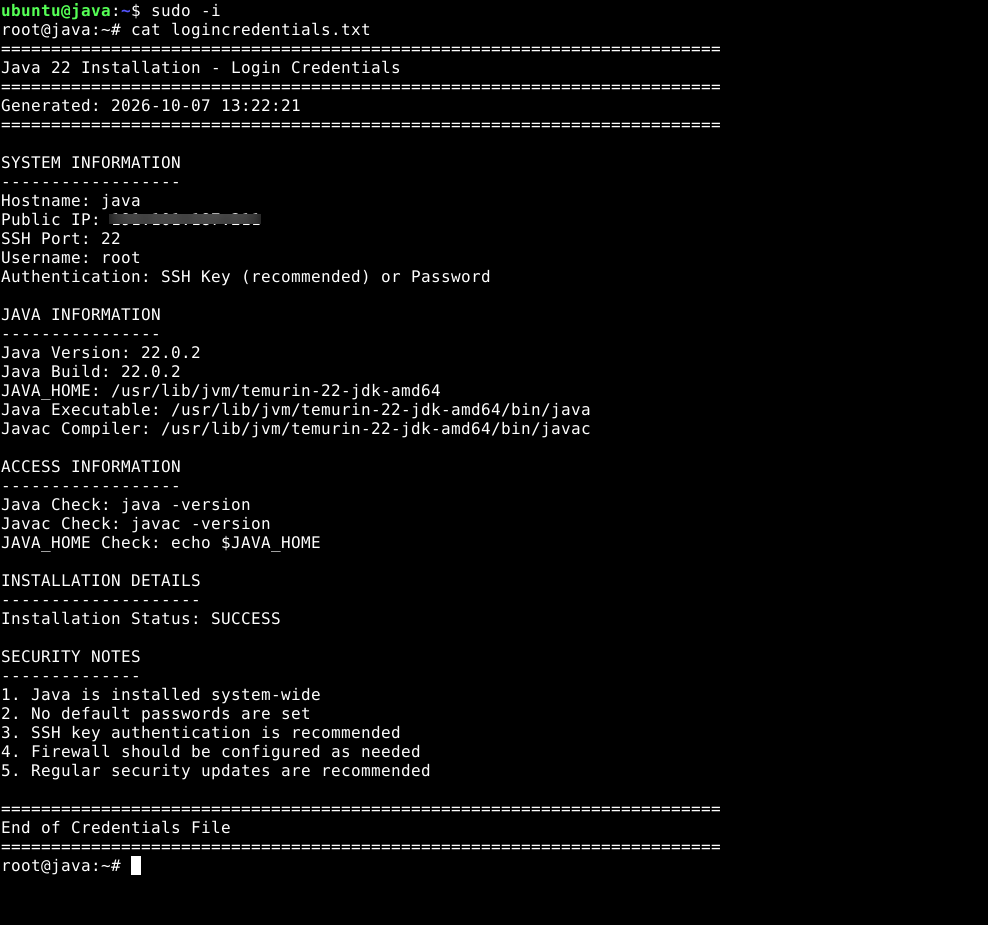
Step 14: Open the logindetails.txt file to see your Java access details.
Conclusion
That’s all it takes. Your Java Hosting environment is now running on your AccuWeb.Cloud instance, ready for you to deploy Java applications, run backend services, and work on your projects. With Java and the required runtime components already installed and base-configured, you can get started without the hassle of manual setup.