
Best Practices for Organising VM Projects on Accuweb.Cloud
Managing multiple virtual machines can get messy fast, especially when you’re juggling different clients, environments, or workloads on the same dashboard. Accuweb.Cloud makes this easier by letting you create dedicated projects to keep everything organised. Think of a project as a dedicated workspace: you can group related instances together, set resource quotas, manage users, and keep things clean and structured from day one.
Let’s walk through how to set one up.
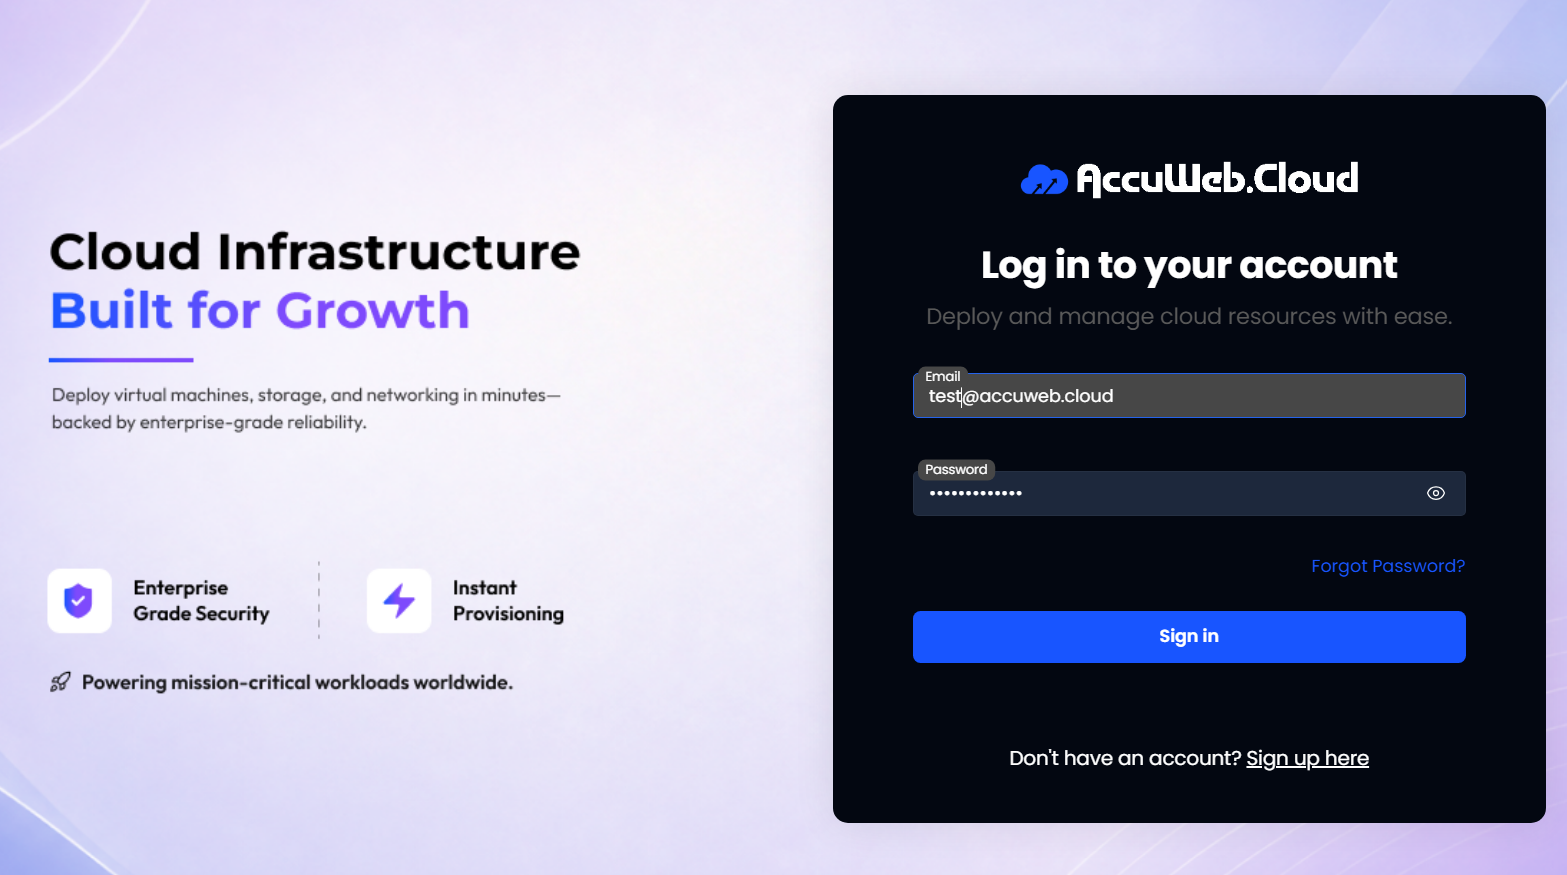
Step 1: Log In to Your Accuweb.Cloud Dashboard
Head over to manage.accuweb.cloud and sign in with your credentials. Once you’re in, you’ll land on your main cloud dashboard where all your resources live.
Step 2: Create a New Project
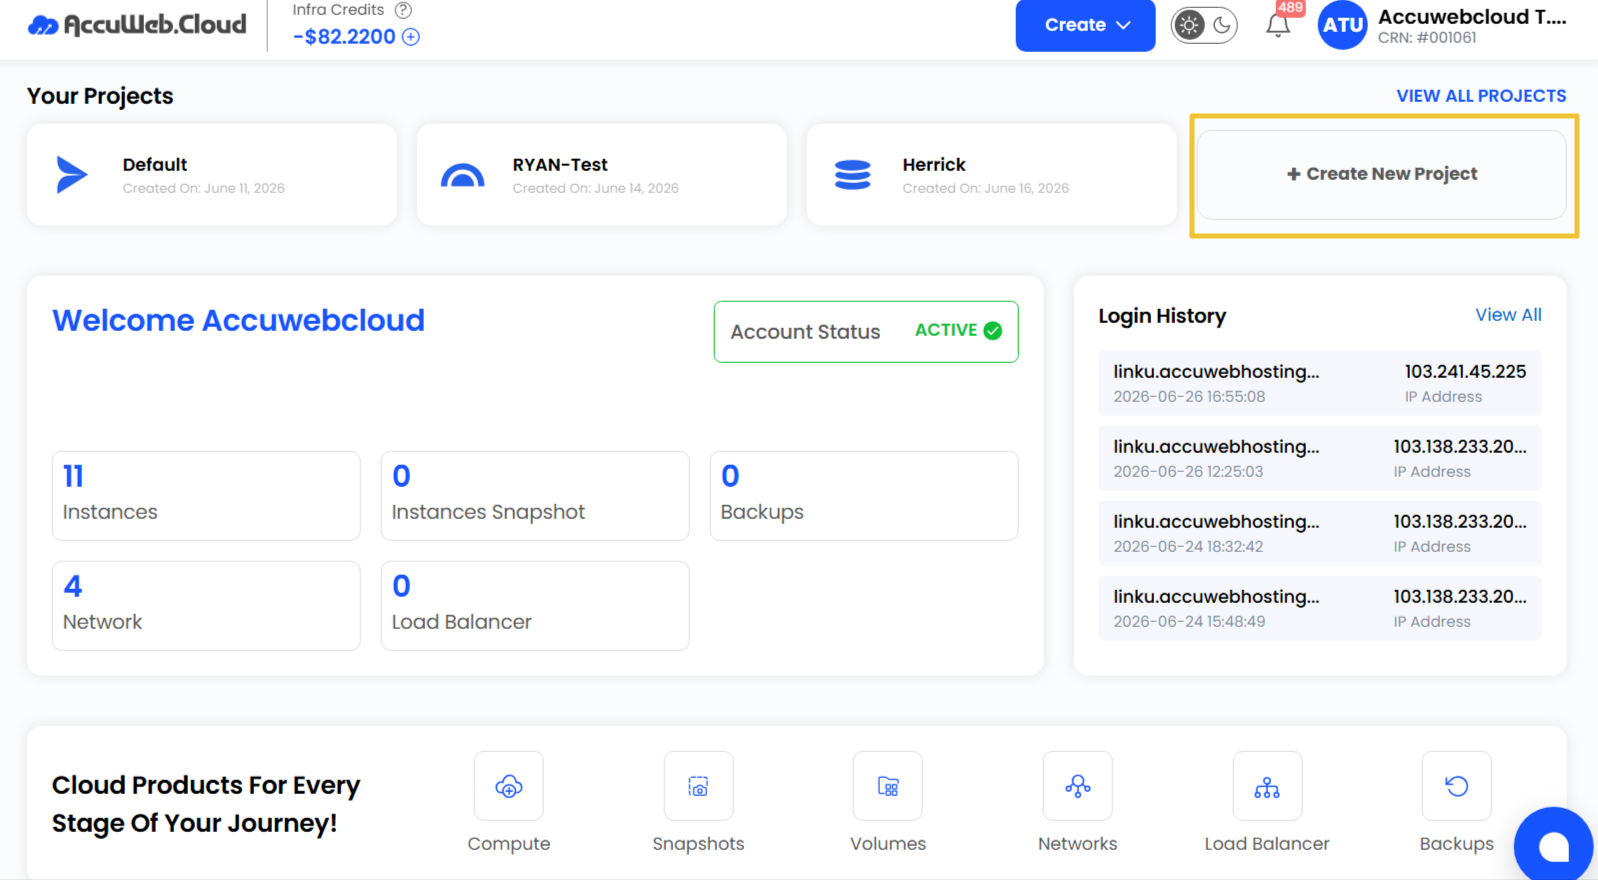
From your dashboard, look for the “Create New Project” button and click it. This is your starting point for setting up a dedicated workspace for your VMs.
Step 3: Fill In Your Project Details
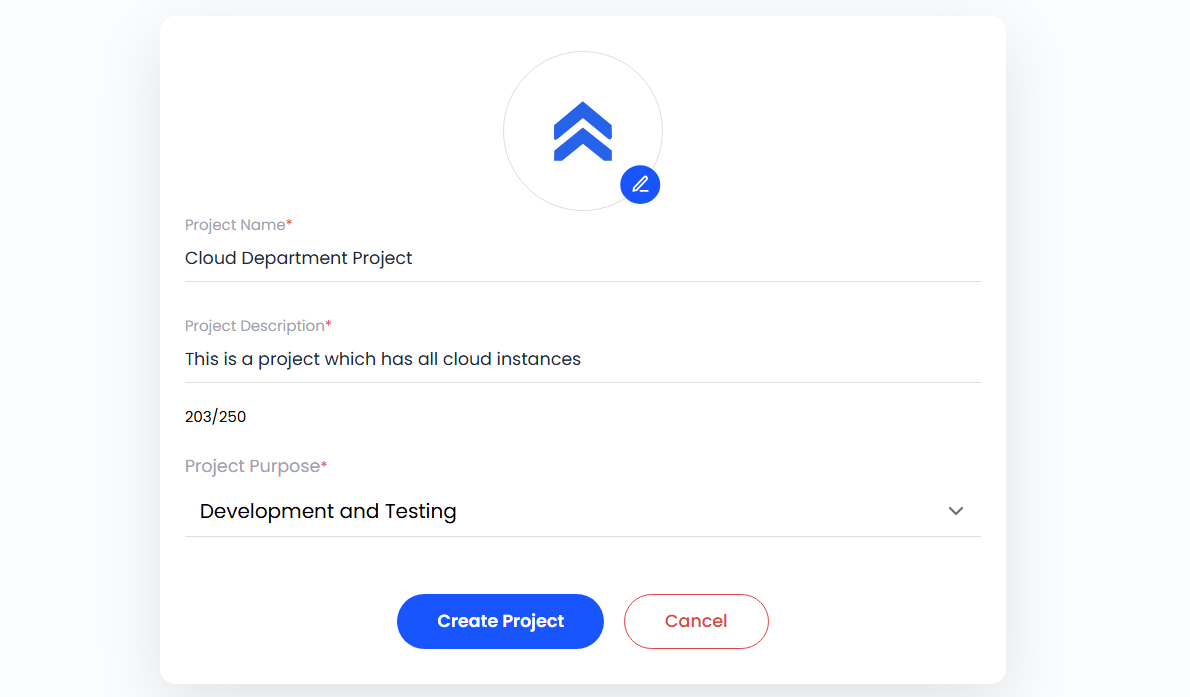
On the project creation page, you’ll need to provide a few details:
- Project Name — give it something clear and recognisable
- Project Description — a short note about what this project is for
- Project Logo — add a logo to make it visually distinct at a glance
- Project Purpose — select the category that best describes your use case
Once everything looks good, hit “Apply” to create the project.
Step 4: Review Your Project Overview
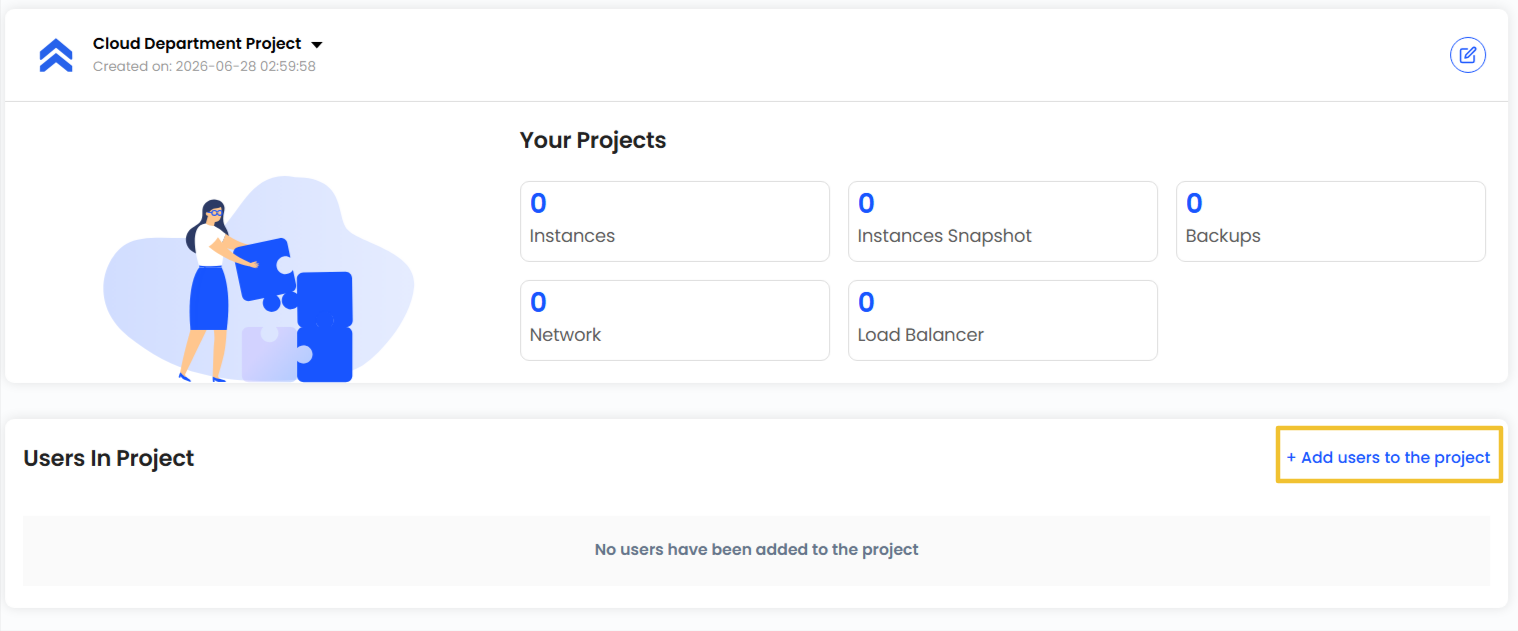
After creation, you’ll land on your project’s overview screen. Here you can see a summary of everything allocated to this project, the number of instances, instance snapshots, backups, and more. You’ll also see the user section, which shows who has access. If no users have been added yet, you can create and invite them directly from here.
Step 5: Configure Resource Quotas
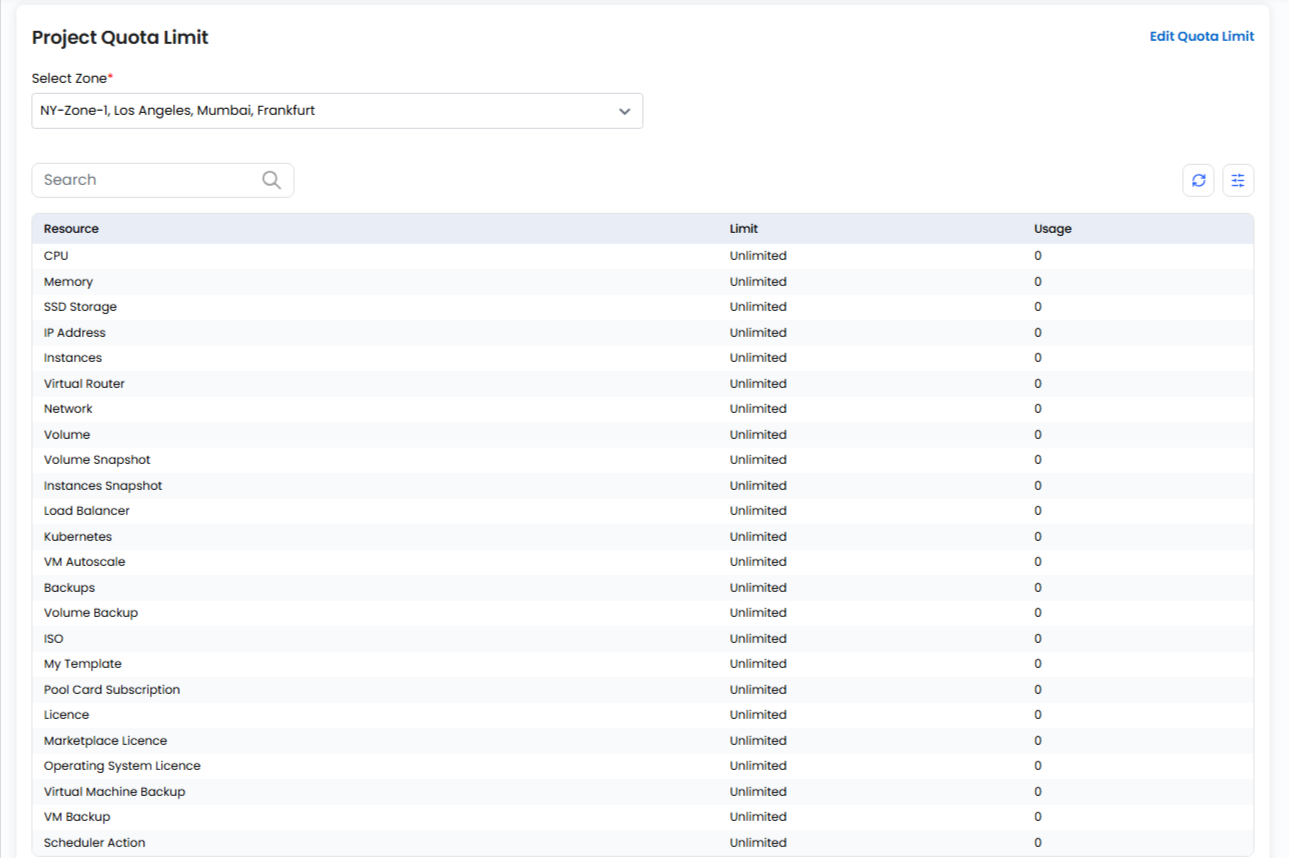
One of the more powerful features of project management is the ability to set resource quotas, controlling exactly how much CPU, memory, disk space, and other resources are available within the project. This is especially useful when you want to prevent any single project from consuming more than its fair share of your infrastructure.
You can see all available quota settings in the dashboard, and if you ever need to adjust them, just click “Edit Quota Limit” to make changes on the fly.
Step 6: Launch an Instance Inside the Project
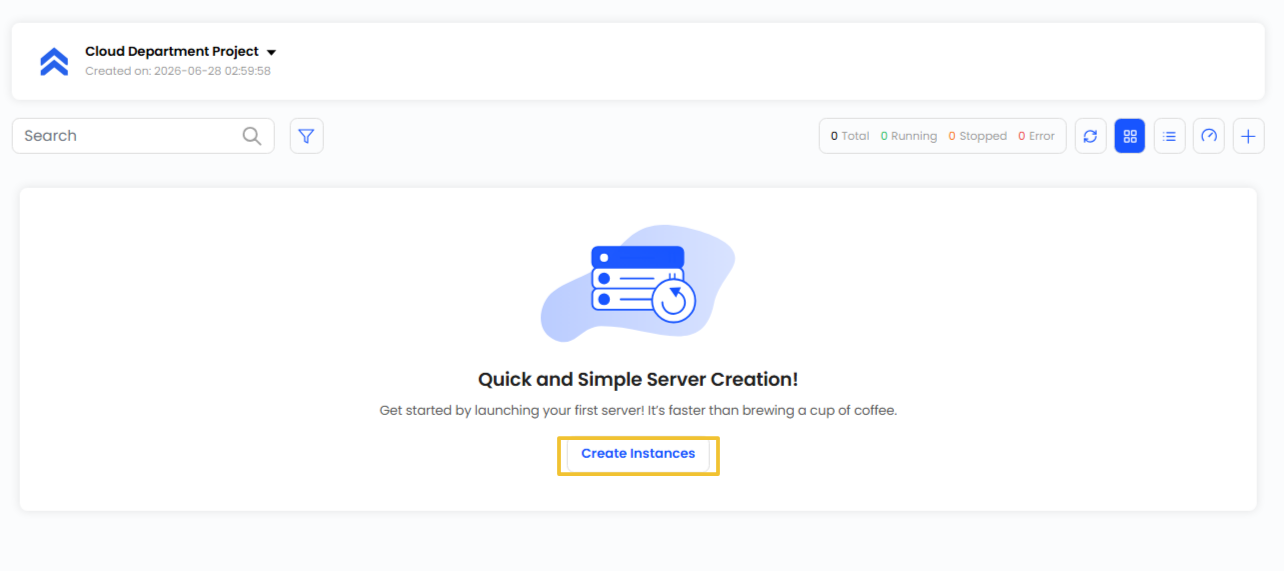
Now that your project is set up, it’s time to add some VMs. Click “Create Instance” from within the project, and from there the process is exactly the same as creating any other instance on Accuweb.Cloud, the difference is that this instance will be neatly organised under your project from the start.
Wrapping Up
Projects might seem like a small organisational detail, but they make a big difference once your environment starts to grow. Whether you’re managing separate client environments, isolating dev from production, or simply keeping different workloads tidy, projects give you the structure to do it cleanly, with user access control and resource quotas built right in.
Start with a clear naming convention, set sensible quota limits early, and you’ll save yourself a lot of headaches down the road.
Still don’t have an account?