How to Create an AccuWeb.Cloud Account?
Creating an AccuWeb.Cloud account gives you access to cloud infrastructure services, resource management tools, and billing controls through a centralized dashboard. During the signup process, you will create your account, verify your email address, configure billing information, and select a payment model that fits your requirements.
This guide explains the complete account registration process.
Register a New Account
Step 1: Visit the AccuWeb.Cloud registration page and Click Sign Up or Create Account.
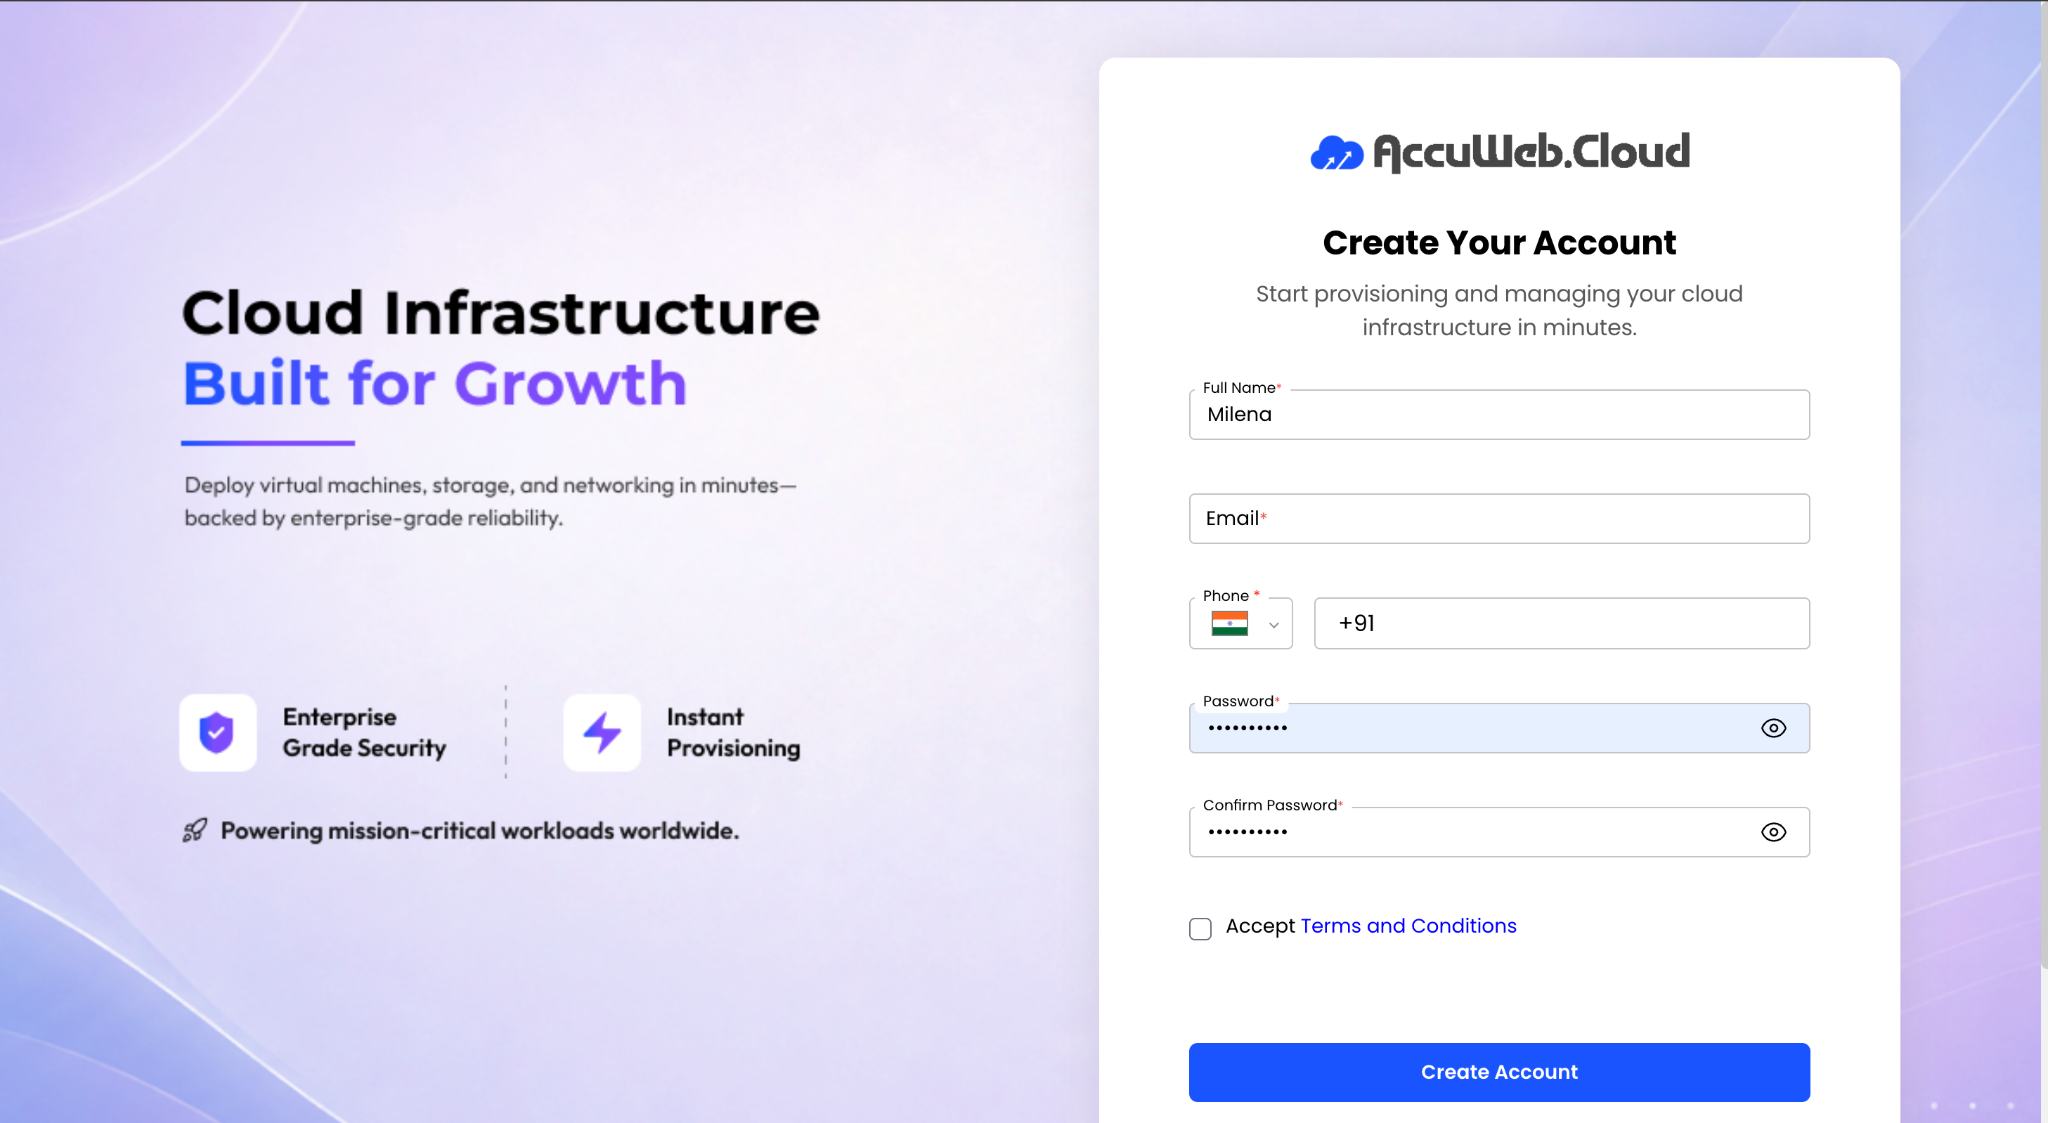
Step 2: Enter the required information:
- Full Name
- Email Address
- Password
Step 3: Click Register to create your account and proceed to the verification stage.
Verify Your Email Address
To secure your account, email verification is required before you can continue with account setup.
- Check your registered email inbox for the verification message.
- Locate the One-Time Password (OTP) included in the email.
- Enter the OTP in the verification field.
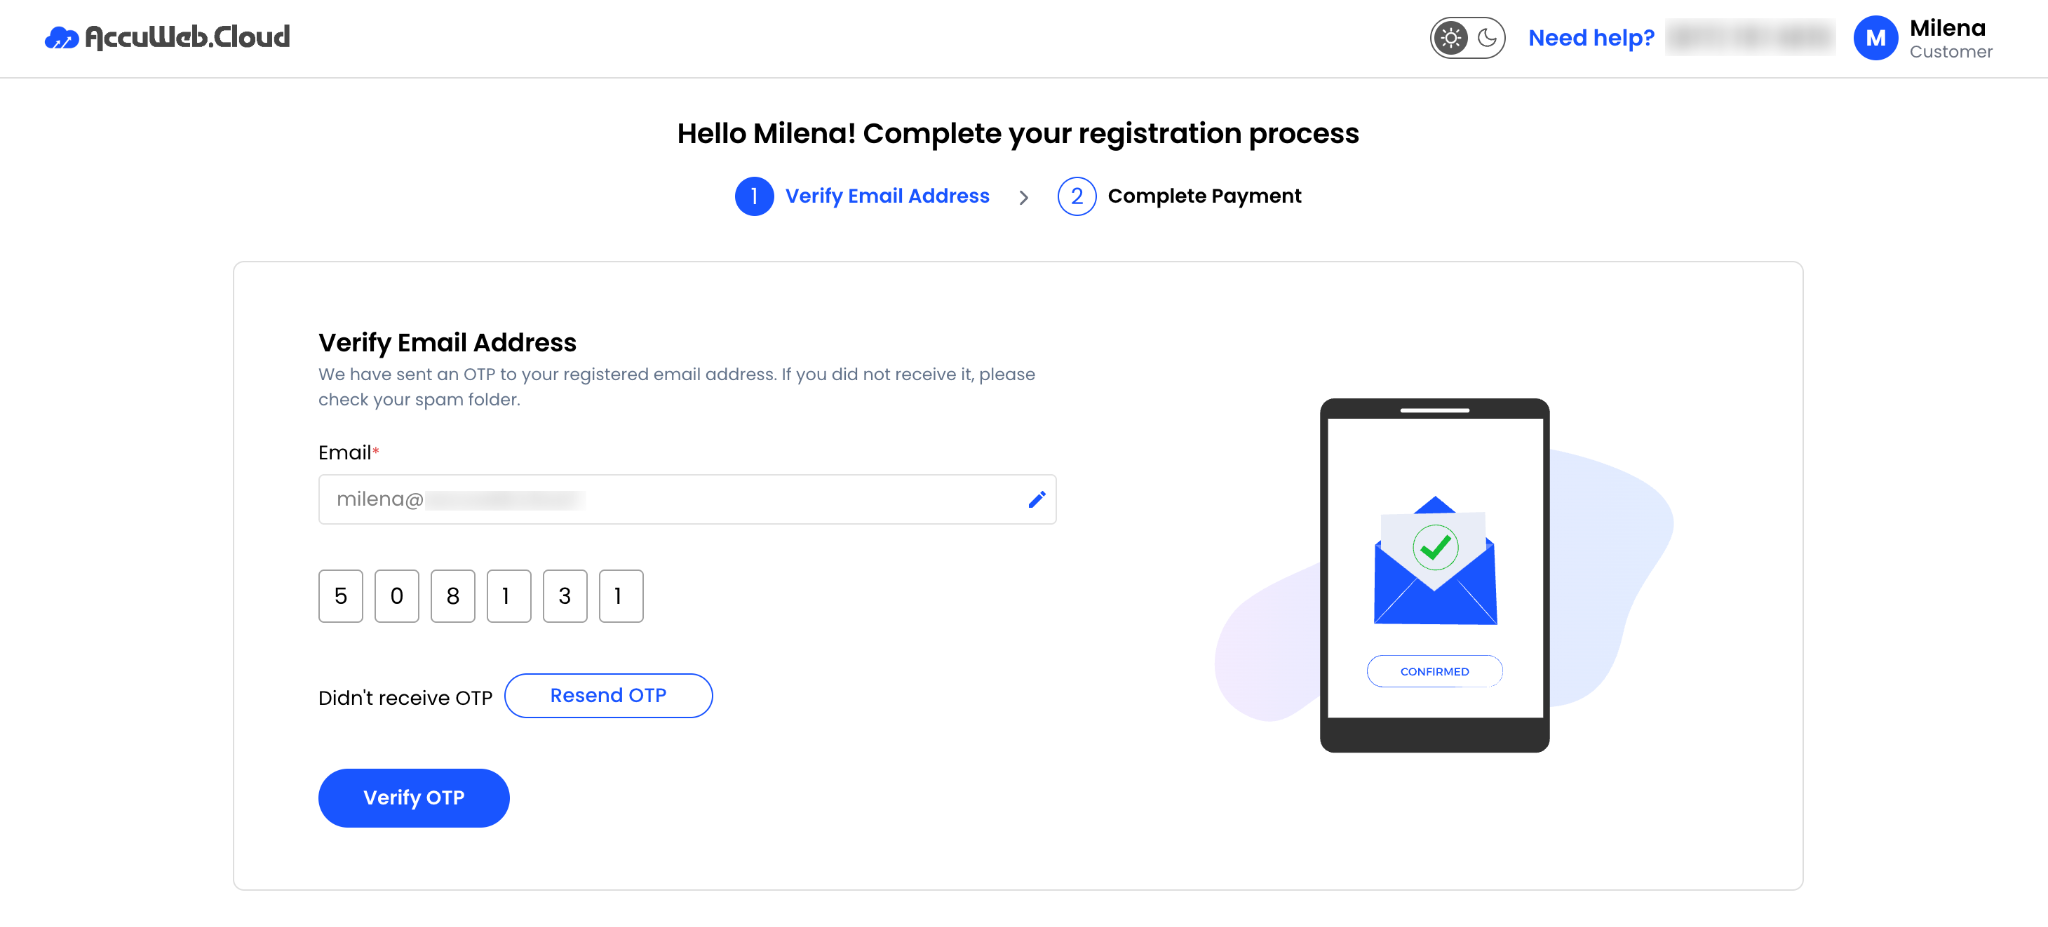
- Click Verify to confirm your email address.
- Once verified, you will be redirected to the billing setup page.
Configure Billing Information
After email verification, you must provide billing details for your account.
Step 1: Select the appropriate account type:
Individual
Choose this option for personal use and provide the required contact and address information.
Company
Choose this option for business use and provide details such as:
- Company Name
- Company Website
- Billing Address
- Contact Information
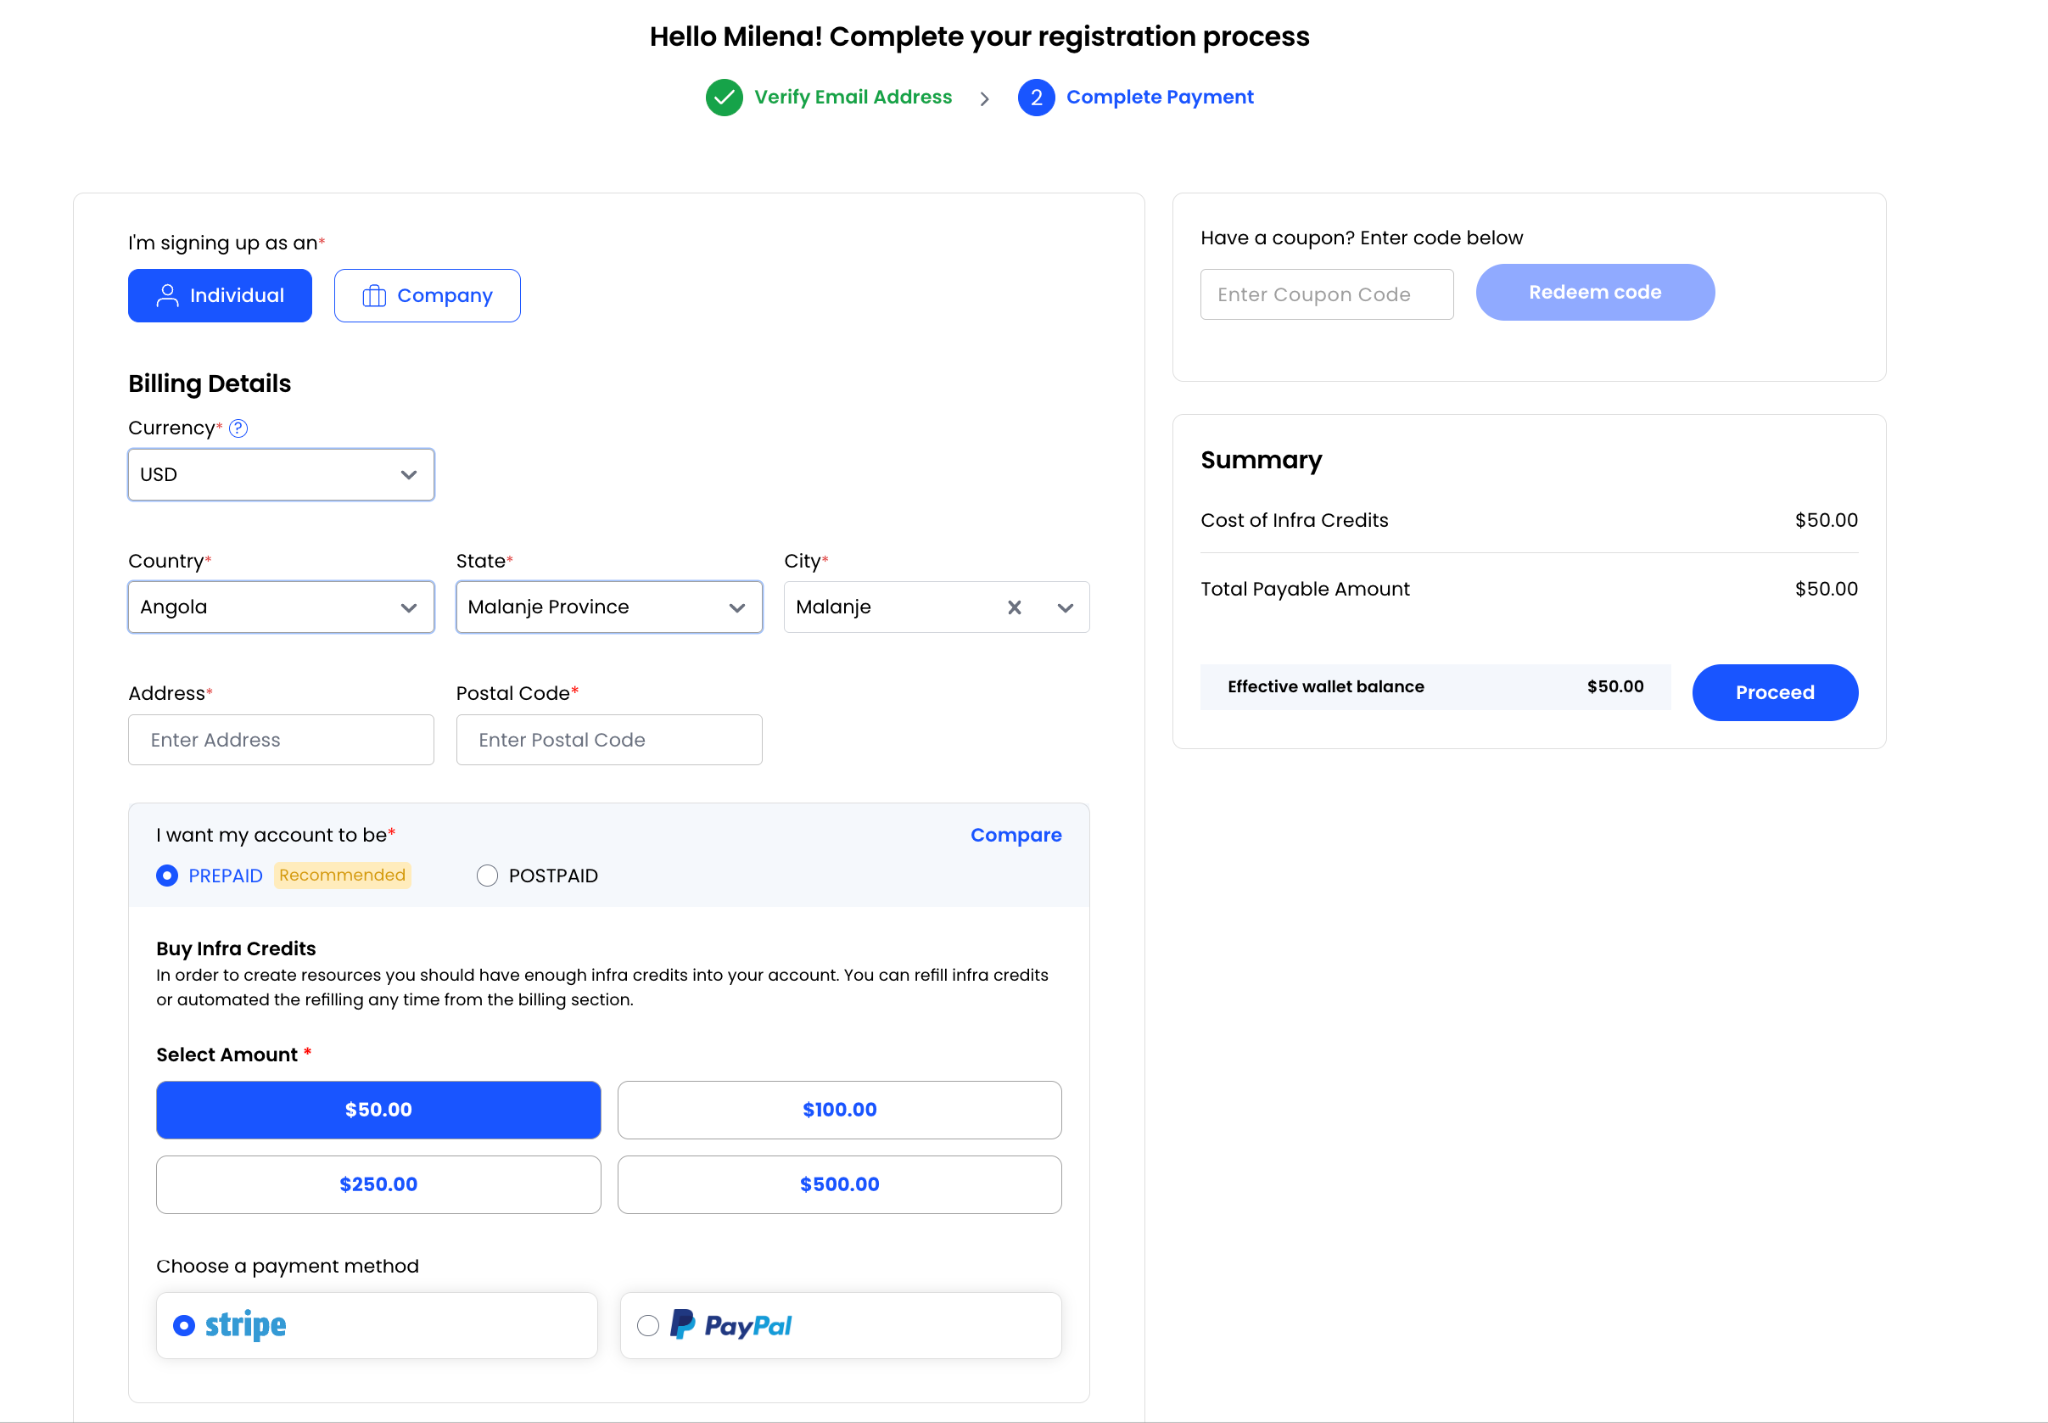
Apply a Coupon Code (Optional)
If you have a promotional or discount coupon:
Step 1: Enter the coupon code during checkout.
Step 2: Click Apply Coupon.

Any applicable discount or promotional credit will be reflected in the order summary.
Choose a Billing Model
AccuWeb.Cloud supports both prepaid and postpaid billing options.
Prepaid Billing
Prepaid accounts require account credits before cloud resources can be deployed.
Benefits of Prepaid Billing
- Better spending control
- No unexpected charges
- Pay only for the credits you purchase
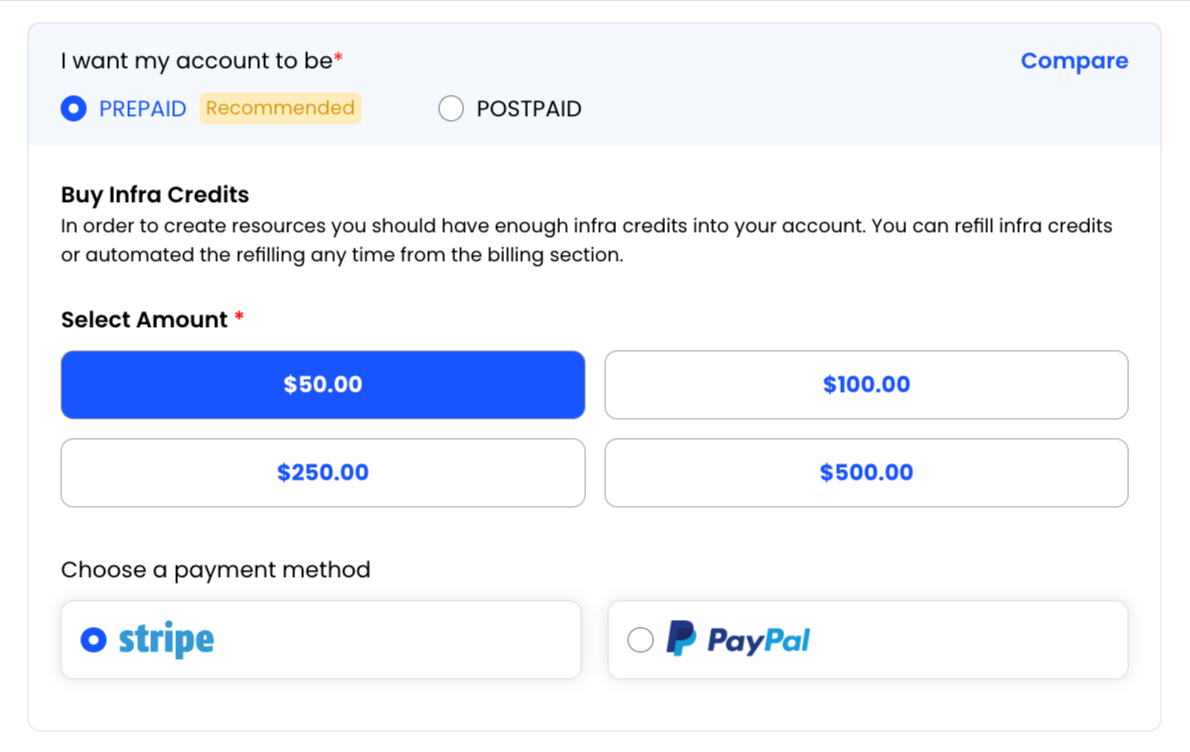
To add credits:
- Select the desired credit amount.
- Choose a payment method.
- Complete the payment transaction.
Supported payment gateways may include:
- Stripe
- PayPal
Once payment is successful, the credits will be added to your account balance.
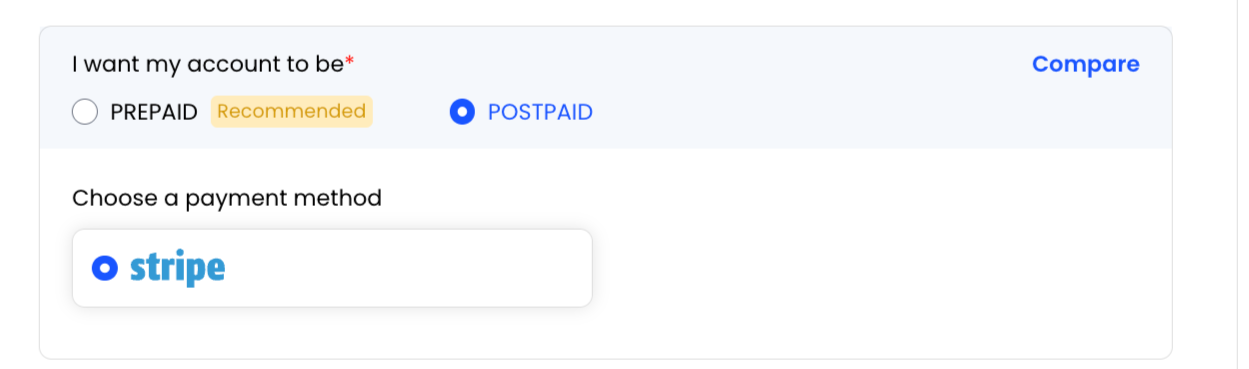
Postpaid Billing
Postpaid accounts allow resource usage first and billing afterward based on consumption.
Additional account verification may be required before postpaid access is approved.
To configure Postpaid Billing:
- Select Postpaid as the billing type.
- Add the required billing information.
- Choose a payment method.
- Save the payment method to complete setup.
Supported payment methods may include:
- Stripe
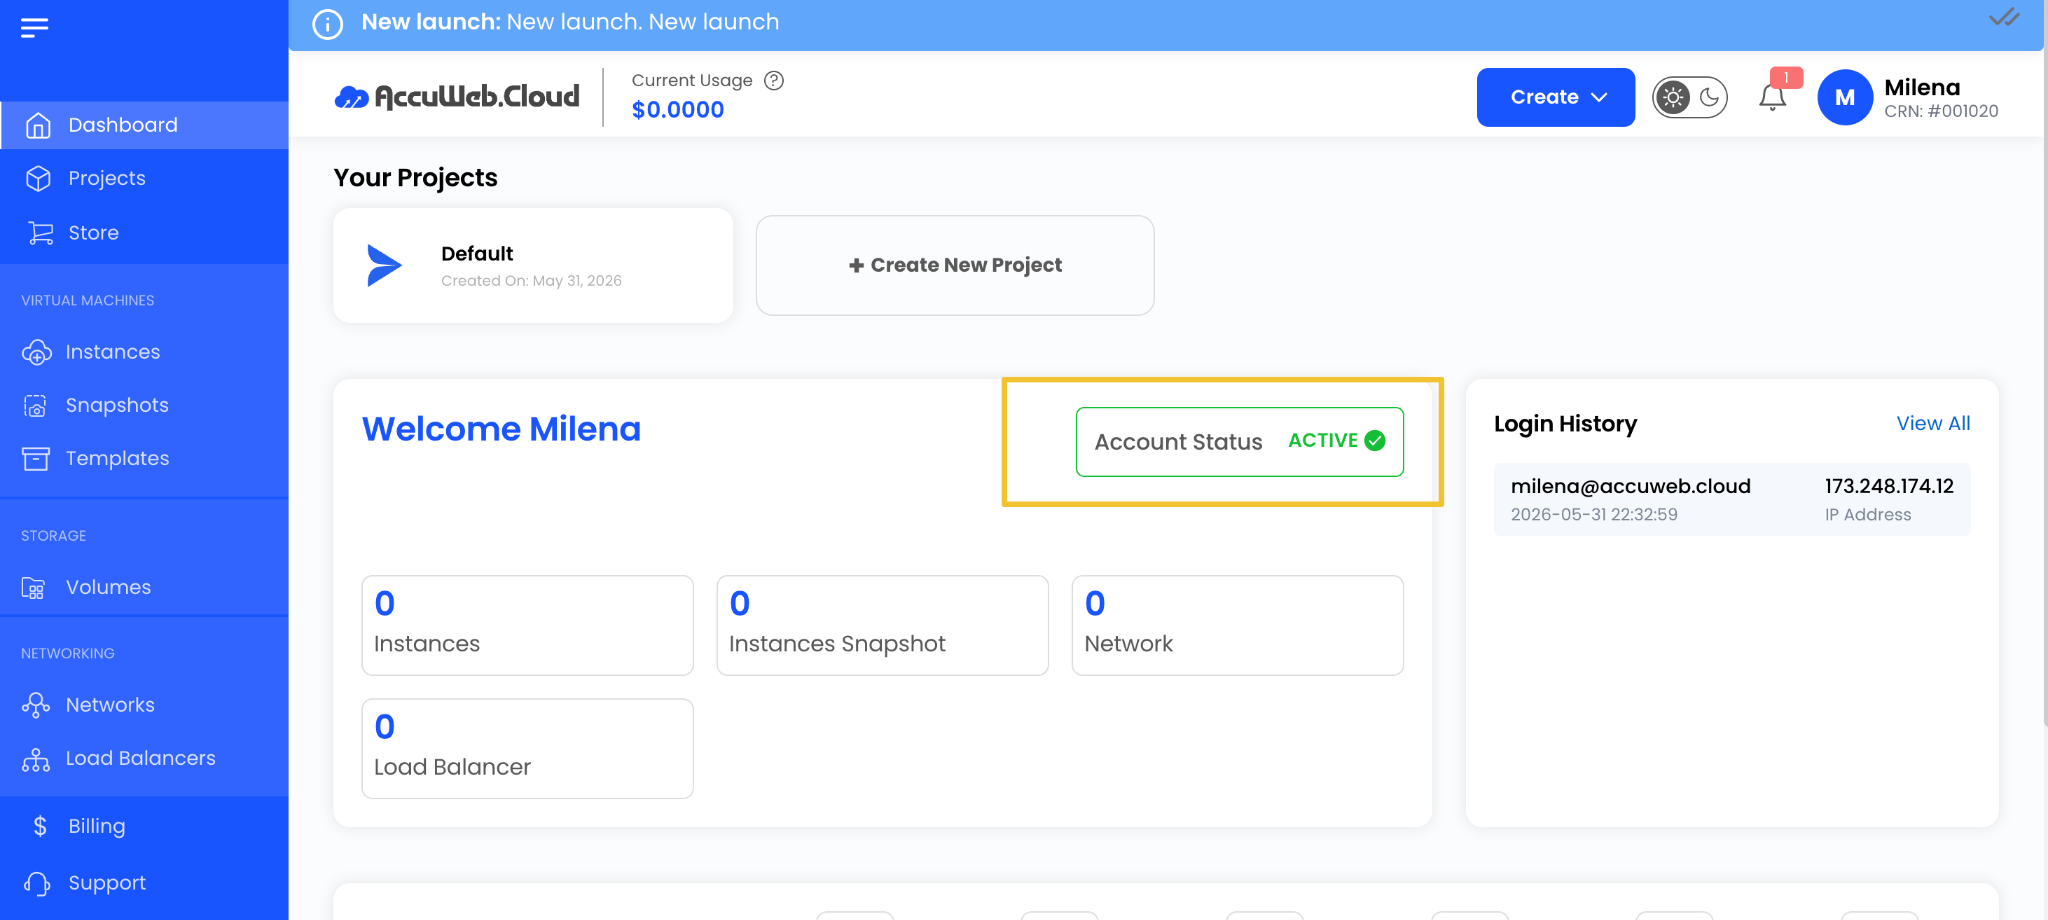
Account Status After Registration
Your account status will display as active.
Summary
Setting up an AccuWeb.Cloud account is a simple process that includes registration, email verification, billing configuration, and payment setup. Once your account is activated, you can begin deploying and managing cloud resources through the AccuWeb.Cloud dashboard while choosing the billing model that best aligns with your operational requirements.