Manage Your User Profile in AccuWeb.Cloud
The Profile section in AccuWeb.Cloud allows users to manage account information, update security settings, customize preferences, manage users and roles, monitor account activity, and review login history. Keeping your profile updated helps ensure accurate account information, improved security, and efficient administration.
This article explains the various profile management options available within the AccuWeb.Cloud dashboard.
Access the Profile Section
Step 1: Log in to AccuWeb.Cloud Panel.
Step 2: Click on Profile from the left-side navigation menu.
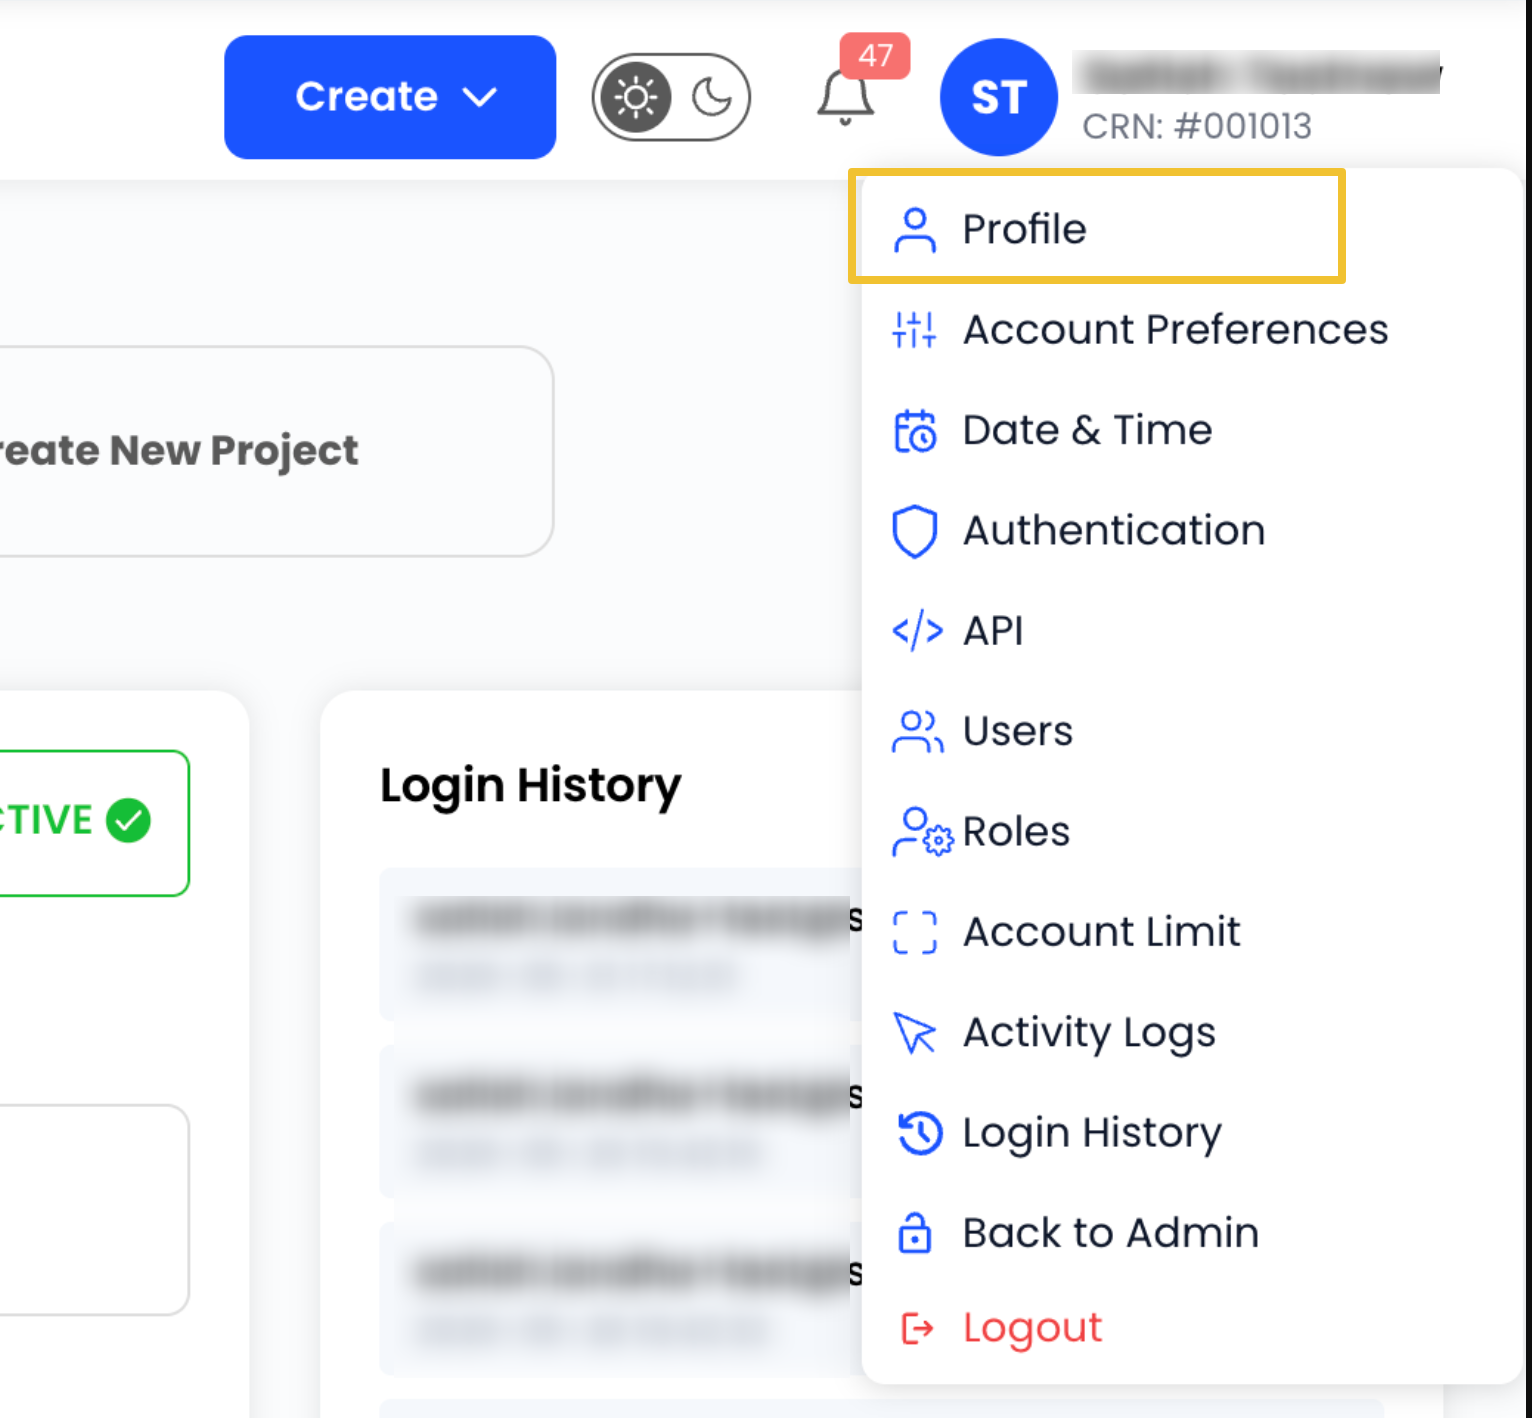
From here, you can manage your personal information, security settings, account preferences, users, roles, and activity logs.
Update Personal Information
Keep your profile information up to date to ensure accurate account records.
Step 1: Navigate to Profile.

Step 2: Select Personal Details.
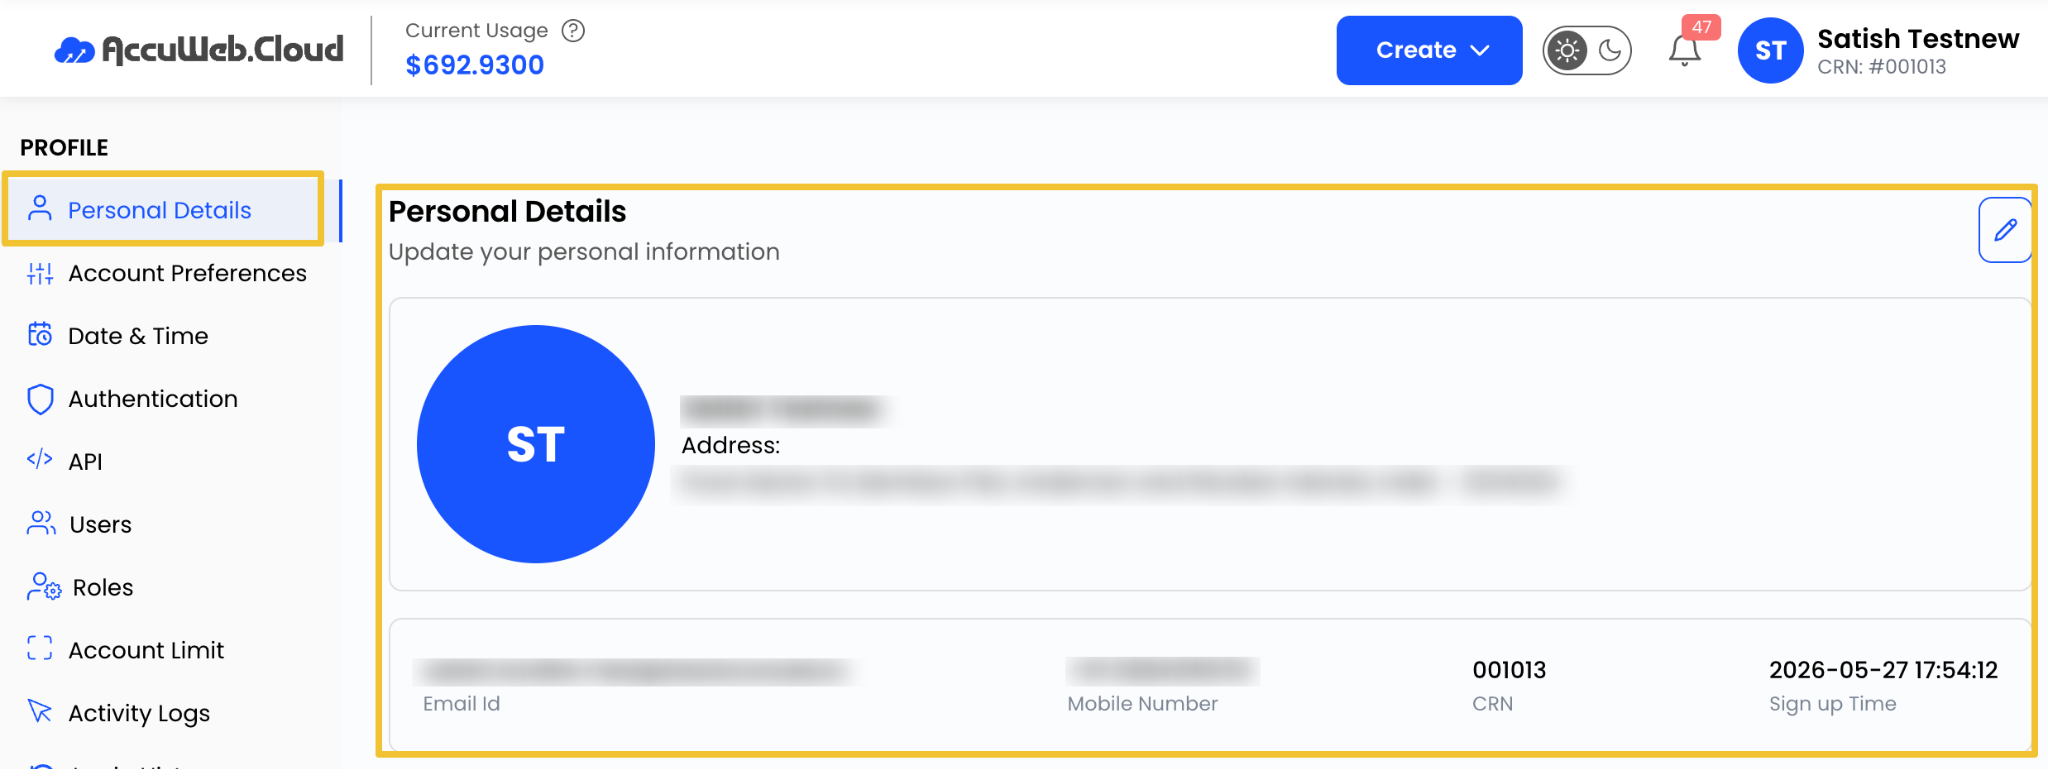
Step 3: Update the required information, such as:
- Name
- Contact Number
- Address
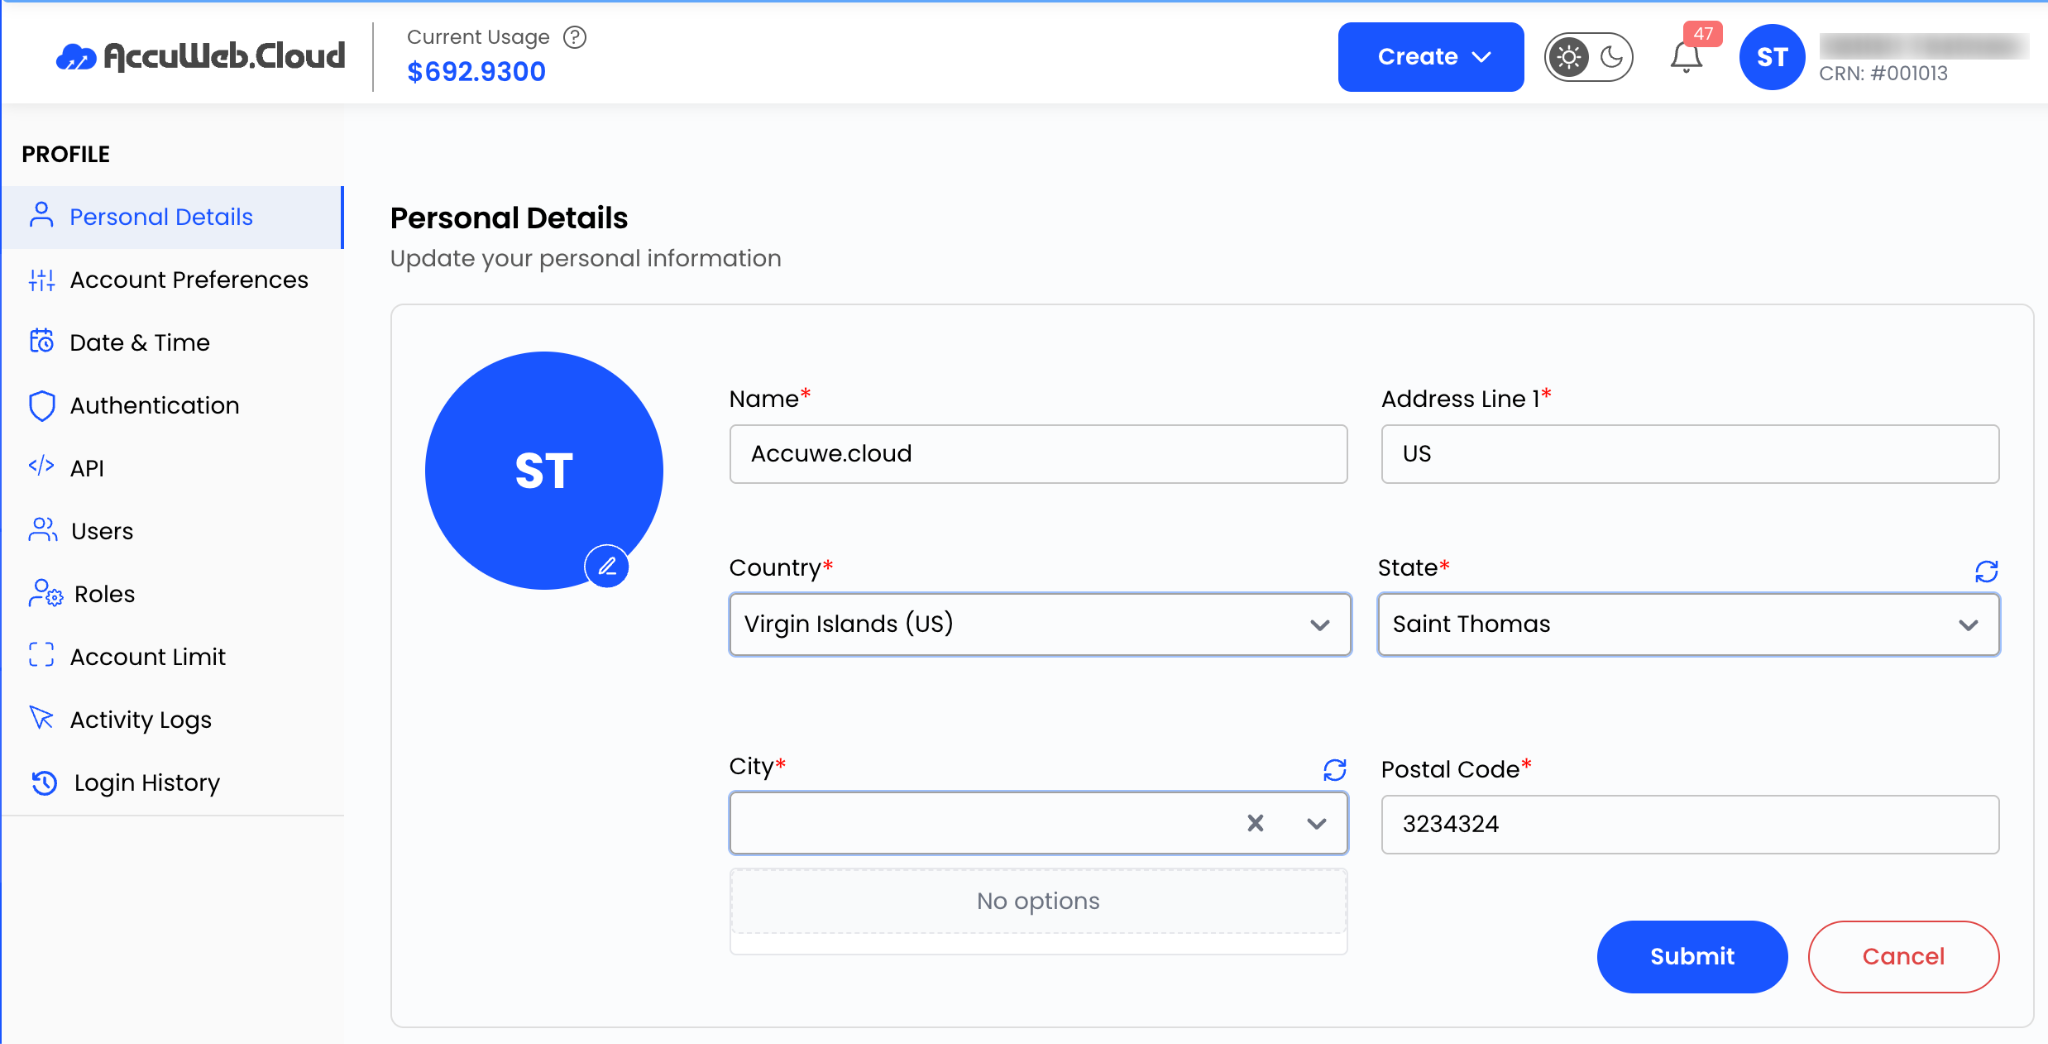
Step 4: Click Submit to save the changes.
Manage Billing Information
Billing information is used for invoices and account-related communications.
Step 1: Navigate to Profile > Personal Details.

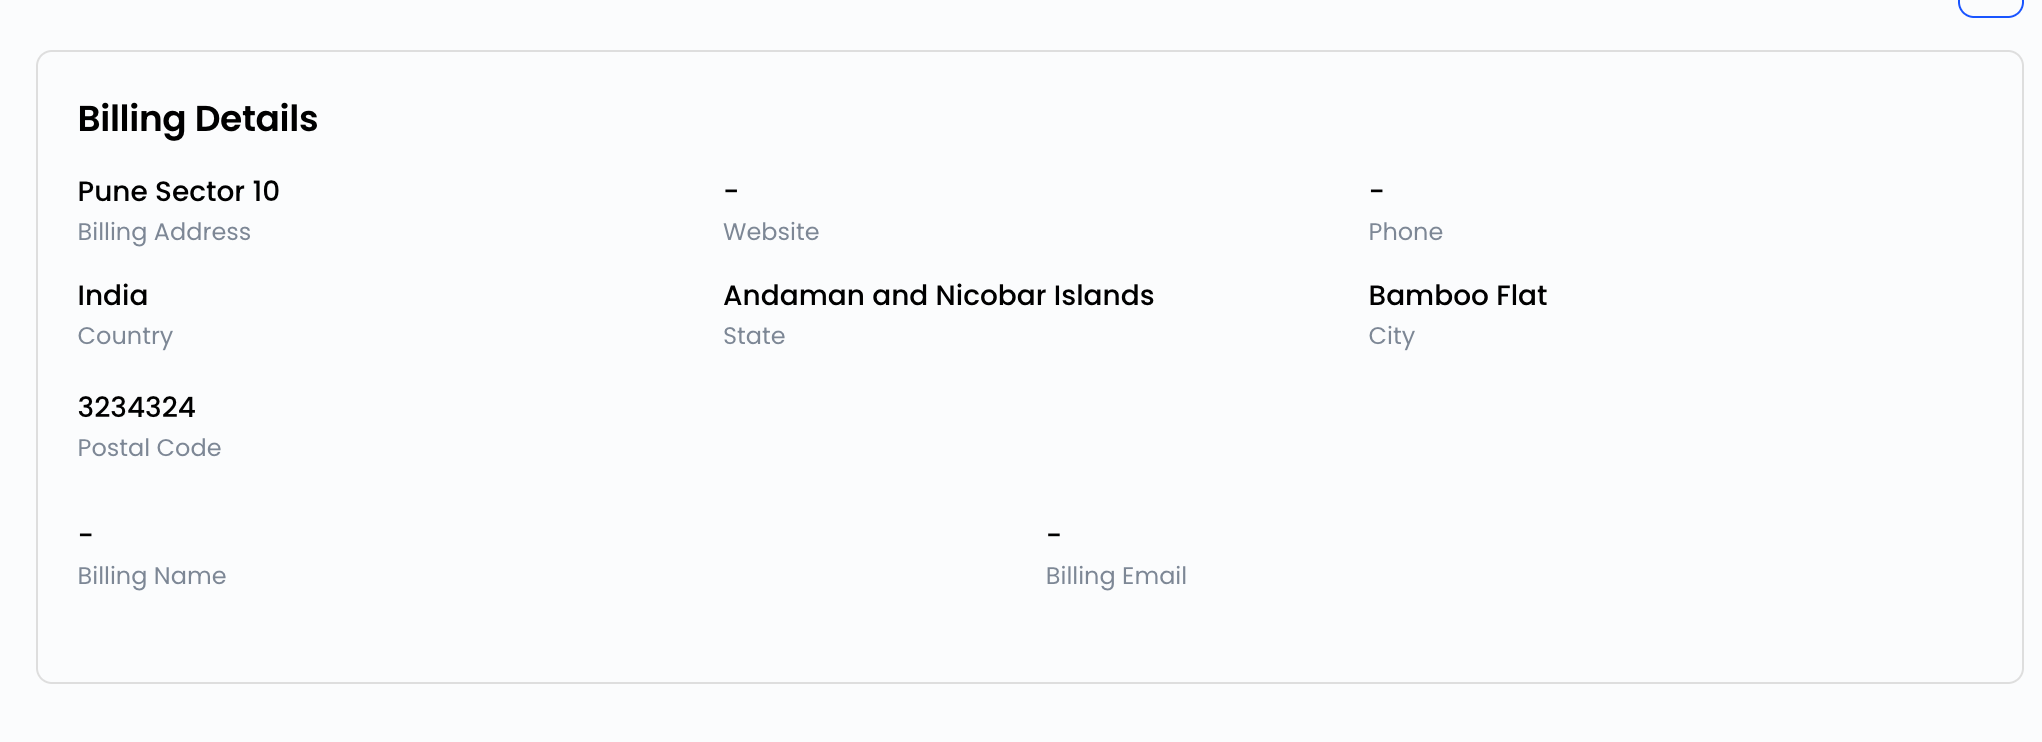
Step 3: Add or update the following information:
- Billing Address
- Phone Number

Step 4: Click Submit to save the changes.
Customize Account Preferences
Personalize the dashboard appearance according to your preference.
Step 1: Navigate to Profile.
Step 2: Select Account Preferences.
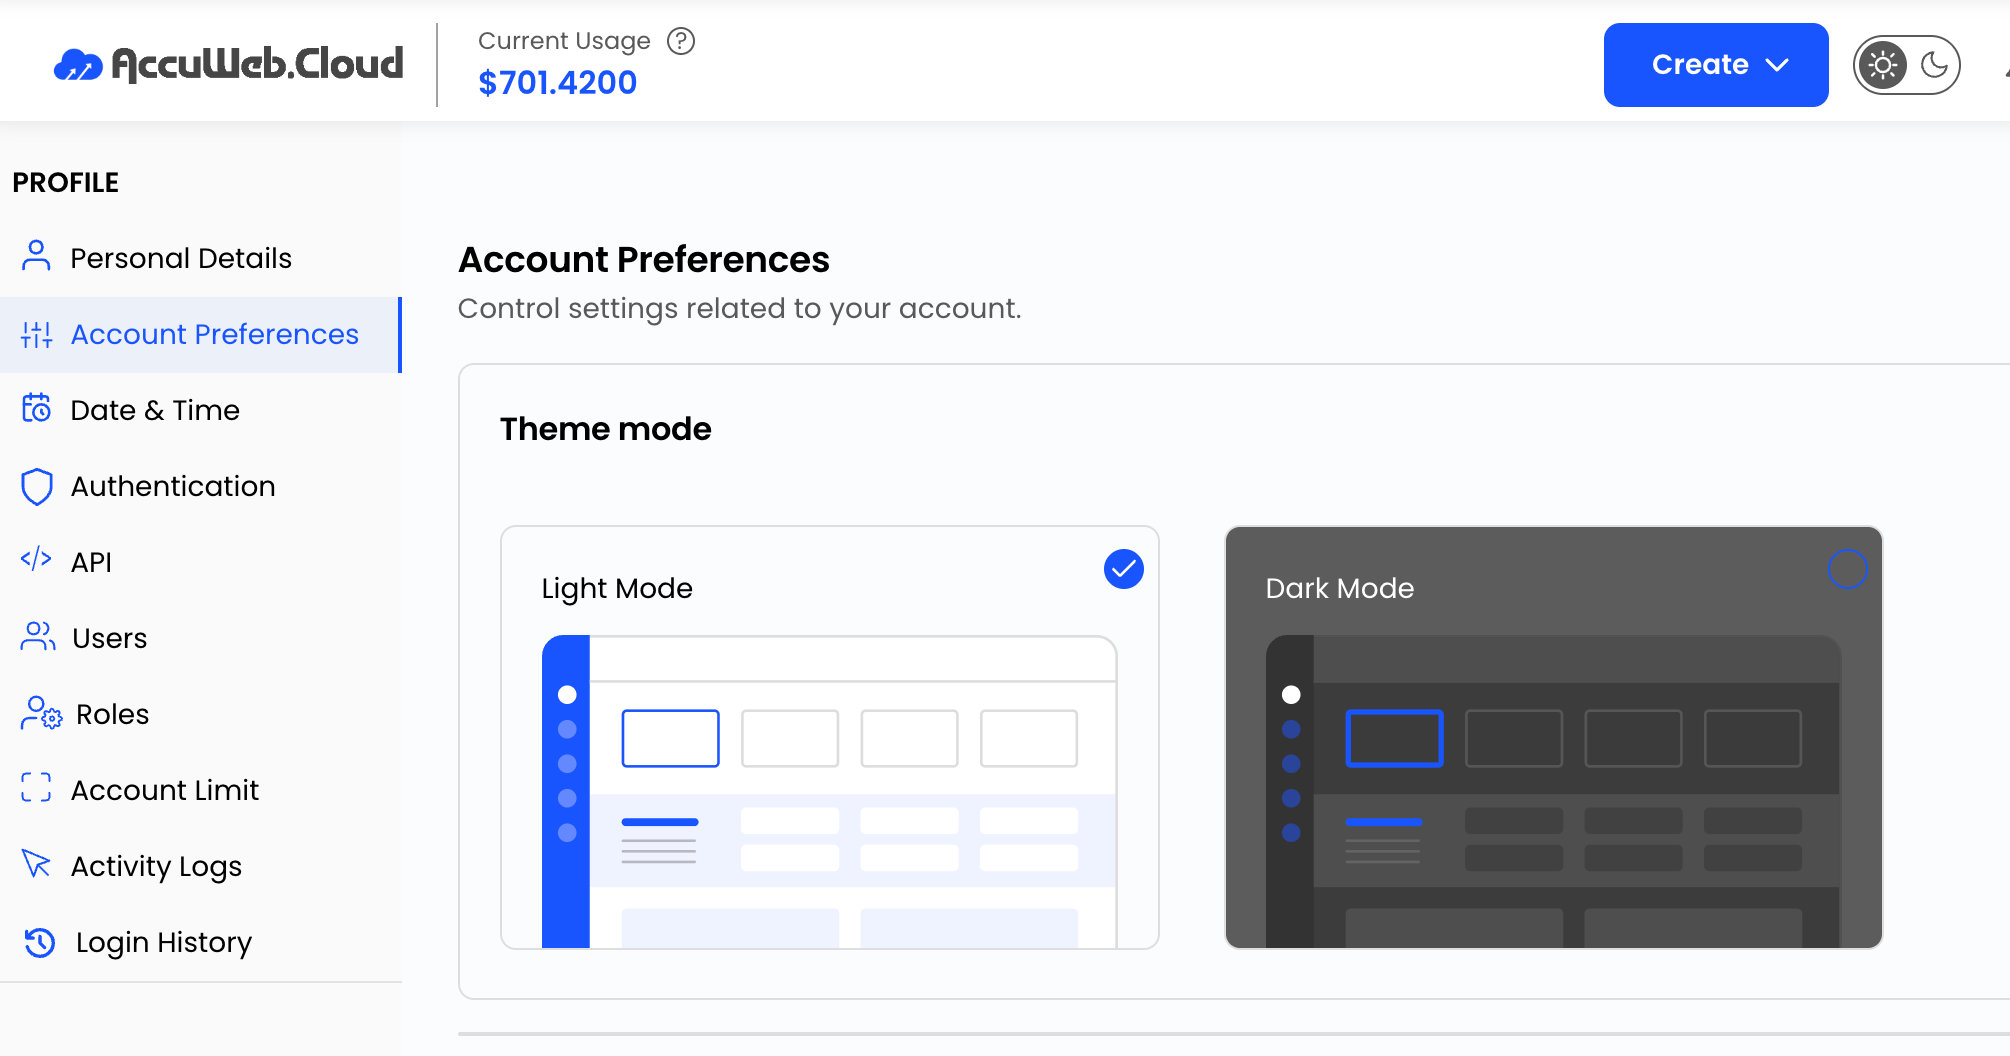
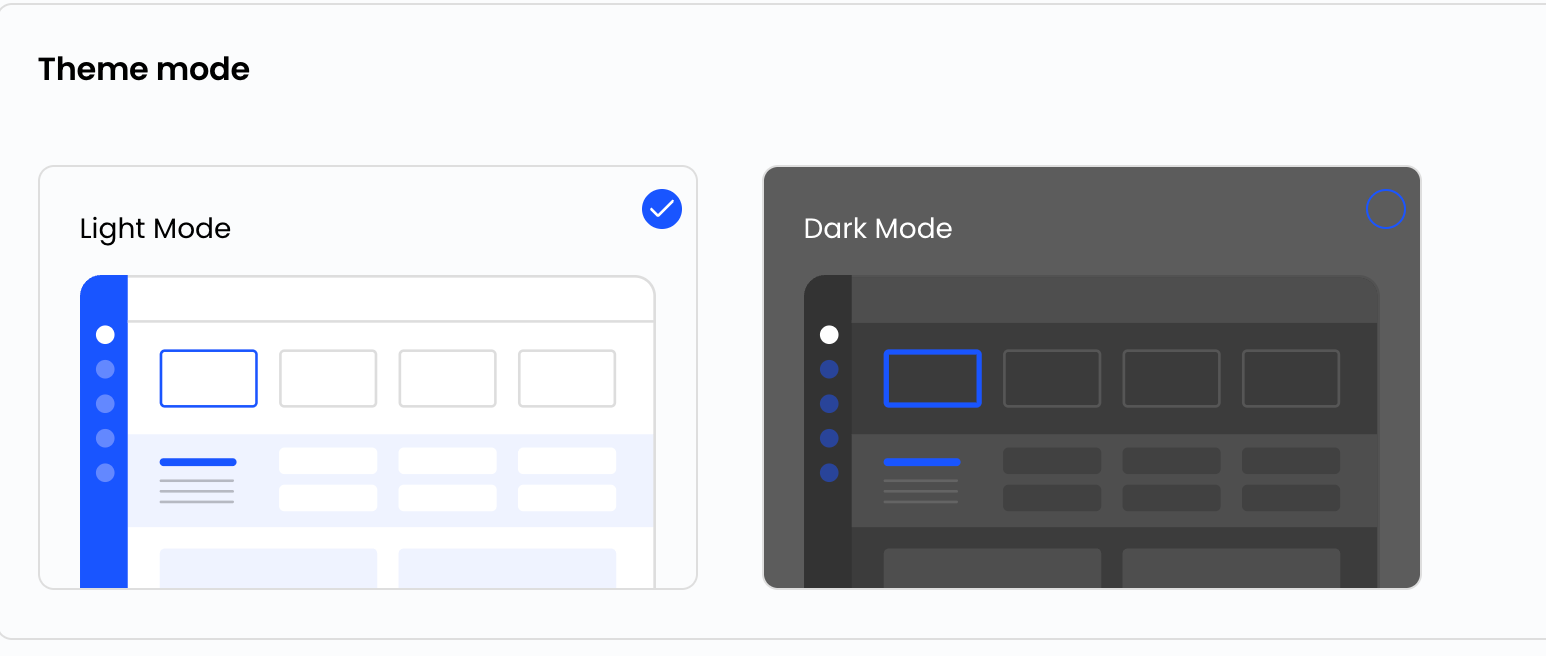
Step 3: Choose your preferred display mode:
- Light Mode
- Dark Mode
Configure Date and Time Settings
Adjust date and time preferences to match your region and working environment.
Step 1: Navigate to Profile.

Step 2: Select Date and Time Settings.

Step 3: Choose:
- Preferred Time Zone
- Date and Time Format

Step 4: Click Submit to apply the changes.
Enable Two-Factor Authentication (2FA)
Two-Factor Authentication adds an additional layer of security to your account login process.
Step 1: Navigate to Profile.

Step 2: Select Authentication.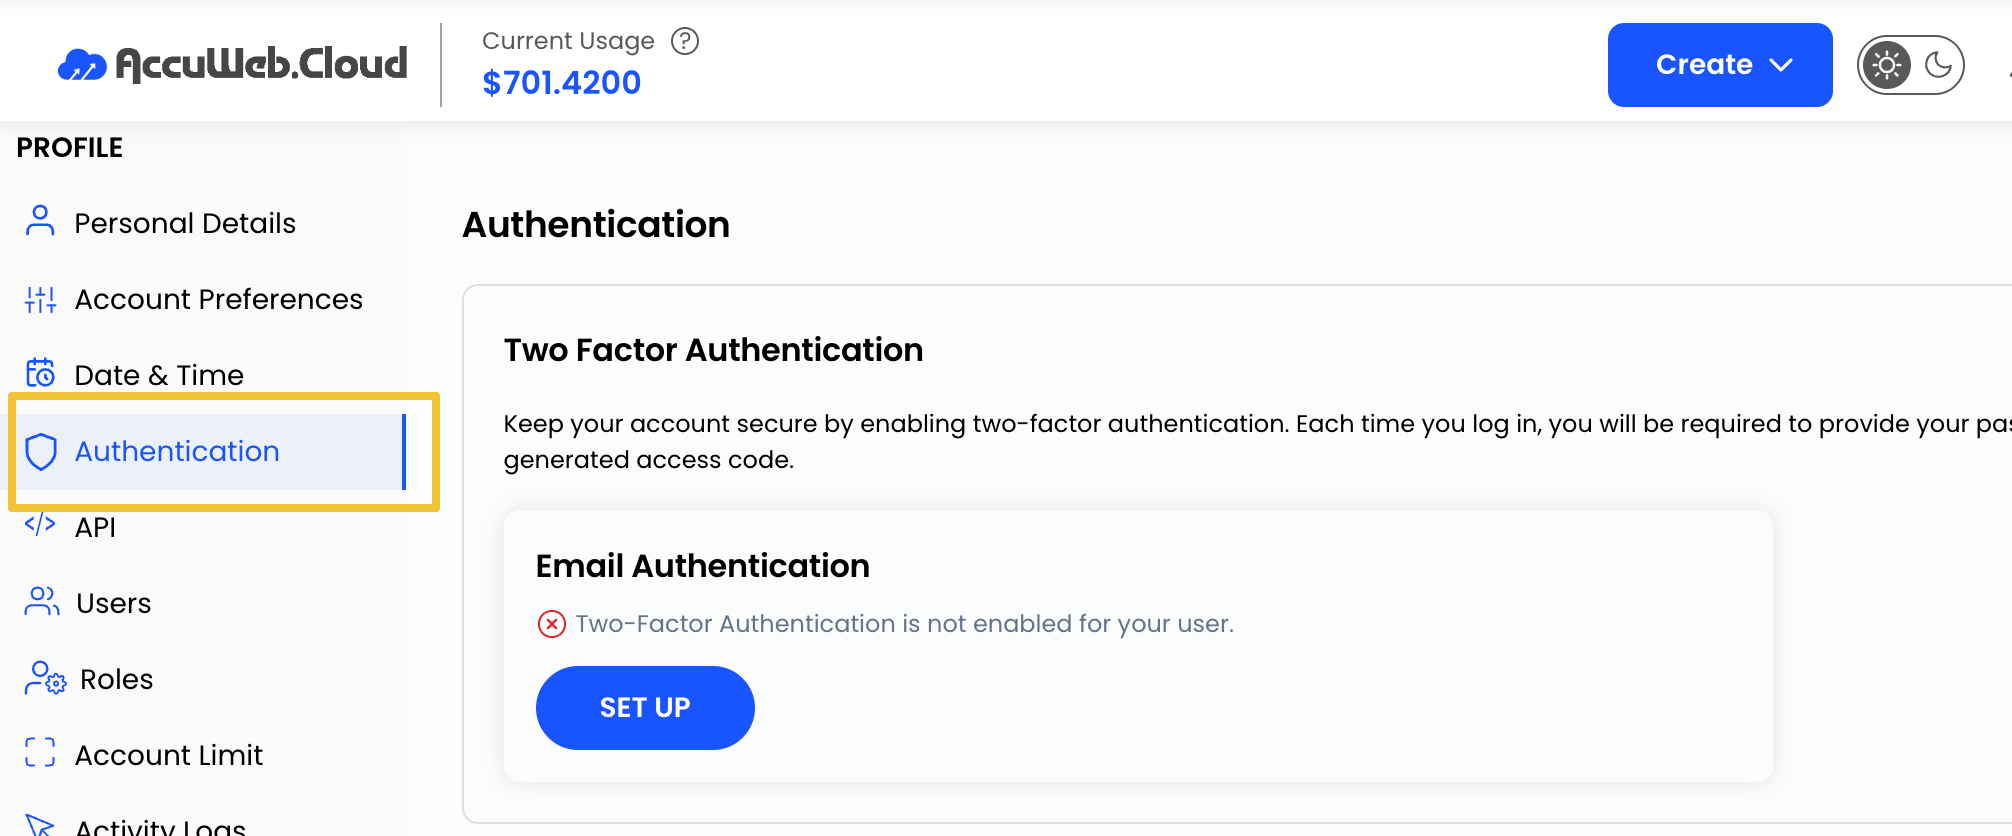
Step 3: Locate the Two-Factor Authentication (2FA) section.
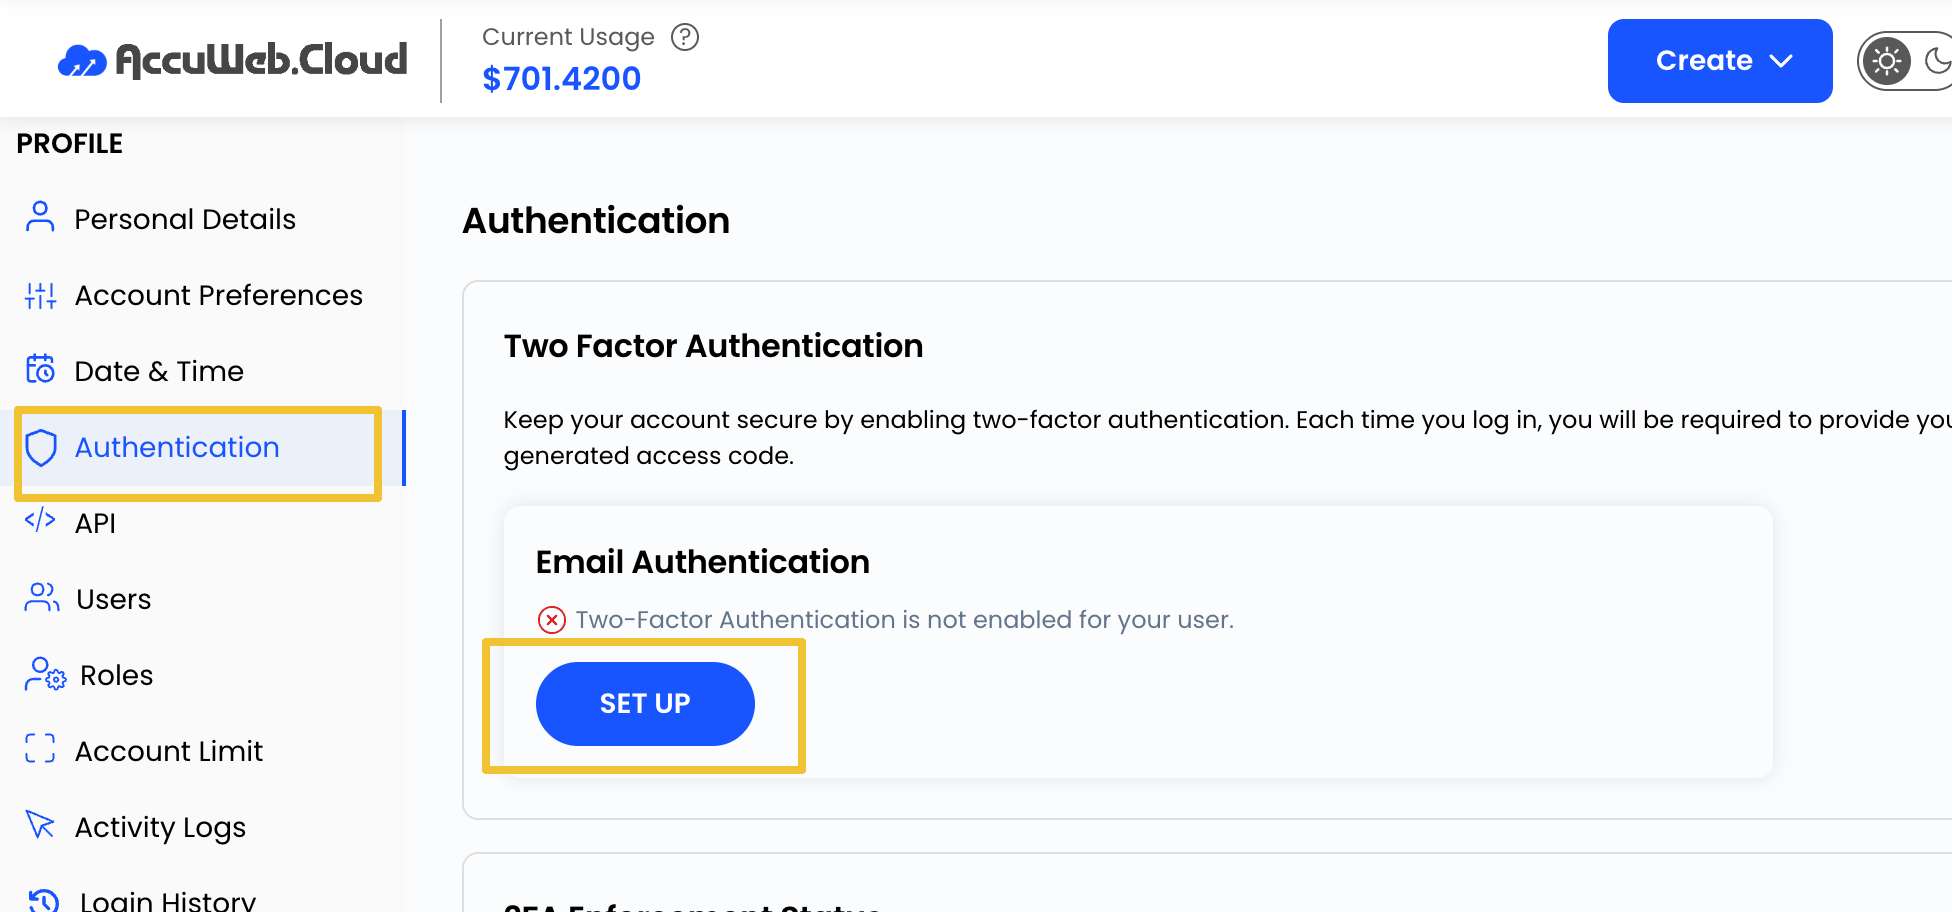
Step 4: Click Set Up under Email Authentication.
Step 5: Enter your email address and click Send OTP.
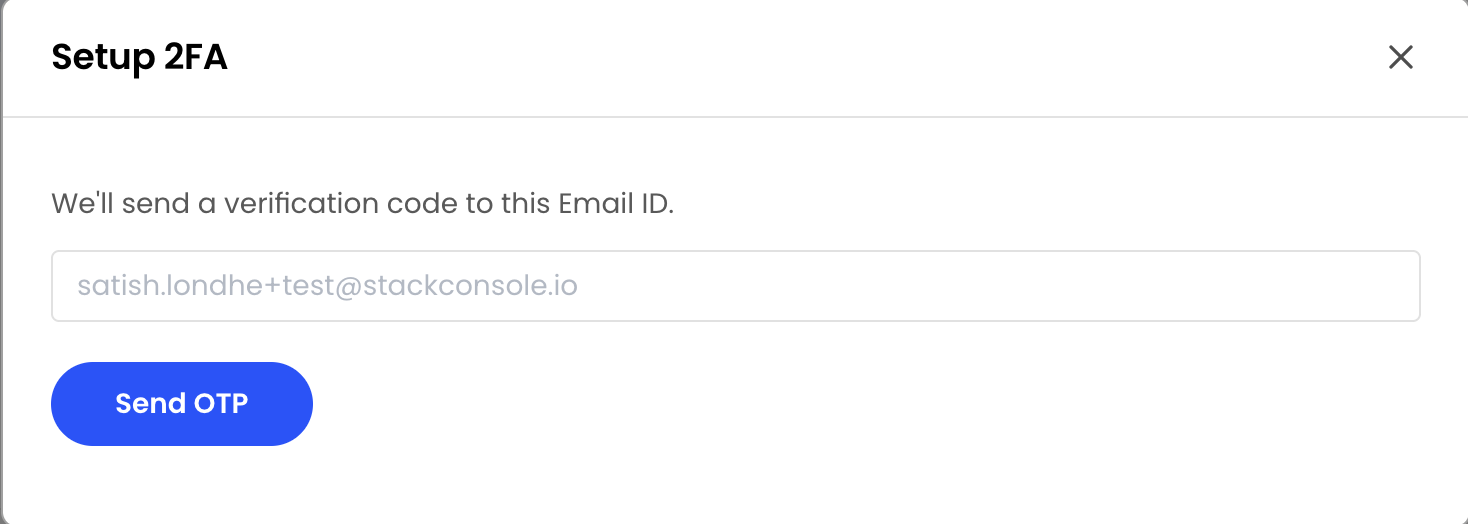
Step 6: Enter the verification code received via email.
Step 7: Optionally enable 2FA for All Users if you want to enforce it across your organization.

Change Your Password
Regular password updates help improve account security.
Step 1: Navigate to Profile > Authentication.

Step 2: Click Change Password.

Step 3: Enter:
- Current Password
- New Password
- Confirm New Password
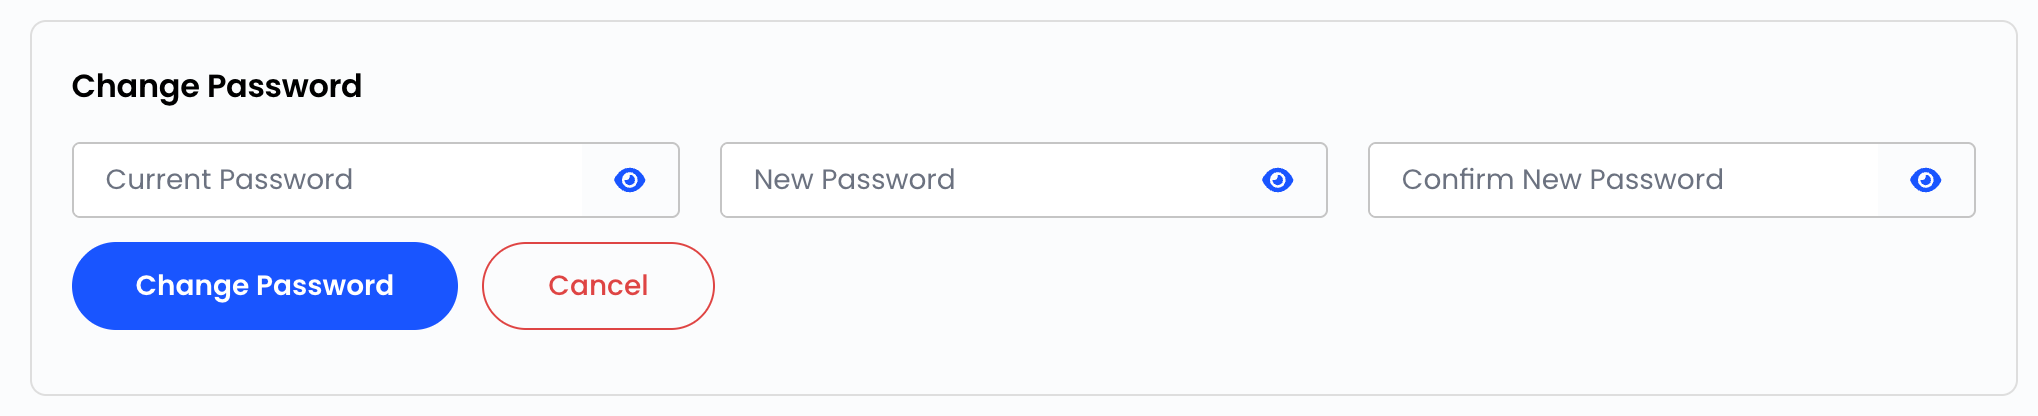
Step 4: Click Change Password to save the new password.
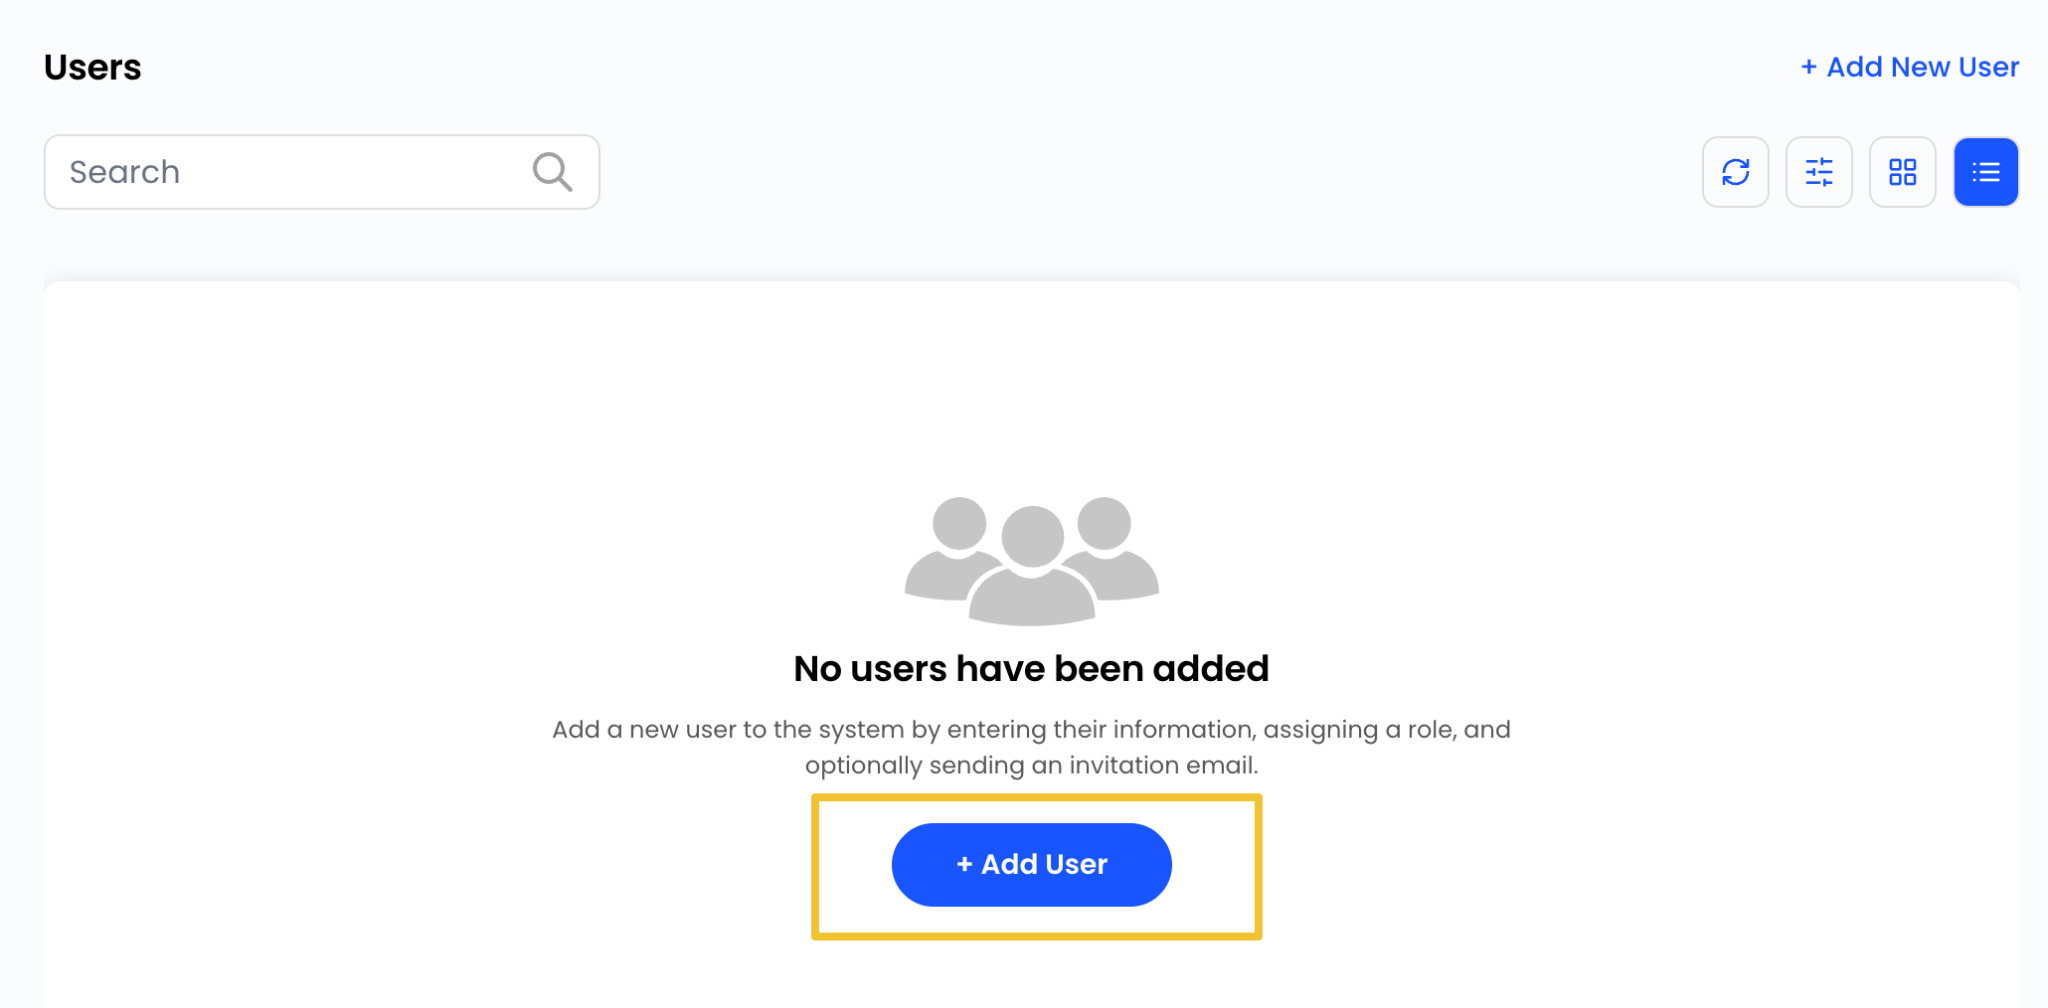
Add New Users
The Users section allows account administrators to add and manage additional users.
Step 1: Navigate to Profile.

Step 2: Select Users.
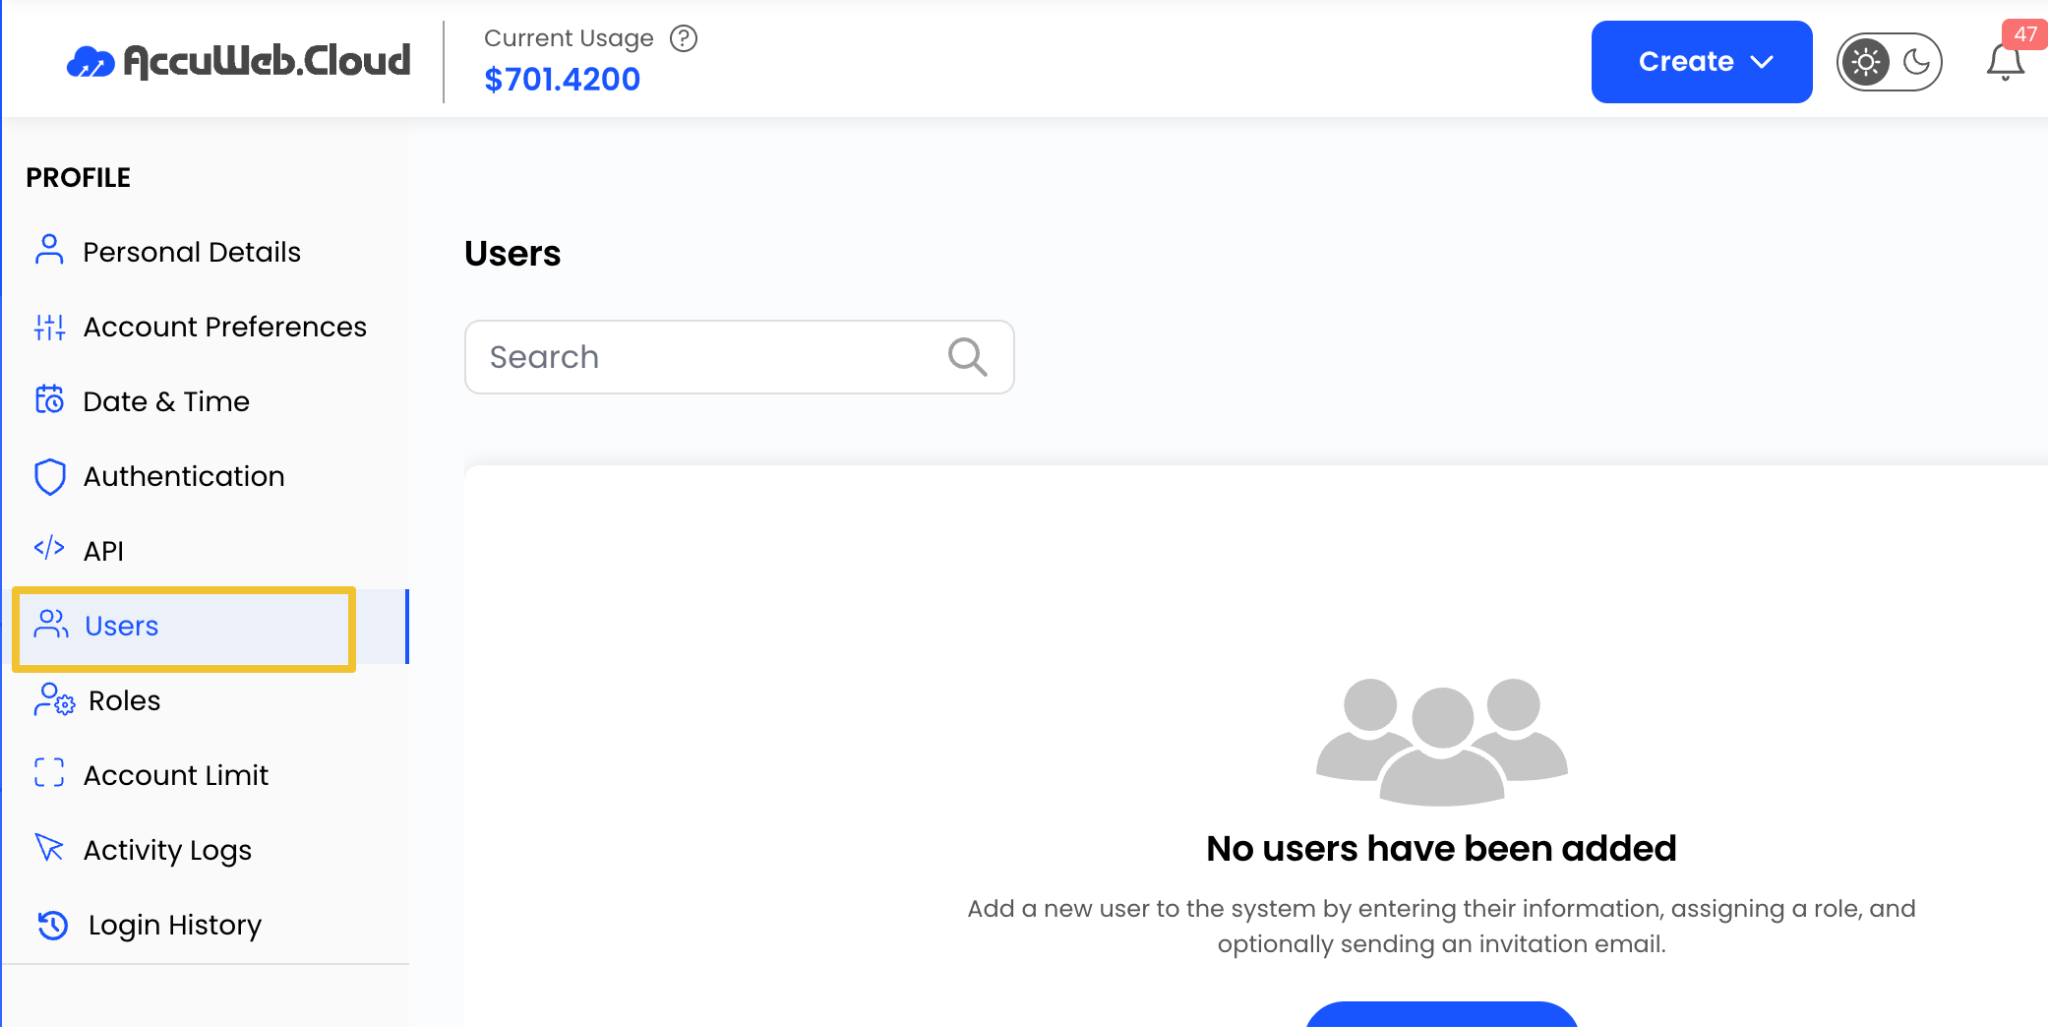
Step 3: Click Add User.
Step 4: Enter the user details.
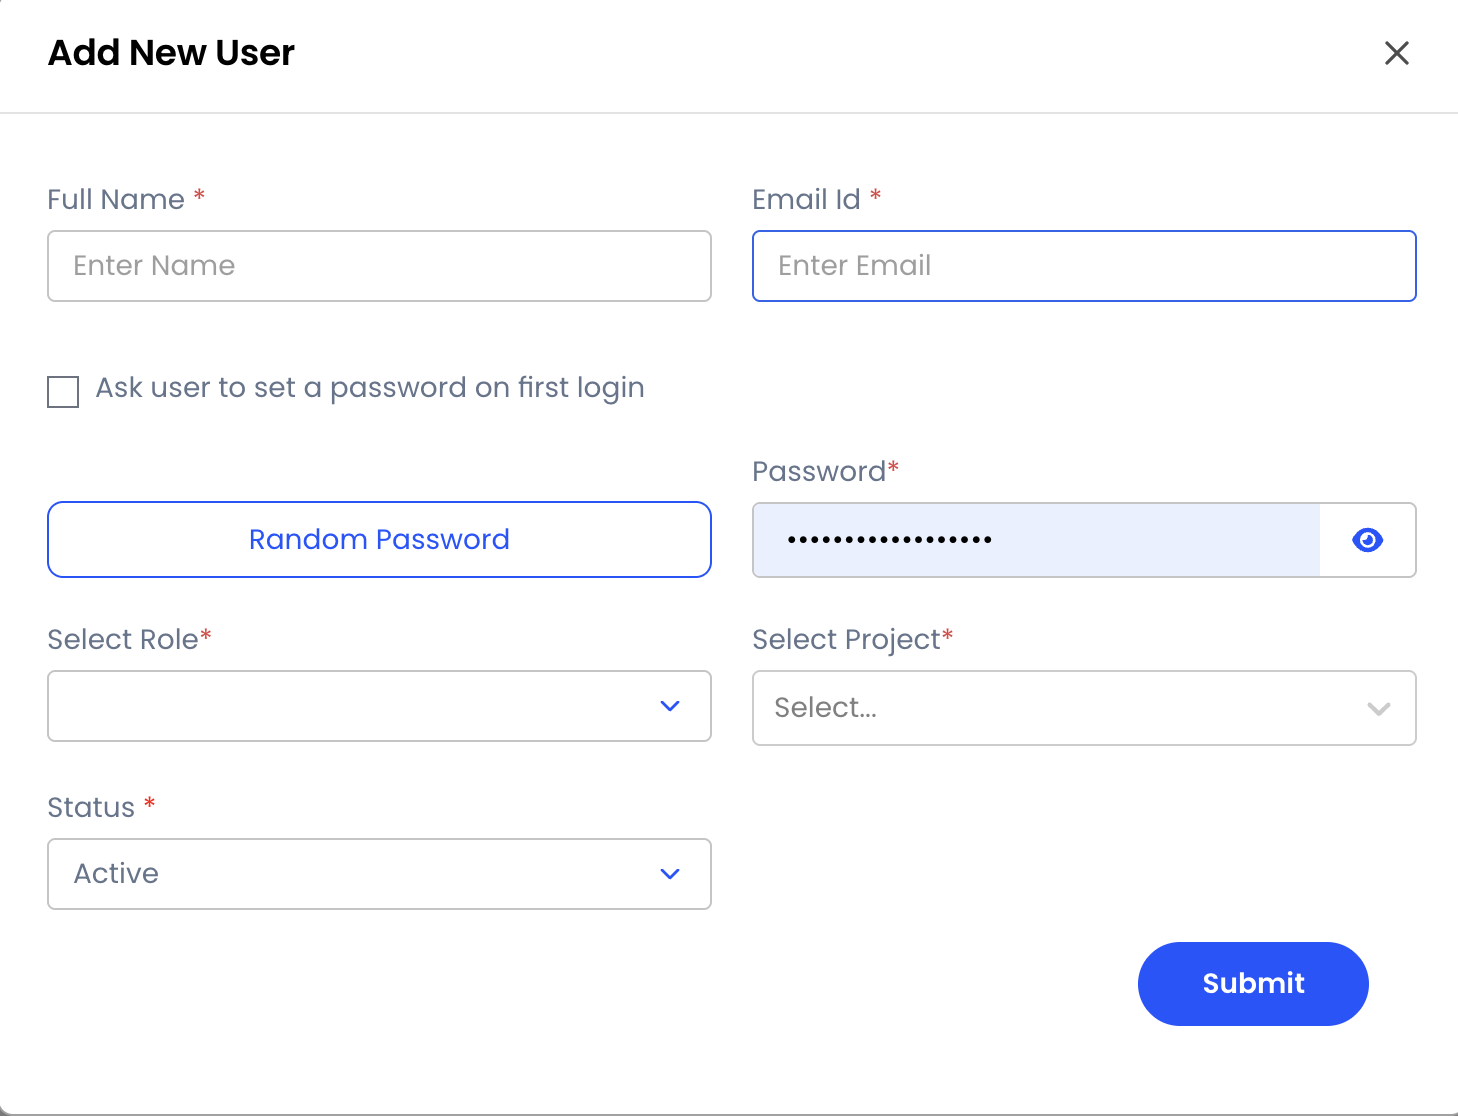
Step 5: Assign the appropriate role.
Step 6: Click Submit.
You can also edit existing users or resend invitations when required.
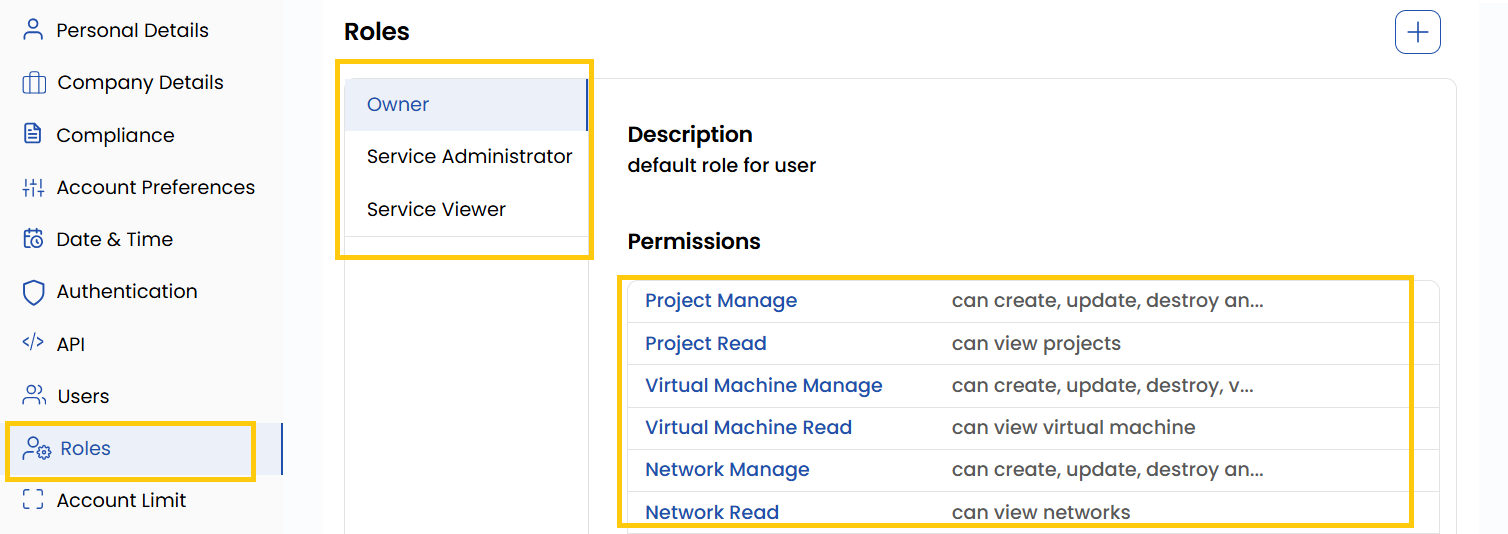
Manage Roles and Permissions
Roles help control access levels and permissions for users within your organization.
Step 1: Navigate to Profile.

Step 2: Select Roles.
Step 3: Click Add New Role to create a custom role.
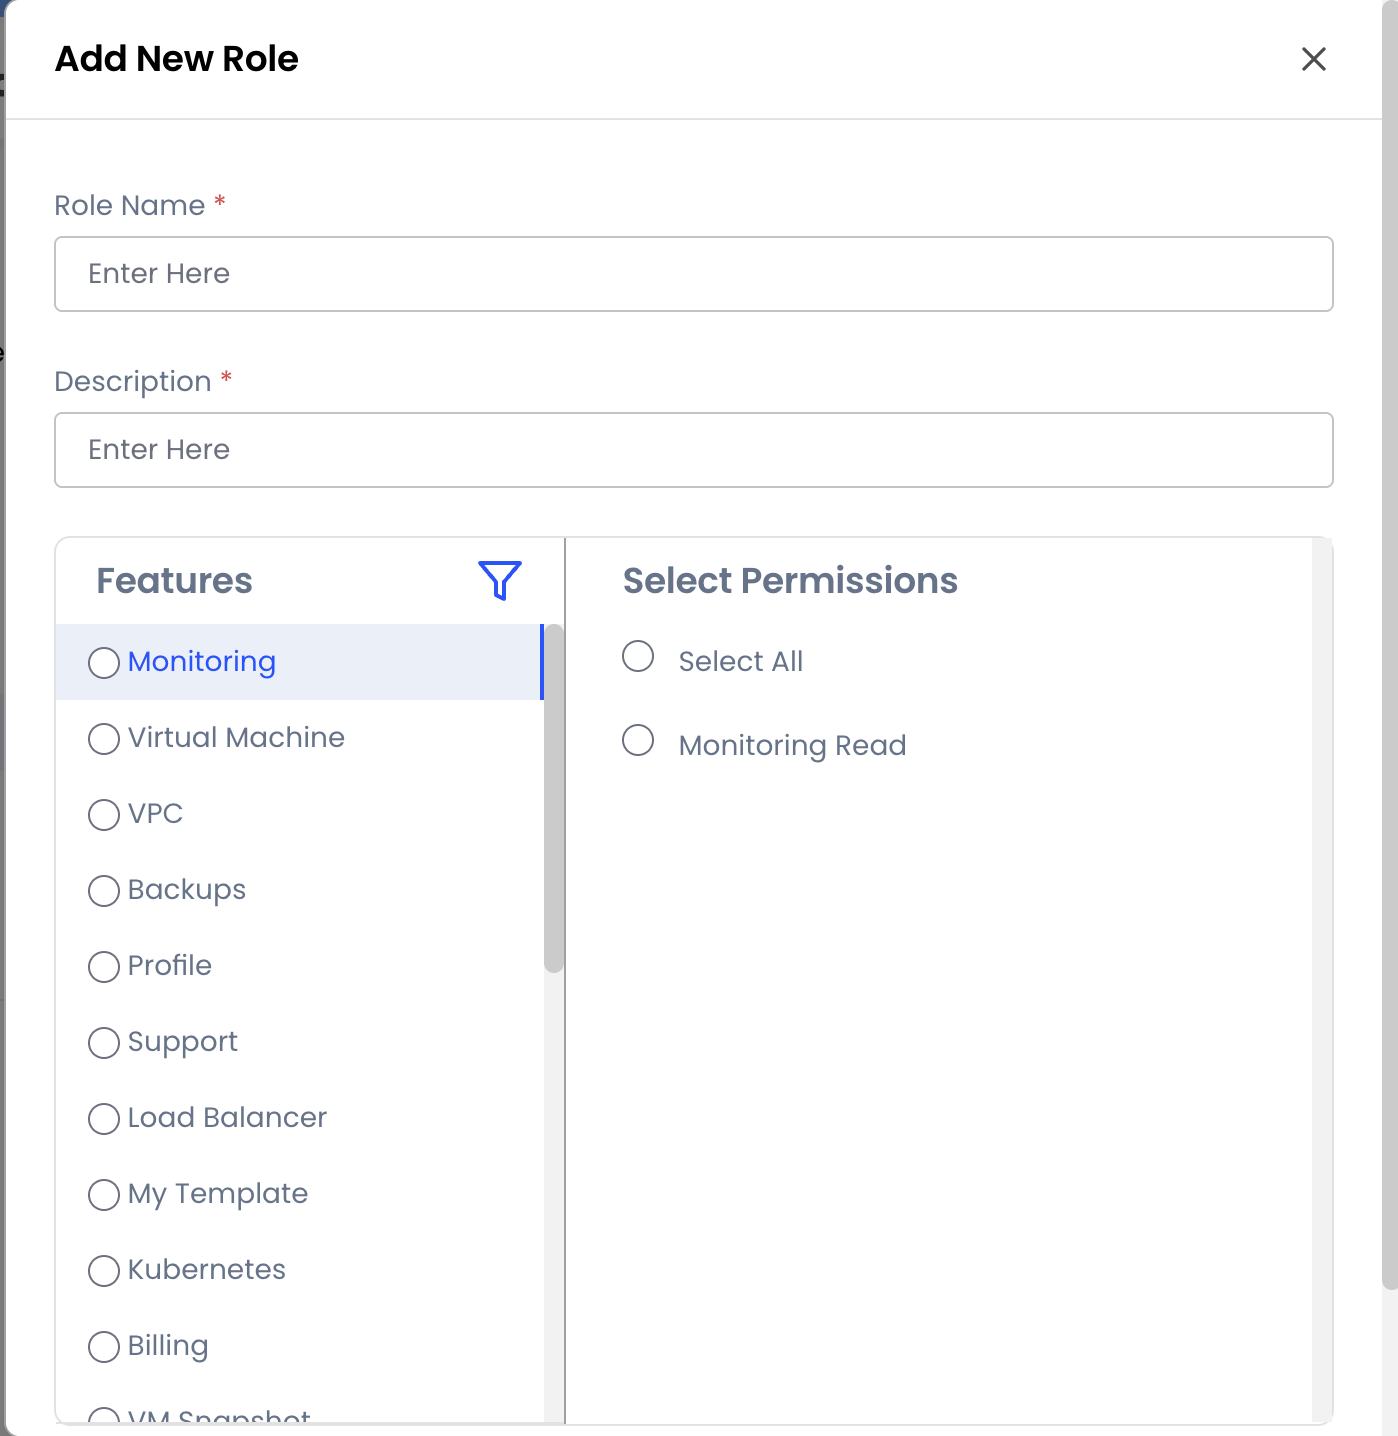
Step 4: Configure the required permissions and save the role.
View Account Limits
The Account Limits section displays resource allocations and usage information.
Step 1: Navigate to Profile.

Step 2: Select Account Limit.
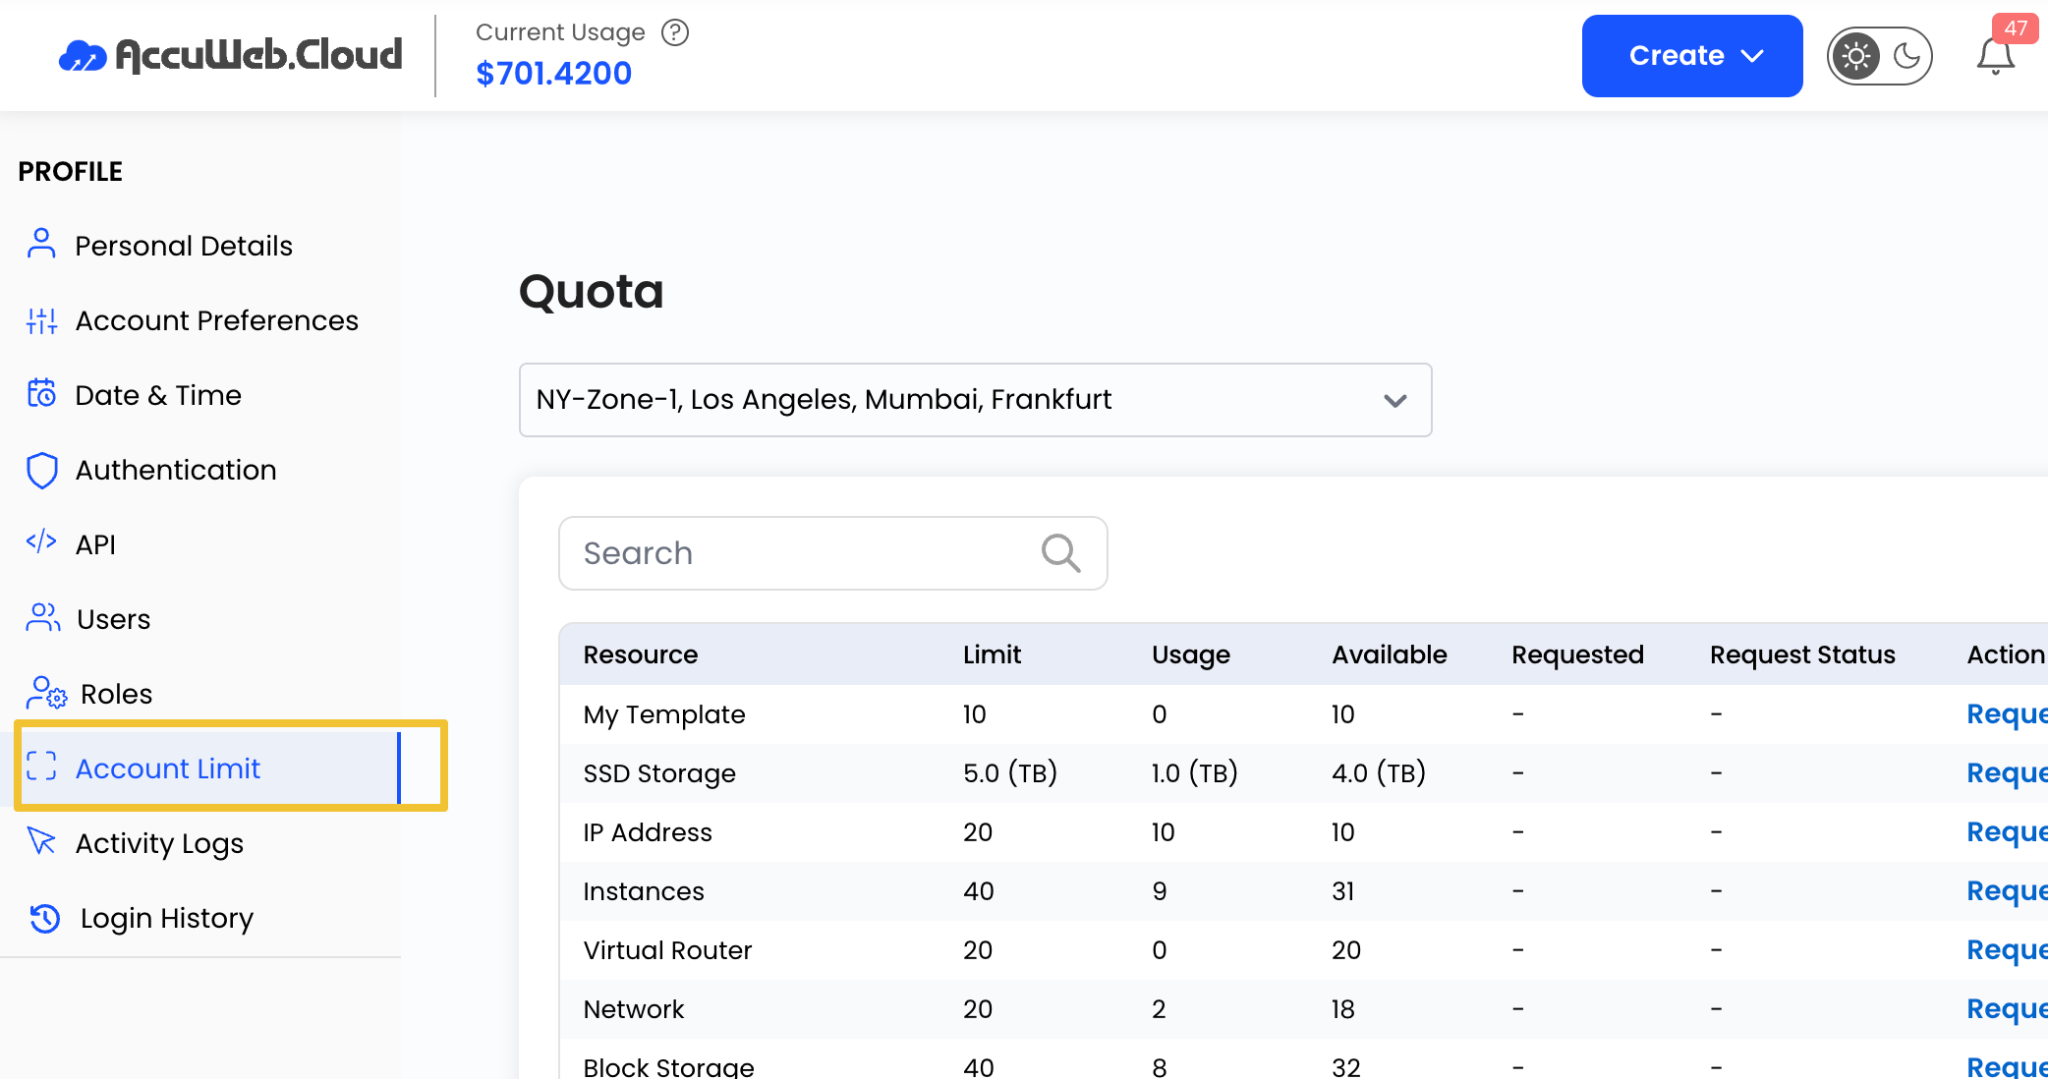
Step 3: Review current resource limits and usage details.
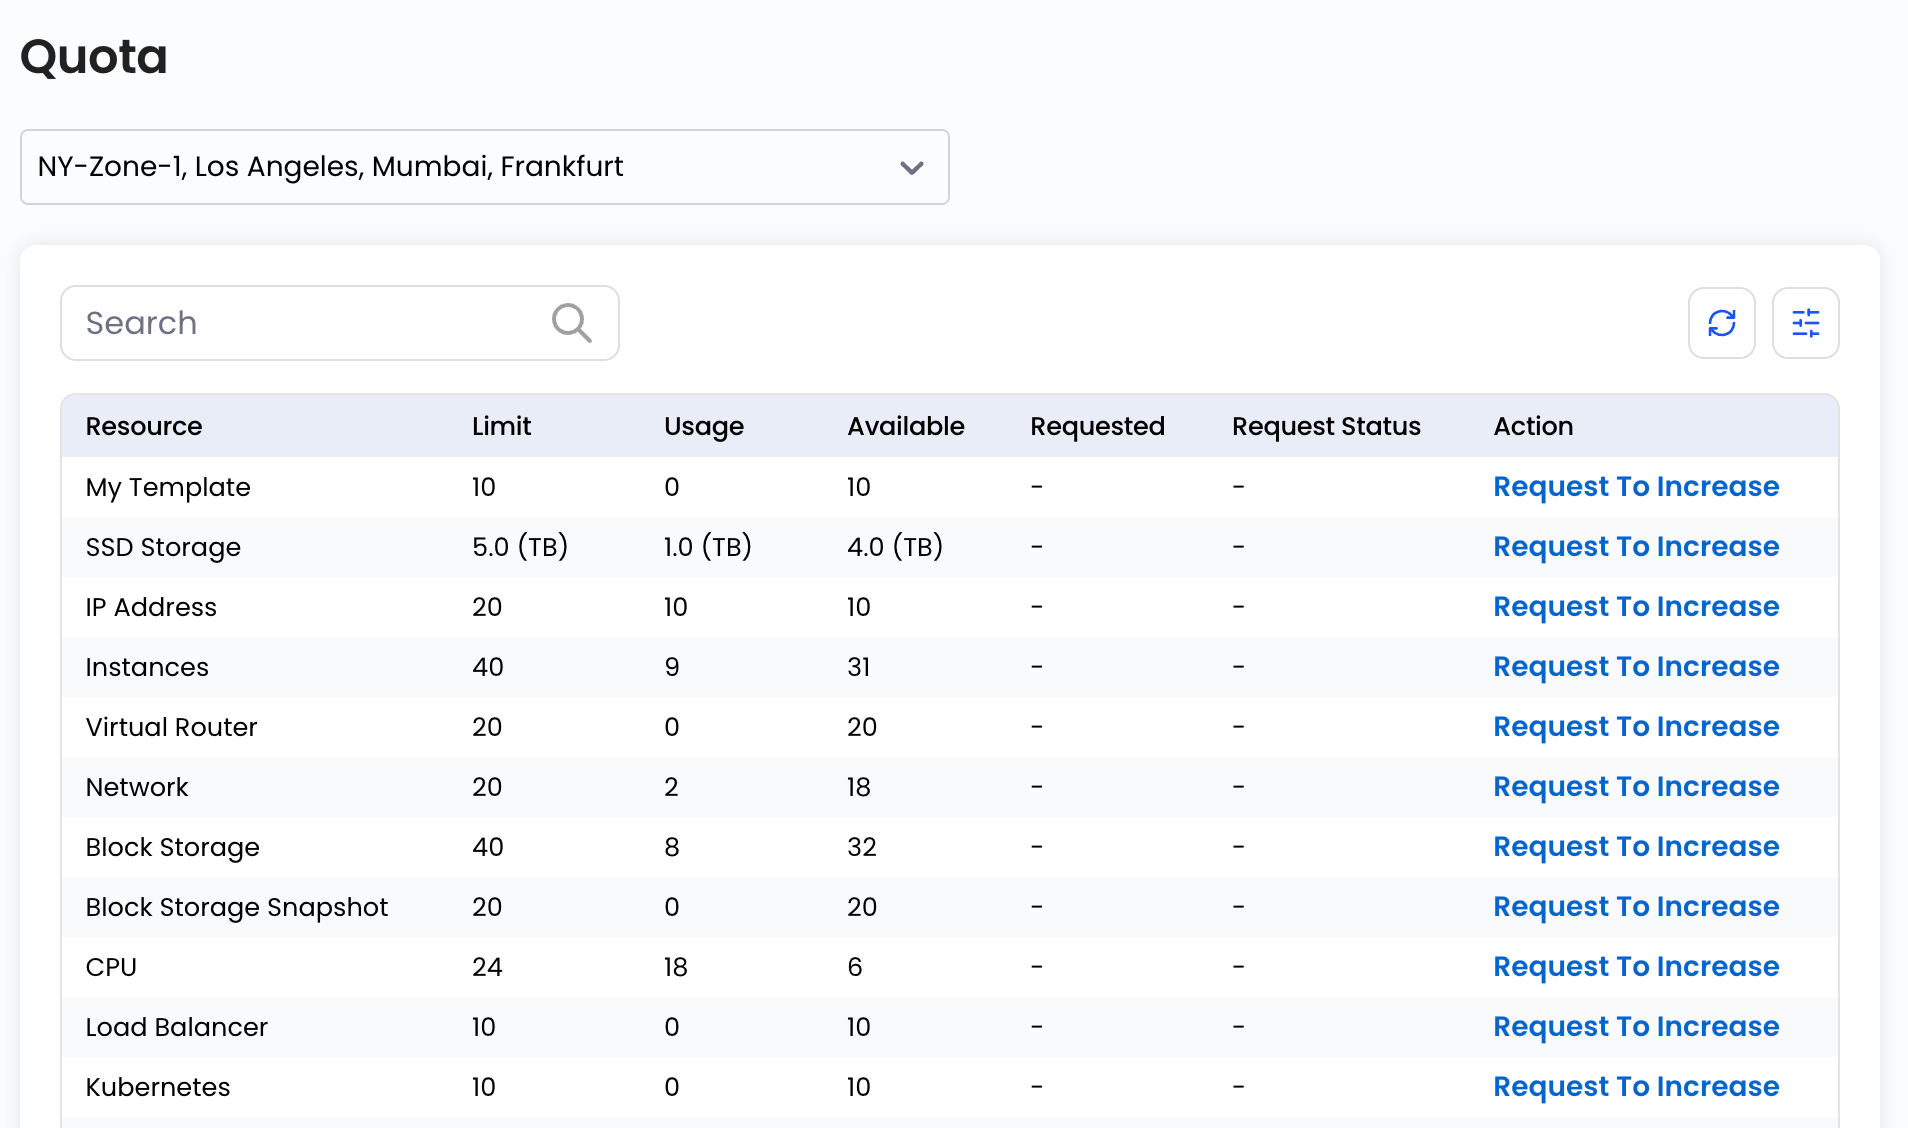
Step 4: Click Request to Increase if additional resources are required.
Monitor Activity Logs
Activity Logs provide visibility into actions performed within the account.
Step 1: Navigate to Profile.

Step 2: Select Activity Logs.

Step 3: Review recorded activities and use the search option to locate specific events.
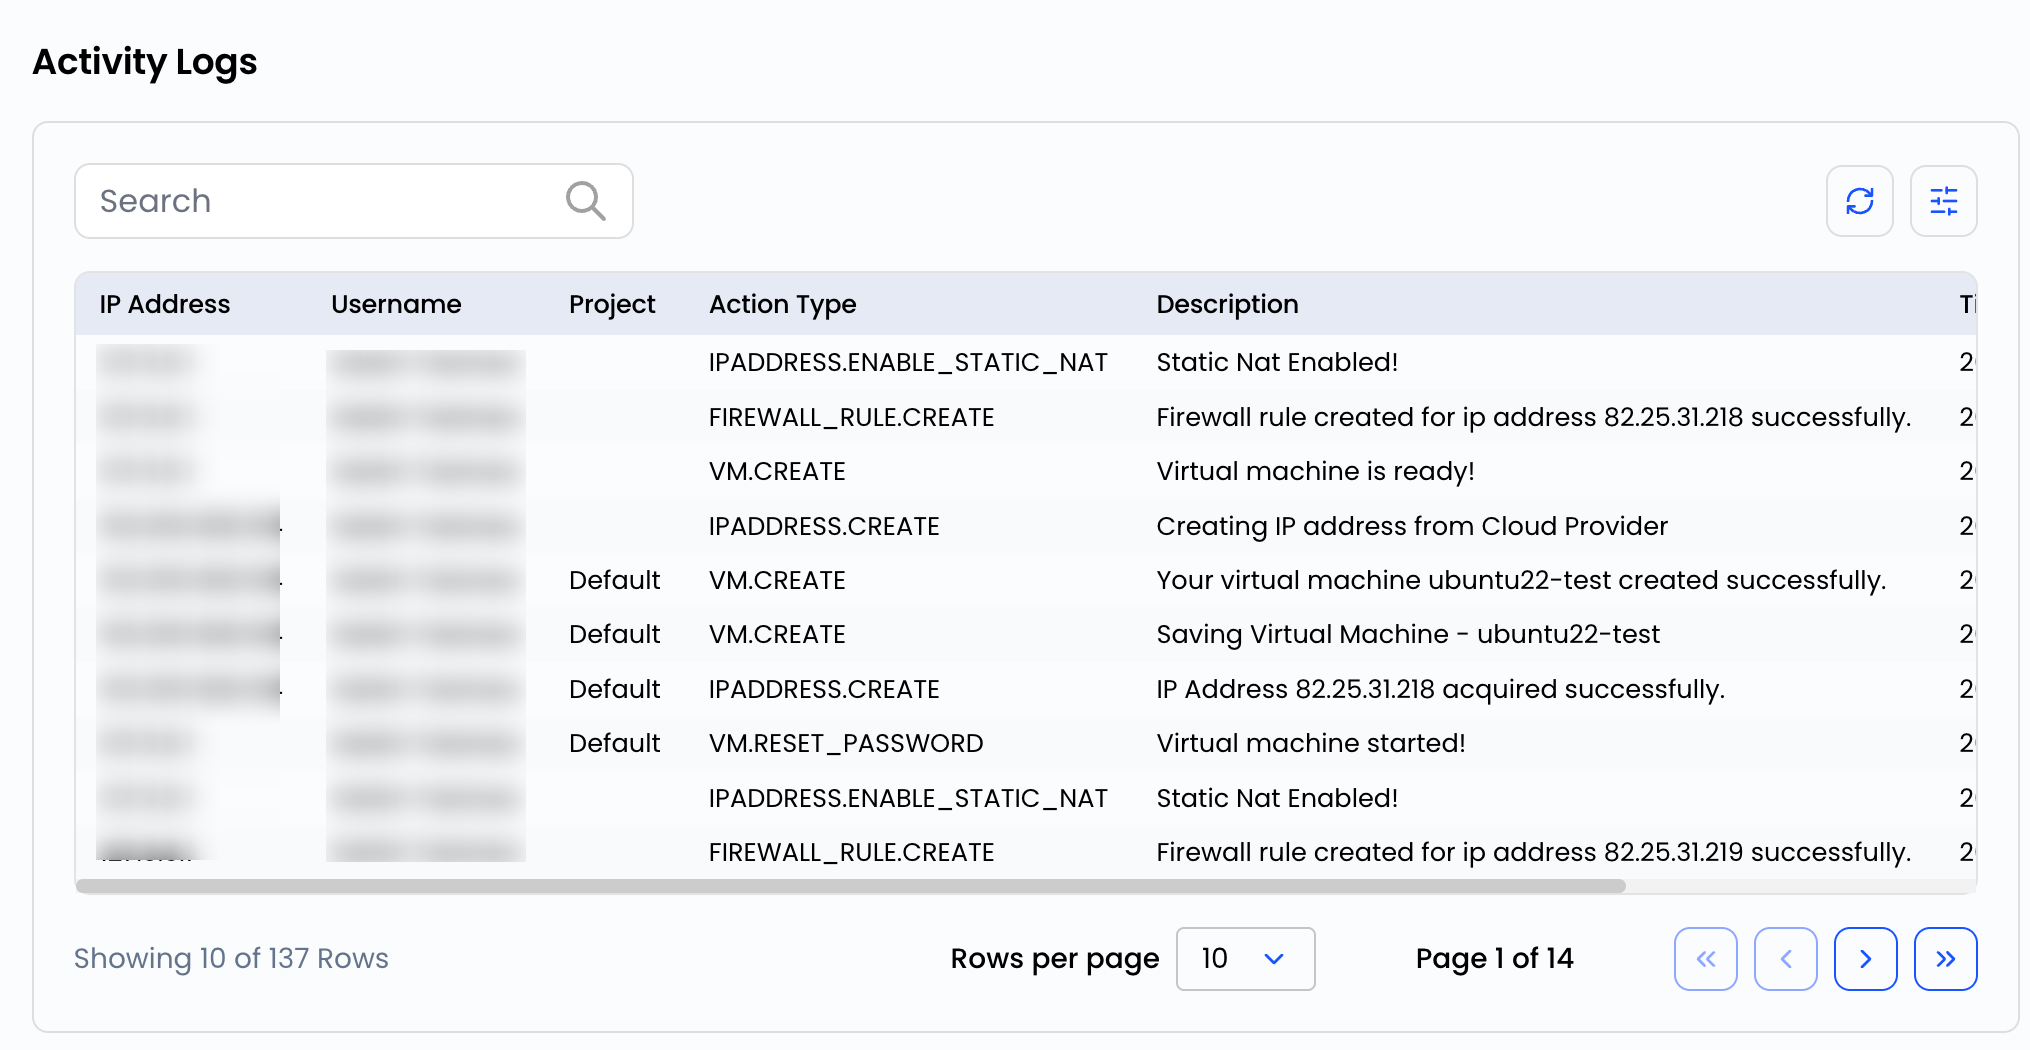
This helps with auditing and troubleshooting account changes.
Review Login History
Login History provides details about account access events.
Step 1: Navigate to Profile.

Step 2: Select Login History.
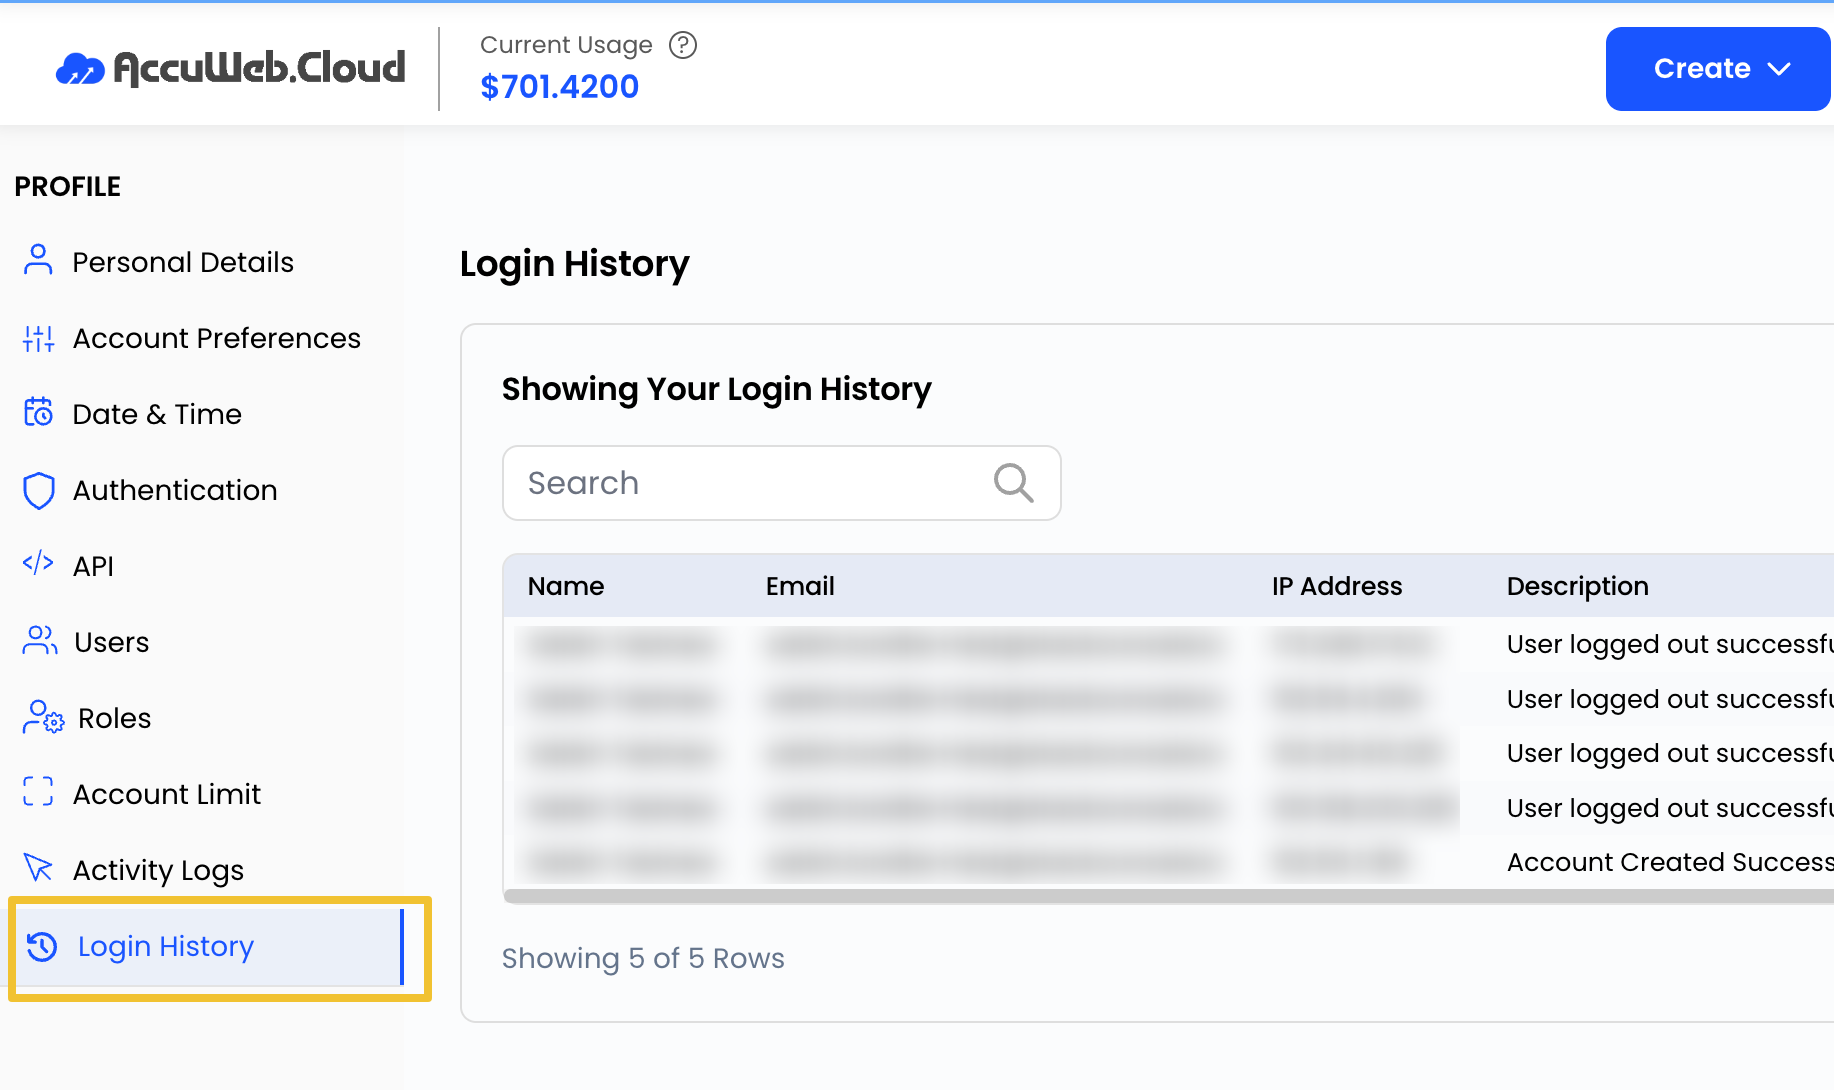
Step 3: Review recent login records and access information.
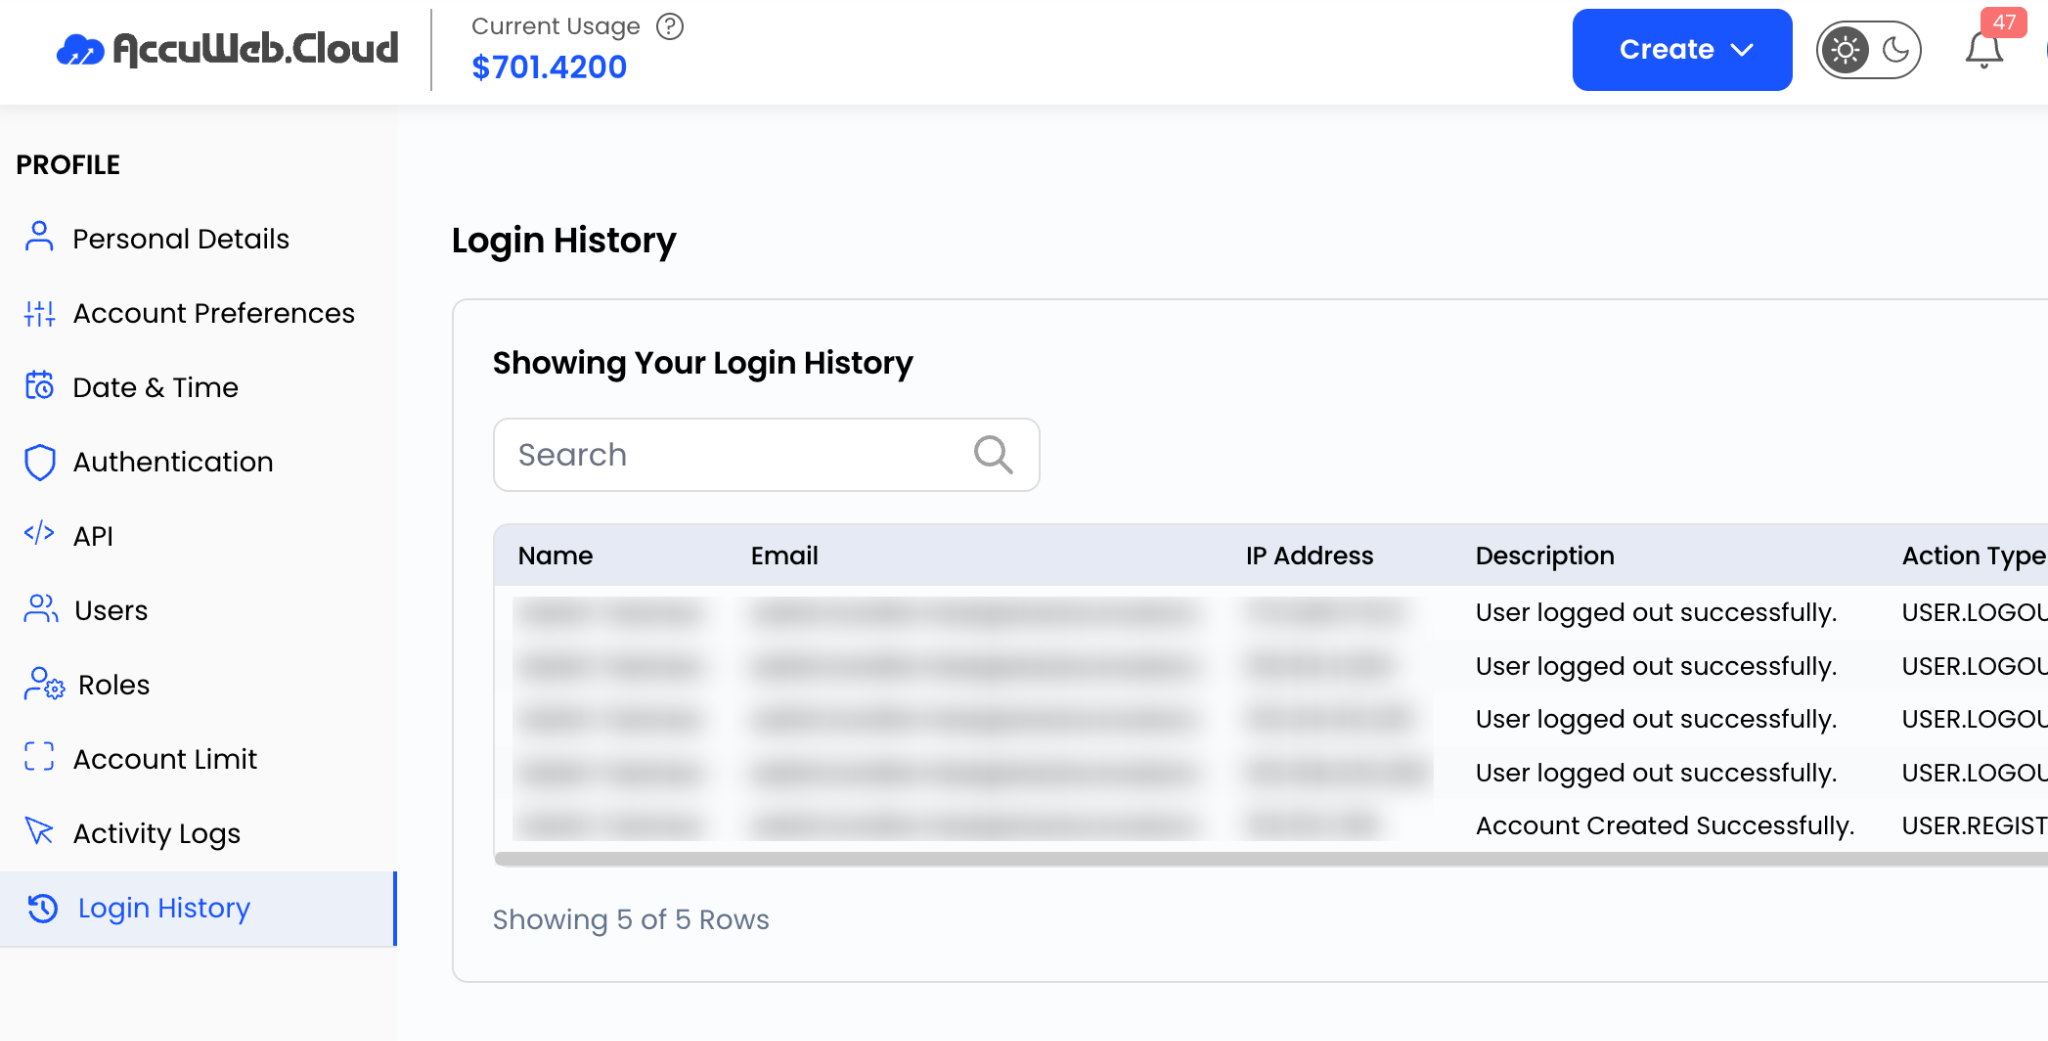
Monitoring login activity can help identify unauthorized access attempts.
Summary
The Profile section in AccuWeb.Cloud provides a centralized location for managing account settings, user access, security preferences, billing information, and activity records. Regularly reviewing and updating these settings helps maintain account security, improve administration, and ensure a better overall cloud management experience.