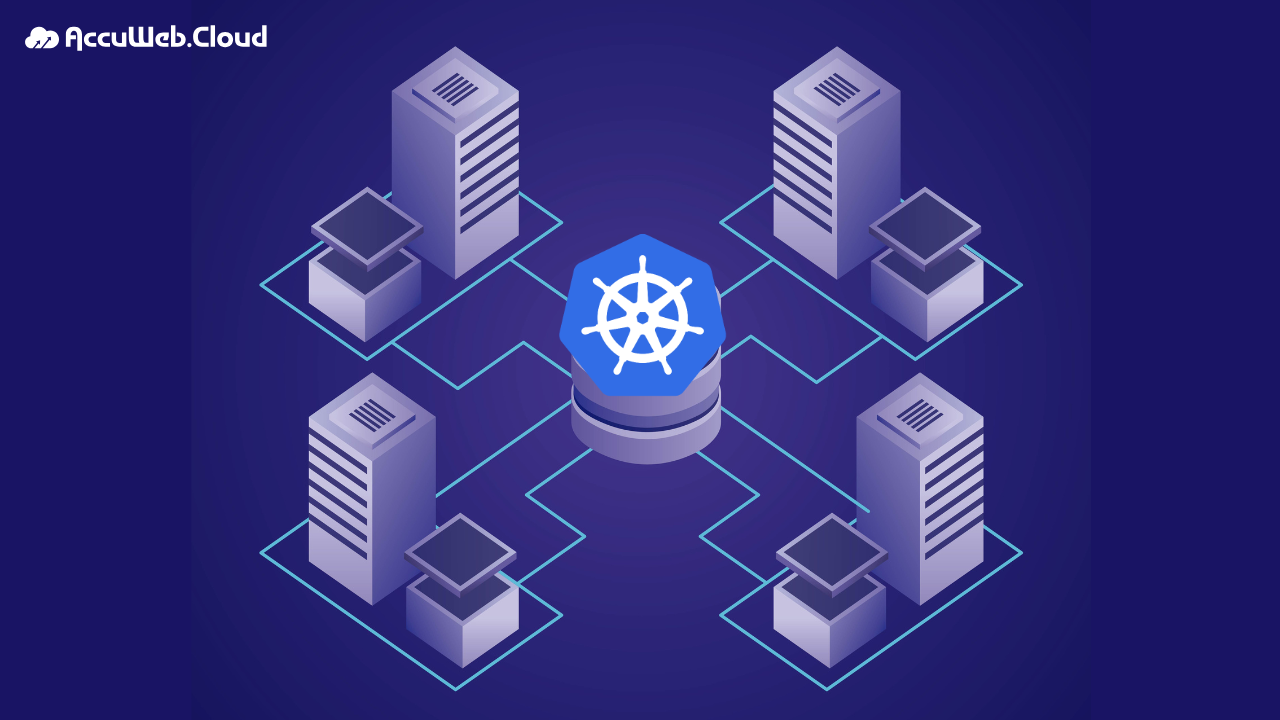
Automated Kubernetes Cluster Upgrade in AccuWeb.Cloud

TL;DR
- Automated Kubernetes upgrades streamline updating control planes and nodes with minimal manual steps and reduced human error.
- Automation tools (e.g., kubeadm, managed services, CI/CD pipelines) ensure consistent upgrade paths and roll-backs.
- Automated upgrades reduce downtime by orchestrating component version updates without taking services offline.
- Integration with health checks and readiness probes ensures workloads stay stable during version transitions.
- Upgrading via automation improves cluster security by quickly applying patches and new features uniformly.
- Easy rollback strategies integrated into automation workflows help recover from upgrade failures safely.
Flexibility, faster development and delivery, better scalability, and high availability are why many companies are turning to Kubernetes (K8s) technology.
However, managing and updating these systems can be so complex that organizations often need a dedicated team just to keep everything running smoothly.
AccuWeb.Cloud’s Kubernetes automation can help improve DevOps productivity and allow you to focus on your business goals instead of dealing with infrastructure headaches.
In this article, we’ll show you how to make managing Kubernetes clusters easier with automated upgrades.
Tired of wrestling with manual Kubernetes upgrades? We’ll break down how to automate upgrades in this guide.
Kubernetes Cluster Versioning
Before deciding on an upgrade, you can check your cluster’s current version using one of these methods:
Step 1. Dashboard: View the version next to the Control Plane and worker nodes.

Step 2. WebSSH Client: Run the command kubectl version to get the Kubernetes version.

Then, compare the current cluster version with the available auto-upgrade packages listed on our Kubernetes versions page.
The current available Kubernetes versions are:
- v1.26.7
- v1.27.4
- v1.28.0
Despite regular releases of new Kubernetes versions, not all are immediately suitable for auto-upgrades. Each version undergoes rigorous testing for stability and compatibility within the cluster before being adopted by AccuWeb.Cloud.
For automated upgrades, a dedicated tool manages the transition to the next available Kubernetes release, integrating all necessary patches along the way. If your current cluster version significantly lags behind the latest release, the tool may require multiple incremental upgrades to ensure compatibility and a smooth update process.
Kubernetes Cluster Auto-Upgrade Add-On
To automatically update to the latest version, follow these steps with the “Cluster Upgrade” add-on:

Step 1. Navigate to Add-Ons on the Control Plane node and click Start Cluster Upgrade.

Step 2. Confirm the upgrade process to proceed.
Step 3. The system automatically checks for new Kubernetes versions available on the platform and starts the cluster upgrade or informs you that your cluster is of the latest version available.

Step 4. Upon successful upgrade to the latest version, a confirmation pop-up will appear.
Zero downtime upgrades are feasible for Production installations, which by default include 3 masters, 2 API load balancers, and 2 workers.
These setups are designed to perform uninterrupted upgrades, except for possible brief ingress controller downtime during version transitions.
However, it’s important to note that achieving zero downtime also depends on how applications are deployed.
For instance, if an application runs on a single worker node during a rolling update, all pods will be temporarily moved to another worker, causing downtime. In contrast, deploying two replicas across different nodes ensures uninterrupted service during updates.
Understanding the Kubernetes Cluster Update Process
Let’s check into how updates are managed within the Kubernetes cluster and which components are affected. These updates are seamlessly handled by the platform, requiring no manual intervention from your end.
A Kubernetes cluster is composed of master and worker nodes, each serving distinct roles and executing different workloads. These nodes also host varying components essential for the cluster’s operation.
| Control Plane | Worker |
| Kubelet | Kubelet |
| API Server | Kube Proxy |
| Controller Manager | |
| Scheduler | |
| Kube Proxy | |
| CoreDNS | |
| Etcd |
The upgrade process begins with upgrading the master node, which serves as the control plane. Subsequently, the worker nodes are upgraded. The sequence of upgrade actions aligns with the directives specified in the package manifest.
- addon-upgrade-init
- Validate instance tags
- Display notification if upgrade is not feasible
- Formulate list of available versions
- Define upgrade sequence
- addon-upgrade-start
- Execute Kubernetes upgrade script
- Notify about the start of cluster upgrade
- Run cluster upgrade manifest (upgrade.jps)
- check-cluster-status
- Check cluster status before update
- Validate API responses, key components, and node readiness
- Terminate update process and prompt user if inconsistencies are found
- upgrade-configuration
- Reconfigure cluster
- Detect and update AccuWeb.Cloud’s Kubernetes distribution components
- Remove outdated cluster components and install new ones
- Specific to each version
- upgrade-masters-cluster (master/control plane)
- Validate current k8sm configuration (control plane)
- Install Kubeadm for new Kubernetes version
- Set k8sm master to maintenance, clean pods
- Apply new version configuration, upgrade instance
- Exit maintenance mode
- upgrade-masters-cluster (slave)
- Sequential execution for other k8sm instances
- Validate current k8sm configuration (control plane)
- Install Kubeadm for new Kubernetes version
- Set k8sm master to maintenance, clean pods
- Apply new version configuration, upgrade instance
- Exit maintenance mode
- upgrade-jps-manifests
- Update main manifest to declared Kubernetes version
- Update add-on manifests to declared Kubernetes version
- env.control.ApplyNodeGroupData [k8sm, cp]
- Remove redeployment limitation for k8sm and cp instances
- upgrade-masters-redeploy (master)
- Set redeploy parameters for K8sm master
- Redeploy to new version tag
- Start initialization script for new Kubernetes version
- Validate service status, restart services
- upgrade-masters-redeploy (slave)
- Sequential execution for other k8sm instances
- Set redeploy parameters
- Redeploy to new version tag
- Start initialization script for new Kubernetes version
- Validate service status, restart services
- upgrade-masters-post (master)
- Post-configuration for K8sm master instance after upgrade
- Prepare integration set for worker instances
- upgrade-masters-post (slave)
- Sequential execution for remaining k8sm instances
- Post-configuration for instance after upgrade
- upgrade-workers
- Sequential upgrade of worker nodes
- Set instance status to maintenance
- Update kubeadm to new version, apply redeploy parameters, redeploy
- Start initialization script after redeploy
- Post-configuration for worker instance, apply integration data
- Exit maintenance mode

During container redeployment, the following directories and files remain untouched:
- /data
- /etc/cni
- /etc/kubernetes/etc/machine-id
- /etc/sysconfig/iptables
- /etc/sysconfig/kubelet
- /root
- /var/lib/cni
- /var/lib/docker
Additionally, these directories are also preserved:
- /var/lib/etcd
- /var/lib/weave
- /var/lib/kubelet
- /var/log/containers
- /var/log/kubernetes
- /var/log/kubeadm-init.log
- /var/log/kubeadm-join.log
- /var/log/kubeadm-join-error.log
- /var/log/pods
Additionally, the platform updates the functionality provided by AccuWeb.Cloud, including:
- Actions triggering related events (e.g., configure-master, connect-workers, scaling).
- Configuration files (e.g., kubernetes-dashboard.yaml).
- Integrated add-ons.
As a result, the Kubernetes cluster upgrades smoothly with minimal manual intervention. AccuWeb.Cloud’s automation streamlines this process, ensuring your cloud environment stays up to date.

Jilesh Patadiya, the visionary Founder and Chief Technology Officer (CTO) behind AccuWeb.Cloud. Founder & CTO at AccuWebHosting.com. He shares his web hosting insights on the AccuWeb.Cloud blog. He mostly writes on the latest web hosting trends, WordPress, storage technologies, and Windows and Linux hosting platforms.