How to Configure Nginx Load Balancer in 60 Seconds?
NGINX is a real champ for distributing incoming traffic across multiple servers, ensuring things run smoothly and efficiently. It’s fast, flexible, and a popular choice for load-balancing tasks. Its load balancing capabilities have been HTTP/3 ready since version 1.16.1, offering high performance and efficient resource utilization. A public IP address is necessary to bypass the Shared Load Balancer and establish a direct connection with the server using HTTP/3.
NGINX’s load balancing is often preferred due to its scalability, security, reliability, and cost-effectiveness. Creating a new NGINX-based load balancer is a simple process within the platform.
Steps to Set Up an NGINX Load Balancer:
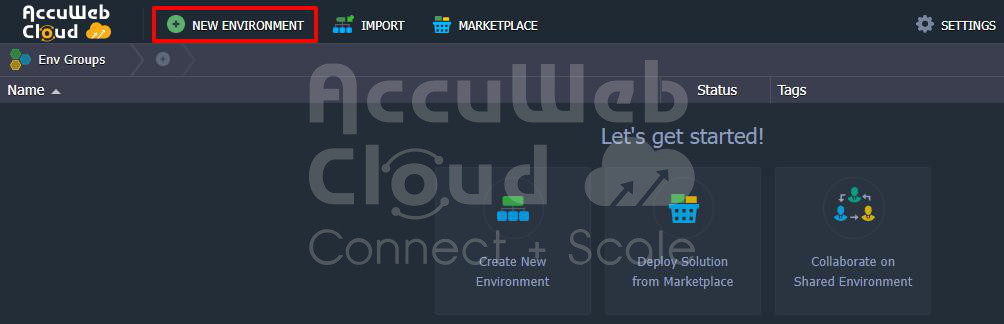
1. Log in to the platform’s dashboard and locate the “New Environment” button at the top-left corner.
2. In the automatically open topology wizard, choose “NGINX” under the Balancing section. If you’ve included an application server(s) in your environment, the necessary configurations for distributing requests among instances will be applied automatically.
3. Customize your NGINX balancer’s settings, such as cloudlets, disk space, and IP addresses. You can also add other required stacks, like application servers or databases. Once configured, click “Create.”

4. Give the platform a moment to set up your environment.
5. Congratulations! Your NGINX load balancer is now set up and ready for configuration.

You can now proceed to tailor its settings as needed.
Caching in NGINX Balancer
Caching in NGINX involves storing data ahead of web servers to improve performance. It is achieved by storing requested files in an NGINX cache directory. When users return to a page, the browser retrieves files from the cache instead of the original server, saving time and reducing traffic. Caching speeds up access to resources by keeping copies close to users and reduces the need for frequent resource rebuilding. NGINX balancer set up to use caching and ease the load on application servers.
The following instructions illustrate how to establish a cache on the NGINX balancer within the platform.
Utilizing the NGINX balancer allows you to leverage caching to alleviate the load on application servers. To achieve this, follow these steps:
1. To begin setting up the cache, click the “Config” button for the NGINX node within your environment.

2. After clicking the “Config” button, navigate to the “conf.d” directory and locate the “cache.conf” file.

3. Once you’ve located the “cache.conf” file, enable the cache by uncommenting specific lines, as indicated in the picture below.

proxy_cache_path: /var/lib/nginx/cache
[levels=levels]
keys_zone=name:size;
This variable is responsible for defining the path and various cache parameters. The “levels” parameter establishes the hierarchical levels of the cache. The “keys_zone” parameter configures the name and RAM size of the cache zone. For instance, it could be something like “accuweb:64m”.
proxy_cache zone | off;Here, the directive defines a shared memory zone utilized for caching. This same cache zone can be employed in multiple locations. The “off” parameter turns off caching that may inherit from a previous configuration level.
proxy_temp_path /var/lib/nginx/tmp
[level1 [level2 [level3]
]];
This line designates a directory to store temporary files containing data received from proxied servers. A directory hierarchy with up to three levels can be created under the specified main directory.
proxy_cache_valid {number}m;This line specifies the duration for which NGINX should retain cached content, measured in minutes. For example, you can set it to “720m” to keep content cached for 720 minutes (12 hours).
4. After making these changes, save the modifications you’ve made to the “cache.conf” file.
5. Restart the NGINX node to apply the newly configured cache settings.

By following these steps, the performance of your web server can improve, and optimize resource delivery by successfully setting up caching within NGINX.
Conclusion:
Using the NGINX load balancer, you can improve the efficiency and accessibility of your server. You can set up an NGINX load balancer and create a strong foundation for efficiently distributing traffic among your servers by following the instructions. Customize your configuration to meet your requirements and regularly monitor performance for optimal results. It’s essential to keep this in mind to achieve the best outcomes. Your server environment can operate more effectively and efficiently if you configure the NGINX load balancer with caching.